

Page 1
18.5" LED TV mit DVB-T2 HD, DVB-S2, DVB-S, DVB-T, DVB-C und CI+ Slot
Model No.: LED197
Page 2

Page 3

Contents
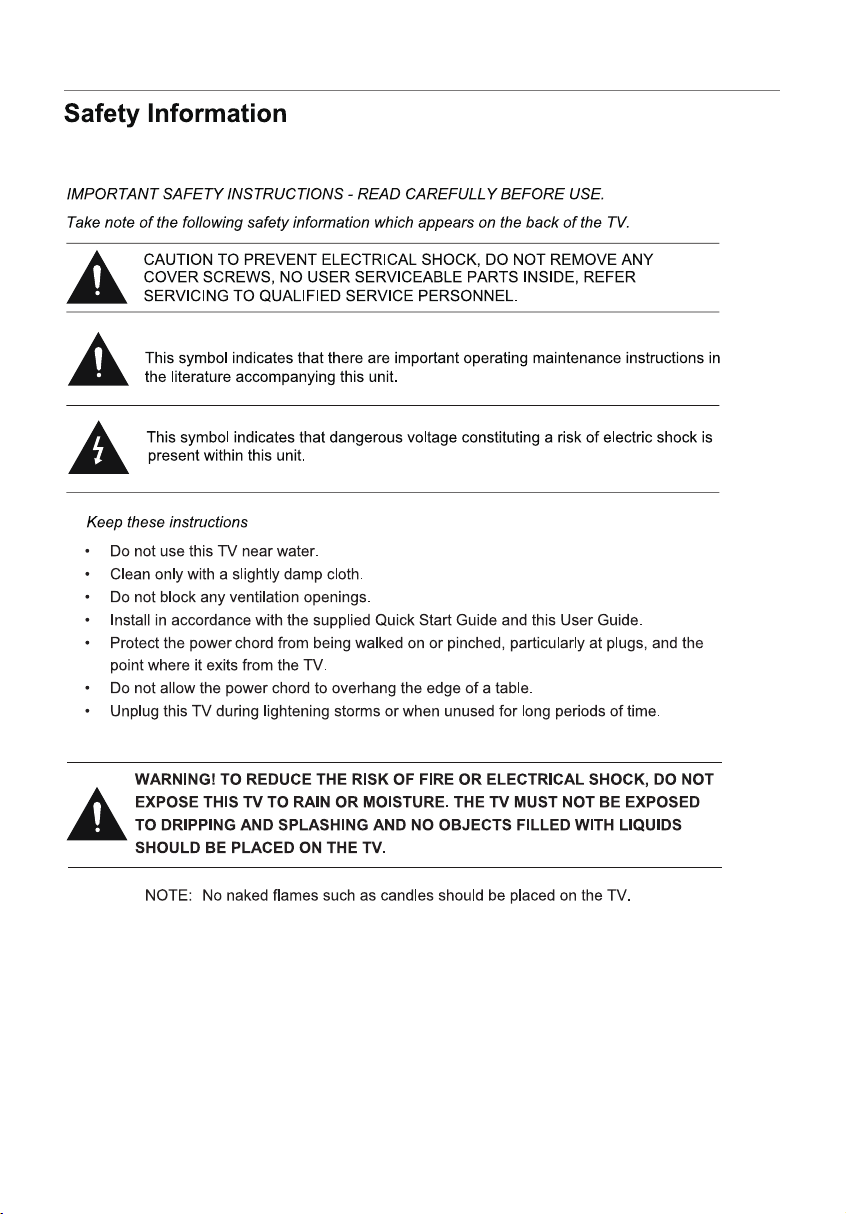
Caution ....................................................................................... 3
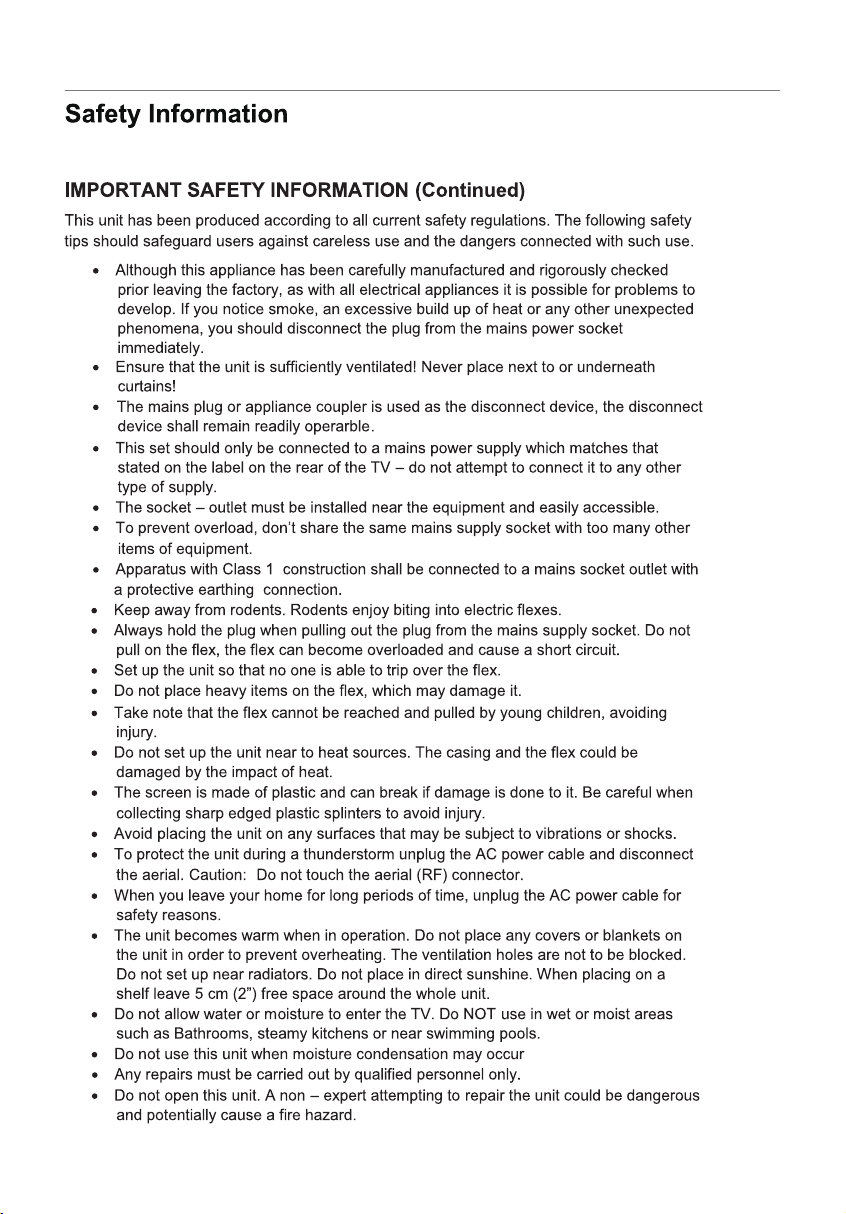
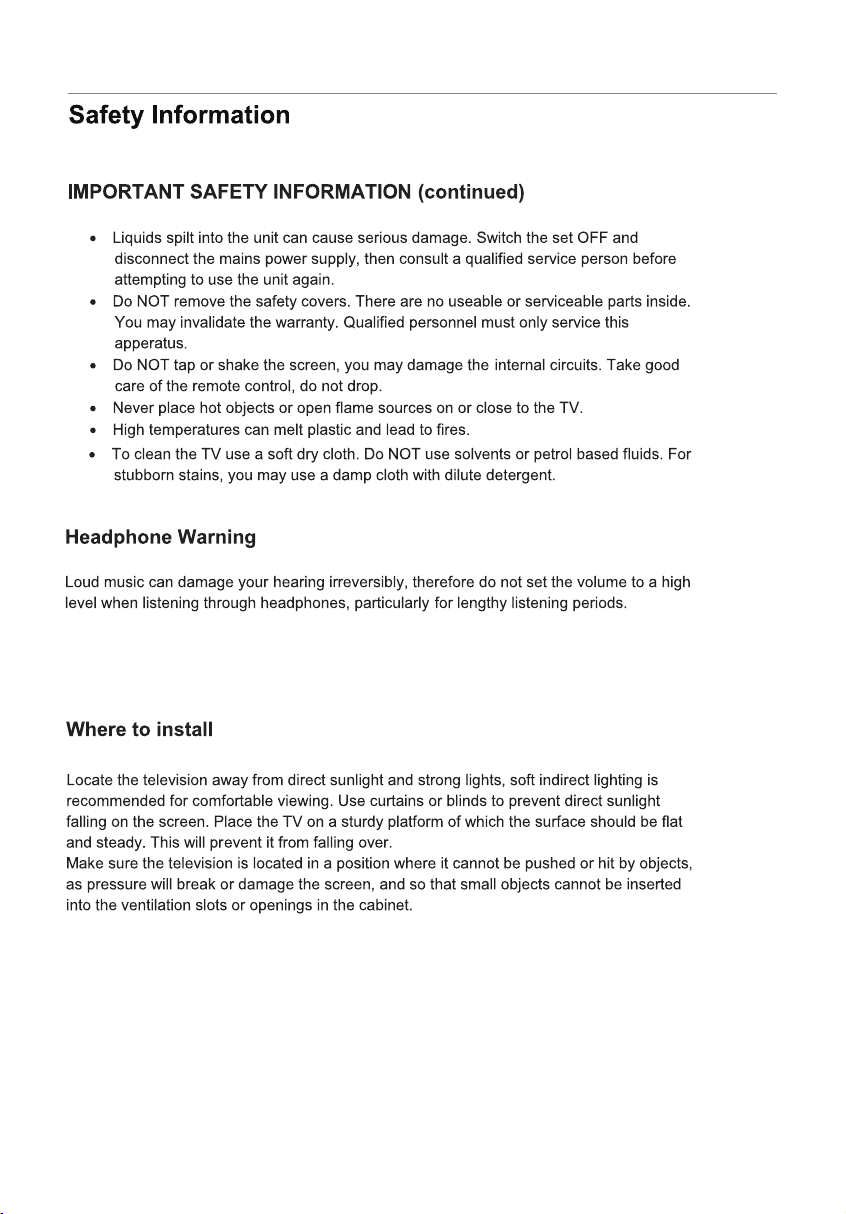
Safety Information ..................................................................... 3-5
Product Introduction ................................................................. 6
Connections ............................................................................... 7
Technical Specification ............................................................................ 5
Remote Control .......................................................................... 8-9
Common Interface Slot ............................................................. 10
Auto installation setup ............................................................ ..10
Channel Setting ....................................................................... ..11-15
Menu Settings ...................................................................................... ..15
SOUND menu .............................................................................16
Time menu .................................................................................16
Simple Troubleshooting
Setup menu ................................................................................16
Lock menu ..................................................................................17
Media Player ............................................................................. ..18
DVD Operation ............................................................................19-24
.......................................................... 25
2
Page 4
3
Page 5
4
Page 6
5
Page 7
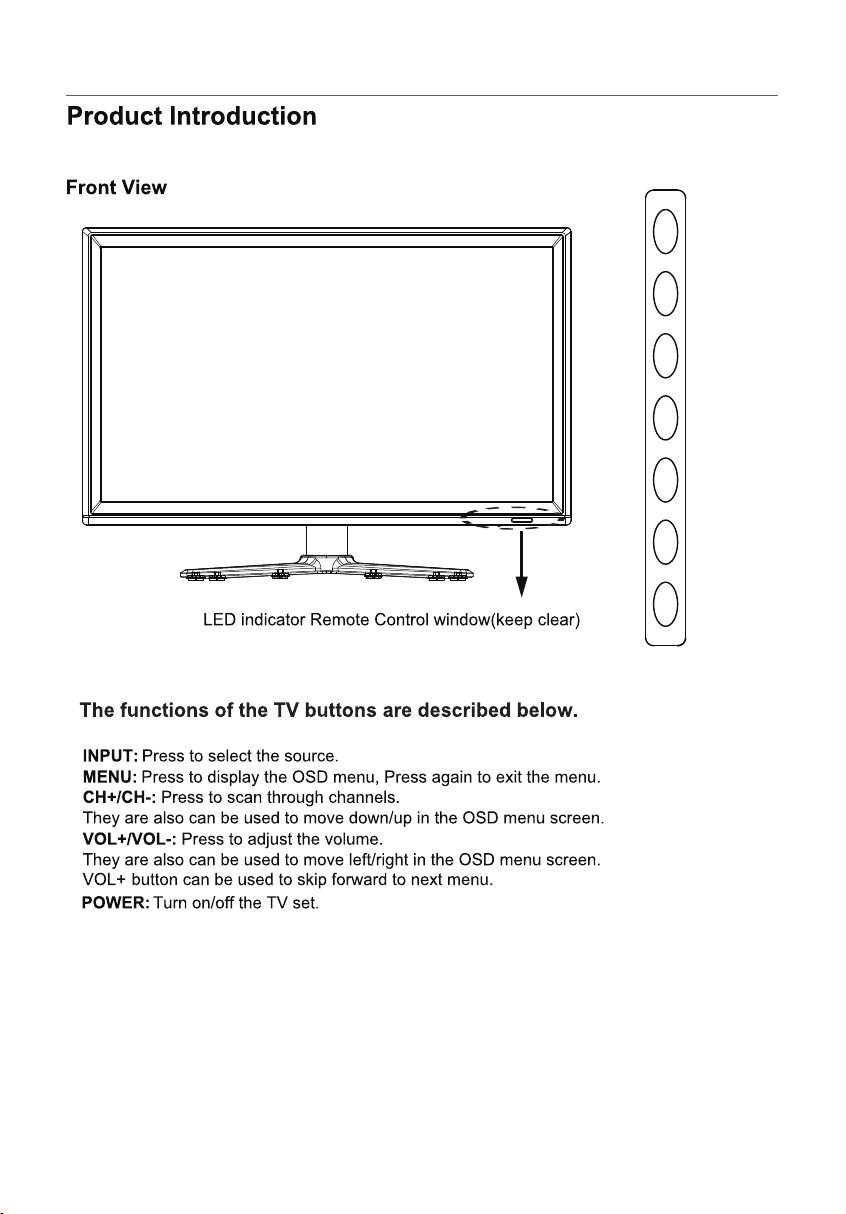
Main Power
INPUT
MENU
CH+
CH-
V0L+
VOL-
POWER
6
Page 8

7
Page 9

Remote Control
The remote control is using Infra-Red(IR). Point it towards the front of the LED TV. The remote
control may not work correctly if it is operated out of range or out of angle.
PICTURE SOUND ASPECT SLEEP
SUBTITLE CH.LIST EPG FAV
INPUTTV/RADIO
OK
MENU
1 2 3 4
5 6 7 8
9 0
EXIT
DISPLAY
ETUMREWOP
POWER(red button): Turn the TV on/standby.
MUTE: Press to mute the sound, press again or press
VOL+ to unmute.
PICTURE: Select the picture mode.
SOUND: Select the sound mode.
ASPECT: Adjust picture size
SLEEP: StandbyTimer
SUBTITLE: Turn on/off the subtitle display in DTV mode
CH.LIST: Display the programs list.
EPG: To show the Electronic Program Guide during no-
menu state only in DTV mode.
FAV: Display the favorite program list.
Buttons for Basic operating
TV/RADIO: Switch to TV/RADIO.
INPUT : Display the input source menu.
THUMBSTICK(
OK): Allows you to navigate
the on-screen menus and adjust the system settings to your
preference.
MENU: Press to display the OSD menu.
EXIT: Press to exit the OSD menu.
NUMBER BUTTONS: Choose channel directly. Press
HCLOV
number buttons and press OK button to play the channel.
: Return to the previous channel viewed.
DISPLAY: Press to display the current mode’s information.
TV/TXT CANCEL REVEAL NICAM/A2
INDEX HOLD SIZE SUBPAGE
8
Page 10

Remote Control
PICTURE SOUND ASPECT SLEEP
SUBTITLE CH.LIST EPG FAV
INPUTTV/RADIO
OK
ETUMREWOP
MENU
1 2 3 4
5 6 7 8
9 0
TV/TXT CANCEL REVEAL NICAM/A2
INDEX HOLD SIZE SUBPAGE
EXIT
DISPLAY
HCLOV
VOL +/- : Volume +/-.
CH / : Channel/Program +/-.
: Play/pause program.
: Stop program.
: Fast reverse.
: Fast forward.
: Previous chapter.
: Next chapter.
Colour buttons : Short cuts-follow the coloured links in the text.
Buttons for TELETEXT operating
You could use the buttons only in TELETEXT .
TV/TXT: Turn off/on the Teletext display.
CANCEL: Cancel the Teletext display.
REVEAL: Reveal any hidden text.
NICAM/A2: TV Nicam/A2 select.
INDEX: Go to index.
HOLD
: Hold or carry on the current subpage.
SIZE: Press to see top half of page double size. Press again to
see the bottom half of page double size. Press again for
normal size.
SUBPAGE: Press to enter subpages, pressagain to cancel.
9
Page 11

blue
1.Press the Menu button on the remote control on your
LED TV to select the Setup menu.
2.Press the buttons to select the First Time
Installation.
First Time Installation
Language < English >
Country < Germany >
Energy Mode < Home Mode >
OK Auto Tuning
Use the Left/Right/Down keys to select your Language,
Country and Energy Model.
Tuning Setup
Tune Type < DTV+ATV >
Digital Type < DVB-C >
Scan Type <Network Scan >
Network ID < Auto >
Frequency < Auto >
Sysmbol Rate < Auto >
Sorting by LCN < Off >
MENU
Back OK Start
10
Page 12

Channel Setting
Tuning Setup
Digital Type < DVB-C >
Tune Type < DTV+ATV >
Country < UK >
Tuning Setup
Digital Type < DVB-C >
Tune Type < DTV+ATV >
Country < UK >
Tuning Setup
Antenna
CHANNEL
Antenna >
Auto Tuning >
ATV Manual Tuning >
DTV Manual Tuning >
Programme Edit >
1.Press the Menu button on the remote control on your LED TV
to select the Channel menu.
2.Press the buttons to select the Antenna menu.Press OK
to select it.
3.Press the buttons to select DVB-T or DVB-C.
Digital Type
DVB-T >
DVB-C >
Auto Tuning
Tuning Setup
Tuning Setup
Country < Germany >
Tune Type < DTV+ATV >
Scan Type <Network Scan >
Digital Type < DVB-C >
Scan Type <Network Scan >
Network ID < Auto >
Frequency < Auto >
Network ID < Auto >
Sysmbol Rate < Auto >
Frequency < Auto >
Sorting by LCN < Off >
Sysmbol Rate < Auto >
Sorting by LCN < Off >
In the Auto Tuning menu there are 3 options for you to select
from:Country,Tune Type and Sorting by LCN.
MENU
BackOK Start
MENU
BackOK Start
ATV Manual Tuning
< - Current CH 1 +>
ATV Manual Tuning
Colour System PAL
Sound System BG
Fine-Tune 48.25 MHz
AFC On
Search
You can manually tune ATV Manual Tuning in the CHANNEL Menu.
1.Current CH:Dispaly the current channel number,press the buttons
to choose the channel you wish to modify.
2.Colour System:Select the Colour System using the buttons.
3.Sound System:Select the Sound System using the buttons.
4.Fine Tune:In case of bad reception,you can press the buttons
to make fine adjustments to the tuning.
5.AFC:Select the AFC using the buttons.
6.Search:Press the buttons to scan through the frequencies to
find new channels.
DTV Manual Tuning
DTV Manual Tuning
< - UHF CH 21 +>
Press to select Country,Tune Type and Sorting by LCN.
If you select DTV+ATV,the first 50% of the processing is for ATV
tuning,while the second 50% represent DTV tuning.When ATV tuning,you can press MENU to Skip ATV tuning and start DTV tuning
or press EXIT to exit tuning.
TV : 2 Programme
DTV : 0 Programme
Radio : 0 Programme
Dats : 0 Programme
During the channel search apreview of the already-found channels
is displayed.
Unlike QUICKSTART the satellite search will search the whole satellite
for channels and will not be instant.
Also the channels will appear in the order on the satellite and not the
pre-set order.
Auto search replaces any previous searched channels with those of the
new search.To add an extra satellite if you have a suitable Dish/LNB/
Switch you must use the Dish Installation menu.
Auto Tuning Status
You can manually tune DTV Manual Tuning in the CHANNAL Menu.
Press the Left/Right arrow buttons to select the channel you wish to
tune,then press OK button to scan for the channel.
DVB-C Tuning
Tuning Setup
Country < Germany >
Tune Type < DTV+ATV >
Scan Type <Network Scan >
Digital Type < DVB-C >
Scan Type <Network Scan >
Network ID < Auto >
Frequency < Auto >
Network ID < Auto >
Symbol(ks/s) < Auto >
Frequency < Auto >
Sorting by LCN < Off >
Sysmbol Rate < Auto >
Sorting by LCN < Off >
MENU
BackOK Start
Country < Germany >
Tune Type < DTV+ATV >
Scan Type < full >
Digital Type < DVB-C >
Scan Type <Network Scan >
Network ID < Auto >
Frequency < Auto >
Network ID < Auto >
Symbol(ks/s) < Auto >
Frequency < Auto >
Sorting by LCN < Off >
Sysmbol Rate < Auto >
Sorting by LCN < Off >
When you choose “Cable” under TV connections, There are 2
options for Cable scan model:
1.Full Search: Choose FULL SEARCH and choose “OK” to start
Auto Search for the channels.
2. Network Search: Input the number of the Network ID + input start
Frequency, Symbolrate and set “sorting by LCN” to ON. (please notice,
you need to know the network ID, start frequency & Symbolrate from
your TV provider)
Tuning Setup
MENU
BackOK Start
11
Page 13

Programme Edit
Programme Edit
Use up/down keys to select program edit.Press OK or Rght button to
enter the menu.Use up/down buttons to navigate through the menu.
1.Delete:
Press the RED button to delete the highlighted channel,a red circle
will appear next to the channel name.
Press the RED button again to confirm delete.
Press the MENU to return to the main menu.
2.Move:
Press to select the channel,press yellow button to enter the move
mode,then press to move the channel location,press yellow button
again or press OK to confirm.
Power-Off-No-Signal-Down
If no valid input signal is detected,the TV set will toggle to standby
mode automatically after approx.10 minutes.
Auto-Power-Down
4 hours maximum after the last user interaction and/or the last
channel switching,the TV set will automatically toggle from On
to standby mode.Prior to this autonatic toggling,a message will
be displayed allowing you to extend the delay time for another
4 hours.
Guide{EPG-Electronic Program Guide}
Press the GUIDE button on the remote control to open the
Electronic Program Guide.EPG contains a 7-day programme
preview as long as the selected channel asupports this function.
If there is more information about a programme,press the
and buttons to scroll through the pages.Please note that
the maximum viewable number of characters is limited.
3.Skip:
Press to select the channel you wish to skip.
Press the BLUE button,a logo will appear next to the channel name
and the channel will be skipped when you scroll through the channels.
Press the BLUE button again on the highlighted channel to disable the
skip function.Press MENU to return to the main menu.
Signal Information
Only available in DTV mode,Signal Information includes:channel/
network/modulation/quality/strength.
CI Information
When insert CI Module,display CI Information.
Note:The following reception combinations are possible:ATV,DVB-C,
DVB-T channels is not possible.
5V antenna power
Press button to turn on or off.
Software Update{USB}
1.Download the software to the usb device,then insert the usb device
to the unit.
2.Press the Menu button to select the CHANNEL menu.
3.Press the buttons to select Software Update{USB} and then
press the OK button to update software.
4.when the updating is completed,the unit will be reset to standby mode.
12
Page 14

Satellite Tuning
Select “Dish Setup” item to enter the satellite
system setting menu and the user operation
interface as following:
Satellite edit menu
Operations in satellite edit menu are shown in the
following table :
Operations in Satellite List Menu are shown in the
following table:
Key
Stroke
KEY_UP use cursor to up
KEY_DOW
N
KEY_LEFT
KEY_RIGH
T
KEY_MENU Back to Main Menu.
KEY_EXIT Exit Main Menu.
KEY_GREE
N
KEY_BLUE Enter satellite scan menu
use cursor to down
switch operation to satellite system parameters setting
list
switch operation to Transponder list
Enter satellite edit menu
Action
Option
Satellite Enter Satellite Rename edit menu
Longitude
Direction
Longitude
Angle
Band C,Ku band choose
East ,West
Press num key to set the Angle
Value
satellite Seach menu
Operations in satellite scan menu are shown in the
following table :
Option
Scan Mode Default,Network Search,Full Search
Channel Type All,TV only
Service Type All Services,Free Service
Value
13
Page 15

Transponder List
Transponder Edit menu
Operations in Transponder List Menu are shown in
the following table:
Key
Stroke
KEY_UP use cursor to up
KEY_DOW
N
KEY_LEFT switch operation to Satellite list
KEY_RIGHT switch operation to satellite system parameters setting
KEY_ENTE
R
KEY_MENU Back to Satellite list.
KEY_EXIT Exit Main Menu.
KEY_RED Enter Transponder Add menu
KEY_GREE
N
KEY_YELLO Enter Transponder Delete confirm menu
W
KEY_BLUE Enter Transponder scan menu
use cursor to down
list
Select/unselect cursor item Transponder.
Enter Transponder Edit menu
Action
Transponder Add menu
Operations in Transponder Edit menu are shown in
the following table:
Option
Transponder Current edit item.Auto select
Frequency Press num key to edit
Symbol(ks/s) Press num key to edit
Polarity H,V
Value
Setting
Operations in Transponder Add menu are shown in
the following table:
Option
Transponder Can’t edit .Auto addition
Frequency Press num key to edit
Symbol(ks/s) Press num key to edit
Polarity H,V
Value
Operations in Setting Menu are shown in the
following table:
Key
Stroke
KEY_UP use cursor to up
KEY_DOW
N
KEY_MENU Back to Transponder list.
KEY_EXIT Exit Main Menu.
use cursor to down
Action
14
Page 16

Operations in Setting item menu are shown in the
following table:
Option
Value
LNB Type 9750/10600,9750/10750,05150,05750,
5150/5750,09750,10600,10750,11300,1
1475,User Single,User Dual
LNB Power On,Off
22KHz Auto,off,on
DisEqC Mode Off,LNB1,LNB2,LNB3,LNB4,Burst A,Burst
B
Motor None,DisEqC1.2,DisEqC1.3
PICTURE
Picture Mode < Standard >
Contrast 50
Brightness 50
Colour 50
Tint 50
Sharpness 50
Colour Temp < Normal >
and Mild.
PICTURE
Noise Reduction Medium
SCREEN >
Dynamic CR < On >
Face Color < 0 >
>
>
Personal
:Choose from Warm,Personal ,Cold and Normal
Medium
SCREEN :(Only available in PC)Press the OK button to select main menu
to adjust the screen.
Dynamic CR: Availabl e options:On or Off.
Face Color: Controls the Face Color of the picture.
15
Page 17

SOUND
Sound Mode < Standard >
Treble 50
Bass 50
Balance < 0 >
Auto Volume < On >
Surround Sound < Off >
SPDIF Mode Auto
SOUND
AD Switch >
Bluetooth >
Personal.
The unit automatically switch to standby mode 4 hours
Auto Standby:
after the last time the remote control was used.A reminder screen will pop
up and count down before the unit switches to standby mode.If you want
to operate the TV for a long period of time,turn off auto standby function
by selecting Never.
OSD Time:
Press up/down buttons to select the display time of the on screen menu:5s /10s / 15s / 20s / 25s / 30s / Never and then press the
OK button to confirm.
Setup
SETUP
Language < English >
TT Language < West >
Audio Language >
Subtitle Language >
Hearing Impaired < Off >
Aspect Ratio Auto
SETUP
Blue Screen < Off >
First Time Installation >
Reset >
Software Update(USB) >
SPDIF Mode:Select the SPDIF Mode for theTV from off,PCM,
Auto.
AD Switch: Turn on / off the AD Switch function by
selecting “On” or “Off”.
Bluetooth:Turn on / off the bluetooth function by
selecting “On” or “Off”.
Time
TIME
Clock 02/Jan 07:26 >
Time Zone < Berlin GMT+1 >
Off Timer >
On Timer >
Sleep Timer < Off >
Auto Standby < 4H >
OSD Timer < 5S >
Clock:
press the OK button to set date and time.
Time Zone: When you select a Time Zone city,the TV time is set
by the time offset information based on Time Zone and GMT(Greenwich
Mean Time) which is received with the broadcast signal and the time
is set automatically by a digital signal.
Press the up/down buttons to select the clock menu,then
Press up/down buttons to select Hearing Impaired
Hearing Impaired:
and then press the Ok button to select On/Off and return to the previous
menu.
Aspect Ratio:
Press up/down buttons to cycle among aspect ratio:
4:3 / 16:9 / Auto / Zoom1 / Zoom2 and then press the OK button to confirm.
Blue Screen: Turn on / off blue screen.
Reset: Restores all settings to the factory defaults.
Software Update(USB): 1.Download the software to the usb device,then
insert the usb device to the unit.
2.Press the menu button to select the CHANNEL menu.
3.Press the left/right buttons to select Software Update(USB) and then press
the OK button to update software.
4.When the updating is completed,the unit will be reset to standby mode.
16
Page 18

LOCK
System Lock < Off >
Set Password >
Channel Lock
Parental Guidance Off
Key Lock Off
Hotel Mode
BackLight 45
Hotel Mode
Hotel Mode < On >
Source Lock >
Default Source < Off >
Default Prog 2 BBC TWO NI
Default Volume < 30 >
Max Volume < 100 >
Import Datebase >
Hotel Mode
Export Database >
Clear Lock >
BackLight: Controls the BackLight.
17
Page 19

Media Player
2. Music
In the option of Media Player on MainMenu,Press
[OK] to enter the Media Player menu, see the picture
as follows:
Press [LEFT]/[RIGHT] to select Movie, Music or
Photo.
Take Movie function for example, when there is
focus point on Movie function,press [OK] button to
enter into File Selector menu
MOVIE
In the same way, on Media Player menu, move
cursor to Music, press [OK] button to enter into
FileSelector menu. Select the file you want to play,
press [PLAY/PAUSE] to enter into full screen play.
Press [LEFT] /[ RIGHT] button to move cursor, and
operate according to different hint.
3. Photo
In the same way, on Media Player menu, move cursor
to Photo, press [OK] button to enter into FileSelector
menu. Select the file you want to play, press
[PLAY/PAUSE] to enter into full screen play. Press
[LEFT]/[RIGHT] button to move cursor, and operate
according to different hint.
Delete
EXIT Exit
On FileSelector menu, select film source that
needs to be play according to the hint. Press
[PLAY/PAUSE] button to enter into the play
mode of full screen; press [PLAY/PAUSE] to
return to Media Player menu.
1. Movie
press [OK] button to enter into FileSelector
menu. Select the file you want to play, press
[PLAY/PAUSE] to enter into full screen play. Press
[LEFT]/[RIGHT] button to move cursor, and operate
according to different hint.
18
Page 20

Technical Specifications
hcnI5.18 elbisiv ,ezis neercS
9:61 tamrof neercS
1366*768
TV Functions
Connections
Power consumption „ON“ for EN 62087 17W
Power consumption in stand-by mode 0.5W
Mercury content in mg / contains lead 0,00 mg / Yes
ASEV
CATV (optional) S1~S41 Kanal, Hyper Band
Chanels (ATV / DVB-T / -C / -S) 100 / 1000(T+C) / 5000(S)
Videotext (ATV / DTV) Total 1000 Pages
DC 12 Volt INPUT yes
1 BSU
1 IMDH
1 TRACS
1 NI OIDUA CP
1 AGV
AV (viar adapter cable) 1
YPBPR (via adapter cable) 1
COAXIAL OUTPUT 1
DVB-T/-C / TVRF ANT. JACK 1
DVB-S ANTENNA JACK 1
1 TOLS +IC
EARPHONE OUTPUT 1
4
2
noituloseR
1:0001 oitar tsartnoc
²m/dc002 ssenthgirb muminiM
sroloc M7.61 sroloc yalpsiD
ziroh(071 elgna gniweiv muminiM ontal) /160 (vertical)
sm5 emit esnopser
zH06/05 etar noititeper erutciP
ttaW 3x2 tuptuo oiduA
GK0. thgiew ssorG
GK8. )dnatS .lcni( thgiew VT
,A3 ,V21 CD tnemeriuqer rewoP
W36 mumixam noitpmusnoc rewoP
%57< % ni oitar ecnanimul kaeP
001 x 001
thgilkcab-DEL htiw TFT/DCL ygolonhcet yalpsiD
MACES / LAP smetsys roloc oediV
’L/L ,I ,KD ,GB dradnatS VT
.cte namreG/hsilgnE egaugnal DSO
19
Page 21

ENERG
енергия ενεργεια
Y
IE IA
IJA
REFLEXION
ENERGIA
ЕNEPГEIA
ЕNERGY
ЕNERGI
ЕНЕРГИЯ
ЕNERGIJA
ЕNERGIE
17
47
cm inch
2010/1062 - 2014
inch
LED197
A
25
kWh/annum
18,5
Page 22

ALL RIGHTS RESERVED, COPYRIGHT UltraMedia GmbH & Co. Handels KG
Electric and electronic equipment and included batteries contains materials, components and
substances t hat can be hazardous to your health and the environment, if the waste material
(discarded electric and electronic equipment and batteries) is not handled correctly.
Electric and electronic equipment and batteries is marked with the crossed out trash can symbol,
seen below. This symbol signifies that electric and electronic equipment and batteries should not be
disposed of with other household waste, but should be disposed of separately.
As the end user it is important that you submit your used batteries to the approriate and designated
facility. In this manner you make sure that the batteries are recycled in accordance with legislature
and will not harm the environment.
All cities have established collection points, where electric and electronic equipment and batteries
can either be submitted free of charge at recycling stations and ot her co llection sites, or be
collected from
the households. Additional information is available at the technical department of
your city.
Imported by:
UltraMedia GmbH & Co. Handels KG
Friedrich-Penseler-Str. 28
21337 Lüneburg
Page 23

 Loading...