

Page 1
R
adxa
ROCK 5 I
TX
Quick
Sta
rt
Publisher: Radxa Computer (Shenzhen) Co., Ltd.
Source: https://docs.radxa.com/en/rock5/rock5itx/getting-started/quick-start
License: CC BY 4.0. Official page statement: "Radxa-docs © 2026 by Radxa
Computer (Shenzhen) Co.,Ltd. is licensed under CC BY 4.0."
Export note: This PDF is an attributed print export of the official documentation page,
generated 2026-09-14. Page navigation was omitted; substantive text, images, and
attribution were preserved.
Quick Start | Radxa Docs - 1/5
Page 2
This guide assumes that you are using a 12V DC adapter to power the ROCK 5 ITX motherboard
to get up and running quickly. If you plan to install it in a chassis, please refer to assembly-guide.
P
acking Li
st
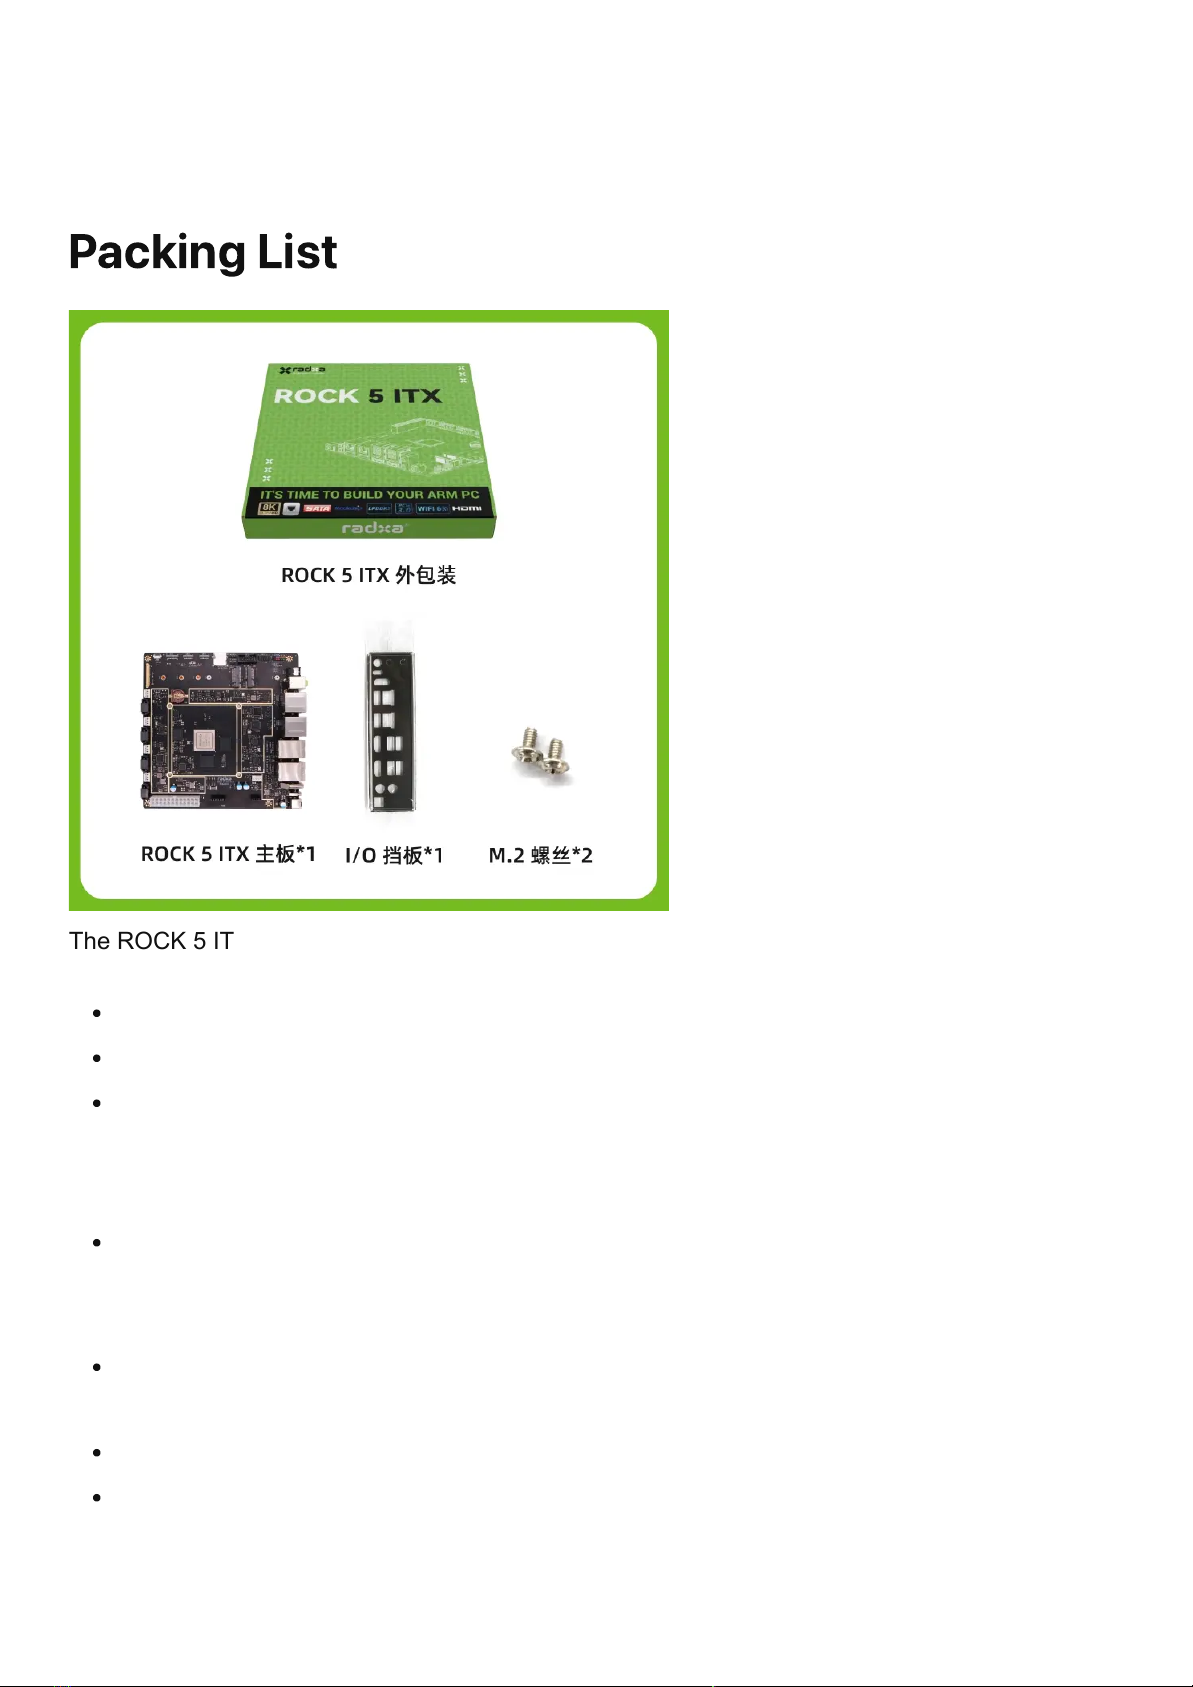
The ROCK 5 ITX standard package includes the following items:
One motherboard
One chassis bezel
Two M.2 screws
To boot the ROCK 5 ITX, you will also need the following:
A 12V/2A or higher power DC adapter with a 5.5x2.5mm plug, positive inside and ground
outside The ROCK 5 ITX also supports PoE power and standard PC case power supplies
(ATX power supplies). For more details, please refer to power-supply for more details.
An HDMI-enabled monitor with a recommended resolution of 1080P or higher, 4K / 8K
monitors will provide the best experience.
A USB mouse and keyboard, with plug-and-play support for common USB input devices.
One or two network cables and an Ethernet-enabled switch or router, as the ROCK 5 ITX has
two 2.5G RJ45 Ethernet ports, which will be required for installing and updating your system.
Quick Start | Radxa Docs - 2/5
Page 3
NOTE
In the interface labelling diagram, [number ⑭](./introduction#Motherboard Overview) is the
HDMI input port and cannot be used to connect an HDMI monitor. To connect an HDMI
monitor, use [No. ⑩ or ⑪](./introduction#Motherboard Overview) HDMI connector.
Peripherals that are not required but can enhance the basic functions of the ROCK 5 ITX:
Heatsink, refer to [Heatsink Selection] to install a heatsink
M.2 wireless module; ROCK 5 ITX supports standard M.2 Wi-Fi card. See [Wireless Module
Compatibility List]. Some older driver-free M.2 Wi-Fi cards may also support Plug & Play.
M.2 NVMe SSDs; ROCK 5 ITX supports M.2 NVMe SSDs in the 2230/2242/2260/2280 size
M.2 NVMe SSDs are not supported in the SATA protocol M.2 SSDs. it is recommended to
install an operating system on the M.2 NVMe SSDs.
2.5-inch or 3.5-inch mechanical hard drives or SATA SSDs for high-capacity data storage.
The ROCK 5 ITX supports up to 4 SATA interfaces for connecting 2.5-inch or 3.5-inch
mechanical hard drives or SSDs.
SATA cables and power cords are required separately; see the [SATA Power Cord]
description in the accessory list for details.
Wiring and P
owering Up
1. Connect any of the ROCK 5 ITX's HDMI outputs to the HDMI display via the HDMI cable.
2. Connect the USB mouse and keyboard to any USB 2.0 or 3.0 port on the ROCK 5 ITX.
3. Connect the network cable to the Ethernet port.
Quick Start | Radxa Docs - 3/5
Page 4
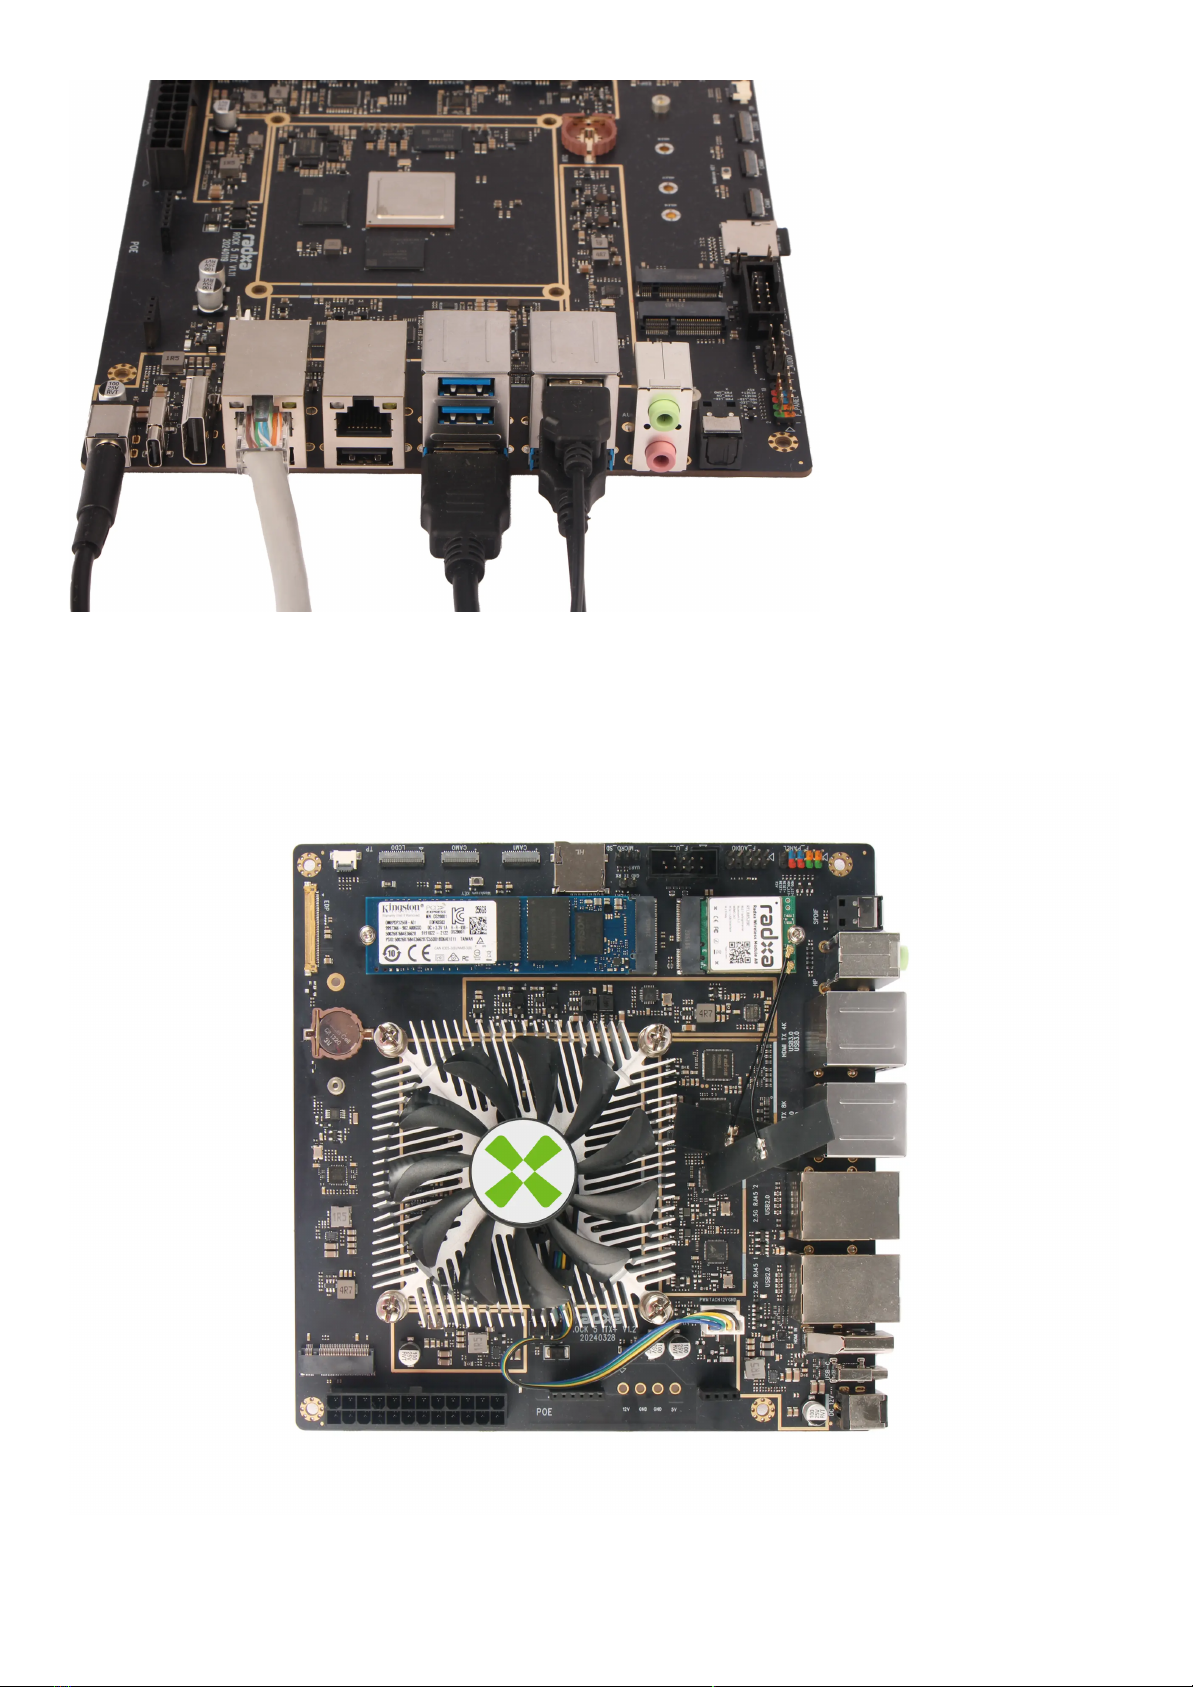
4. If there is an M.2 Wi-Fi module or SSD, install and secure it using the M.2 screws provided.
5. If you have a 2.5/3.5-inch SATA hard drive, connect the SATA cable and the drive's power
cable.
Quick Start | Radxa Docs - 4/5
Page 5
6. Plug the 12V DC adapter into the DC socket of the ROCK 5 ITX. The unit will automatically
power up and start up, and the power indicator will light up.
7. The ROCK 5 ITX is equipped with 8GB eMMC with Radxa's own ROOBI OS pre-installed. A
few seconds after powering up, the HDMI display will show the ROOBI OS interface.
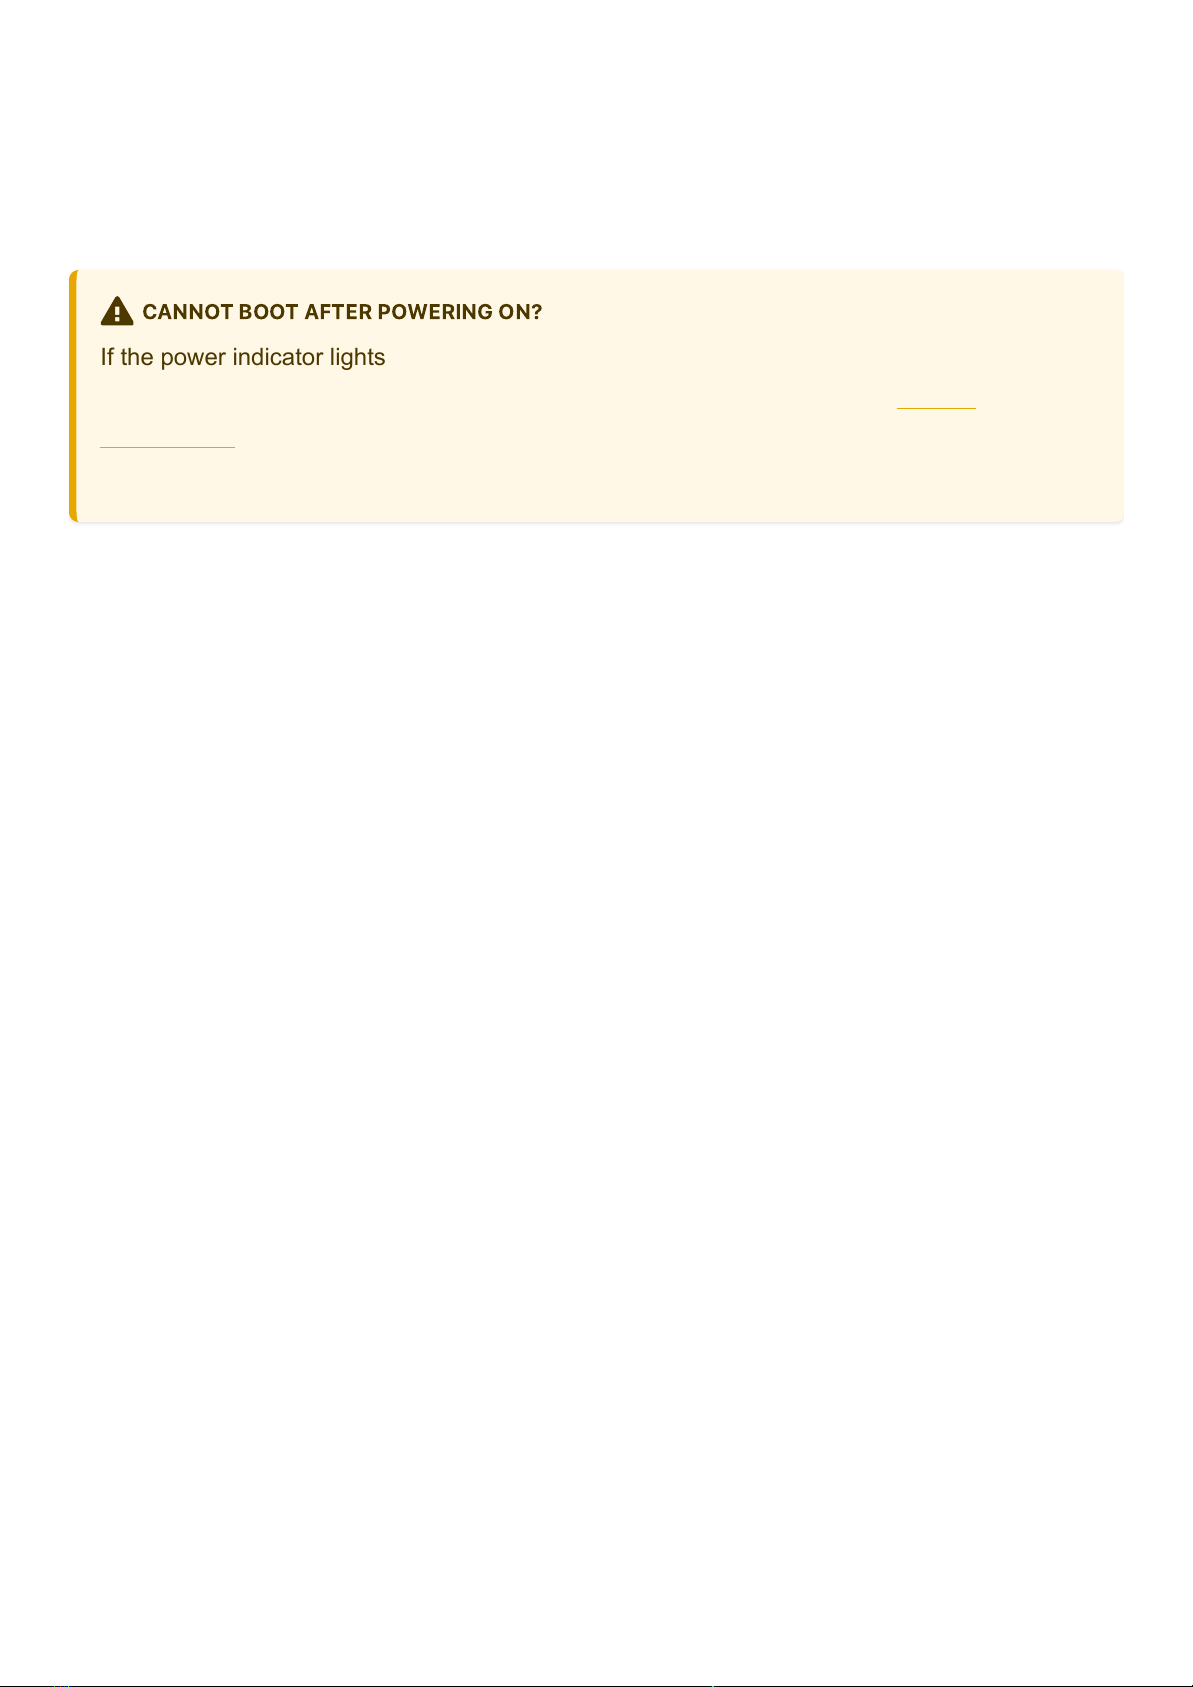
CANNOT BOOT AFTER POWERING ON
?
If the power indicator lights up but the HDMI display stays blank for a long time, the ROOBI
OS may not be pre-installed on the eMMC. In this case, please refer to the Manual
reinstallation section to install the system manually via a microSD boot disk or Maskrom
mode.
Quick Start | Radxa Docs - 5/5
 Loading...