

14-1182.fm Page 1 Thursday, January 27, 2000 8:26 AM
Cat. No. 14-1182
OWNER’S MANUAL
Please read before using this equipment.
Micro-43
Auto-Reverse
Micro Recorder

14-1182.fm Page 2 Thursday, January 27, 2000 8:26 AM
FEATURES
Your RadioShack Auto-Reverse Micro
Recorder is ideal for quick note-taking. Its
ultra-small size makes it easy to slip into a
pocket, briefcase, or purse. You can use it
at school, at business conferences, for
dictation in the office, or anywhere on the
go! You can start recording manually or set
the recorder so sound activates recording.
Your recorder includes these features:
Auto Reverse
— automatically changes
tape sides when the front side of the tape
reaches the end during recording or playback.
Quick Record
— lets you instantly stop
playback and begin recording.
Voice-Activation Circuitry (VOX)
— begins recording when the recorder picks up
sound and stops a few seconds after the
sound stops.
Auto Stop
— stops the recorder automatically when the tape reaches the end after
playing both sides.
2000 Tandy Corporation.
©
All Rights Reserved.
RadioShack is a registered
2
trademark used by Ta ndy Corporation.

14-1182.fm Page 3 Thursday, January 27, 2000 8:26 AM
Tape Counter with Reset Button
— lets
you mark the locations of certain sections
of tape so you can easily return to them.
Built-In Microphone and Speaker
— let
you record and play back notes anywhere.
External Microphone Jack
— lets you
use an external microphone, so you can
extend your recording range.
Earphone Jack
— lets you use an optional
earphone to listen to a tape privately.
Tape Speed Switch
— lets you record at
normal or slow speed. Slow speed gives
you twice the normal recording time.
Fast Play
— lets you play a tape back
about 30% faster than normal speed, to
save time when listening to a tape.
Power Options
— let you power the recorder from internal batteries, AC power
(with an optional AC adapter), or vehicle
battery power (with an optional DC adapter).
3

14-1182.fm Page 4 Thursday, January 27, 2000 8:26 AM
CONTENTS
Preparation ........................................... 5
Before You Begin ............................ 5
Connecting to Power ....................... 5
Using Batteries ........................ 6
Using AC or DC Power ............ 8
Connecting an Earphone .............. 10
Listening Safely ..................... 11
Traffic Safety .......................... 12
Connecting an External
Microphone ................................... 12
Operation .................................. .......... 14
Loading a Microcassette Tape ...... 14
Recording ...................................... 15
Playing a Tape .............................. 19
Rewinding/Fast-Forwarding ... 20
Quick Record ................................ 21
Quick Review ................................ 22
Using the Tape Counter ................ 22
Tape Tips ............................................. 23
Storing Microcassette Tapes ......... 23
Restoring Tape Tension and Sound
Quality ........................................... 23
Erasing Tapes ..................... ... ....... 24
Preventing Accidental Erasure ...... 24
Care ..................................................... 26
Cleaning the Tape-Handling
Parts .............................................. 27
Specifications ..................................... 29
4

14-1182.fm Page 5 Thursday, January 27, 2000 8:26 AM
PREPARATION
BEFORE YOU BEGIN
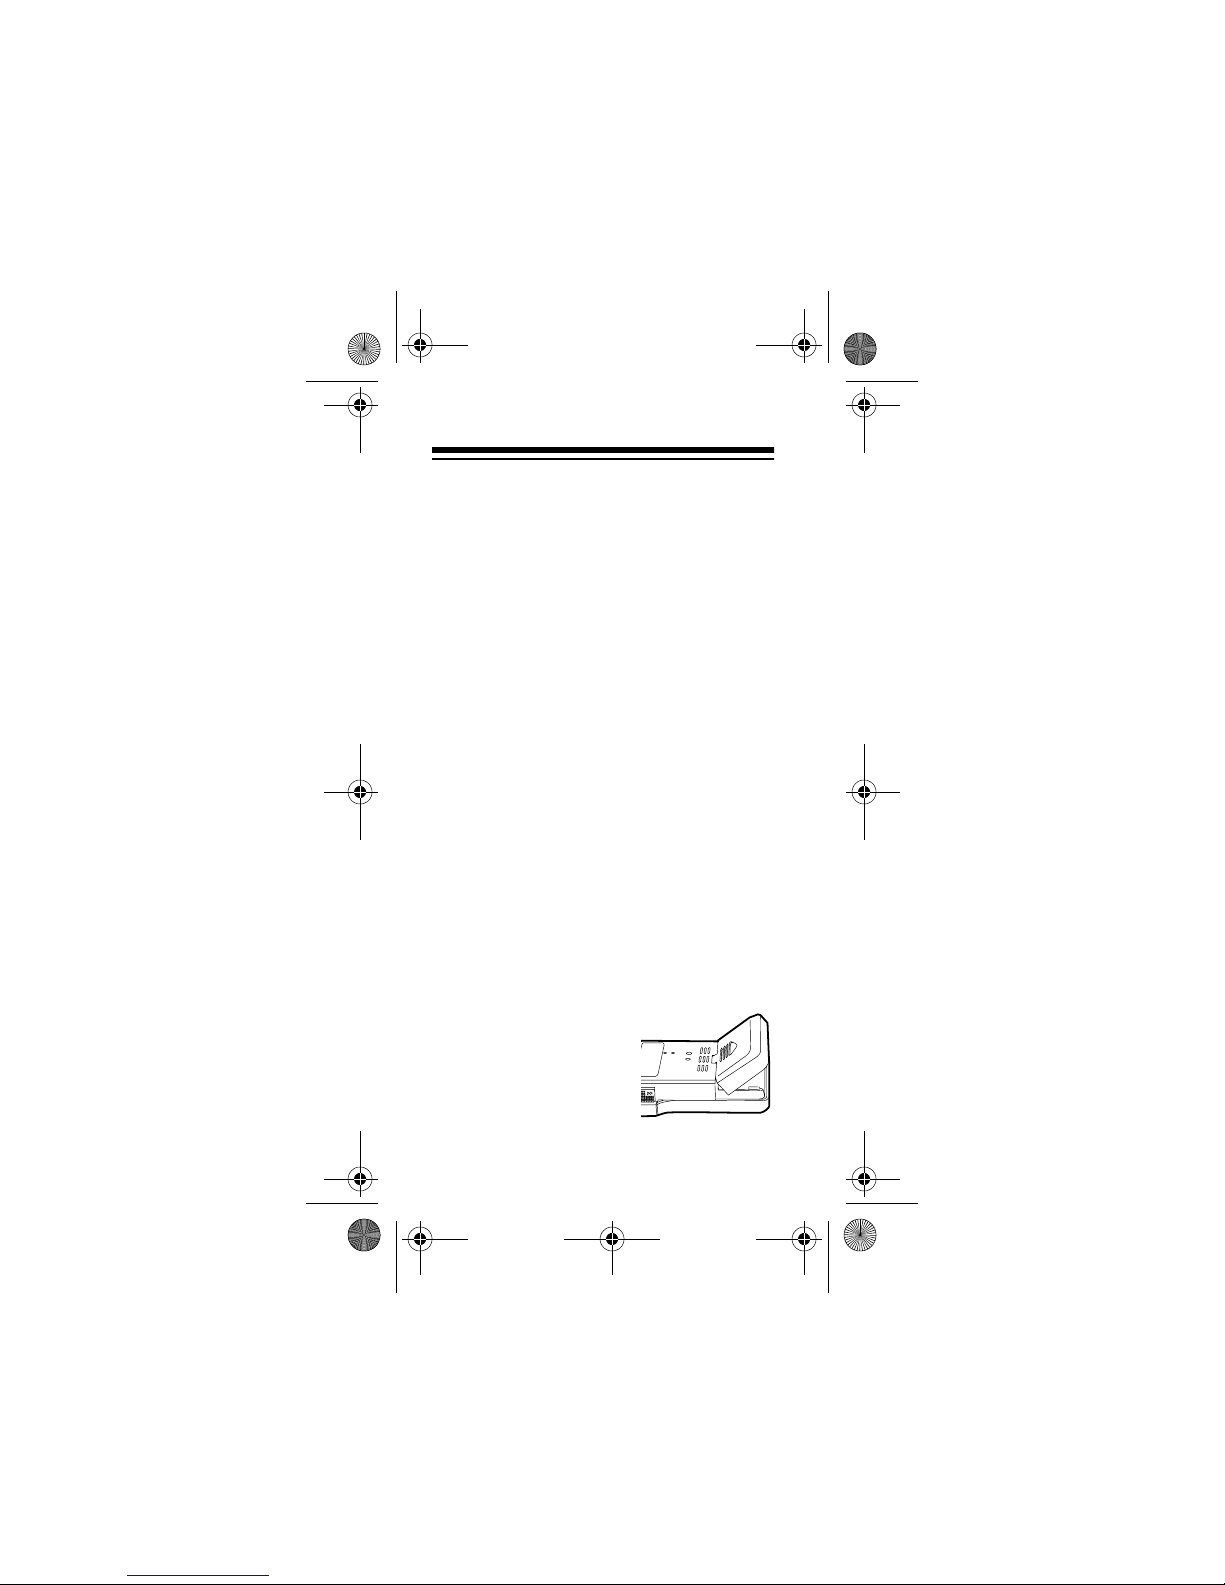
To protect the tape deck mechanism during shipment, a protective sleeve is inserted in the cassette compartment. Remove
the sleeve before you use the recorder.
CONNECTING TO POWER
You can power your recorder from any of
the following:
• Internal battery power
• AC power (with an optional AC
adapter)
• DC power (with an optional DC
adapter)
5
14-1182.fm Page 6 Thursday, January 27, 2000 8:26 AM
Using Batteries
You can use two AA batteries (not supplied) to power your recorder. For the best
performance and longest life, we recommend RadioShack alkaline batteries.
You can also use rechargeable nickelcadmium (Ni-Cd) batteries and charge
them in a battery charger, available at your
local RadioShack store.
Cautions:
• Use only fresh batteries of the
required size and recommended type.
• Do not mix old and new batteries, different types of batteries (standard,
alkaline, or rechargeable), or rechargeable batteries of different capacities.
Follow these steps to install batteries.
1. Slide the battery
compartment cover
in the direction of the
arrow until it stops,
then lift up the cover.
6

14-1182.fm Page 7 Thursday, January 27, 2000 8:26 AM
Caution:
The battery compartment
cover is attached to the recorder. Do
not try to remove it.
2. Place the batteries
in the compartment
as indicated by the
polarity symbols (+
and –) marked
inside.
3. Close the battery compartment cover
by pressing it down and sliding it in the
opposite direction of the arrow.
When the record/battery indicator does not
light or lights dimly during manual recording, the recorder sounds weak or distorted,
or the recorder stops operating properly,
replace the batteries.
Warning:
Dispose of old batteries prompt-
ly and properly. Do not burn or bury them.
Caution:
If you do not plan to use the recorder with batteries for a several days, or
if you plan to use only AC or DC power, remove the batteries. Batteries can leak
chemicals that can destroy electronic
parts.
7

1
-
8
0
0
-
8
4
3
-
7
4
2
2
14-1182.fm Page 8 Thursday, January 27, 2000 8:26 AM
Important:
This recorder
can use Ni-Cd rechargeable batteries. At the end
of a Ni-Cd battery's useful
life, it must be recycled or
disposed of properly. Contact your local, county, or
state hazardous waste management authorities for information on recycling or disposal programs in your area or call 1-800843-7422. Some options that might be
available are: municipal curbside collection, drop-off boxes at retailers such as
your local RadioShack store, recycling collection centers, and mail-back programs.
Using AC or DC Power
You can power the recorder using a 3V,
200 mA AC or DC adapter and a size A
Adaptaplug adapter (neither supplied).
Both adapters and Adaptaplug adapters
are available at your local RadioShack
store.
Cautions:
You must use a (Class 2)
power source that supplies
!
3V DC and delivers at least
8
T
14-1182.fm Page 9 Thursday, January 27, 2000 8:26 AM
200 mA. Its center tip must be set to
positive and its plug must fit the recorder's
jack. Using an adapter
DC3V
that does not meet these specifications could damage the recorder or the
adapter.
• Always connect the AC or DC adapter
to the recorder before you connect it to
the power source. When you finish,
disconnect the adapter from the power
source before you disconnect it from
the recorder.
Follow these steps to power the recorder
from AC or DC power.
E
R
a
d
io
S
n
a
c
k
1. Set the AC or DC adapter’s voltage
switch to 3V, if necessary.
2. Connect the Adaptaplug adapter to
the AC or DC adapter’s cord and set
the tip to + (positive).
9

14-1182.fm Page 10 Thursday, January 27, 2000 8:26 AM
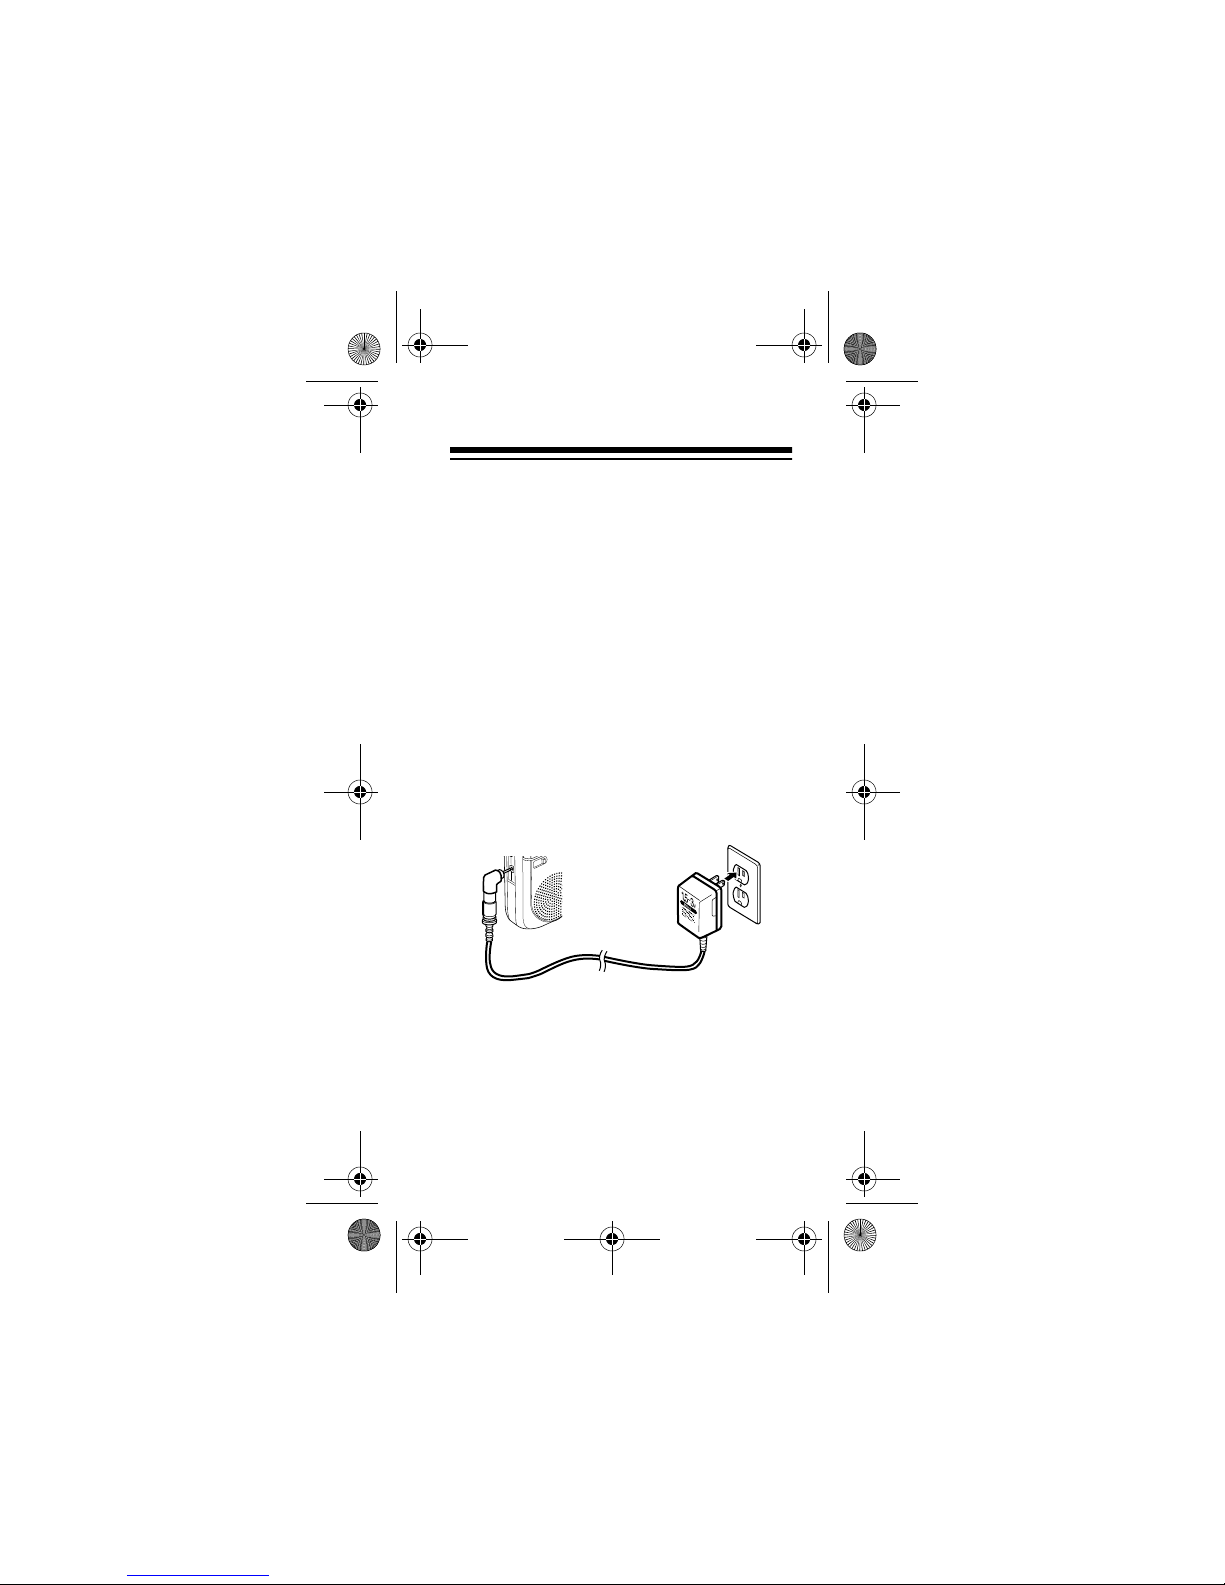
3. Insert the barrel plug into the
recorder’s
nects internal batteries.
4. Plug the other end of the adapter into
a standard AC outlet or vehicle’s 12V
power source (such as a cigarettelighter socket).
jack. This discon-
DC3V
CONNECTING AN
EARPHONE
You can use an optional mono earphone
3
with a
listen to a tape in privacy.
Notes:
/32-inch (2.5-mm) submini plug to
• You can also use an earphone to monitor what the recorder picks up through
the internal microphone or an external
microphone.
• Your local RadioShack store carries a
wide selection of earphones.
10
 Loading...