

PTZOptics PT30X-SDI-G2, PT20X-USB-G2, PT-JOY-G3 Quick Start Guide
PTZOptics SDI Camera Quick Start Guide
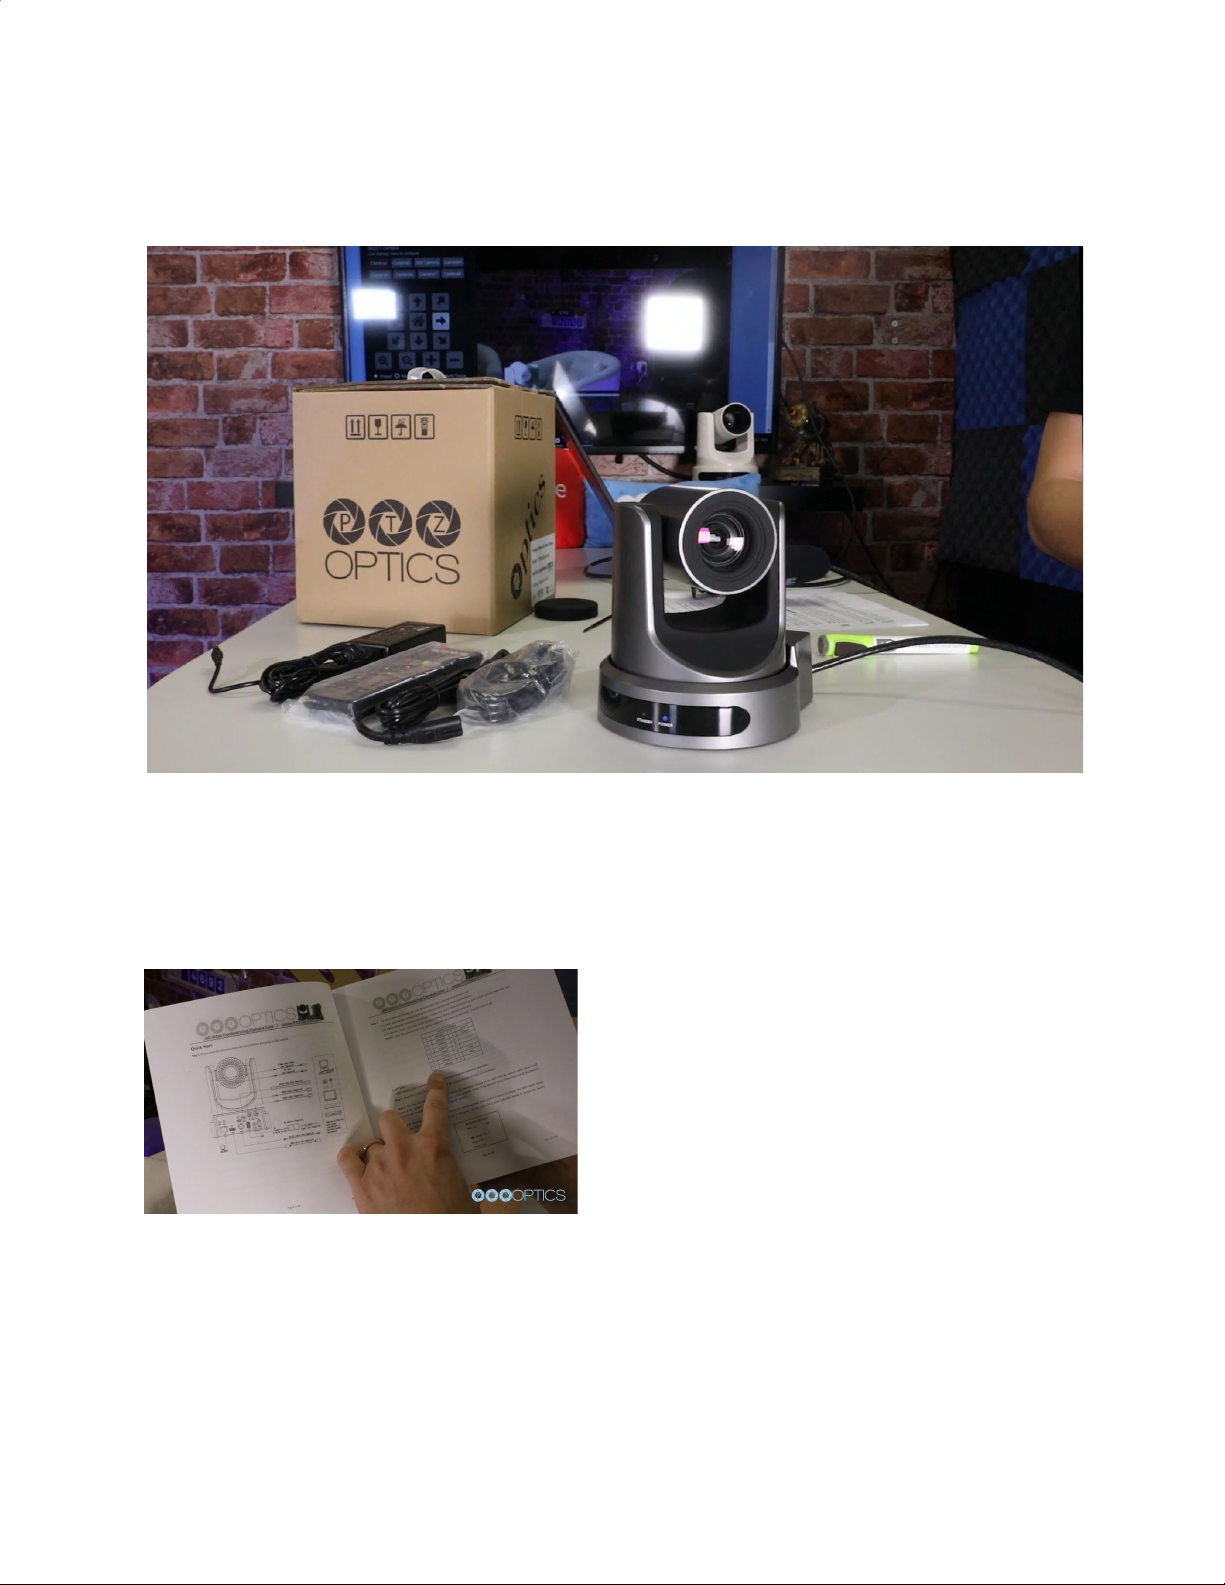
Step 1: When you first receive your PTZOptics SDI Camera, the first thing you should do is read
the included manual.
Step 2: Inside your box you will find your camera, the manual, the power supply, a remote
control, two AAA batteries and a serial
connection cable used for joystick controllers.
Step 3: Once you have read the manual, it is
helpful to select the video resolution and frame
rate you would like to use with your camera. The
camera's resolution is set by a yellow dial on the
back Interface board of the camera. You can
reference the available frame rates in your
manual or on a table printed on the bottom of
your camera.
NOTE: The default dial setting is “0” which is 1080p60fps. This is ideal for sports but you may
want to consider setting “6” for 1080p30fps for the classic natural video look depending your
application.
Step 4: Once you have set your resolution dial, can turn on your PTZOptics camera. If your
network switch provides PoE (Power over Ethernet), you will not need to use the included power
supply.
NOTE: Only PTZOptics SDI and NDI
cameras support PoE power. These
cameras support PoE 802.3af. The camera
via PoE consume between 12 - 13 Watts;
but at longer cable runs can require up to 15
Watts to accommodate for voltage drop.
Step 5: When you are first getting setup it is
helpful to connect your camera to an HDMI
monitor, but you can also use the SDI output
to view video from your camera as well.
Step 6: Once your camera is powered on and connected to the network you should determine
whether you will use a dynamic or static IP address. Each camera can have an IP address on
your network which is used to control the camera with your computer, smartphone or IP
connected joystick controller. This IP address is also used to stream video over your network
and much more. We highly suggest assigning your camera a static IP address for long term use.
Note: A dynamic IP address can change periodically
making it difficult to manage in the longer term. We
suggest setting up static ip addresses with sequential
IP addresses for tidy management of multiple
cameras.
NOTE: For most networks in order to connect to the
camera you must be in the same subnet of the LAN
(example – 192.168.1.123 & 192.168.1.111 belong to the same subnet; 192.168.1.123 &
192.168.0.125 do not).
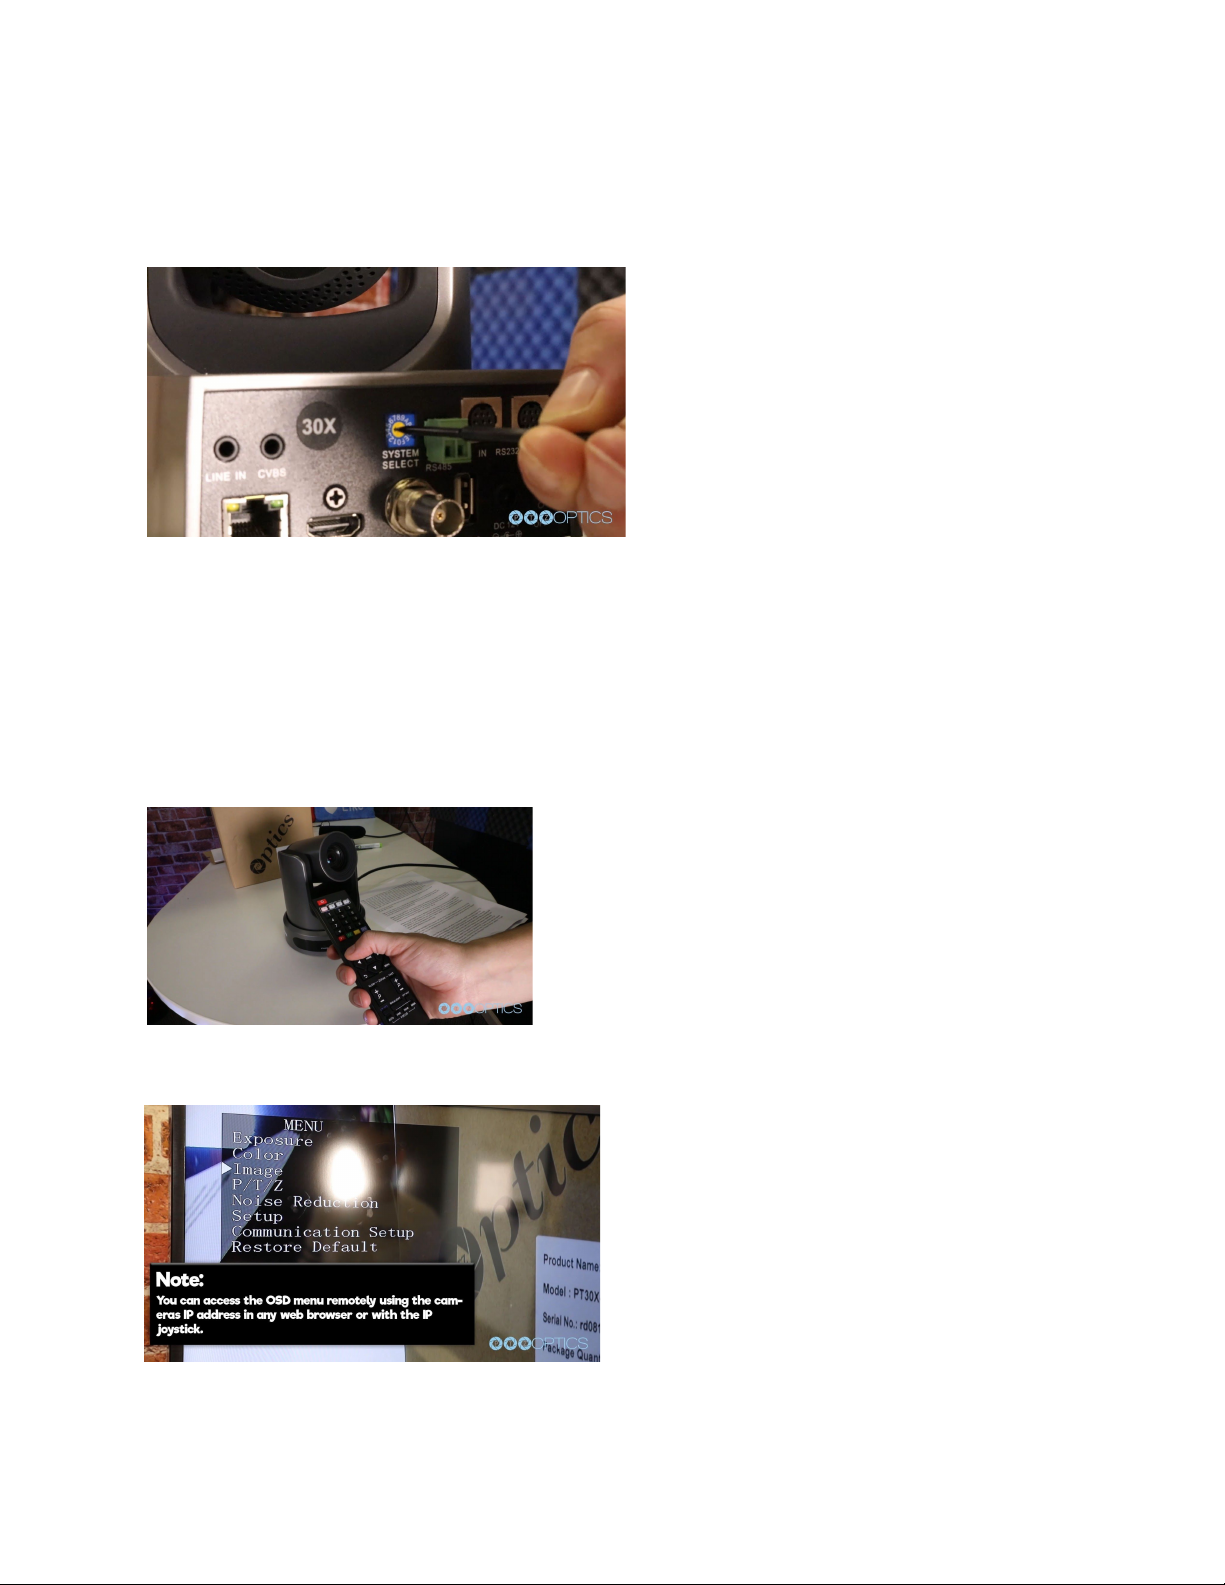
Step7: Let’s put the included AAA batteries
inside our remote control and take a look at the
features. You can pan, tilt and zoom your
camera using the up/down/left/right arrow keys
on your remote. You can also, set a specific
PTZ camera preset by clicking the “preset”
button and than entering the number you want
to set. You can try moving the camera and
calling a preset quickly to test out the cameras
movement operations. If you find the default camera preset movements too fast, you can always
 Loading...