

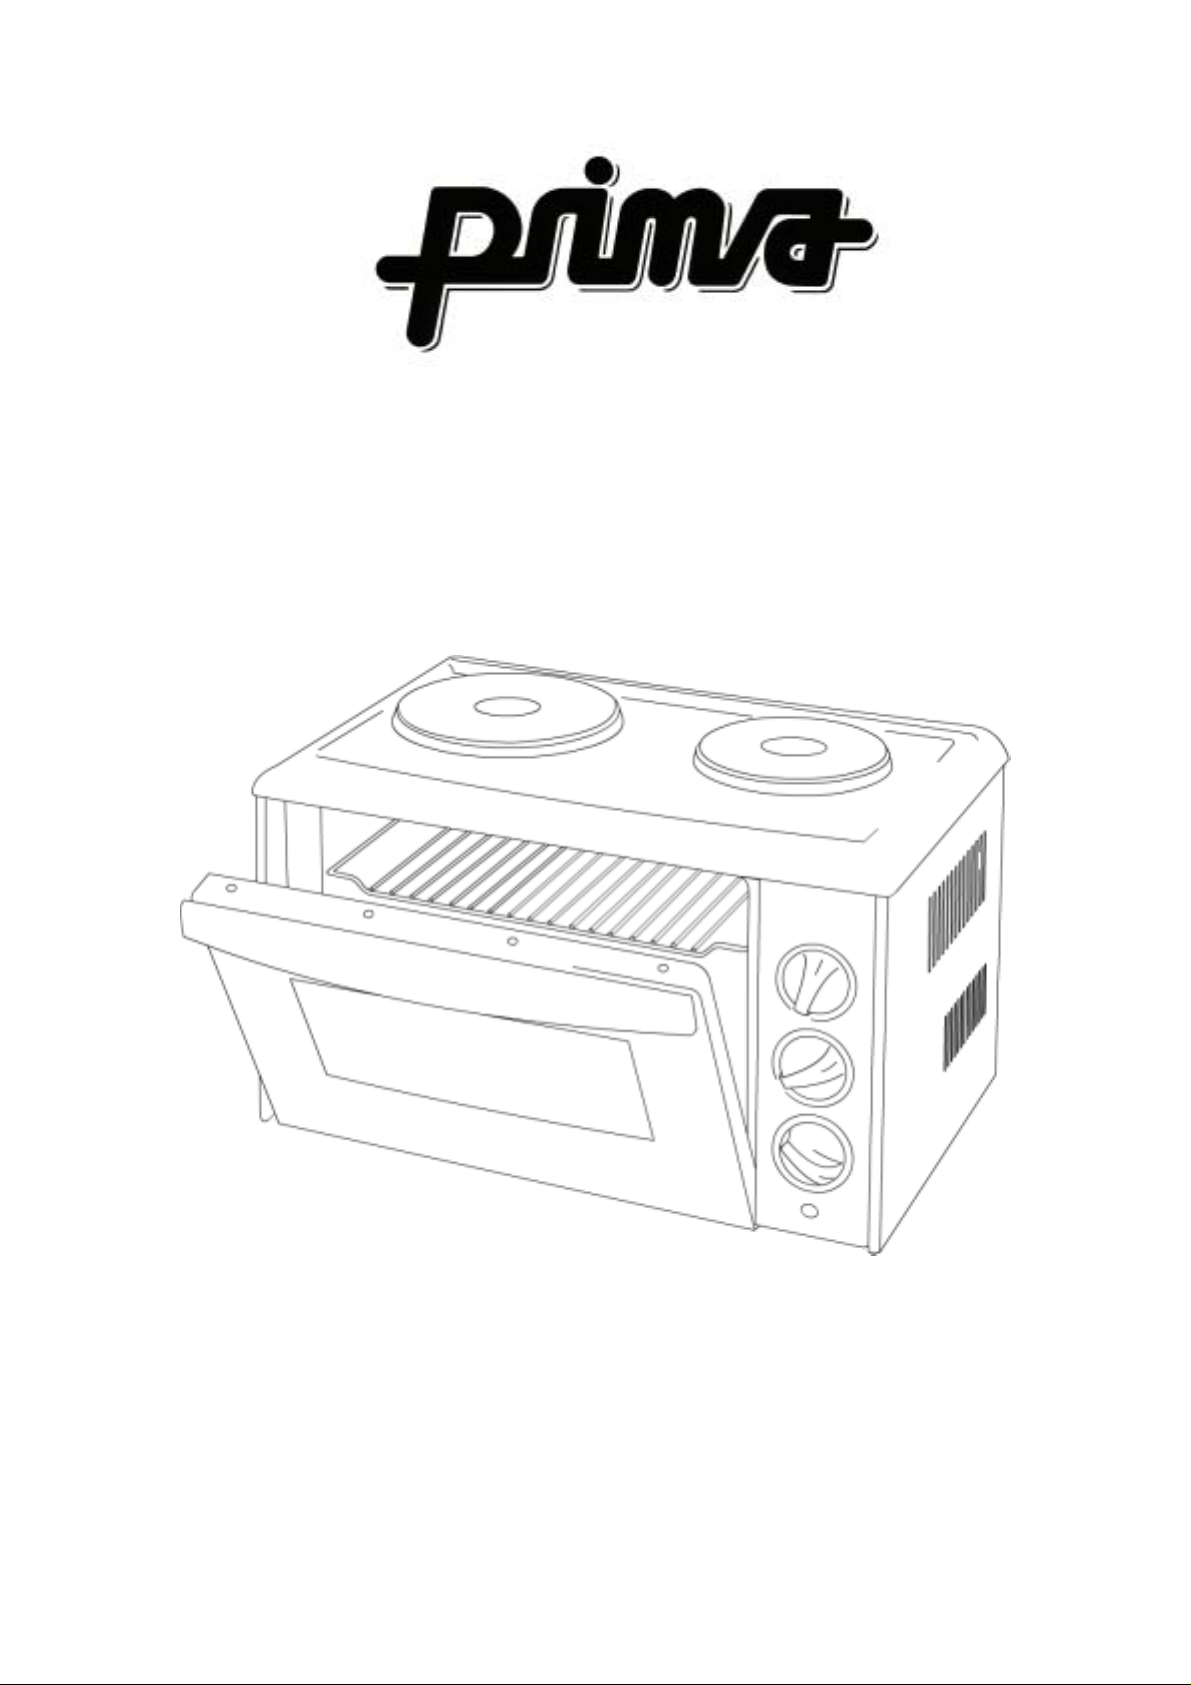
26 litre oven with
twin hobs
Model: PMO26h
Visit our web site!
www.prima-international.com

Important Information
• Please read these operating instructions before use.
• The glass door gets very hot during cooking. Please exercise caution
when opening the door etc.
• The oven must be kept at a distance of 10 cm or more away from other
objects around it in order to avoid heat damage to adjacent items.
• Use oven mitts when removing or adding items to the hot oven.
• Close supervision in necessary when using this appliance in the
presence of children.
• Never immerse the oven in water.
• Never attempt to move the oven when it is hot or in use.
• Place the baking tray at the lowest level during the roasting process to
catch drips and avoid their falling o nto the bottom of the oven.
• Do not let cord hang over edge of table or counter, or touch hot
surfaces.
• Do not operate appliance with a damaged cord or plug. If the appliance
malfunctions, or has been damaged in any manner. Contact Prima
Service dept. on 0113 251 1500.
• To prevent fire hazard keep any combustible items away from the
oven and hobs during operation.
• Although it is OK to cook foods that are wrapped in tin foil, do not cover
any part of the oven with tin foil. This may cause the oven to over heat.
• When the oven is not in use or when cleaning, turn middle control and
the bottom control to the 0 (off) position and remove the plug from the
electrical outlet.
• Do not clean with metal scouring pads. Pieces can break off the pad
and touch electrical parts, creating a risk of electric shock.
• It is essential that this oven is c leaned after each
use to prevent build-up o f fat or crumbs, which
could cause an eventual fire hazard.

Introduction
Please take the time to familiarise yourself with the controls, pa rts & accessories before using the oven or hobs. This could save a lot of time later.
BEFORE USING YOUR OVEN
Before using your oven for the first time, be sure to:
! Wash the handle, wire rack and baking tray accessories with soapy water.
! Use a damp cloth to wipe lightly the inner walls of the oven. Use a small amount of
detergent, but don’t use a spray or abrasive or polishing agent. Don’t touch the electric
heating tubes, and don’t soak the inside of the oven with water.
! Place wire rack and baking tray inside the oven.
! Close the oven door and then preheat the oven at the highest temperature for 5 minutes.
This process is designed to remove the coating on heating elements.

USING THE HOBS
It is important to use flat-bottomed saucepans to ensure a good heat transfer. Also try to use
saucepans with a similar diameter to the hob you are using.
Small hob: The small hob has 4 heat settings. Use the bottom control to select the
appropriate heat. Setting ‘0’ is the off position. The small hob can be used at the same time
as the oven or grill.
Large Hob: The large hob has 3 heat settings and can be used at the same time as the small
hob. However, only one heat setting on the large hob is available at the same time as the
oven or grill. This is because there are restrictions on the amount of power an appliance can
draw from a UK mains outlet. Use the middle control to select the appropriate setting for the
large hob.
Note: In order to use the large hob in conjunction with the oven or grill, you must set the
middle control to position B (see above drawing). To switch off the large hob but not the oven,
move the middle selector to position A
HOW TO OPERATE YOUR OVEN
BAKING/GRILLING
1. Place the wire rack or baking tray into the desired rack level (top position for grilling).
2. Turn the middle selector switch to position A (see above drawing) then select the
appropriate temperature via the thermostat.
3. For grilling, set the middle selector switch to position A then set the top selector to the
Grill position (see above drawing).
4. Note: If you wish to use the large hob in conjunction with the oven or grill, then the middle
selector should be set at position B
CLEANING AND MAINTENANCE
! It is essential that this oven is cleaned after each use to prevent build-up of fat or
crumbs, which could cause a fire hazard.
! First remove the plug from the wall outlet.
! After the oven/hobs cool, use a damp cloth or sponge to clean. Don’t soak the inside of
the oven or wash it in running water, as it will cause serious damage to the appliance.
! Don’t use any sharp or hard kitchen tools to clean the oven. This will damage the
coatings on the oven.
! Covering the food with aluminum foil before cooking should make the clean-up easier.
! The wire rack and baking tray can be removed and washed with running water or in a
dish washing machine.
Cooking guide (oven)
TEMP
100c Slow cooking, stews, casseroles etc
180 Roasts, bread, cakes
190 Pies, pastry products
220 Yorkshire pudding, thick oven chips, pizza. Burgers, sausage
230 Thin oven chips, puff pastry
When using recipes the cooking times for this appliance are the same as a conventional (not
fan-assisted) oven.

Grilling guide
Type of food Approximate grilling time
Bacon 10 minutes
Fish, sausage, chops 12-20 minutes depending on quantity
Beefburgers 12-15 minutes depending on thickness
This grill is only half the wattage of that used in a full-sized oven so expect grilling times to be
a little longer.
IMPORTANT SAFETY NOTICE
Do not line the wire rack or tray with tin foil. This will cause a shock hazard, damage the
upper element and invalid a te your warr a nt y.
It is essential that this oven is cleaned after each use to prevent build-up of fat or
crumbs, which could cause a fire hazard.
~~~~~ Warranty ~~~~~
This product is guaran teed for 12 months from the date of purchas e when the appliance is
used solely for domestic purposes.
The guarantee is valid against mechanical or electrical defects if the product is used in
accordance with the instructions and provided that it is not connected to an unsuitable
electricity supply or dismantled, interfered with or damaged in any way.
IMPORTANT, PLEASE RETAIN THIS WARRANTY
Please ask your retailer to either stamp this warranty or simply attach your store
receipt. Keep this warranty somewhere safe. DO NOT SEND TO PRIMA.
This guarantee in no way affects your rights under statutory law.
IF THE PRODUCT MALFUNCTIONS DURING ITS WARRANTY PERIOD IT MUST BE
RETURNED TO THE RETAILER FROM WHOM IT WAS PURCHASED FOR
REPLACEMENT. IF YOU BOUGHT THIS PRODUCT VIA MAIL ORDER, PLEASE KEEP
ALL THE DOCUMENTATION THAT CAME WHEN THE UNIT WAS DELIVERED.

CONNECTION TO THE MAINS SUPPLY
The wires in the mains lead are coloured in accordance with the following code:
BROWN - LIVE (L)
BLUE - NEUTRAL (N)
GREEN/YELLOW - EARTH (E)
As the colours of the wires in the mains lead of this appliance may not correspond with
the coloured markings identifying the terminals in your plug, proceed as follows:
• The BLUE wire is the NEUTRAL and must be connected to the terminal which is marked
with the letter N or coloured BLACK
• The BROWN wire is the LIVE and must be connected to the terminal which is marked
with the letter L or coloured RED.
• The wire which is coloured GREEN/YELLOW must be connecte d to the terminal which is
marked E or coloured GREEN or GREEN/YELLOW.
Always ensure that the cord grip is positioned and securely fastened.
WARNING: THIS APPLIANCE MUST BE EARTHED.
WIRING FOR A 13AMP PLUG
 Loading...