

PRESONUS CDL Series, CDL12, CDL18s Owner's Manual
CDL-series
Constant Directivity Loudspeakers
Owner’s Manual
www.presonus.com
®
English


Table of Contents
1 Overview — 1
1.1 Introduction — 1
1.2 About This Manual — 1
1.3 What is in the Box — 2
1.4 Rigging Accessories (Sold Separately) — 2
1.5 Downloads — 2
2 Application and Deployment — 3
2.1 Getting Started — 3
2.2 Cooling — 3
2.3 Important Safety Instructions — 4
2.4 Rigging Instructions — 5
2.5 CDL Rigging Extension Bar Installation
Instructions — 6
2.6 Suspending the CDL Array — 7
2.7 Supported Configurations — 7
2.7.1 Rigging a CDL12 to Another CDL12 — 7
2.7.2 Rigging a CDL12 to a
CDL Rigging Grid — 7
2.7.3 Rigging a CDL12 to a CDL18s — 8
2.7.4 Rigging a CDL18s to
Another CDL18s — 8
2.7.5 Rigging a CDL18s to a
CDL Rigging Grid — 8
2.7.6 Using the CDL Rigging Sling with the
CDL Rigging Grid — 9
2.7 Pole Mounting Options — 9
2.7.1 Important Pole Mounting Safety
Instructions — 9
2.7.2 Pole Mounting Instructions — 10
2.8 Ground Stacking — 12
3 Hookup — 13
3.1 Rear-Panel Connections and Controls — 13
3.2 Onboard Performance Monitoring — 14
3.3 Power — 14
3.3.1 Connecting Loop-Thru Power — 15
3.4 Connecting Multiple CDL Loudspeakers — 15
4 Networking Overview — 16
4.1 Selecting the Right Network Hardware — 16
4.2 Adding a Wireless Router — 16
4.3 Downloading Dante Controller — 16
5 Technical Information — 17
5.1 Specifications — 17
5.1.1 CDL12 — 17
5.1.2 CDL18s — 17
5.2 Mechanical Drawings — 18
5.2.1 CDL12 — 18
5.2.2 CDL18s — 18
6 Warranty Information — 19
6.1 How Consumer Law Relates
To This Warranty — 19


1 Overview
1.1 Introduction
CDL-series
Owner’s Manual
1
1 Overview
1.1 Introduction
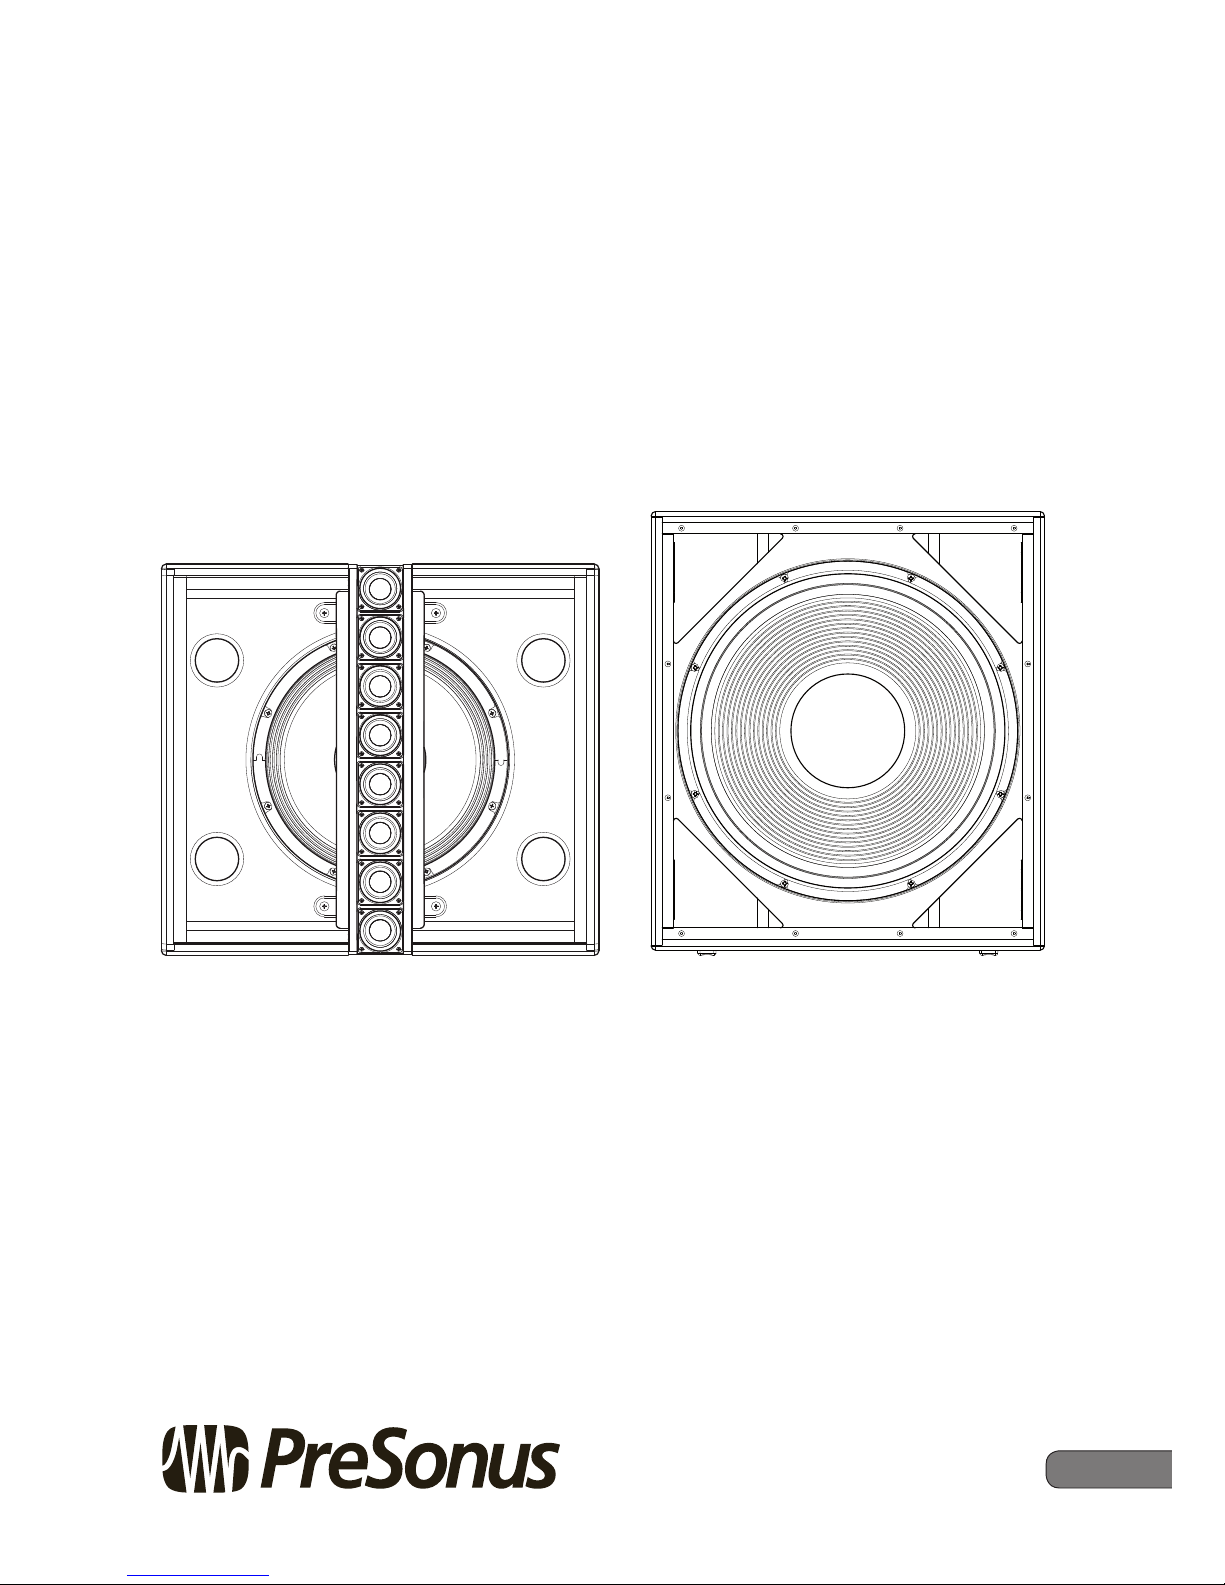
Thank you for purchasing a PreSonus® CDL-series loudspeaker. The CDL12
utilizes a unique design that takes advantage of Constant Directivity
Loudspeaker (CDL) technology by placing eight 2-inch high-frequency
drivers in a 20˚ constant curvature vertical array, centered in front of a 12inch woofer. This allows the CDL12 to radiate sound in a focused directional
pattern with up to 120˚ of vertical coverage when using six boxes rigged
together. The CDL12 is a true hybrid of both point-source and line-array
speaker designs that combine the beneficial elements of both technologies.
The companion CDL18s subwoofer is a 1000W 18” subwoofer with
a 4” voice coil. Fully compatible for all supported suspended and
pole-mounted applications, the CDL18s naturally extends the range
of the CDL12, whether used individually or in an array.
We encourage you to contact us with questions or comments regarding
this product. PreSonus Audio Electronics is committed to constant
product improvement, and we value your suggestions highly. We believe
the best way to achieve our goal of constant product improvement is by
listening to the real experts: our valued customers. We appreciate the
support you have shown us through the purchase of this product.
1.2 About This Manual
This manual covers hardware features and functions for both the CDL12 and
the companion CDL18s subwoofer. We suggest that you use the manual to
familiarize yourself with the features, applications, and connection procedures
for your CDL-series loudspeakers before trying to set up and operate them.
In many respects, the functions of the CDL12 and CDL18s are the same.
Whenever possible, these features and functions will be described for both.
Throughout this manual, you will find Power User Tips highlighting
unique aspects of your CDL-series loudspeaker.
Separate companion guides for the Worx Control application and
recommended Dante deployment guidelines are available at PreSonus.com
Thank you, once again, for buying our product. We are confident
that you will enjoy your CDL-series loudspeakers!
1 Overview
1.3 What is in the Box
CDL-series
Owner’s Manual
2
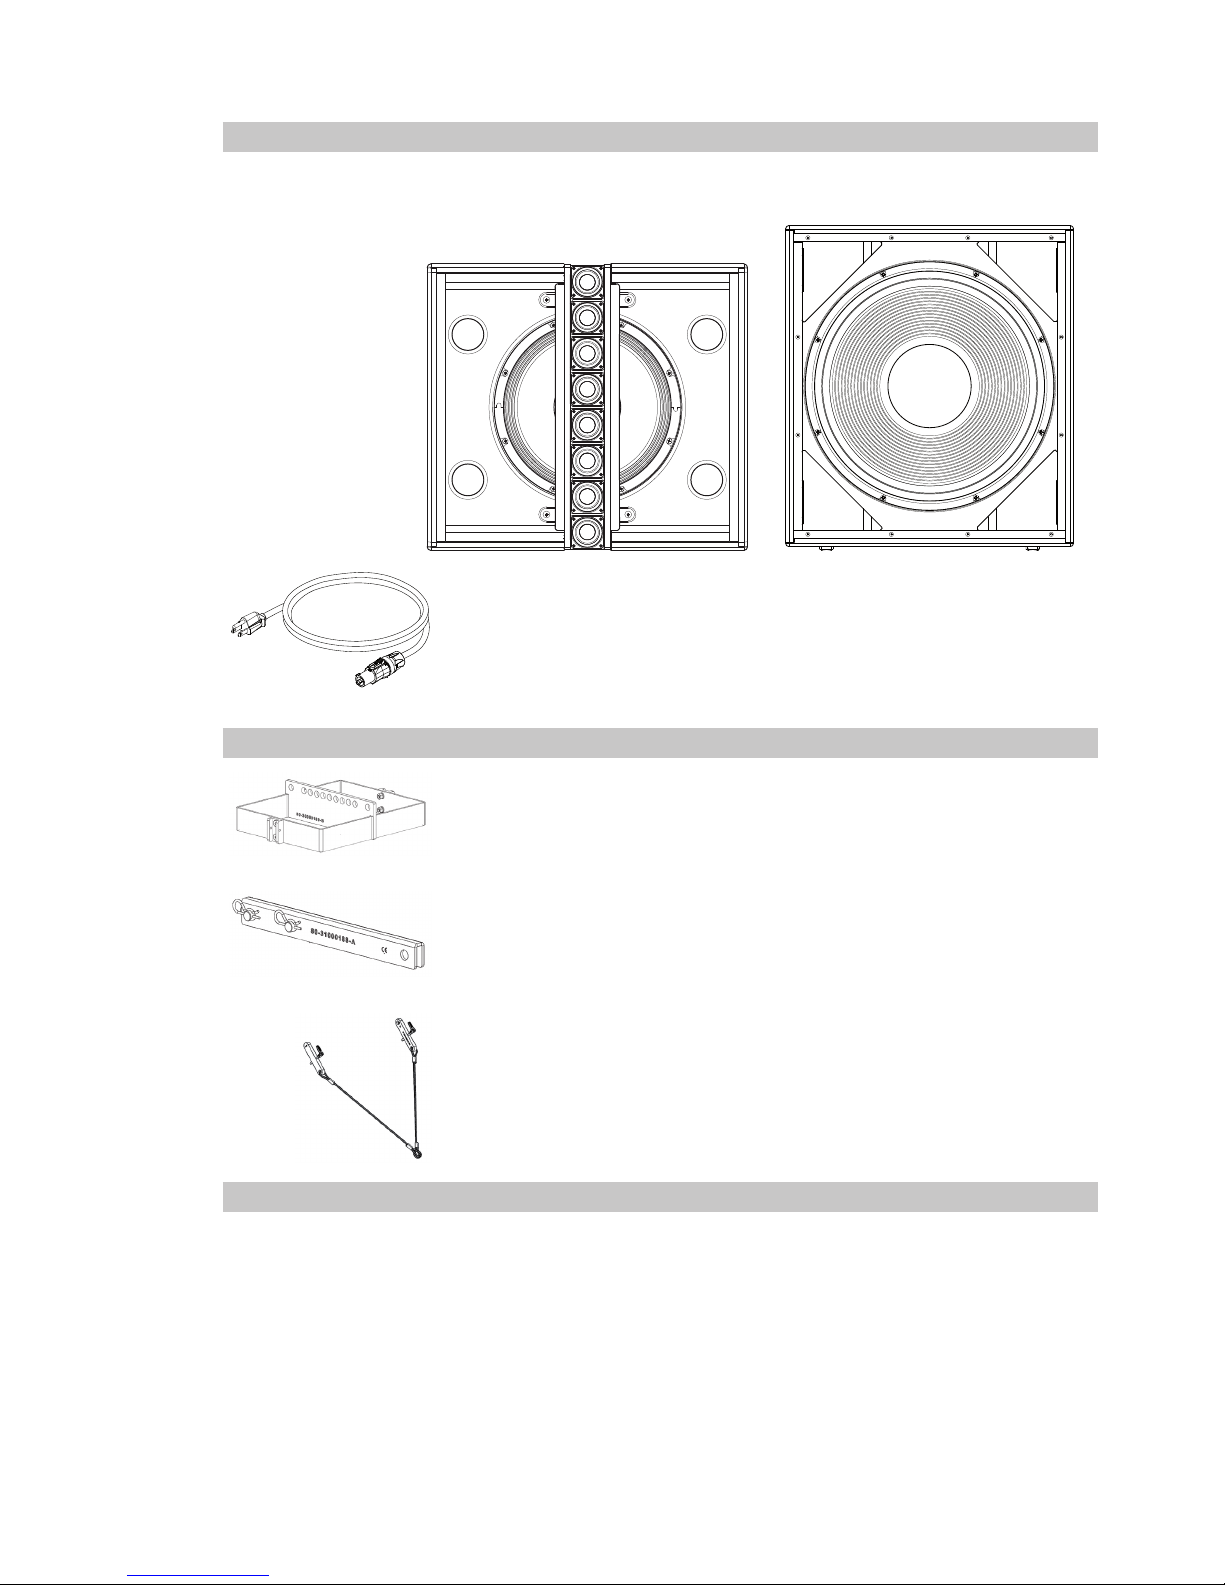
1.3 What is in the Box
In addition to this manual, your CDL package contains the following:
• (1) CDL12 or CDL18s Loudspeaker
• (1) AC powerCON® 14AWG cord
1.4 Rigging Accessories (Sold Separately)
• CDL Rigging Grid
• CDL Rigging Extension Bar
• CDL Rigging Sling
1.5 Downloads
Once you register your CDL-series loudspeaker at My.PreSonus.com, you will be
able to download Worx Control software. This application allows you to connect
your CDL-series loudspeaker to a standard LAN network to access presets for
arrays containing more than two loudspeakers. Additional features include:
• 8-band Selectable EQ (High/Low Pass, High/Low Shelf, PEQ, Allpass)
• Limiter
• Delay
• Compression
• Performance Monitoring
2 Application and Deployment
2.1 Getting Started
CDL-series
Owner’s Manual
3
2 Application and Deployment
The CDL12 can be configured as an individual point-source loudspeaker or in a
vertical array with other CDL12 loudspeakers and the CDL18s Subwoofer. Integrated
rigging makes easy and secure box-to-box deployment. When suspending two or
more arrayed CDL-series loudspeakers, PreSonus requires the CDL Rigging Grid. This
separately sold rigging grid allows the suspension up to (6) CDL12 loudspeakers or
up to (5) CDL12 loudspeakers with up to (2) CDL18s subwoofers to be suspended
in a vertical array. For all supported configurations, see the chart in Section 2.6.
Up to two CDL12 loudspeakers maybe be used on a tripod or on a sub pole
over the CDL18s subwoofer (See Section 2.7 for restrictions and guidelines).
The CDL12 is equipped with a two-position pole-mount to provide
more flexible coverage when pole-mounted (0˚ or 10˚ downward).
IMPORTANT: In all cases, when rigging loudspeakers together, attach
the bottommost unit to the loudspeaker directly above it, moving up
the grid to the topmost unit, ending with the CDL Rigging Grid.
WARNING: The CDL12 weighs 65 lbs. (29.5 kg). The CDL18s weighs 105 lbs.
(47.6 kg) Use proper lifting techniques to avoid serious injury. Please see Section
2.4 for Maximum Suspended Load.
WARNING: When assembling or disassembling arrayed loudspeakers, make
sure that all components are properly supported throughout the entire process to
avoid damage or injury.
WARNING: To ensure secure latching, verify that the loudspeakers are properly
aligned for box-to-box vertical arraying. If loudspeakers are not properly aligned,
physical damage, and personal injury may occur. The top of each loudspeaker should be
parallel to the bottom of the unit above it. For suspension, the topmost unit must be
securely attached to the CDL Rigging Grid.
2.1 Getting Started
Before you begin, here are a few general rules of thumb:
• Always make sure your loudspeakers are powered off when making connections.
• Do not allow your inputs to clip. Watch the Clip LED on the back of your
loudspeaker. When this LED illuminates, it indicates that the analogto-digital converters are in danger of being overdriven. Overdriving
the converters causes digital distortion, which sounds terrible.
Your PA and attached equipment should be powered on in the following order:
1. Sound sources (keyboards, D.I. boxes, etc.) connected to your mixer
2. Mixer
3. CDL-series Loudspeakers
When it’s time to power down, your system should be turned off in the reverse order.
2.2 Cooling
CDL-series loudspeakers are internally-powered. As such, they
utilize a power amplifier that produces heat. Allow a minimum of
6” (152.4 mm) clearance at the rear of the enclosure for cooling.
Do not restrict airflow to the rear of the speaker enclosure.
CAUTION: To avoid overheating, do not install enclosures with the amplifier
panels exposed to direct sunlight. This can heat the amplifier module and reduce
performance. Install sunshades to avoid direct exposure. The maximum ambient
temperature for full performance should not exceed 104˚ F (40˚ C).
CAUTION: Do not install enclosures where they will be exposed to rain or other
moisture. CDL-series loudspeakers are not weatherproof. Protection from the
elements must be provided in outdoor installations.

2 Application and Deployment
2.3 Important Safety Instructions
CDL-series
Owner’s Manual
4
2.3 Important Safety Instructions
WARNING: Failure to observe the following safety precautions may result in
severe injury or death. Installations such as described in this guide should only be
attempted by a trained professional.
• Read these instructions.
• Keep these instructions.
• Heed all warnings.
• Follow all instructions.
• Before installing or suspending any CDL-series loudspeaker, inspect all
hardware, the enclosure, and associated equipment for damage. Missing,
corroded, or deformed components, or components without correct
load ratings, could significantly reduce the strength of the installation
or placement and should immediately be repaired or replaced.
• Always make sure that the structure the loudspeaker is to be suspended
from has been approved by the building or structural engineer
and will support the weight of all the components of the speaker
system including speakers, speaker cable, wire rope, etc.
• Consult a licensed professional structural engineer
regarding physical equipment installation.
• Do not suspend loudspeakers directly over people.
• Use only hardware that is rated for the load conditions of the installation
and that allows for a possible short-term, unexpected overload.
Never exceed the rating of the hardware or equipment.
• PreSonus strongly recommends that the system be inspected at
least once a year and logged. If any sign of weakness or damage
is detected, remedial action should be taken immediately.
• All installation crew members must be trained for loudspeaker rigging and mounting.
• Make sure that all relevant health and safety regulations are known, are
followed by the installation crew, and are in compliance with applicable
local laws. Local government offices can help with this information.
• Suspended installations must be completed or supervised by a certified rigger.
• The system should be designed so that it is a static suspension.
There should be no dynamic or shock loading.
• Personal protective equipment (hard hats, steel-toed footwear, safety
glasses, etc.) should be worn at all times by the installation crew.
• If called for in the design, make sure all installation personnel are trained to
work at height and have certifications for scissor lifts, theatrical hoists, etc.
• Make sure all lifting equipment (slings, span-sets, deck chain, scaffolding, etc.)
is in good working order. Thoroughly inspect all components prior to use.
• Inspect all the components associated with the project for damage before
assembly. Any parts with damage or suspected damage should not be used.
Contact the component manufacturer for replacement parts if necessary.
• Keep a tidy workplace. Do not leave tools, rigging items, etc., on top of
loudspeakers during installation. Loose items can fall and cause injury.
• Never leave the system unattended during the installation process. Make
sure that the workspace is isolated from public access. No one should
be allowed to pass beneath the loudspeakers during installation.
• Do not suspend any other components or loudspeakers from PreSonus CDL-series
loudspeakers other than the supported configurations described in this manual.
• If secondary steel safeties are required, they should be installed once the
entire system is at operating height and before public access is allowed.
2 Application and Deployment
2.4 Rigging Instructions
CDL-series
Owner’s Manual
5
2.4 Rigging Instructions
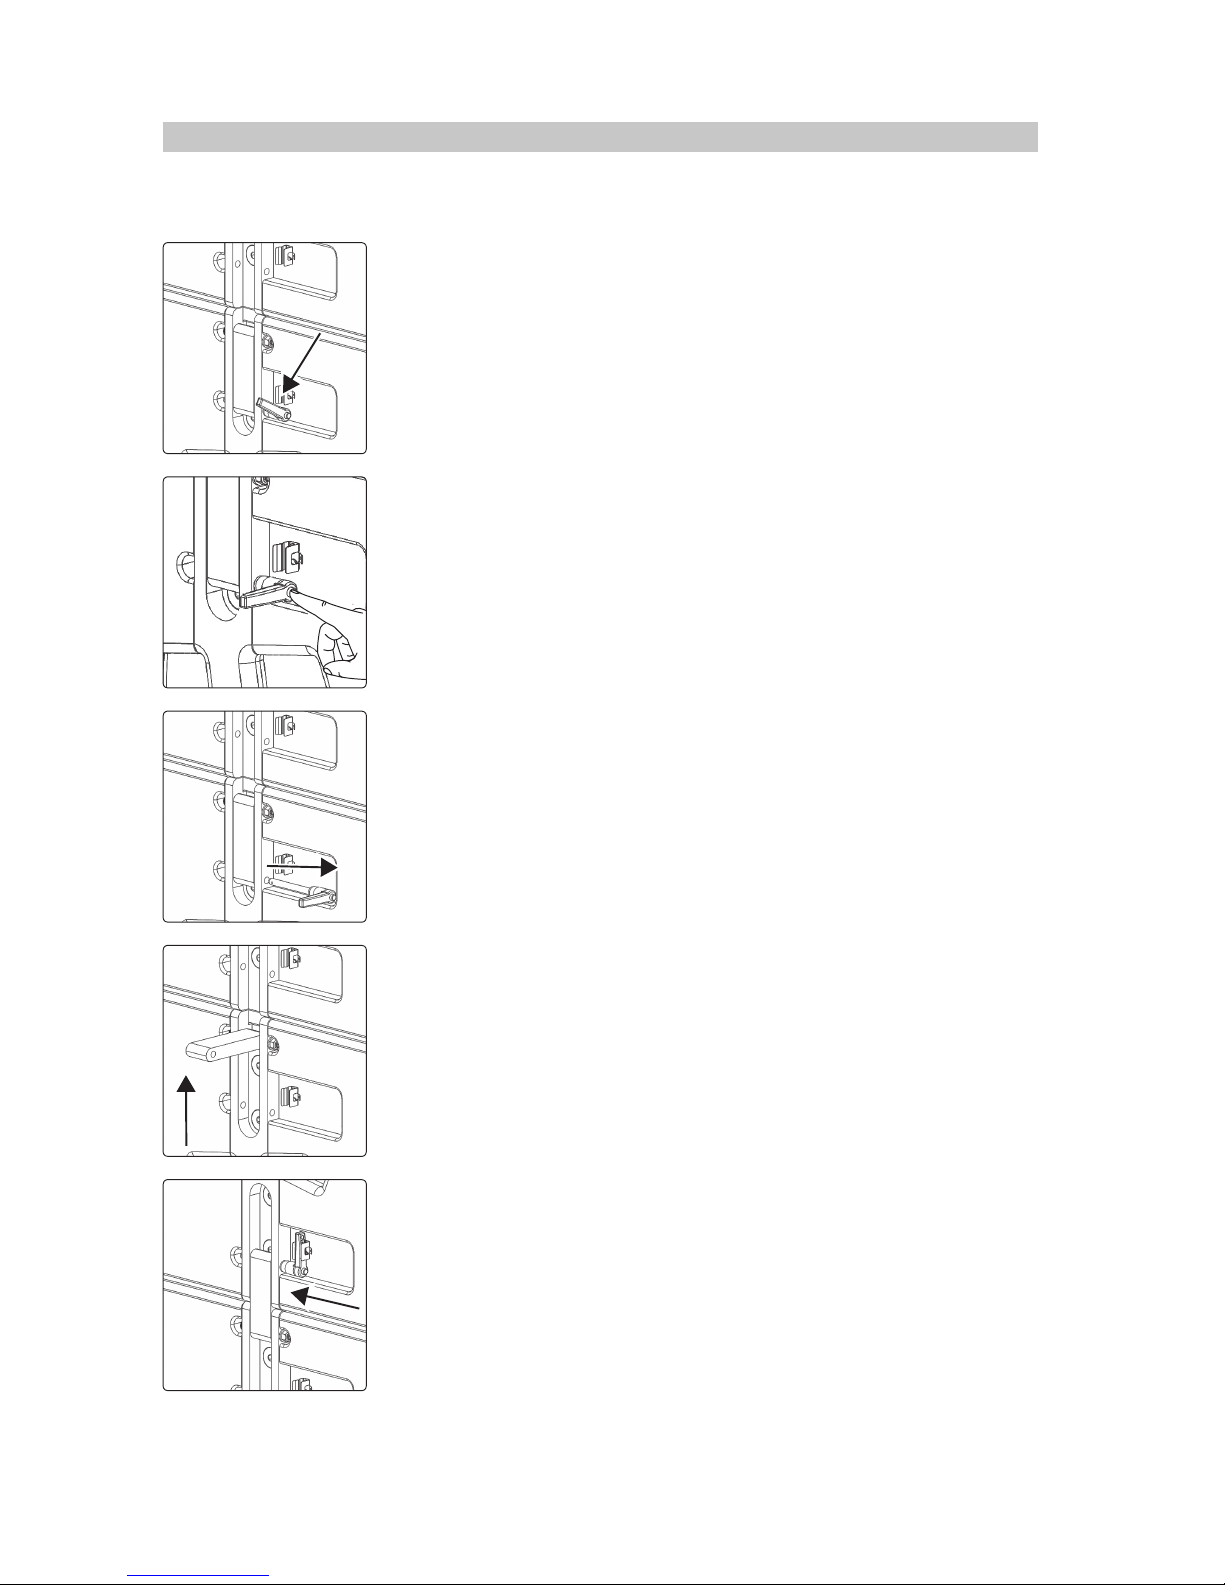
CDL-series loudspeakers feature integrated rigging pins. The
integrated rigging pins function the same whether you are
attaching CDL12, CDL18s, or the CDL Rigging Grid.
1. Rotate the pin to the forward 90˚.
2. Press the release button to unlock the pin.
3. Pull out the pin.
4. Flip the rigging clasp 180˚.
5. Insert the pin into the upper hole of the rigging clasp until it locks, and
rotate it up to lock the handle in place.
 Loading...