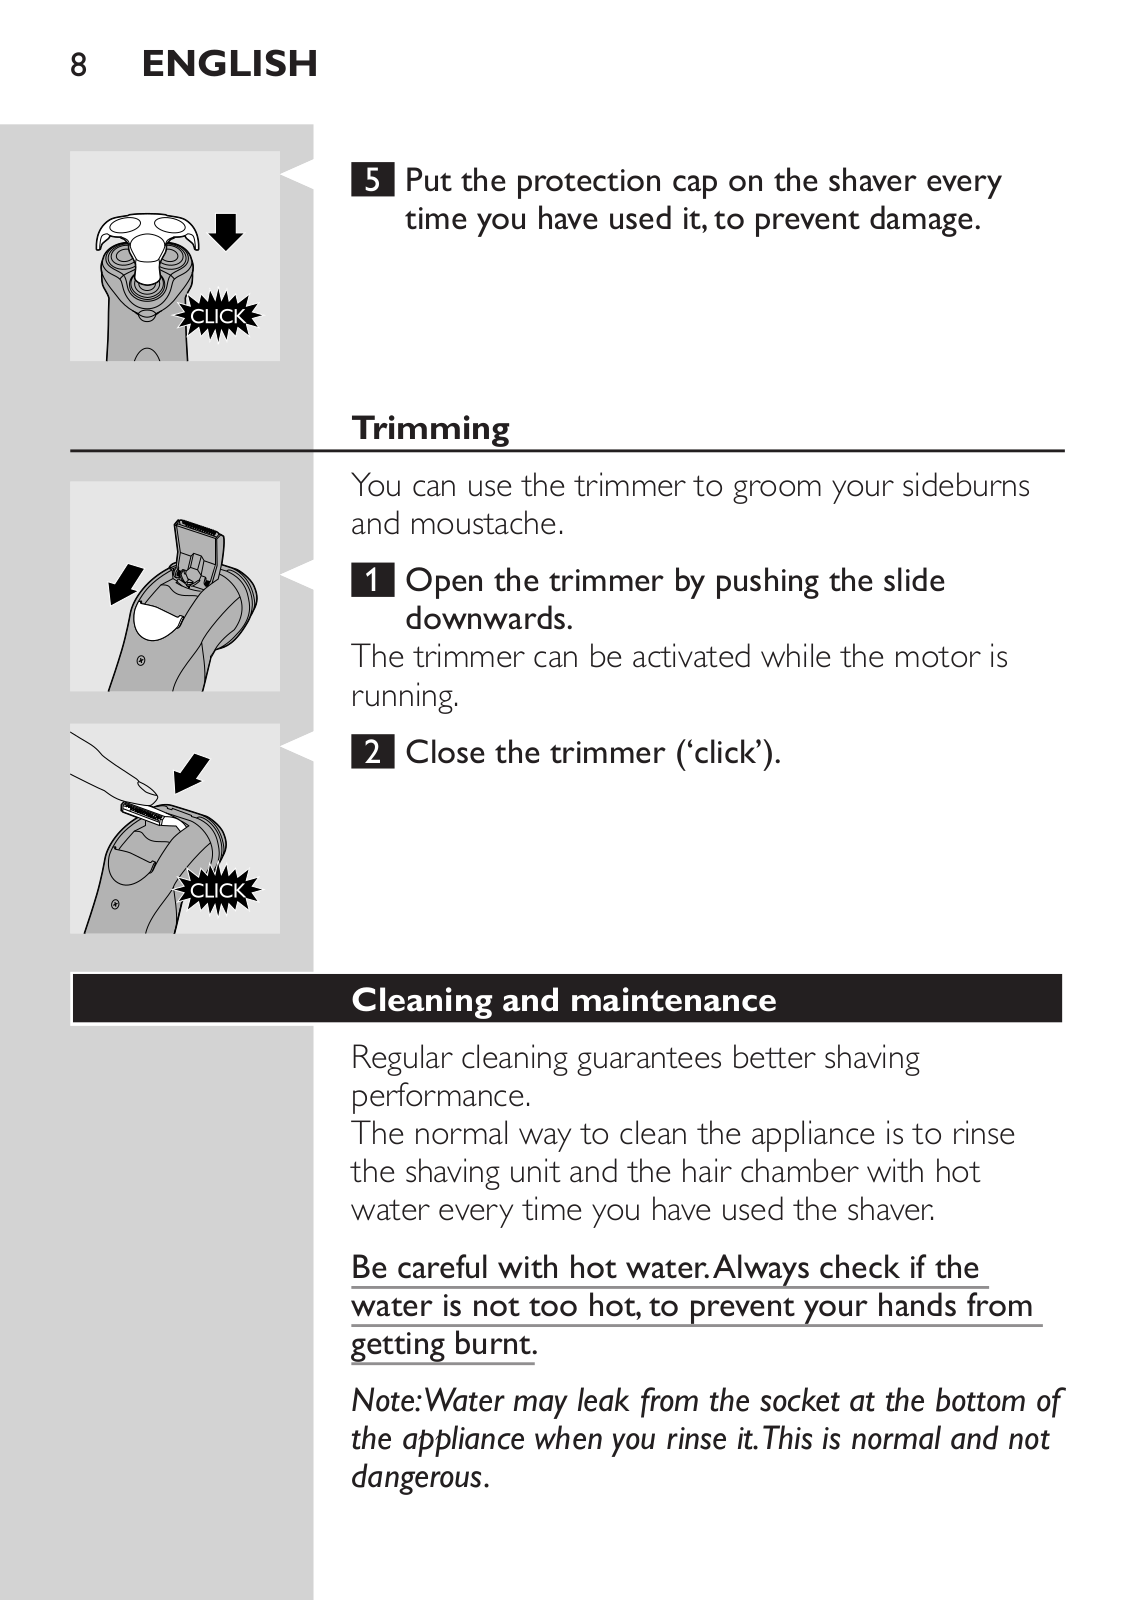
How it Works
Log In / Sign Up
Buy Points
How it Works
FAQ
Contact Us
Questions and Suggestions
Users
Philips
Loading...
H
HQ10
HQ100
28
HQ100/01
2
HQ100/02
3
HQ100/1P
HQ1007/01
HQ101
26
HQ101/01
HQ10/15
HQ1017
9
HQ1017/01
HQ-177
25
HQ-54
5
HQ 563
HQ 5655-A
2
HQ 5660-A
2
HQ 5710
7
HQ 5715
18
HQ 5816
2
HQ 5825-A
2
HQ 5826
3
HQ 5845-A
2
HQ 5848-A
2
HQ 5865-A
2
HQ 5866
2
HQ 5870
HQ 5870-A
2
HQ 5885-A
2
HQ 5890-A
2
HQ 6090
7
HQ 662
4
HQ 6640
22
HQ 6645
37
HQ 6646
12
HQ 6675
29
HQ 6707
29
HQ 671
5
HQ 6710
23
HQ 6842
6
HQ 6844
HQ 6941
8
HQ 6947
3
HQ 6990
39
HQ 6990-16
3
HQ 7100
17
HQ 7120
20
HQ 7140
25
HQ 7143
5
HQ 7180
26
HQ 7240
20
HQ 7290
25
HQ 7300
28
HQ 7300/16
2
HQ 7363
7
HQ 7380
29
HQ 7760
9
HQ 7762
19
HQ 7782
14
HQ 7800
11
HQ 7885
HQ 806
8
HQ 8140
29
HQ 8150
36
HQ 8155
13
HQ 8160
28
HQ 8170
34
HQ 8250
35
HQ 8253
4
HQ 8260
26
HQ 8290
33
HQ 851
13
HQ 852
13
HQ 888
HQ 9020
21
HQ 9070
23
HQ 9090
16
HQ 9100
18
HQ 9/11
3
HQ 9140
22
HQ 9160
26
HQ 9170
27
HQ 9190
27
HQ 9199
22
HQ-C240
HQ-C280
HQ-C442
4
HQ-C446
HQ-C486
3
HQ-C684
2
HQ-C888
2
HQ-T102
HQ-T 301
HQ-T 302
HQ-T360
HQ-T364
2
HQ-T388
HQ-T562
4
HQ-T789
2
HQ-T 863
2
HQ-T 887
Loading...
Loading...
Nothing found
HQ 8155
BROCHURE
3 pgs
1.79 Mb
0
User manual
14 pgs
620.9 Kb
0
User Manual
28 pgs
4.48 Mb
0
User Manual
100 pgs
4.4 Mb
0
User Manual
3 pgs
1.95 Mb
0
User Manual
100 pgs
4.55 Mb
0
User Manual [de]
3 pgs
1.8 Mb
0
User Manual [en, de, es, fr, it]
100 pgs
2.44 Mb
0
User Manual [es]
3 pgs
1.79 Mb
0
User Manual [it]
3 pgs
1.96 Mb
0
User Manual [nl]
3 pgs
1.79 Mb
0
User Manual [pl]
3 pgs
1.81 Mb
0
User Manual [pt]
3 pgs
1.79 Mb
0
Table of contents
Loading...
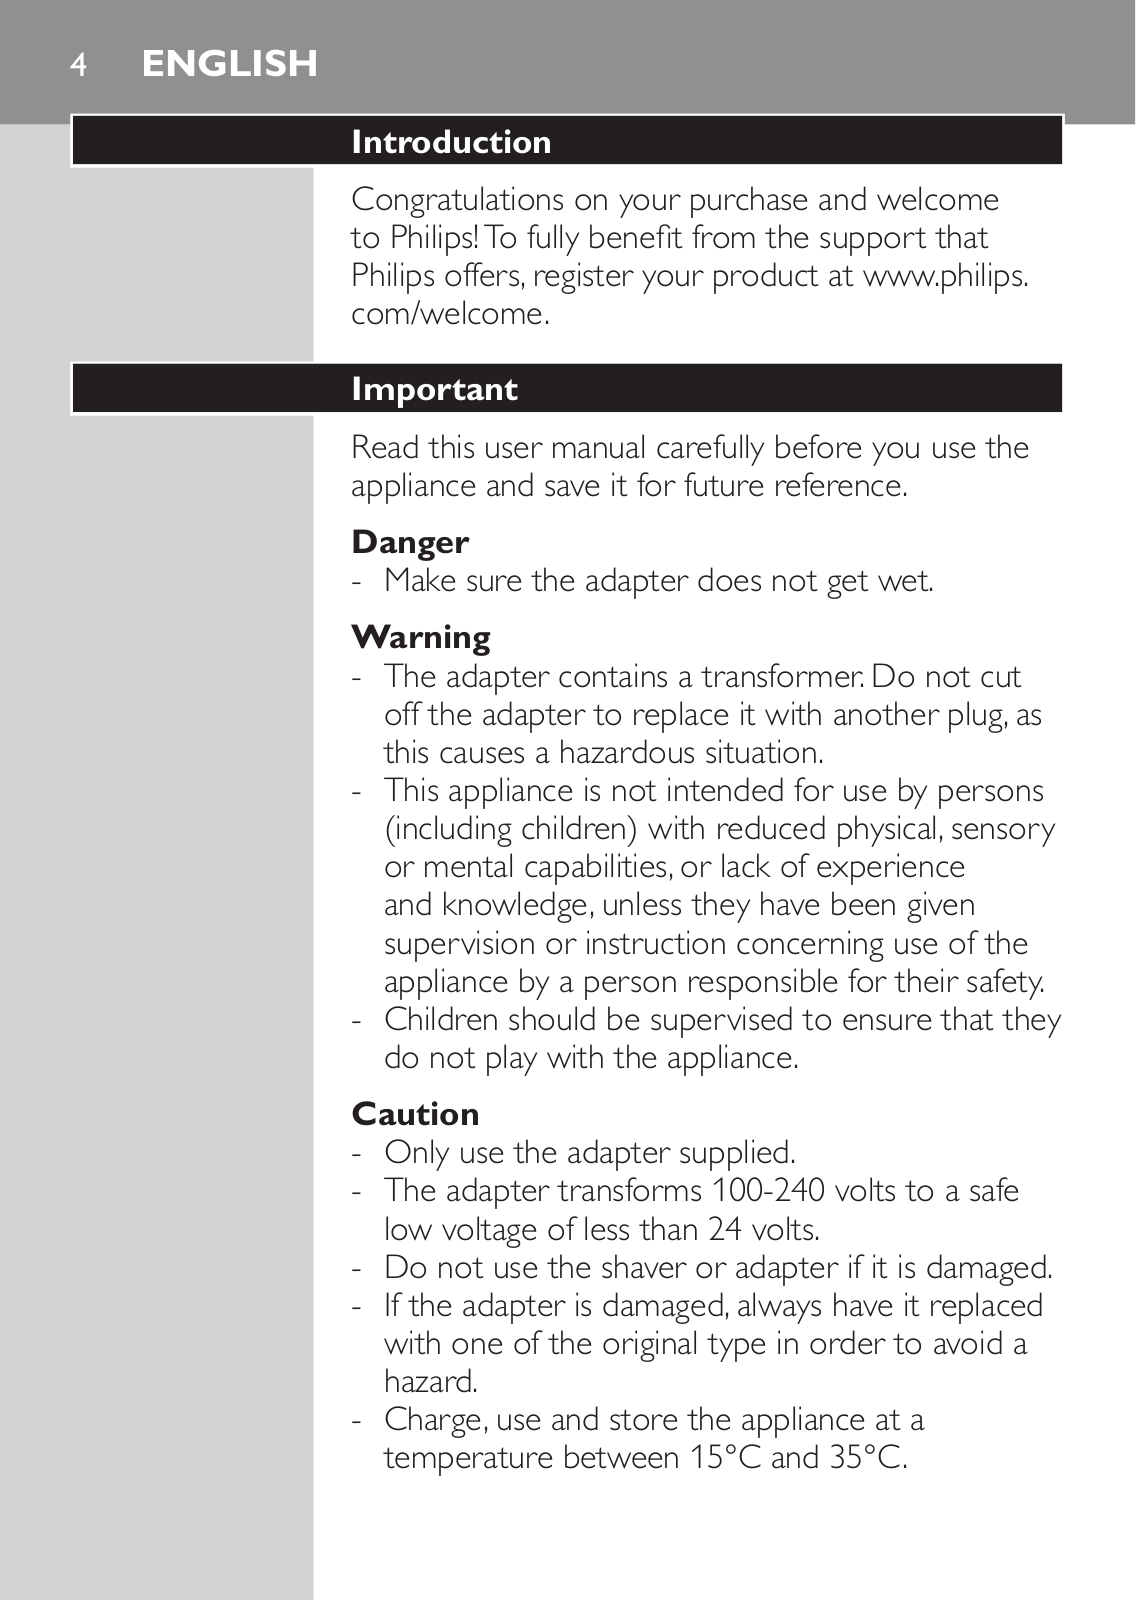
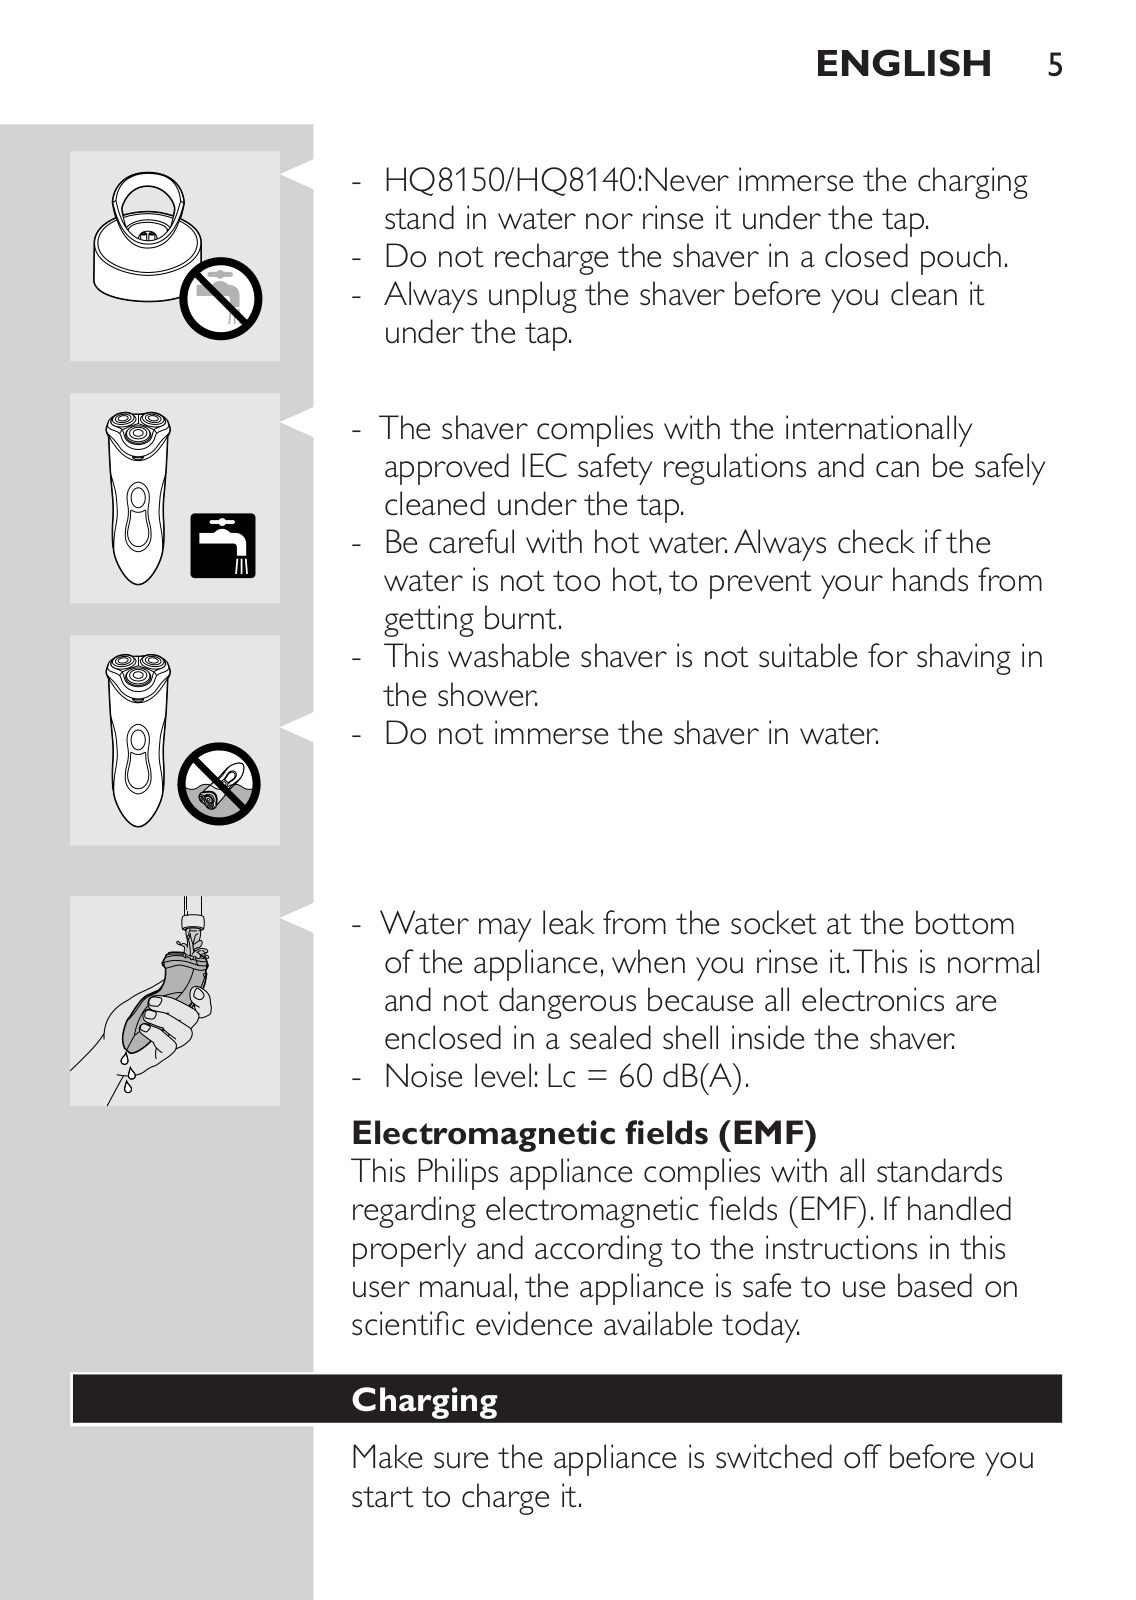
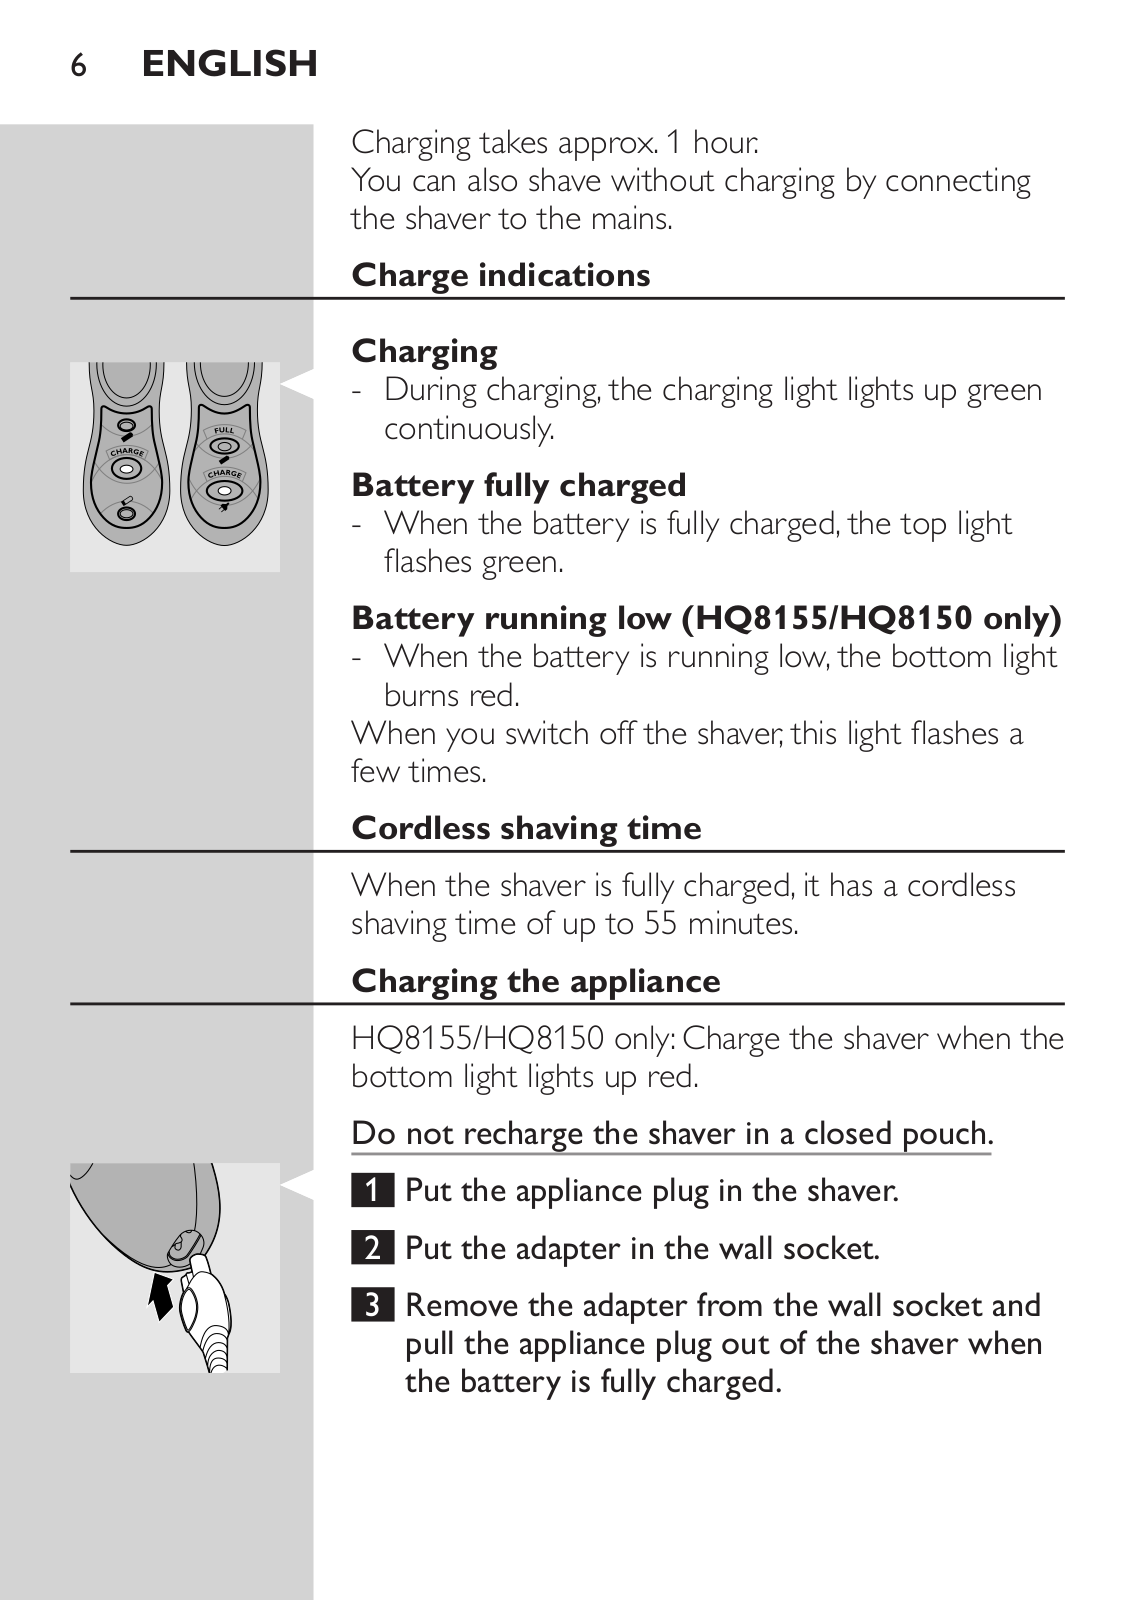
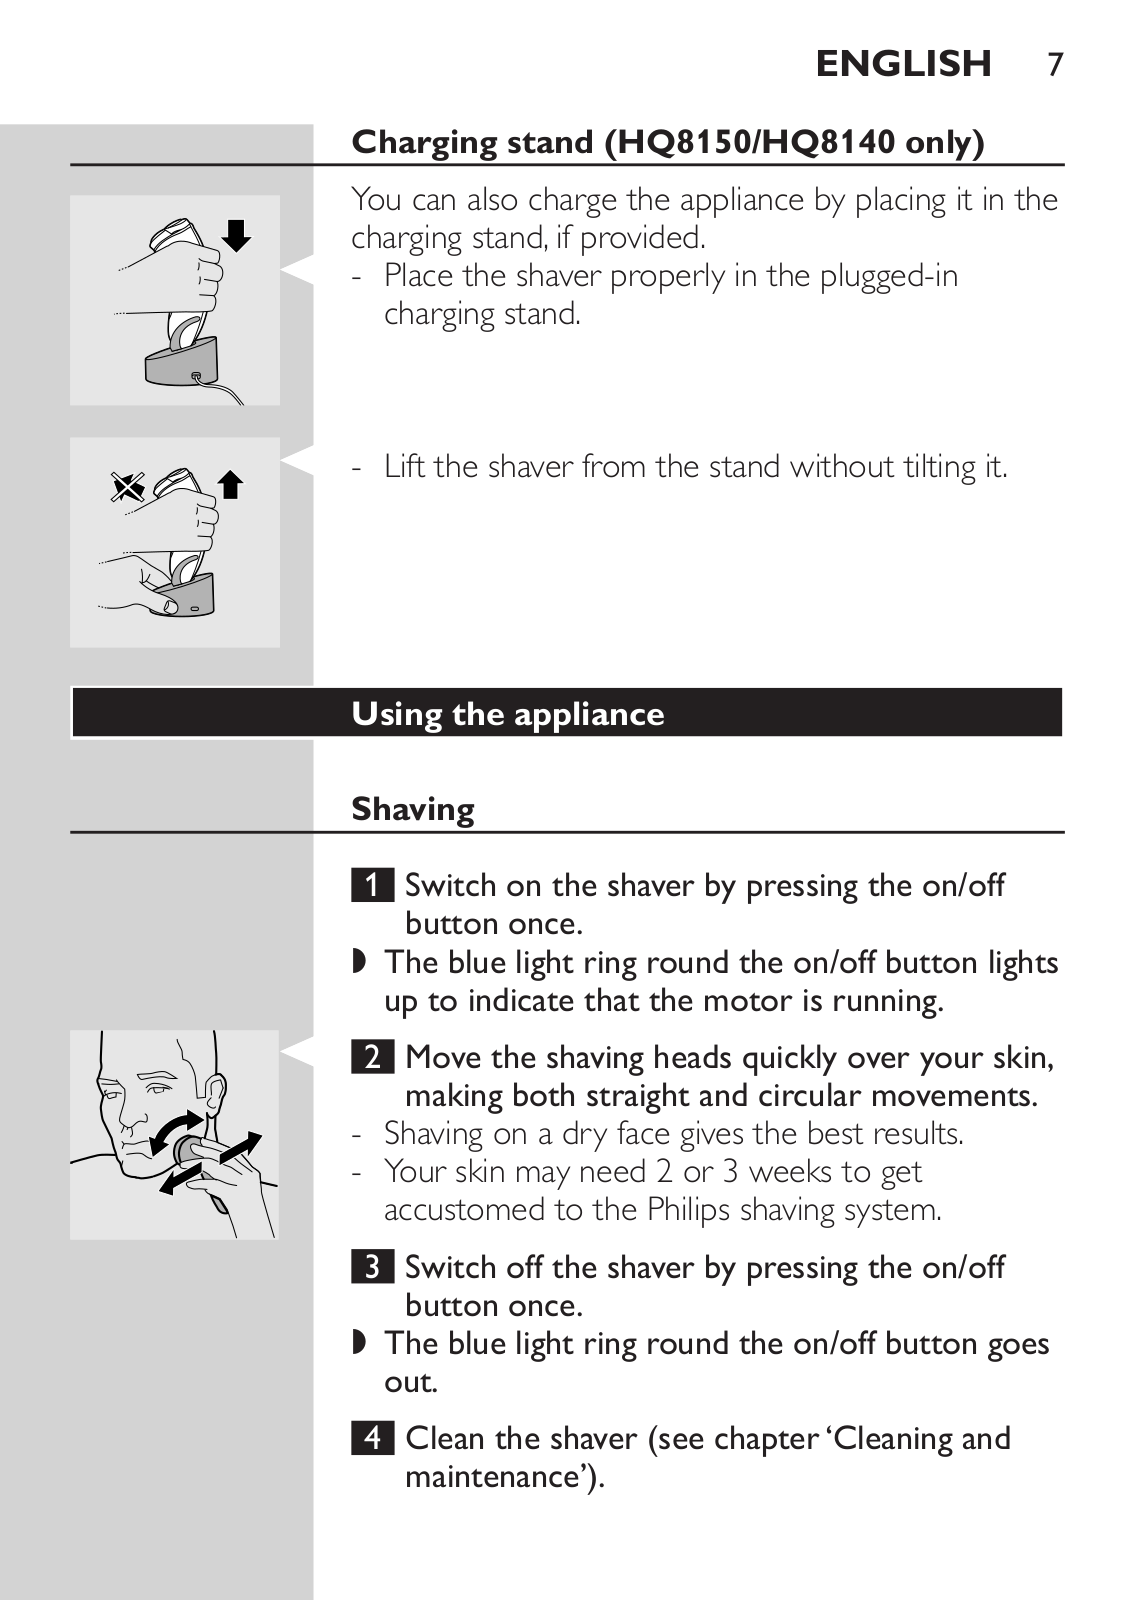
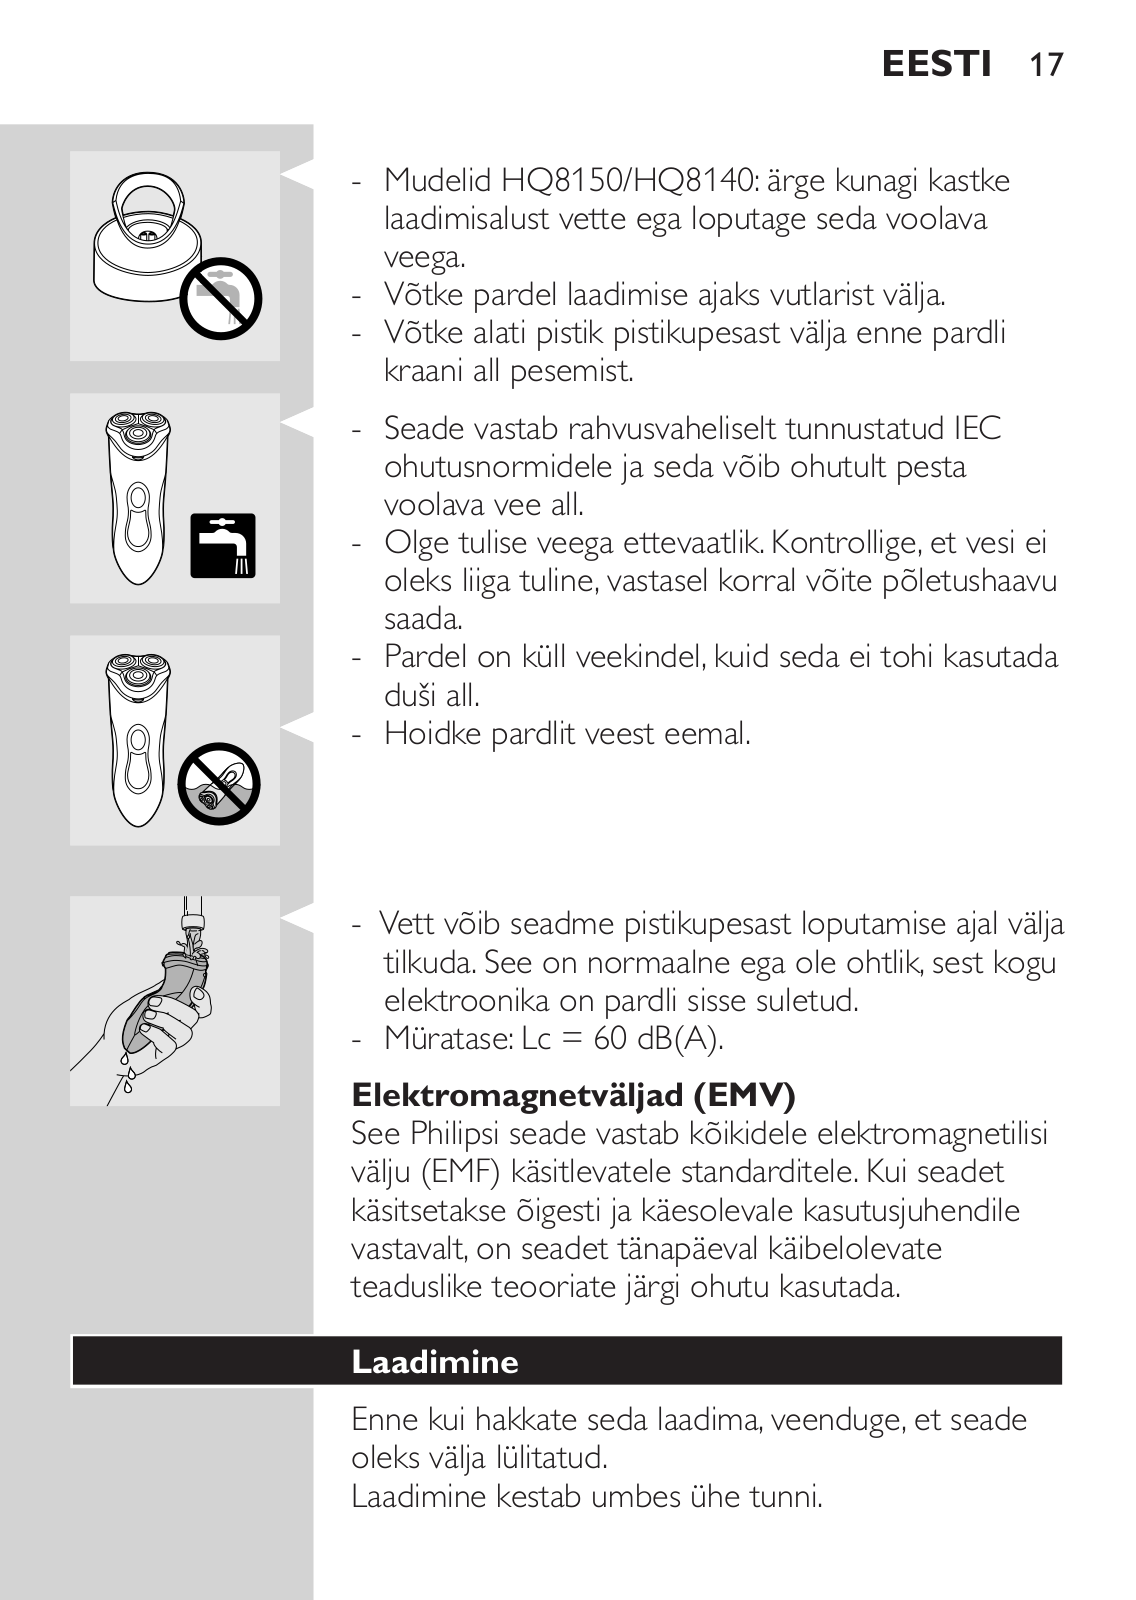
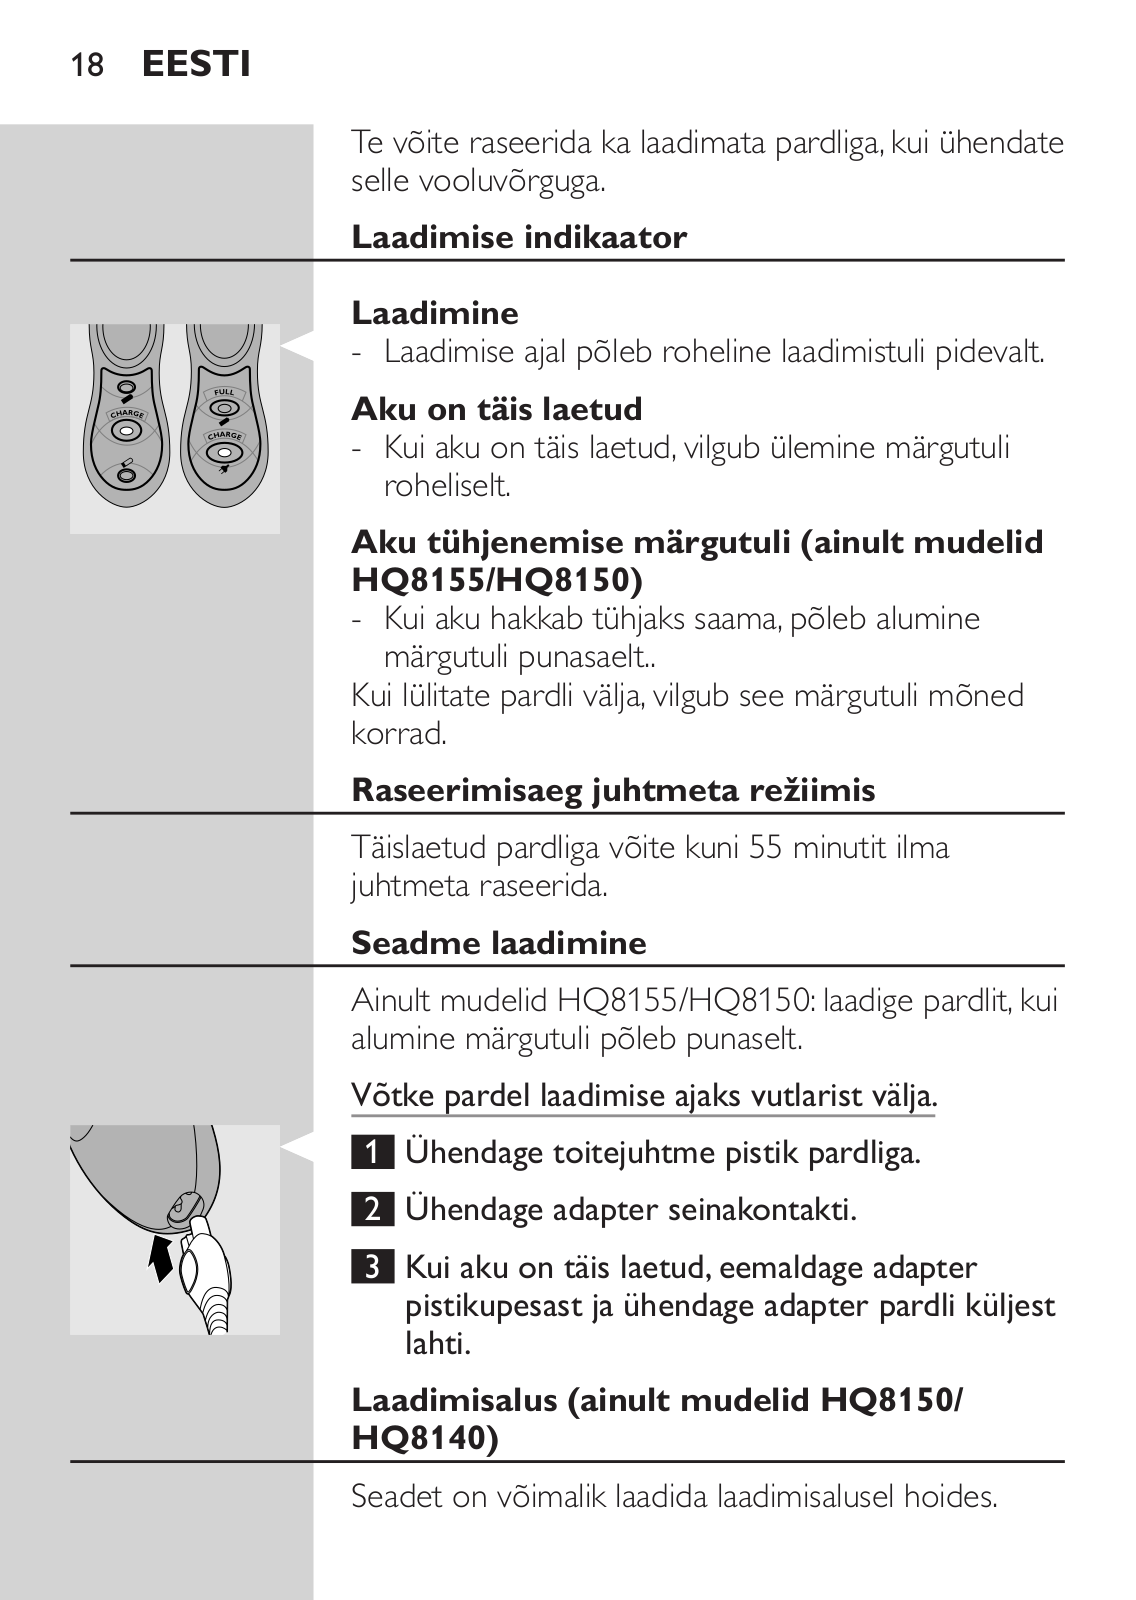
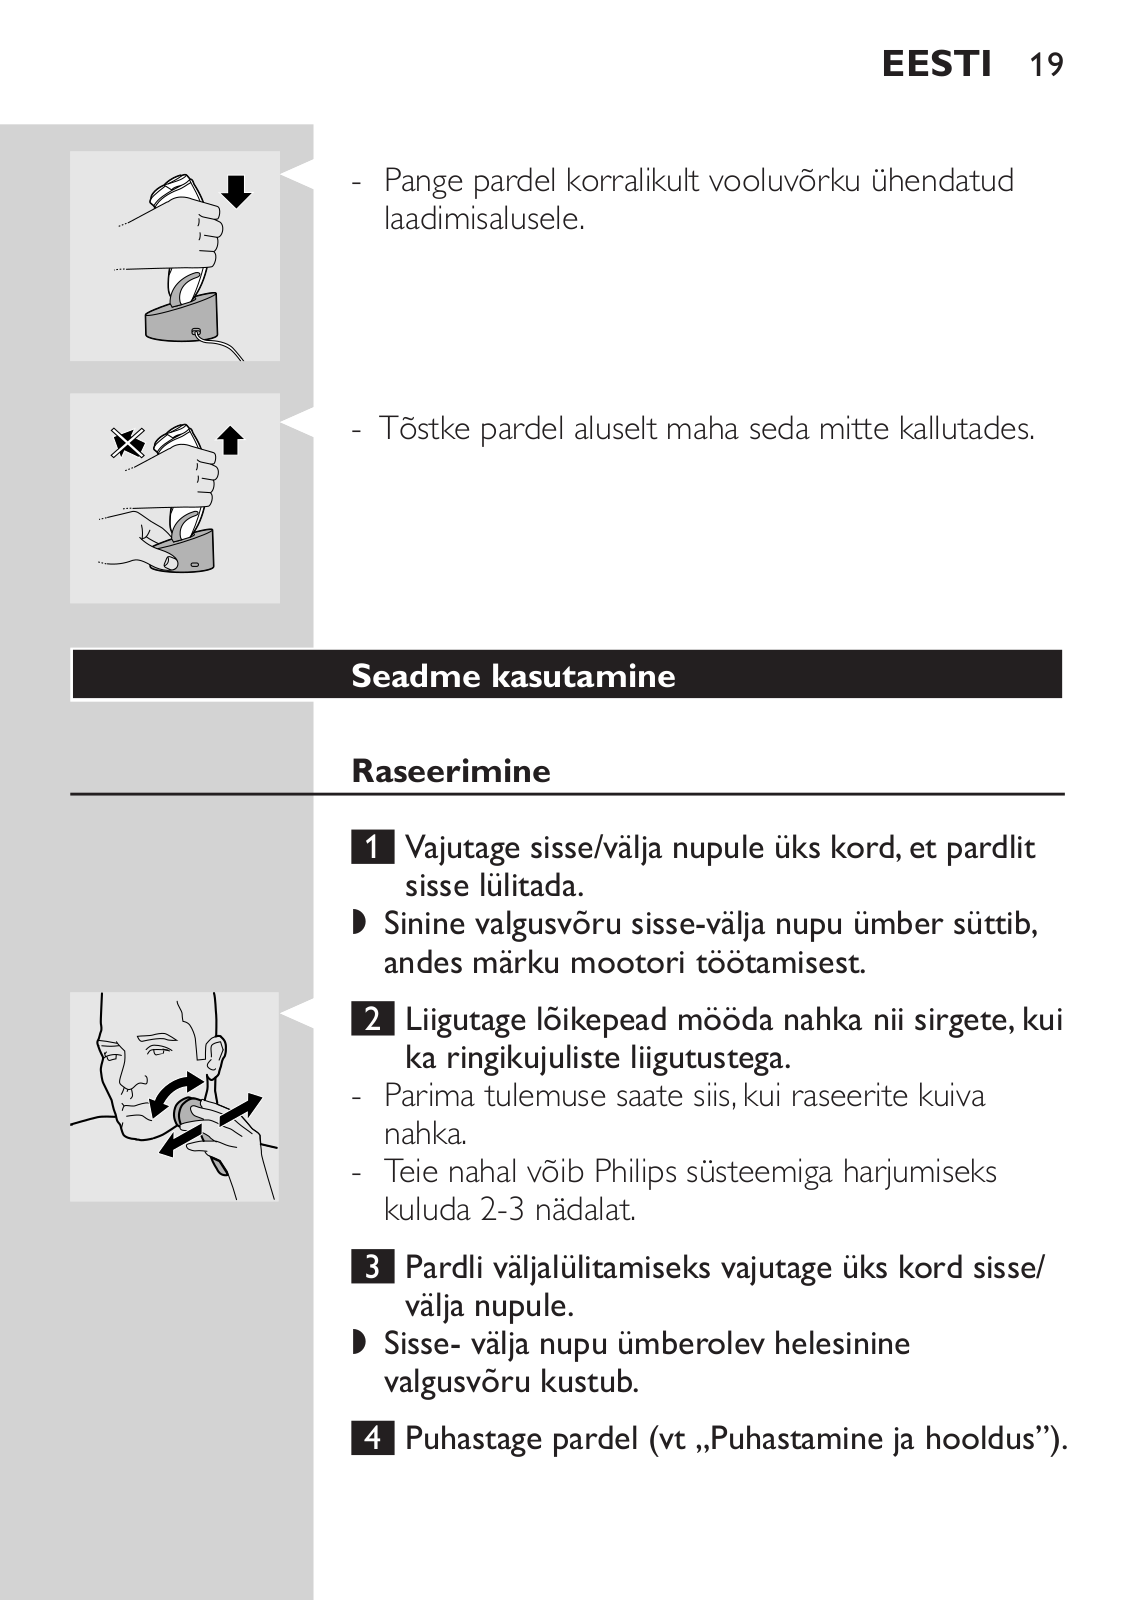
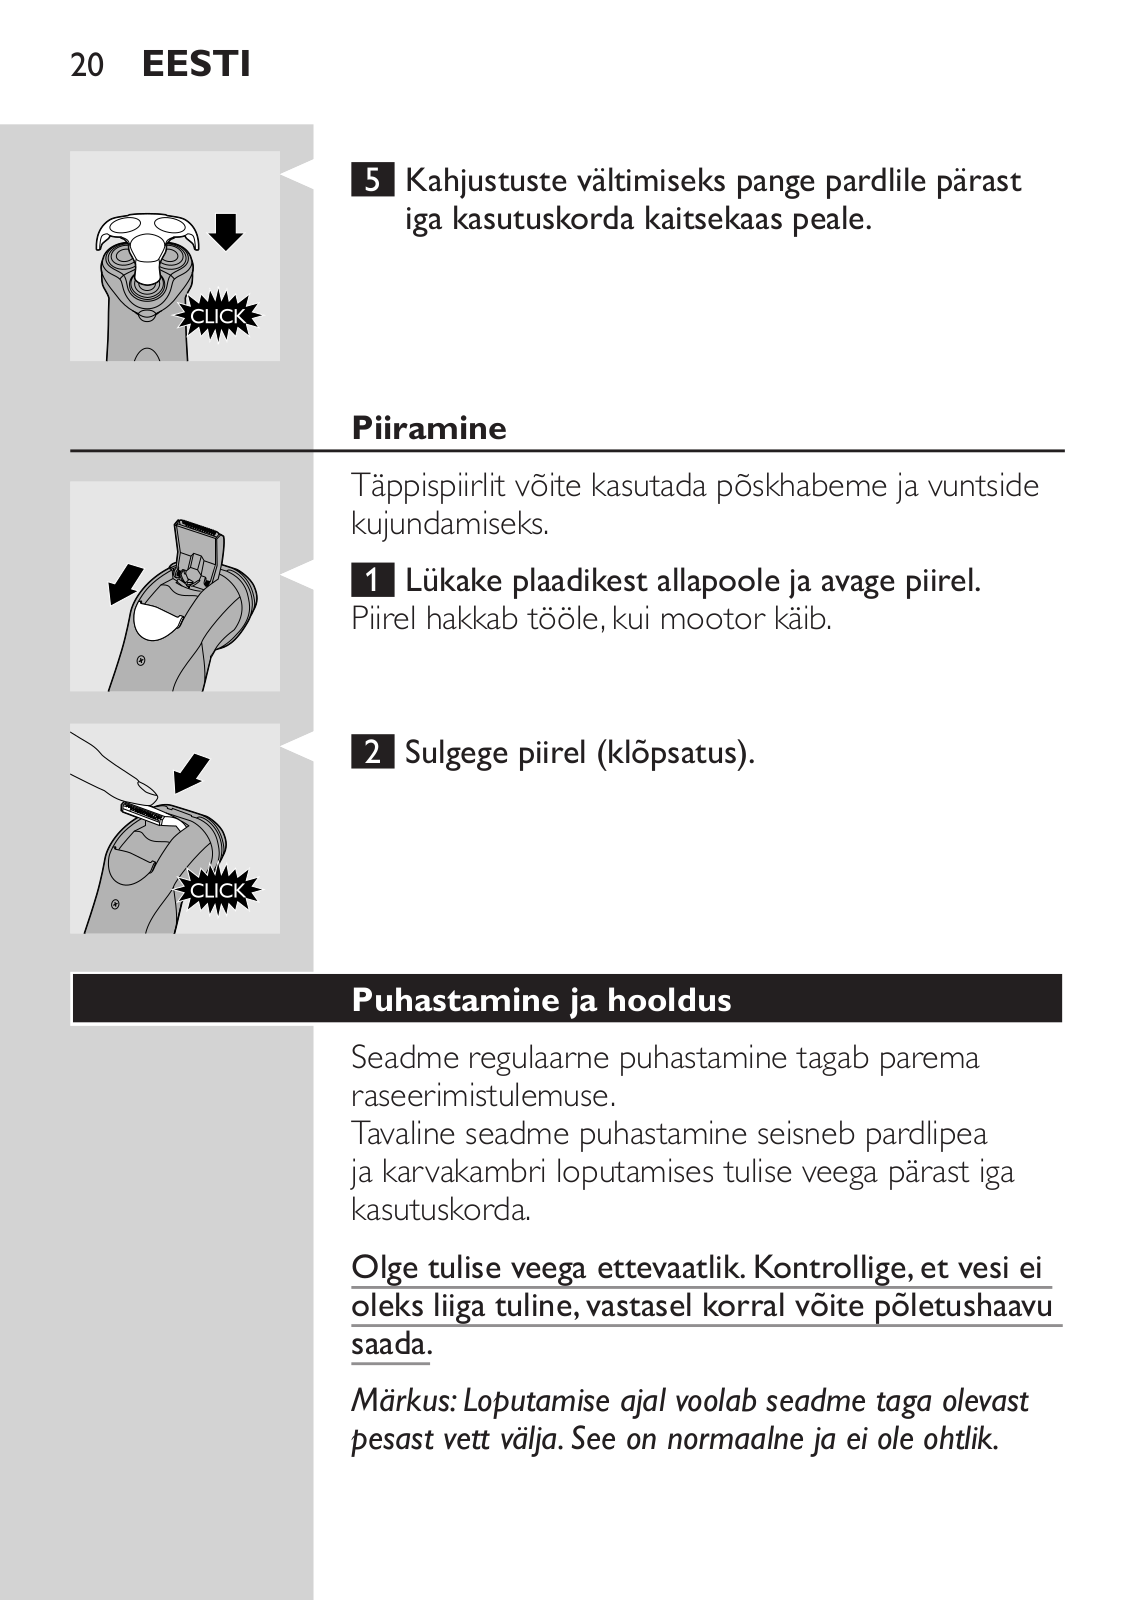
Philips HQ8155, HQ8150, HQ8140 User Manual
...
Philips User Manual
Download
Specifications and Main Features
Frequently Asked Questions
User Manual
Download
Loading...
+
70
hidden pages
Unhide
You need points to download manuals.
1 point = 1 manual.
You can buy points or you can get point for every manual you upload.
Buy points
Upload your manuals
 Loading...