

Philips HDD6320/05, HDD6330/17, HDD6320, HDD6330 User Manual
User manual
Manuel d’utilisation | Benutzerhandbuch | Manual del usuario
Gebruikershandleiding | Manuale per l'utente | Manual do usuário
Användar-handbok
Jukebox HDD6320
HDD6330
HDD6335

Country Helpdesk Tariff / min Keep ready
Europe
Belgique 070 253 010
€
0.17 La date d’achat la référence et le numéro de série du produit
Danmark 3525 8761 Local tariff Forbrugeren’s indkøbsdato, type/model-og serienummer
Deutschland 0180 5 007 532
€
0.12 Das Kaufdatum. Modellnummer und Serial nummer
Españal 902 888 785 €0.15 Fecha de compra e número del modelo e número de serie
E 0 0800 3122 1223 dxqe-m
France 08 9165 0006 €0.23 La date d’achat la référence et le numéro de série du produit
Ireland 01 601 1161 Local tariff Date of Purchase. Model number and Serial number
Italia 199 404 042 €0.25 La data di acquisto, numero di modello e numero di serie
Luxembourg 40 6661 5645 Local tariff La date d’achat, la référence et le numéro de série du produit
Nederland 0900 0400 063 €0.20 De datum van aankoop, modelnummer en serienummeret
Norge 2270 8250 Local tariff Datoen da du kjøpte produktet & modellnummer & serienummeret
Portugal 2 1359 1440 Local tariff A data de compra, número do modelo e número de série
Schweiz 02 2310 2116 Local tariff Das Kaufdatum und Modellnummer und Seriennummer
Suomi 09 2290 1908 Paikallinen hinta Ostopäivä ja tarkka mallinumero ja sarjanumero
Sweden 08 632 0016 Local tariff Inköpsdatum, modellnummer och serienummer
UK 0906 1010 017 £0.15 Date of Purchase, Model number and Serial number
Österreich 0820 901115 €0.20 Das Kaufdatum. Mocellnummer und Seriennummer
North America
Canada 1-800-661-6162 Free Date of Purchase. Model number
(Francophone) and Serial number
1-888-744-5477
(English / Spanish)
USA 1-888-744-5477 Free Date of Purchase, Model number and Serial number
Asia
China 4008 800 008 Local tariff Date of Purchase, Model number and Serial number
Hong Kong 2619 9663 Local tariff Date of Purchase, Model number and Serial number
Korea (02) 5961195/1196 Local tariff Date of Purchase, Model number and Serial number

i
Contents EN
Welcome ......................................................... 1
About your new player ..........................................................................................1
Accessories ....................................................................................................................1
Optional accessories ................................................................................................2
Register your product .............................................................................................3
More information .......................................................................................................3
Connect and Charge ...................................... 4
Battery level indication ............................................................................................4
Install ................................................................ 4
Transfer ........................................................... 5
Enjoy ................................................................. 5
Powering on and off .................................................................................................5
Reset .................................................................................................................................5
Using your GoGear player ............................. 6
Overview of controls and connections .........................................................6
Main menu .....................................................................................................................7
Navigation ......................................................................................................................7
Organise and synchronise pictures and music
with Windows Media Player .......................... 9
Music .................................................................................................................................9
Pictures .........................................................................................................................17
Detailed operation ........................................ 23
Music mode ................................................................................................................23
Pictures .........................................................................................................................29
Radio* ...........................................................................................................................32
Recordings ..................................................................................................................35
Settings ..........................................................................................................................37
Using your player to store and carry data files ......................................39
Updating your player .................................... 40
Manually check whether your firmware is up to date .......................40
Troubleshooting ............................................ 42
My player skips tracks ...........................................................................................42
My Player is not recognised by Windows ................................................42
My player cannot power ON ..........................................................................42
There is no Music on my player after transfer .......................................44
There are no pictures on my player after transfer ..............................44
My GoGear player hangs ...................................................................................45
My player is full and I have less songs on my player than I expected ...45
Poor radio reception* ..........................................................................................45

ii
Safety and Maintenance ............................... 46
Notice for the USA ....................................... 48
Notice for Canada ........................................ 48
Notice for the European Union ................... 48
Technical data ............................................... 49
Cameras supported ...................................... 50
Welcome
About your new product
With your newly purchased product, you can enjoy the following:
- MP3 and WMA playback
- Picture viewing
- FM radio*
- Recording:Voice, FM*, line-in
* For more information on any of the above features, see "Detailed operation" on page 23 of this manual.
Accessories
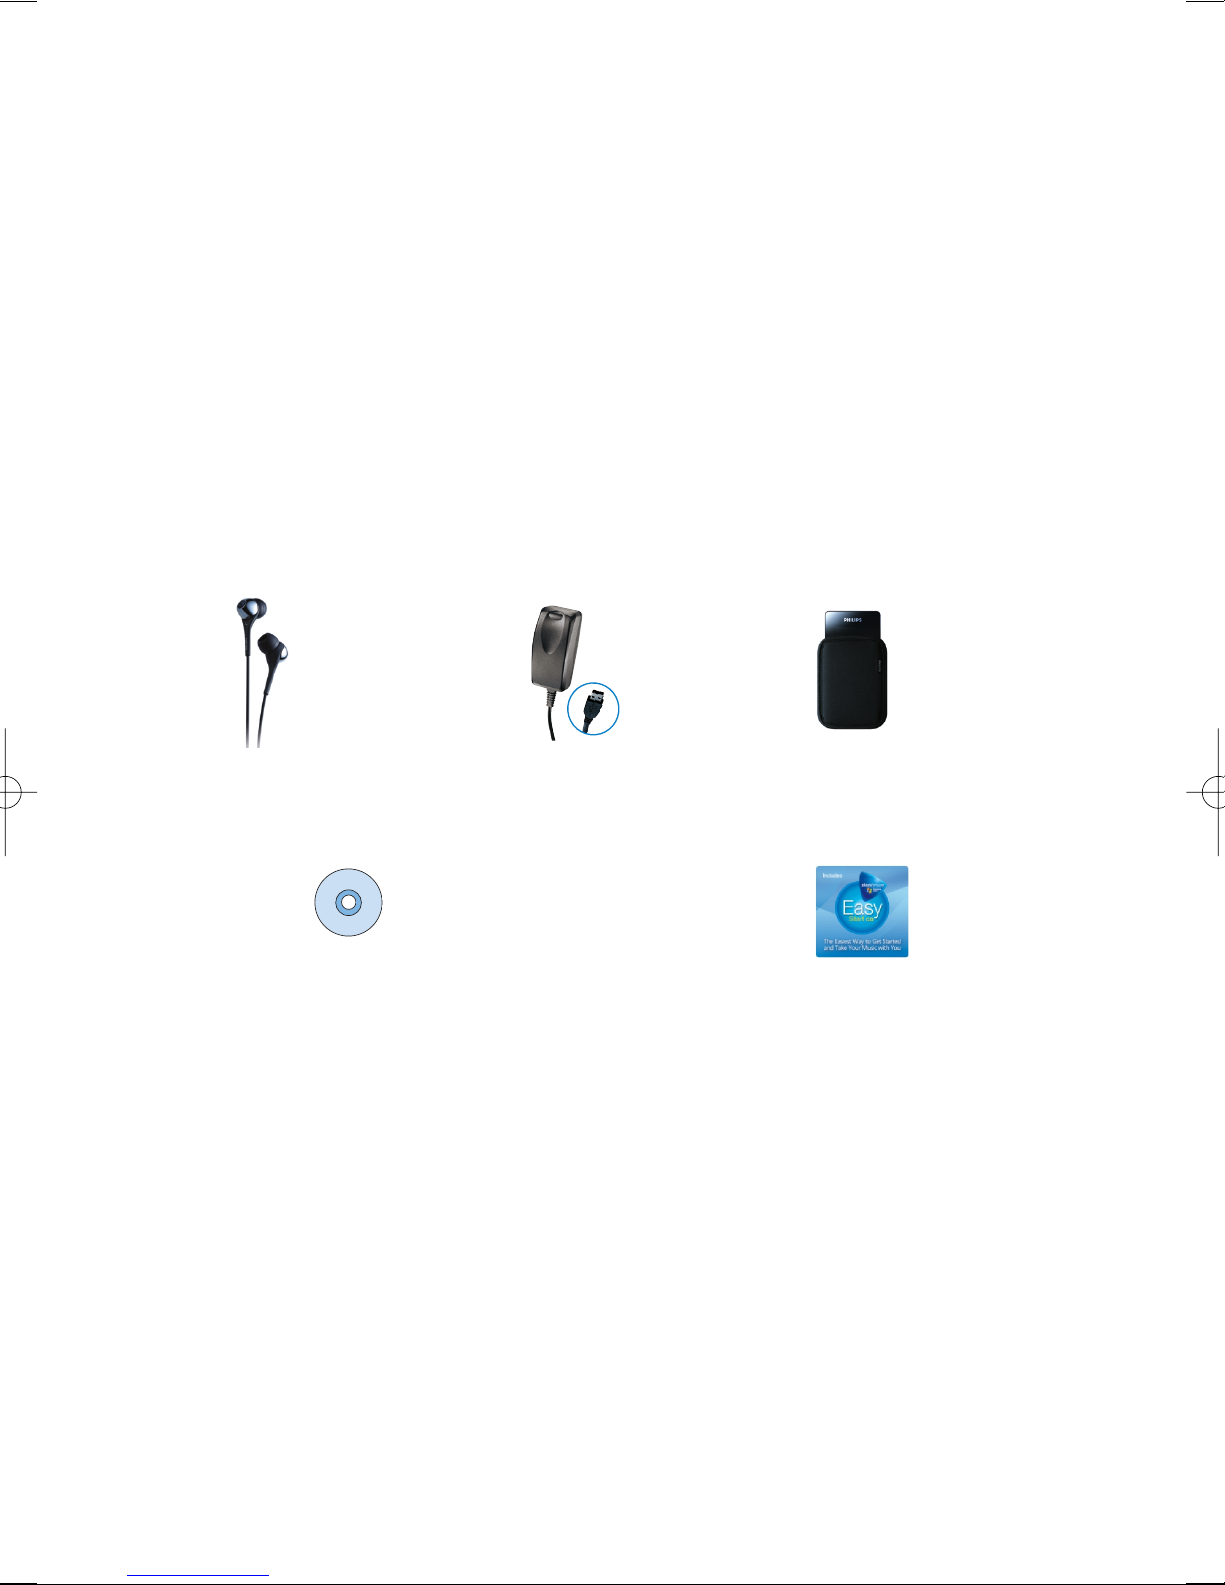
The following accessories are included with your player:
* FM radio is only available for certain regions. It is not available for Europe.
Headphones
(provided with 3
different sizes of
rubber caps)
Combined charger /
USB cable
Protective pouch
For Europe and other regions:
CD-ROM with Windows Media Player.
Philips Device Manager, Philips Device
Plug-in, User manuals, Tutorials and
Frequently Asked Questions
For US:
Easy start CD 1 and 2 with Windows
Media Player, Philips Device Manager, Philips
Device Plug-in, User Manual, Tutorials and
Frequently Asked Questions
1
2
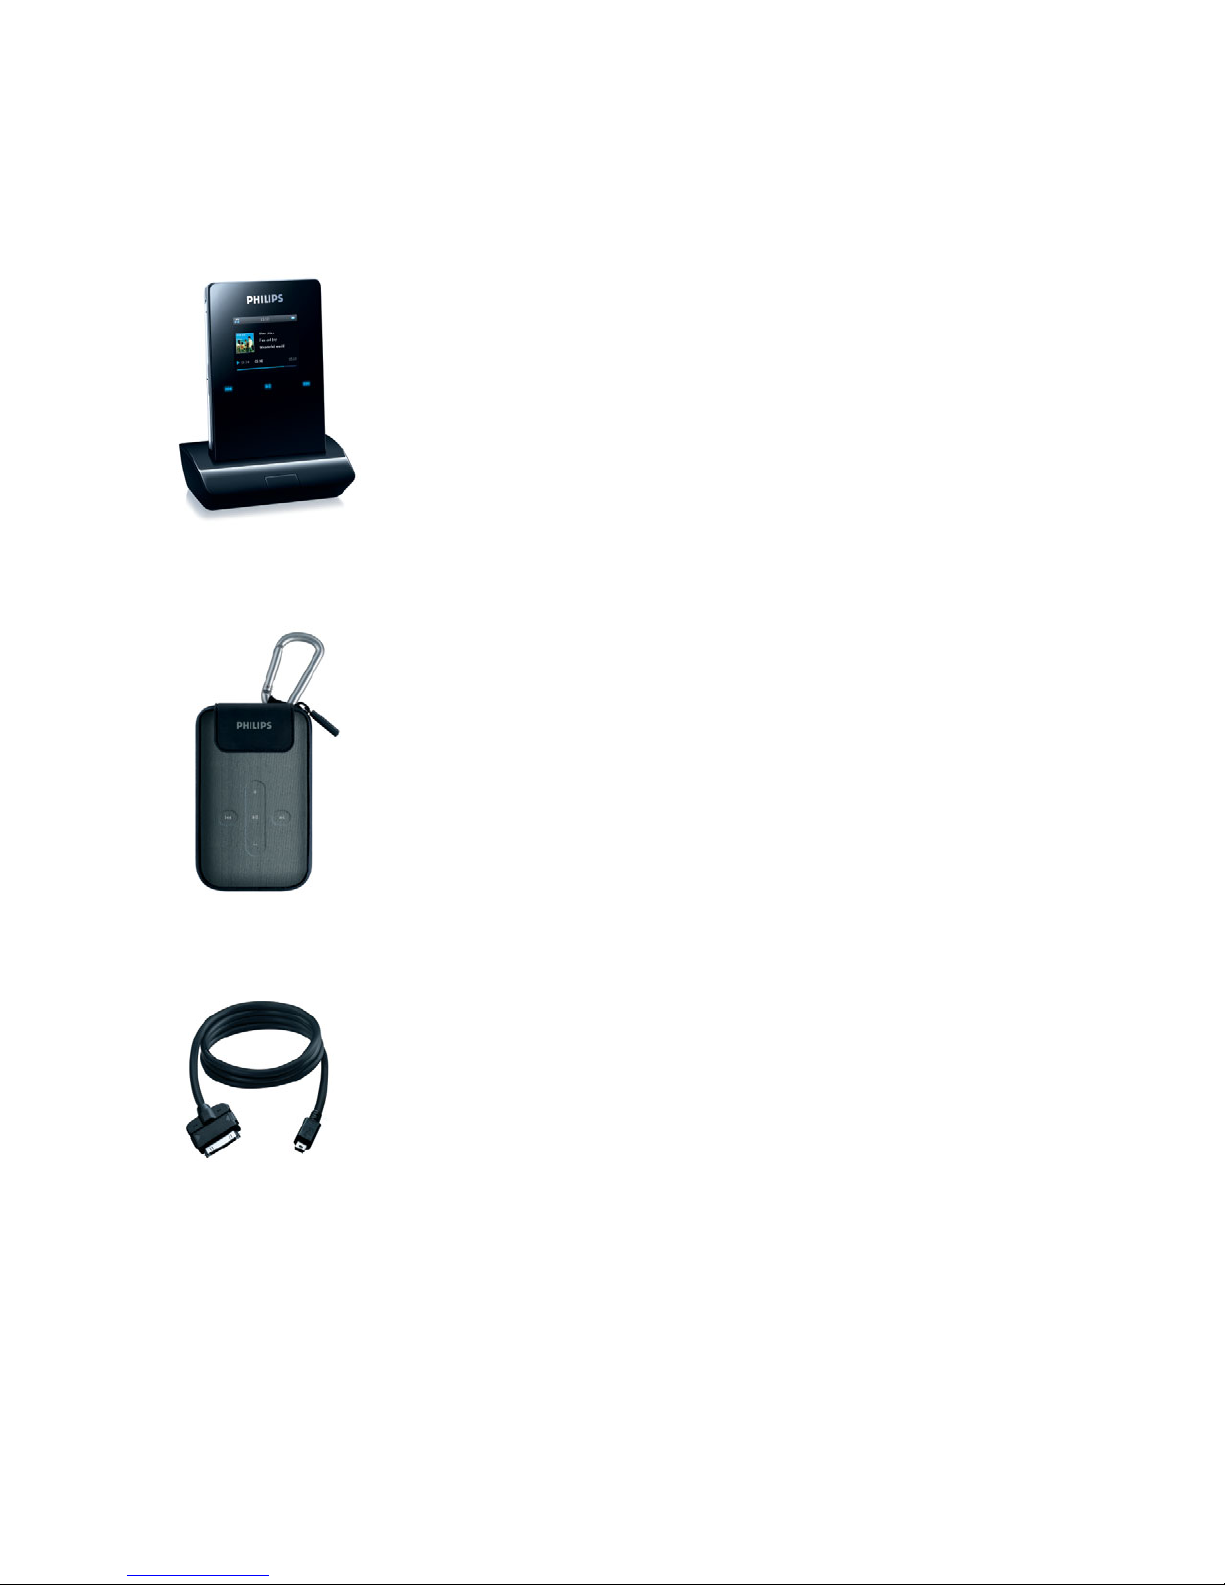
Optional accessories
The following accessories are not included with your player, but can be bought separately. You can find them
at www.philips.com/GoGearshop (Europe) or www.store.philips.com (US).
Docking cradle
Dock and connect the player to your stereo system or TV for music sharing or viewing of slideshows
GoGear control case
Protect your player and control your music
Digicam connection cable
Transfer your digicam pictures to the player and free up memory space of your digital camera.
*
*See page 50 for a list of supported cameras.
(PAC004)
(PAC002)
(PAC006)

3
Register your product
We strongly recommend that you register your product in order to gain access to free upgrades. To register
your product, please log on to www.philips.com/register so that we can inform you as soon as new updates
become available.
More information
Please visit www.philips.com/support or www.usasupport.philips.com (for U.S. residents)
Enter your product model number to view:
- FAQ, Frequently Asked Questions
- Latest User Manuals
- Tutorials
- Latest PC software downloads
- Firmware upgrade files
The model and production numbers can be found on the label at the back of your product.

4
Connect and Charge
1. Connect the supplied multi-voltage adaptor/charger to your player by plugging it into the DC-In connector
at the bottom of the player and then plug the other end into a standard AC outlet.
2. The battery will be fully charged in 4 hours when charging it for the first time and 70% charged in 1 hour
for quick charge.
3. The player is fully charged when the charging animation stops and is displayed.
Battery level indication
The approximate power levels of your battery are indicated as follows:
Battery is full
Battery is two-thirds full
Battery is half full
Battery is low
Battery is empty
When the battery is nearly empty, the following power low warning screen will blink and emit a beep tone.
When you hear a double beep, your player will power down in less than 60 seconds. All settings and unfinished recordings will be saved before the player shuts down.
Install
1. Insert the CD supplied with your product into the CD ROM drive of your PC.
2. Follow the onscreen instructions to complete the installation of
Windows Media Player
(including
necessary plug-ins) and
Philips Device Manager
.
3. You may need to restart your PC after software installation.
4. If the installation program does not start automatically, browse the CD contents via
Windows Explorer
and run the program by double clicking on the file ending with
.exe
.
IMPORTANT!
For US: There are two CDs and both are required for installation.

5
5. System requirements:
- Windows® XP (SP1 or above)
- Pentium Class 300 MHz processor or higher
-128 MB RAM
- 500 MB hard disk space
- Internet connection
- Microsoft Internet Explorer 6.0 or higher
-USB port
Lost your CD? Don’t worry, you can download the CD contents from www.philips.com/support or
www.usasupport.philips.com (for U.S. residents).
Transfer
You can transfer music and pictures to your player using
Windows Media Player
. See "Organise and
synchronise pictures and music with Windows Media Player" on page 9 for more details.
Enjoy
Powering on and off
To power on, push and hold down
ON/OFF HOLD
slider to
ON/OFF
position for 3 seconds until the player
powers on.
To power off, push and hold down
ON/OFF HOLD
slider to
ON/OFF
position for 3 seconds until the player
powers off.
Reset
In the unlikely event that your player hangs, do not panic. Simply push and hold down
ON/OFF HOLD
slider to
ON/OFF
position and press
VOLUME
+
at the same time. Hold until the player shuts down.
NOTE!
Your player automatically powers off if there is no operation nor music played for 10 minutes. The last
playback status and screen will be resumed the next time it is powered on unless the player has been
powered off for a long period of time or the battery level was low when the player was powered off.
TIP
The existing contents on your player will not be erased when you reset your player.

6
Using your GoGear player
Overview of controls and connections
Press To
ON/OFF HOLD
(slide down and hold for
about 3 seconds)
ON/OFF HOLD
(slide up)
Power on/off
Lock all touch control keys
2; Play/Pause songs
Stop radio playback
J( Move back to previous song
Fast rewind
§ Jump to next song
Fast forward
+
VOLUME
-
Control volume
1 Return to previous menu/option
2 Select option
Go to next option
VERTICAL TOUCH STRIP
Scroll through lists
MENU
Access list of menu options
Recording Microphone
On/Off/Hold
(key lock) slider
Left/Back key
Right/Select key
Menu key
Headphone plug
Volume up/down bar
Play/Pause key
Forward/Next key
Rewind/Previous key
7
Main menu
The following are available from the main menu of your player:
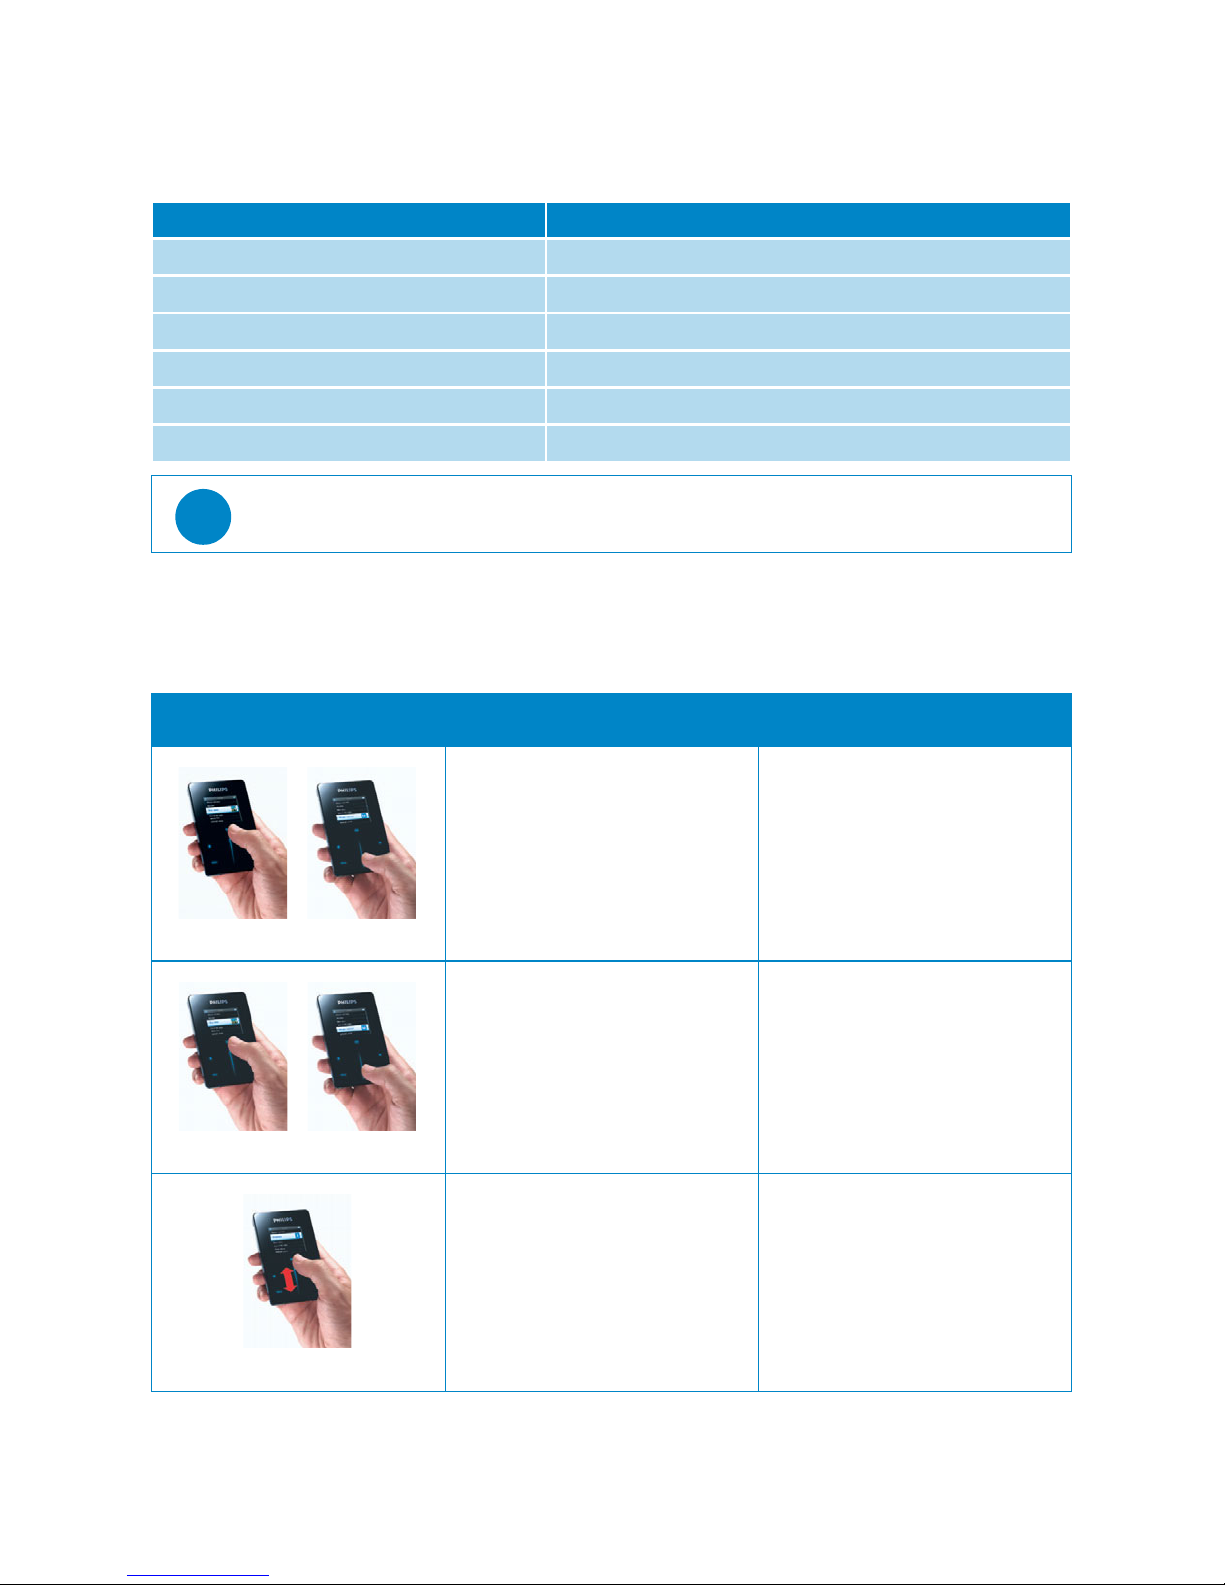
Navigation
Your player has touch sensitive controls that respond to the touch of your fingers. The
VERTICAL TOUCH STRIP
(see picture) is used to scroll through lists. It responds to the following finger movements:
*
FM radio is only available for certain regions. It is not available for Europe.
Menu To
M
USIC
Play your digital music tracks
P
ICTURES
View pictures
R
ADIO
*
Listen to radio
R
ECORDINGS
Create or listen to recordings
S
ETTINGS
Customise the settings of your player
N
OW PLAYING
Go to the play screen
TIP
Press and hold 1 to return to main menu.
Action Description Function
Tap
Lightly touch the top or bottom
end of the touch strip
Move up or down step by step
Hold
Press and hold finger on the top
or bottom end of the touchstrip
Scroll through a list at increasing
speed (SuperScroll)
Stroke
Move finger from top to bottom
or bottom to top
Scroll through list
8
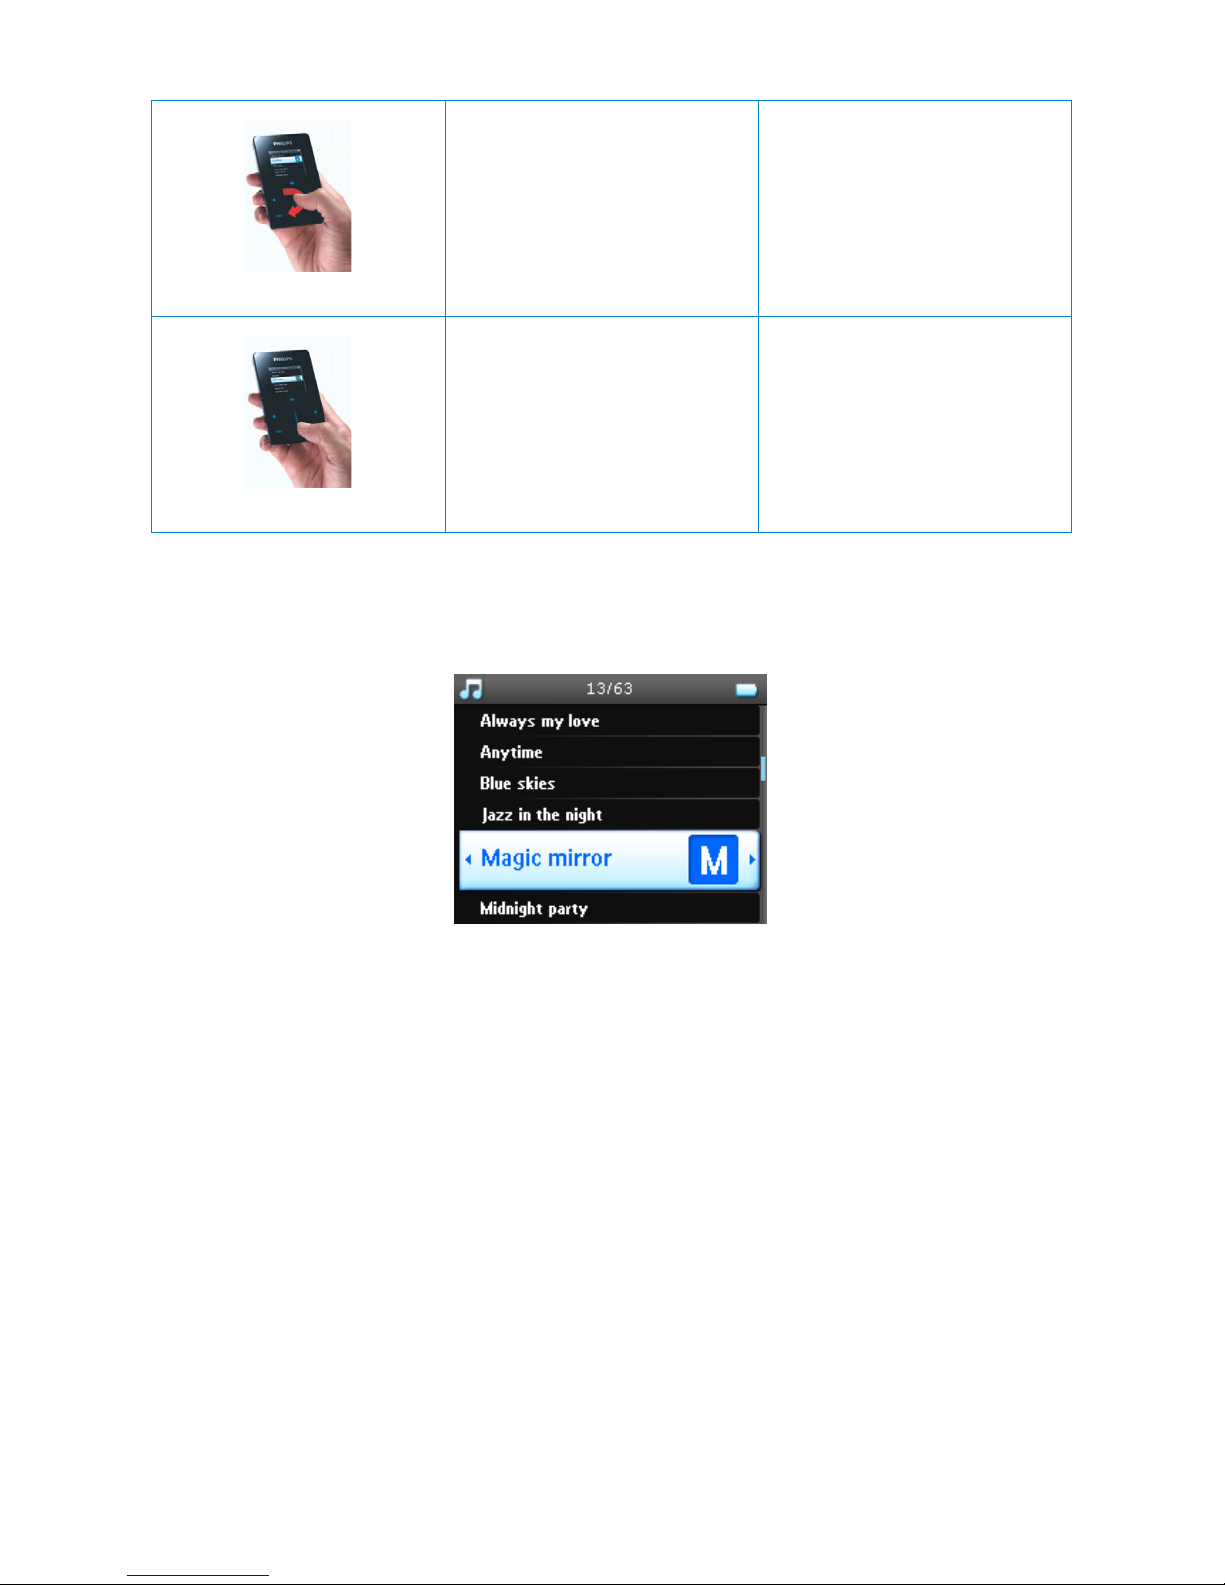
SuperScroll
Superscroll enables you to find your favorite songs quickly. When scrolling quickly through a list of songs,
artists, albums or genres, a Superscroll letter (the first alphabet of the song, artist, album or genre) will be
displayed in highlight to give you information about where you are in the list.
Swipe
Fast swipe up or down List will scroll quickly like a wheel
(Fly wheel) and then slow down
gradually
Tap
Tap in the middle To stop list from spinning
9
Organise and synchronise
pictures and music with Windows
Media Player
This chapter describes the basic operations and steps that you need to follow to successfully transfer music and
pictures to your player. For more information, please refer to
Windows Media Player Help
on your computer.
Music
Add songs to Windows Media Player Library
Songs that are already on your computer
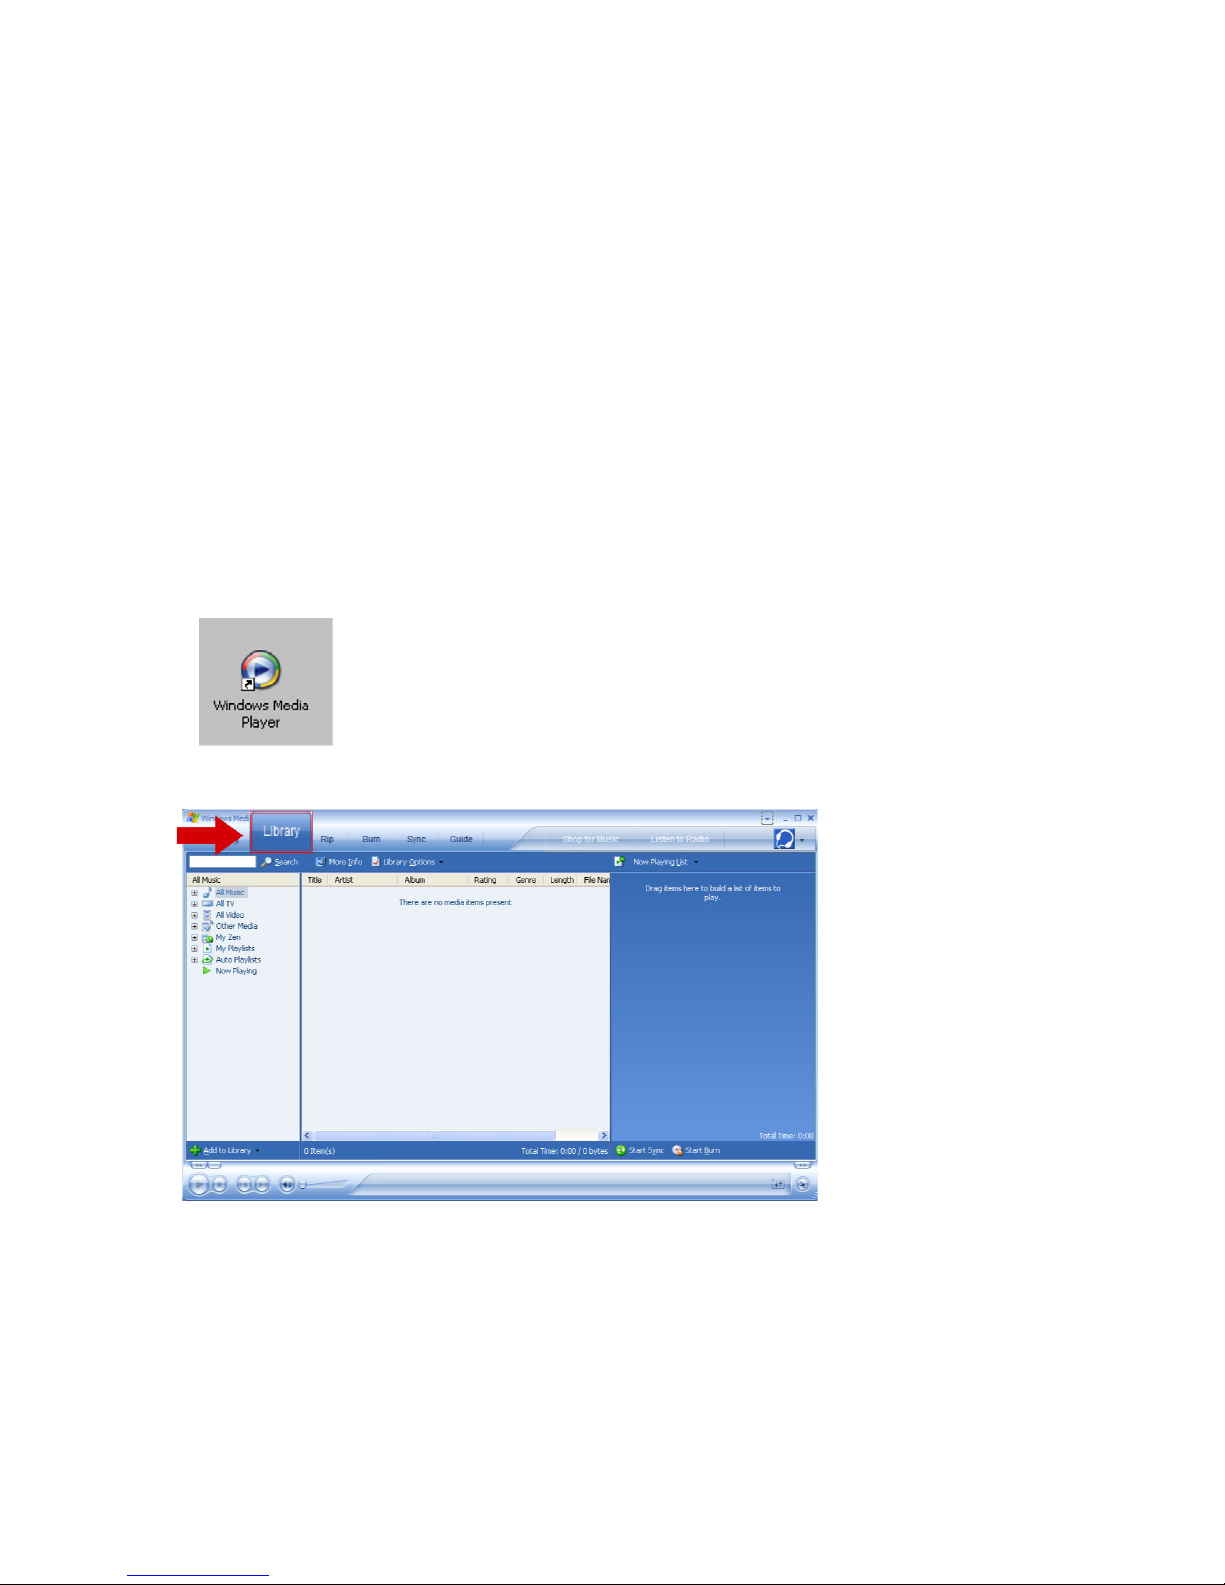
1. Start
Windows Media Player
by clicking the following icon on your desktop.
2. Select
Library
tab to access media library.
10
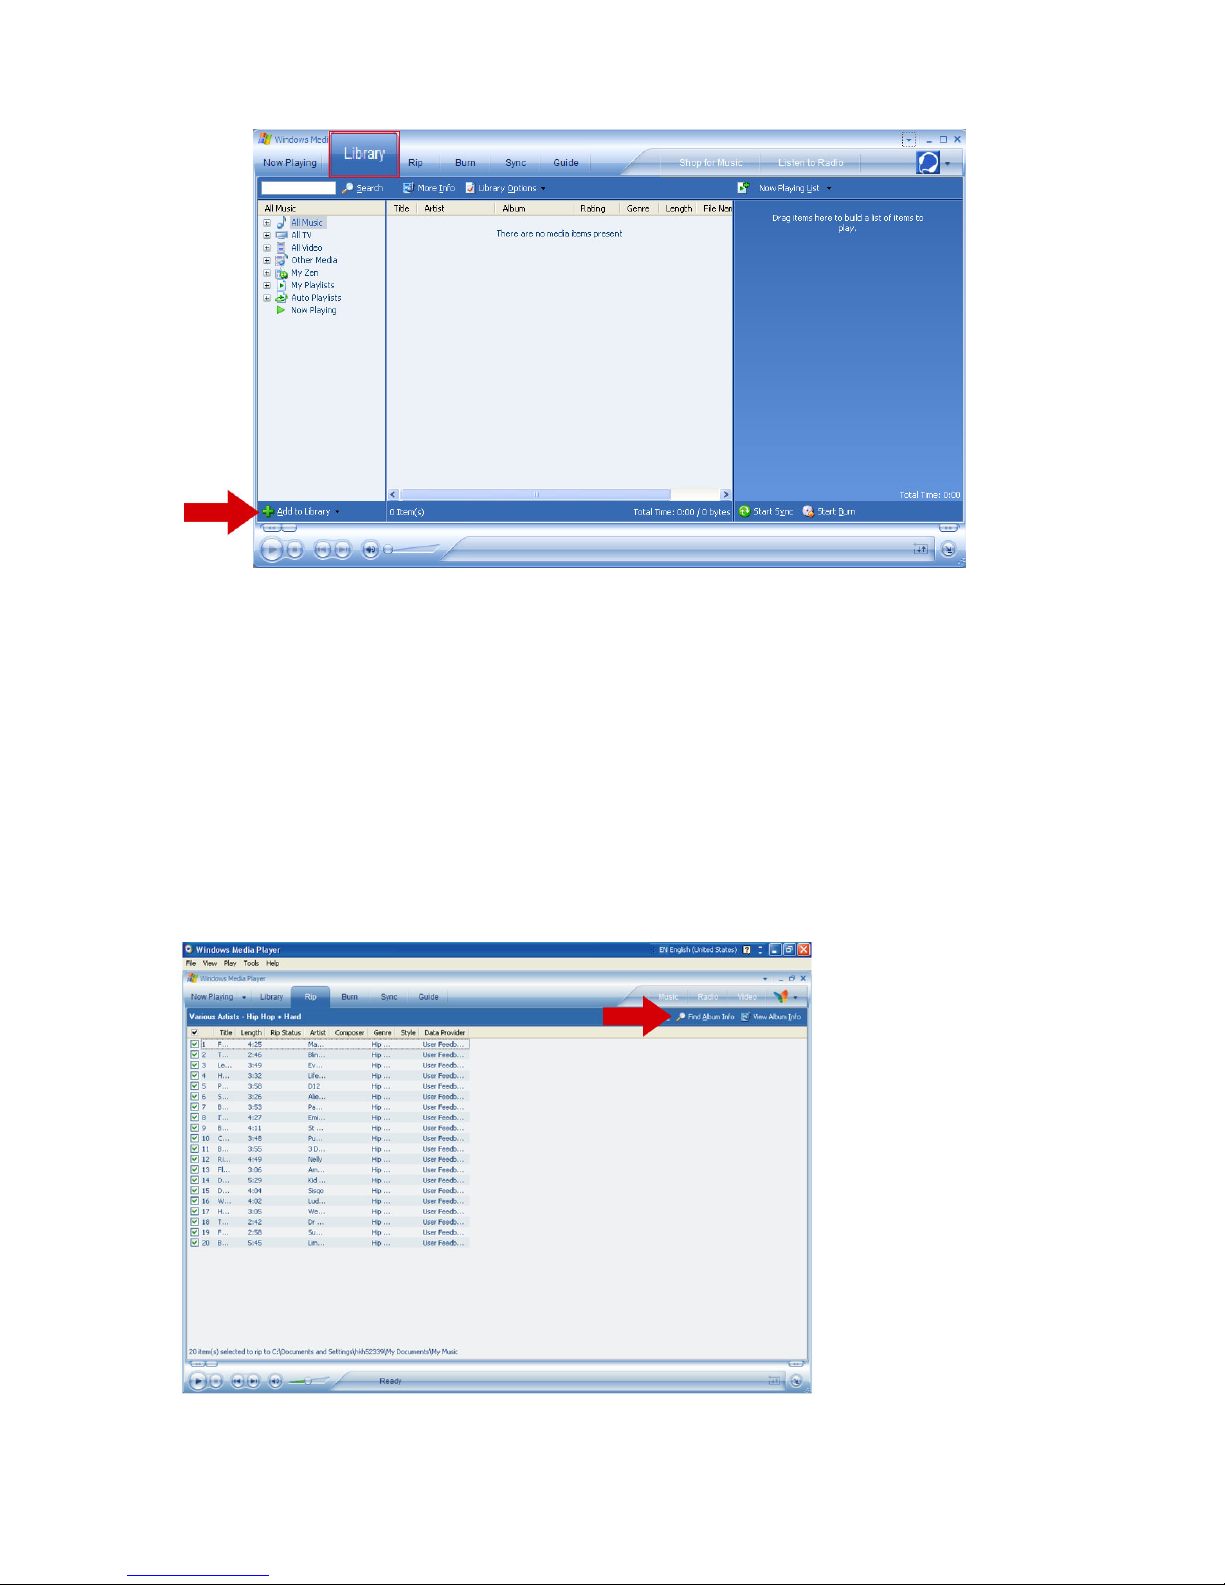
3. Click
Add to Library
on the bottom left of the screen.
4. You can choose to add files from folder, URL, by searching your computer, etc.
Ripping songs from a CD
If you want to transfer music from a CD to your player, you need to create a digital copy of the music on your
PC first. This is called ripping.
1. Start
Windows Media Player
.
2. Insert the Audio CD.
3. Select
Rip
tab to display a list of music tracks on your CD.
4. If your computer is connected to the Internet, the album information will be automatically obtained so
that you don’t have to enter the song titles and other information manually.
5. If this does not happen, check that you are connected to the Internet and click
Find Album Info
.
11
6. Select the music tracks you would like to rip and click
Rip Music
on the top menu bar.
7. The music tracks will be converted into digital copies and added to
Windows Media Player
library.
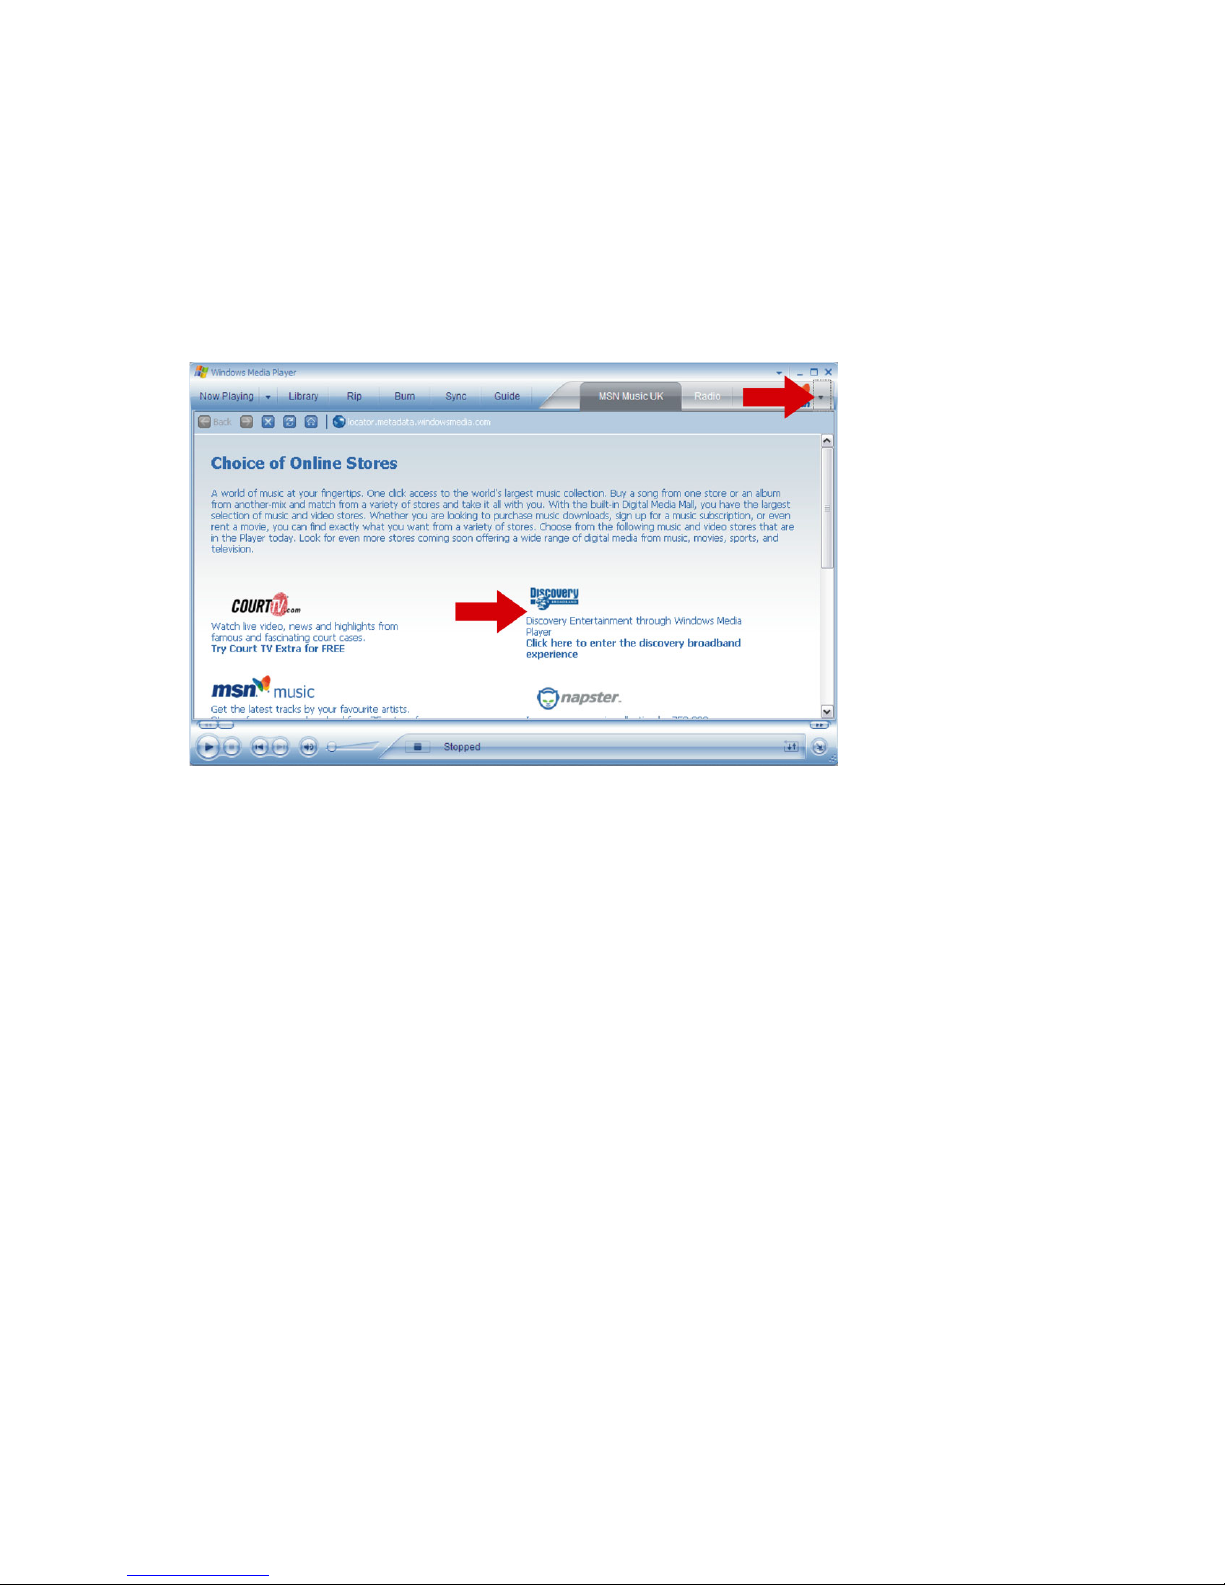
Buying songs online
If you want to buy music online, you need to select a music store.
1. Click the little triangle on the top right of the screen and select
Browse all Online Stores
.
2. Choose a store and follow the onscreen instructions.
3. After you have bought a song or an album, it will appear in
Windows Media Player
library.
Synchronising Windows Media Library contents with
your player
When you connect the player to your computer for the first time,
Windows Media Player
will start
Device
Setup Wizard
. You can choose to synchronise your player with
Windows Media Player
library automatically
or manually.
Automatic synchronisation
When you start
Windows Media Player
and connect your player to the computer, the contents on your
player will be updated automatically according to the sync settings you have specified.
Manual synchronisation
When you start
Windows Media Player
and connect your player to the computer, updating of contents will
not start until you have selected the contents and specified the order in which they will be synchronised.

12
Setting up automatic synchronisation
1. Start
Windows Media Player
.
2. Connect the player to your computer using the supplied USB cable.
3. Select
Sync
tab and click
Sync settingsorSet up Sync
.
4.
Synchronisation settings
dialog box will be displayed.
5. Select
Synchronise device automatically
check box.
6. Select the check boxes that correspond to the playlists you want to synchronise.
7. Click OK.
13
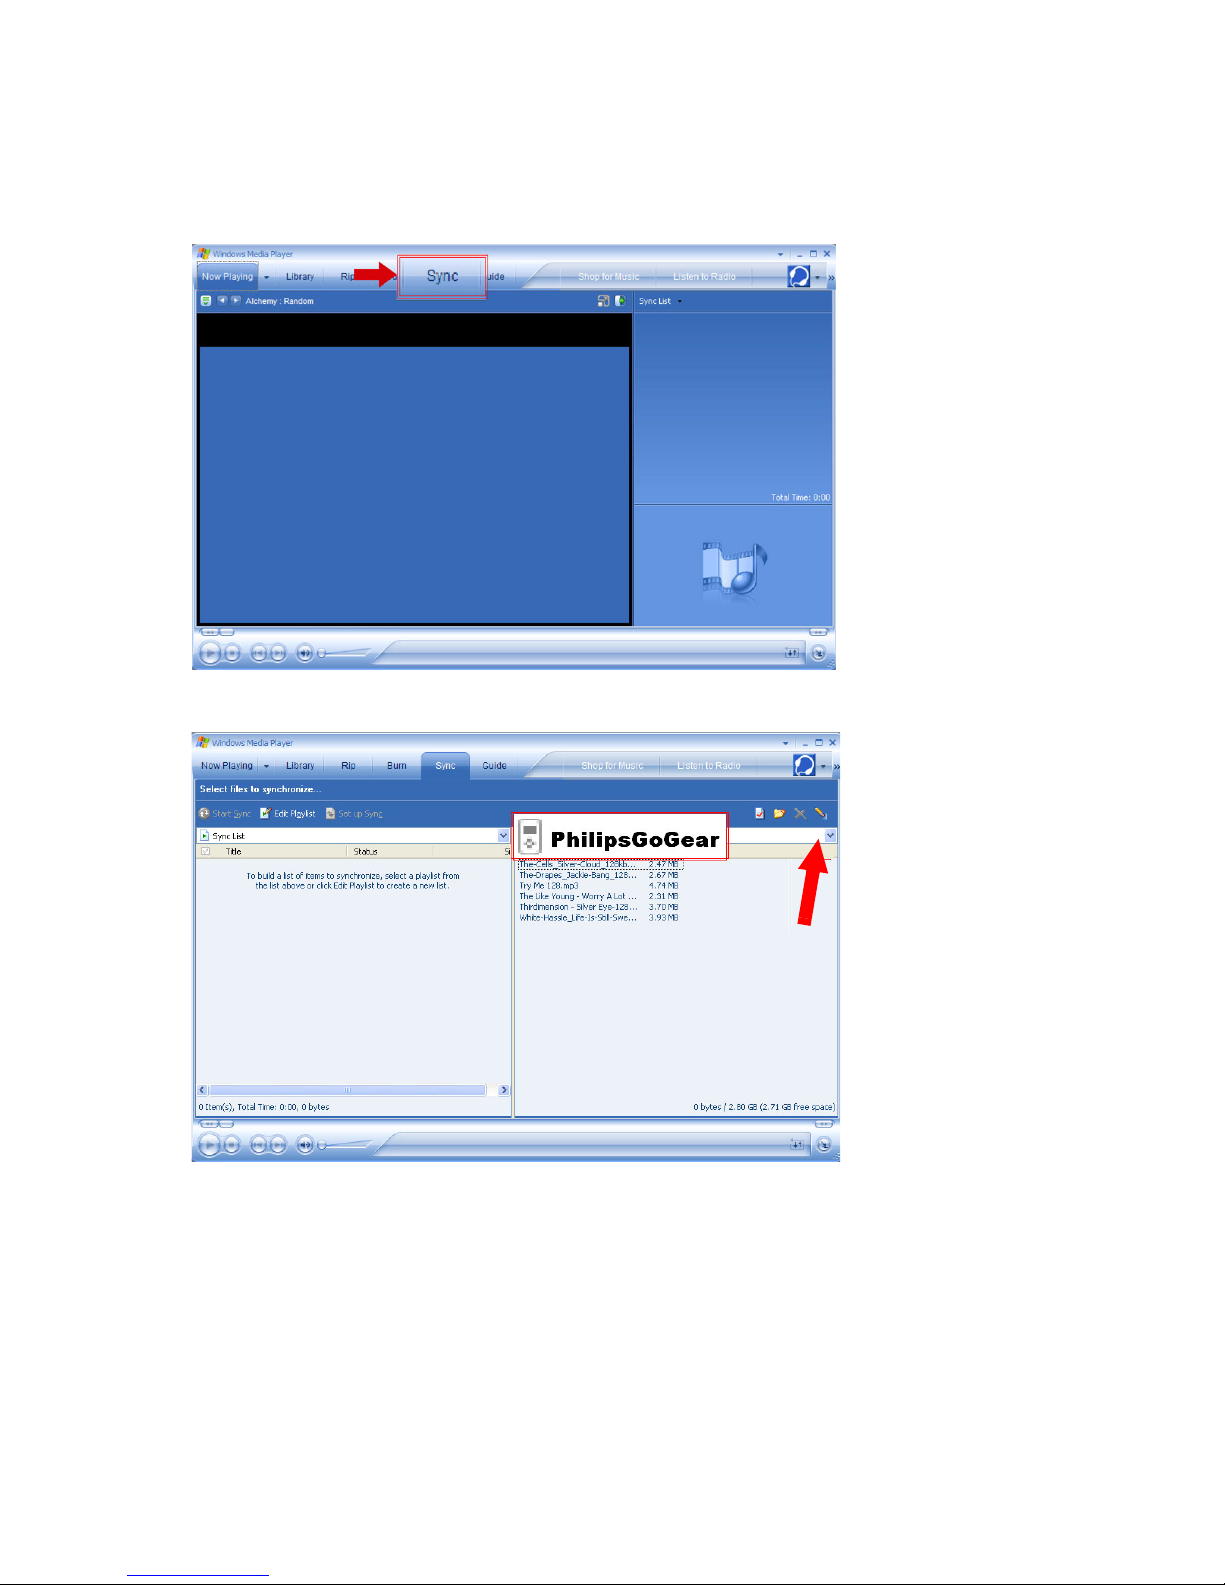
Setting up manual synchronisation
1. Start
Windows Media Player
.
2. Connect the player to your computer using the supplied USB cable.
3. Select
Sync
tab.
4. In the pull-down menu on the right pane, select
Philips
or
Philips GoGear
as the destination.
5. If they are not in the list, click F5 to refresh and try again.
 Loading...