

Philips HDD070, HDD065/05, HDD060, HDD060-17B, HDD075/17B User Manual
...
1
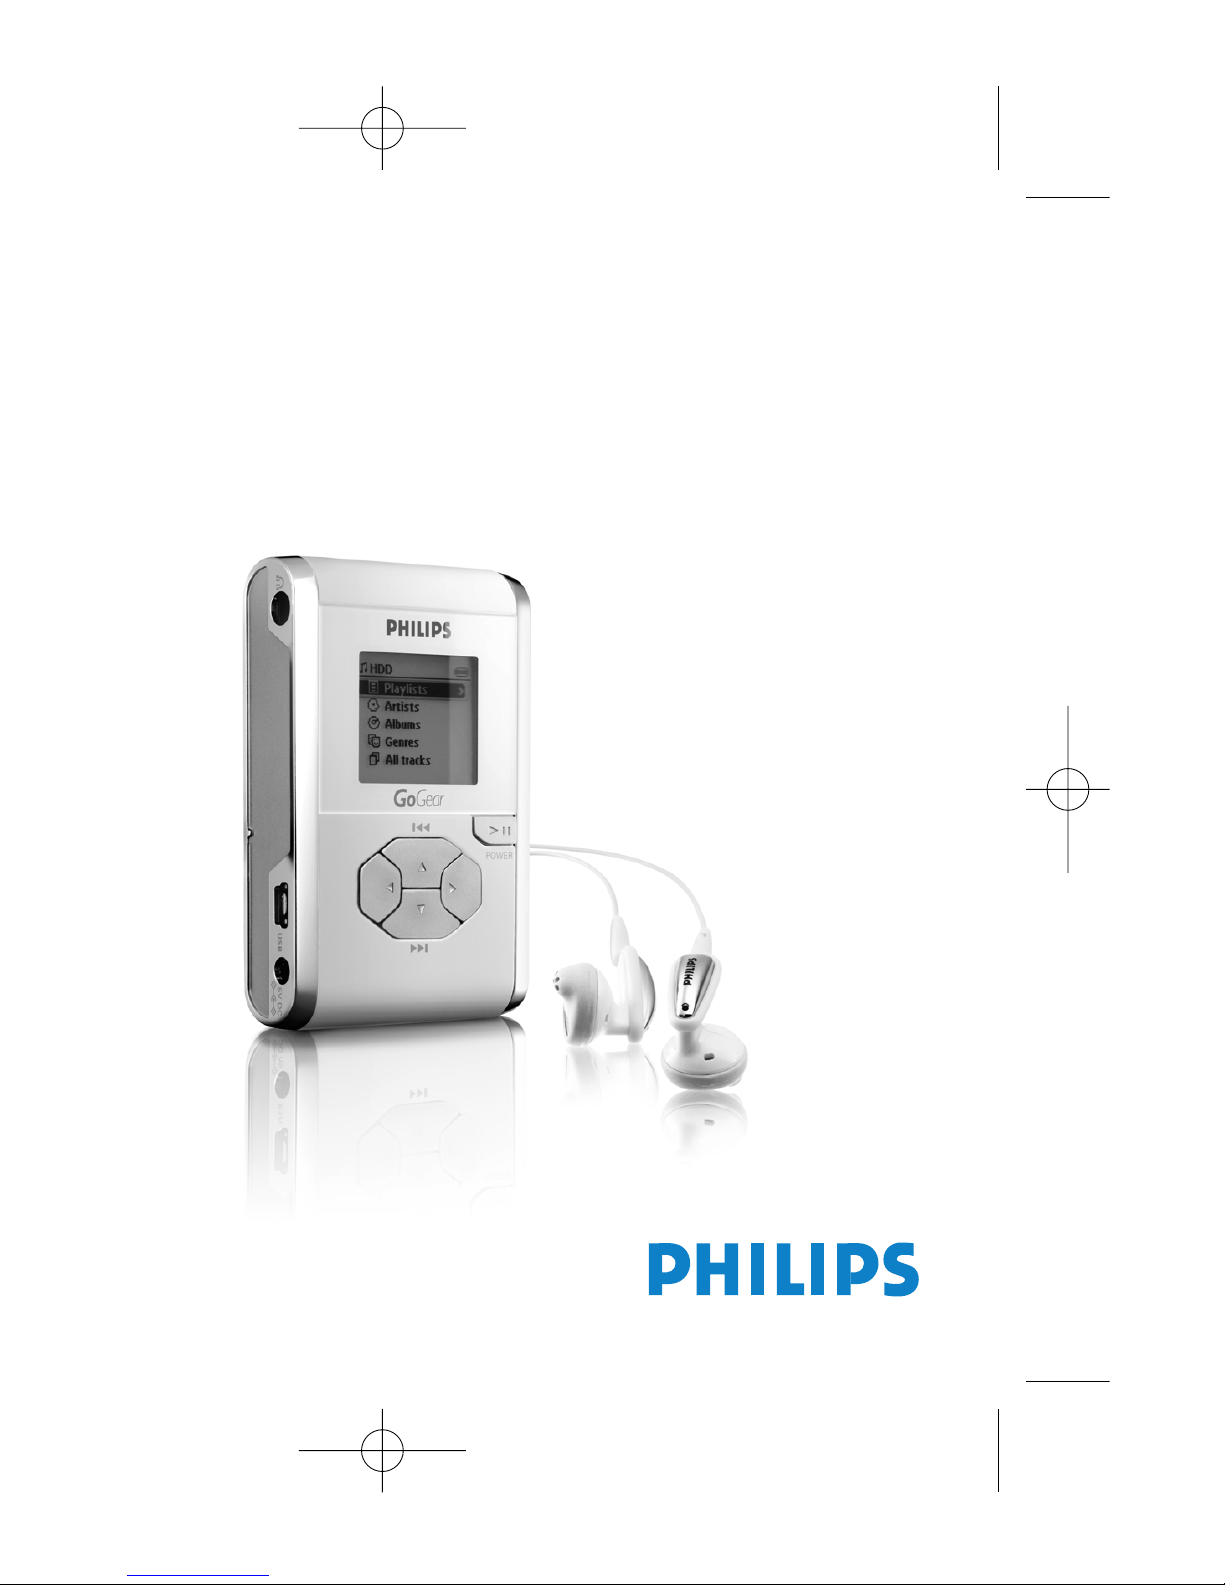
We hope you enjoy your hdd
Please visit www.philips.com/support
and enter your product name to view:
· FAQ, Frequently Asked Questions
· Latest user manuals
· Latest computer software downloads
· Firmware upgrade files
Since it is possible for you to upgrade your product,
we recommend that you register your product on
www.philips.com/register so we can inform you as soon as
new free upgrades become available.
The typeplate is at the back of the set.
English 1
Español 49
Deutsch 33
Français 17
Nederlands 65
Italiano 81
Português 97
Svenska 113
HDD070_eng .qxd 24/11/04 9:06 Page 1
2
Quick start
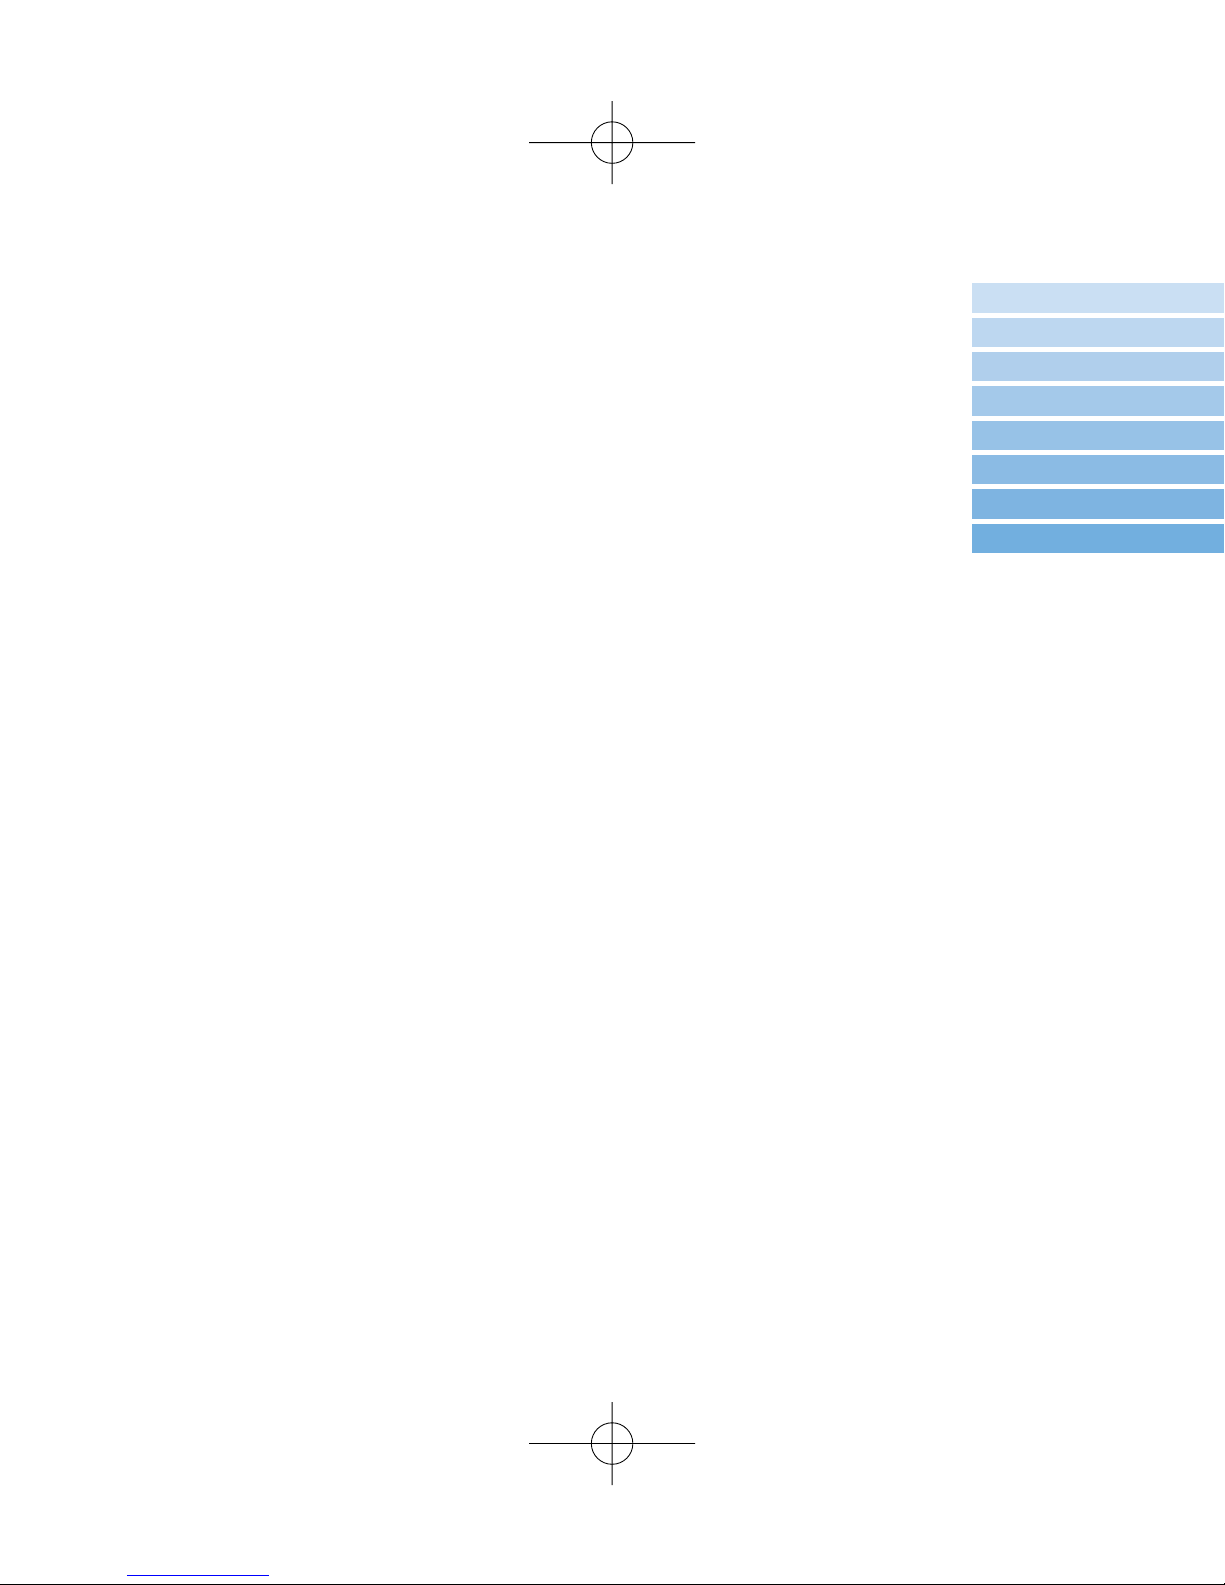
1 Charge the battery
Connect the supplied multi-voltage adapter/charger
to the 5V DC jack on hdd and the main power supply.
Charge 1 hour for fast charge or 4 hours for 100% battery
power. (Battery life may vary according to use.)
2 Install music software
Insert the supplied CD into your PC's CD-ROM drive.
Follow screen instructions to complete installation.
ATTENTION! WINDOWS 98 USERS:
To avoid installation problems, DO NOT CONNECT hdd to the PC until AFTER
installation completes.
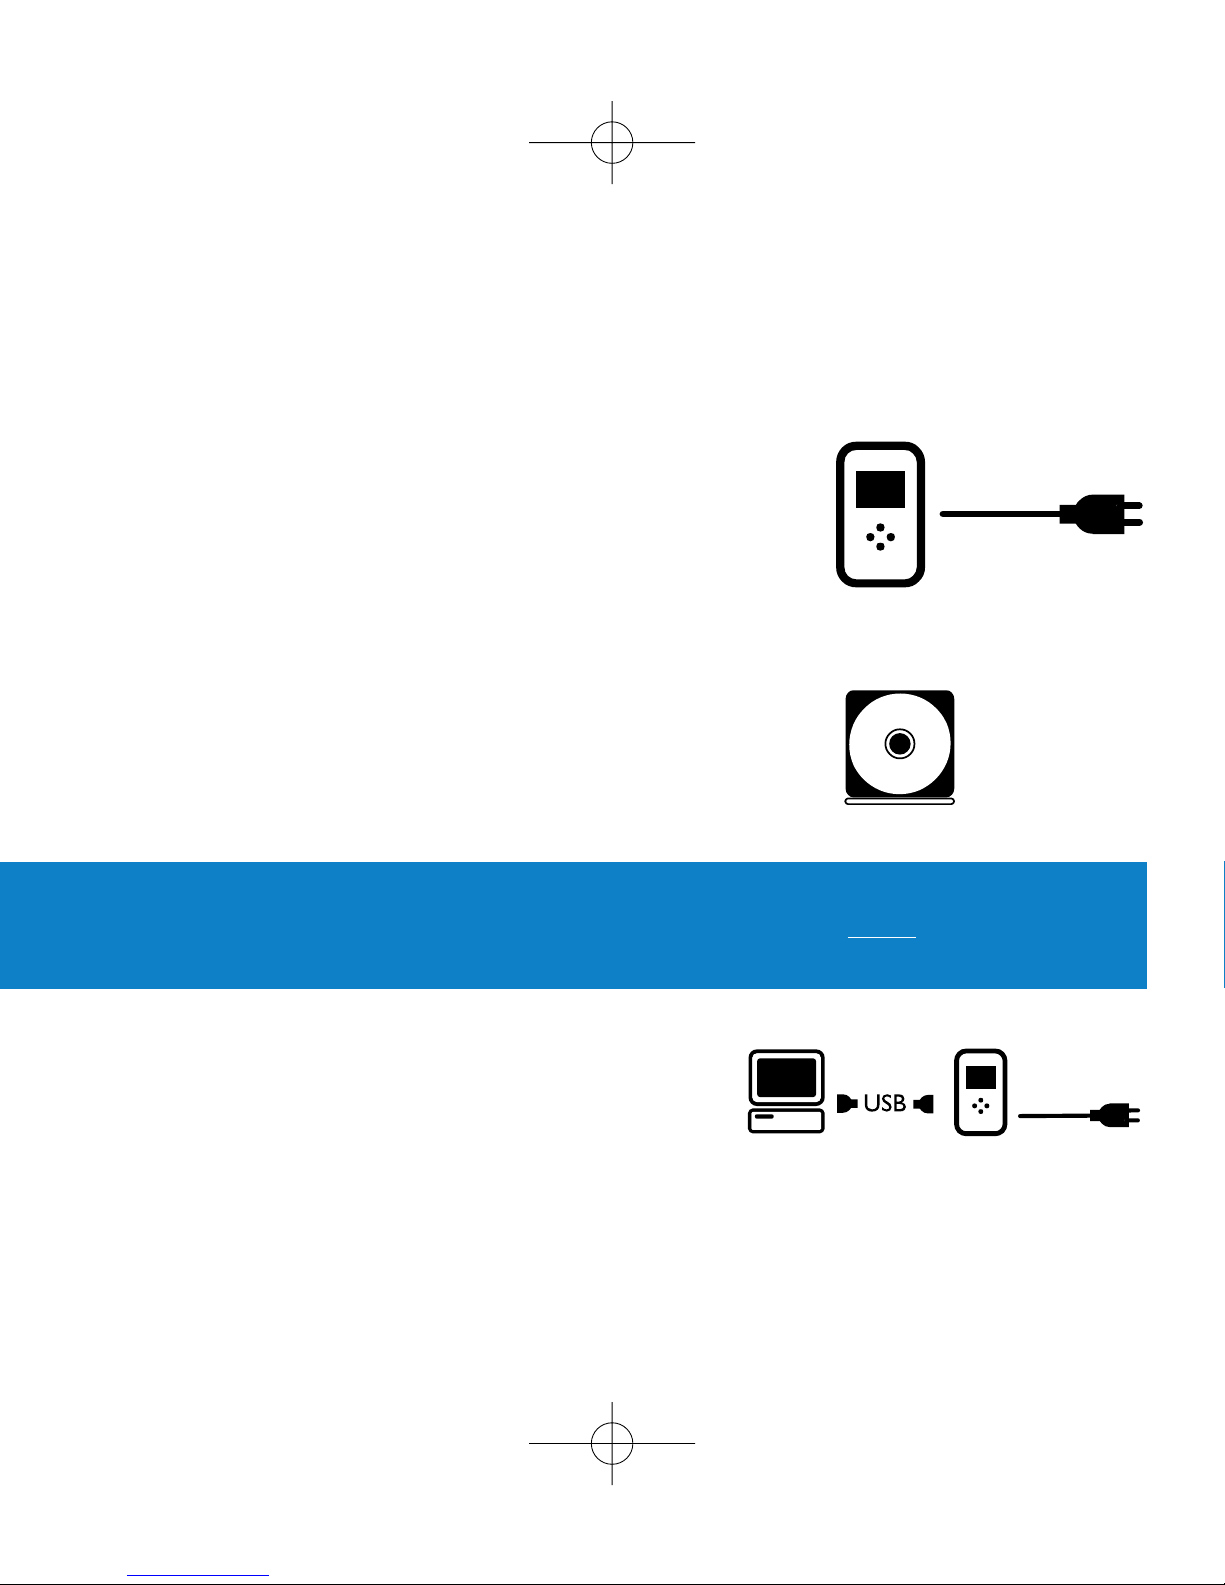
3 Connect your hdd and PC
Connect your hdd to your PC using the supplied
USB cable, with hdd powered by supplied adapter.
The USB connection screen will automatically appear.
HDD070_eng .qxd 24/11/04 9:06 Page 2
3
English
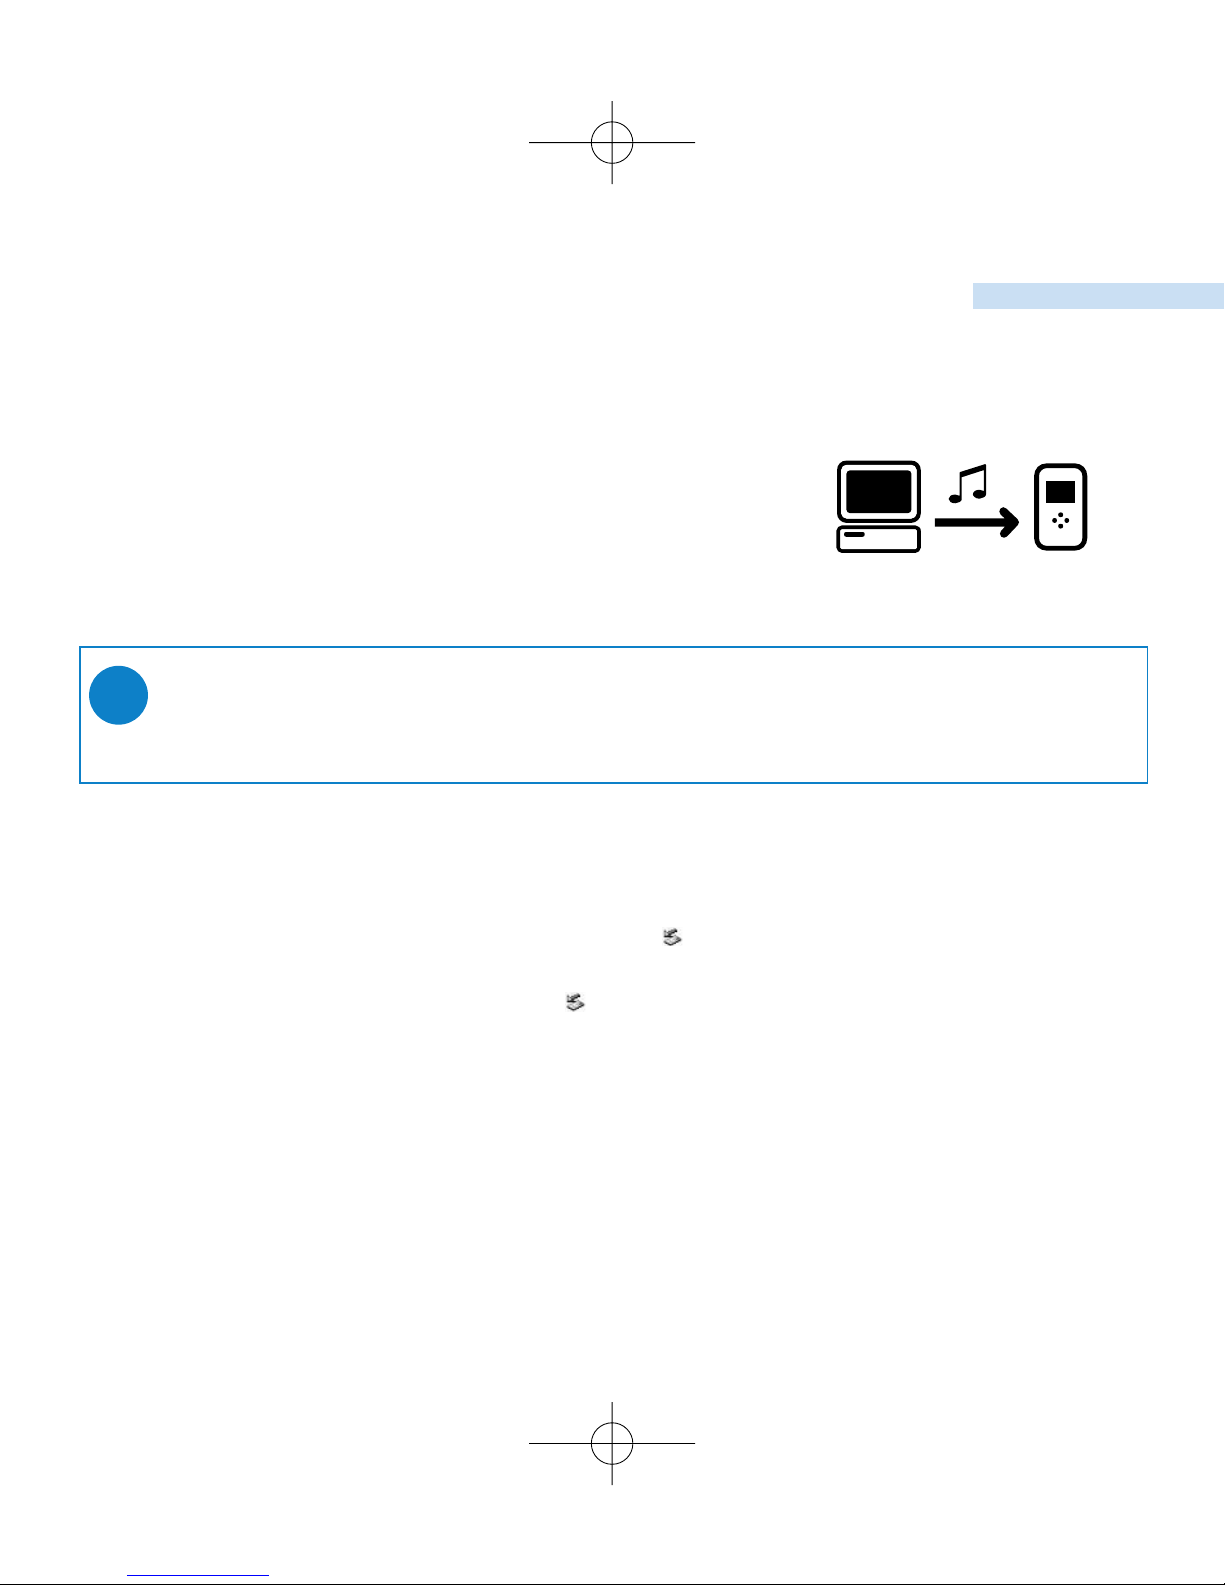
4 Organize and transfer music
Launch your music software from Windows desktop
or Start menu.
Organize your music.
Transfer music files from your PC to your hdd.
5 Safely disconnect hdd
Exit your music software.
Disconnect hdd safely from your PC by clicking on the
task bar to avoid file error.
(WINDOWS 98SE users: there is no icon.
Simply disconnect hdd after file transfer completes.)
6 Enjoy music on the go
Press and hold 2; to switch on hdd.
Use scroll controls to browse and press 2; to enjoy music!
➯
TIP
Detailed information is given in selected music software’s Help.
HDD070_eng .qxd 24/11/04 9:06 Page 3
6
5
10
11
4
7
8
9
1
2
3
Left Right
4
HDD070_eng .qxd 24/11/04 9:06 Page 4

5
English
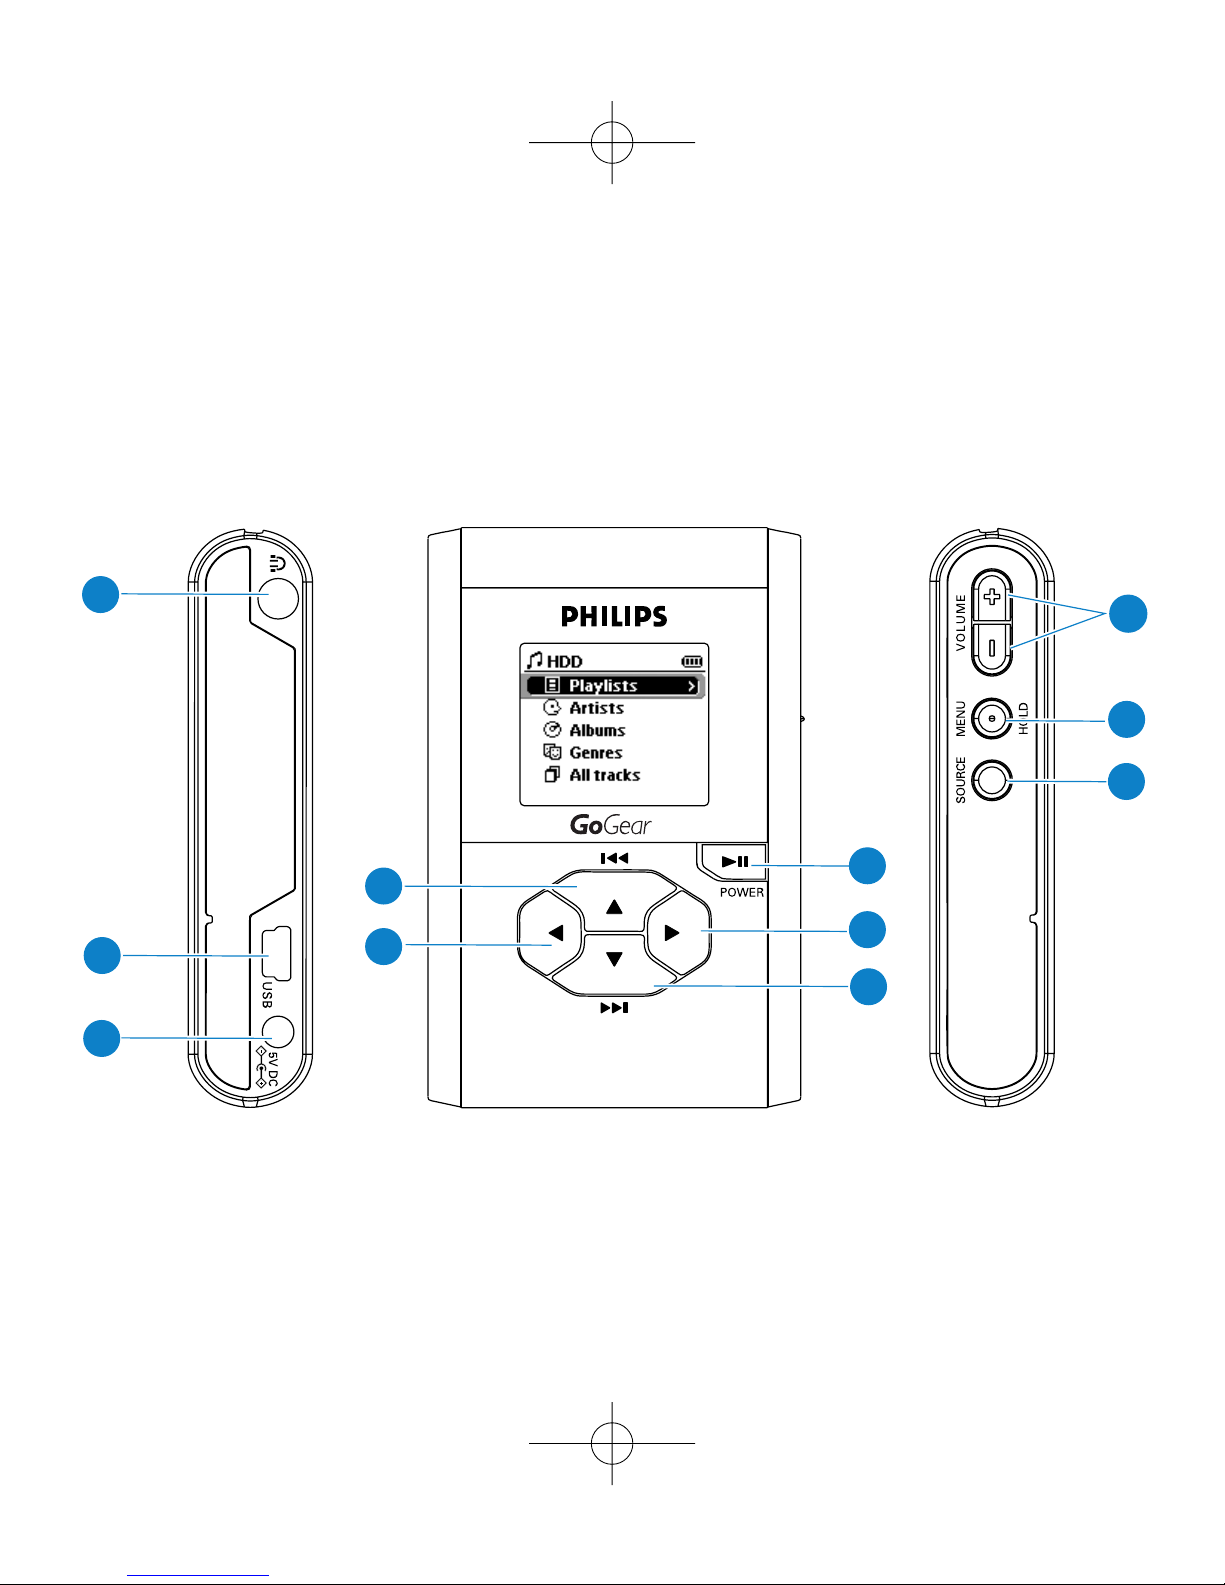
Overview of controls and connections
1 p Headphones jack
2 USB USB cable connector
3 5V DC AC converter jack
4 VOLUME + / – Volume control
5 MENU/HOLD For menu options / key locking / preset tuning
6 SOURCE For music library / Radio
7 2; On / Off and Play / Pause
8 2
Right
9
4 /
2™
Next / Fast forward / SuperScroll™
0 1
Left
!
3 /
¡1
Previous / Rewind / SuperScroll™
HDD070_eng .qxd 24/11/04 9:06 Page 5
6
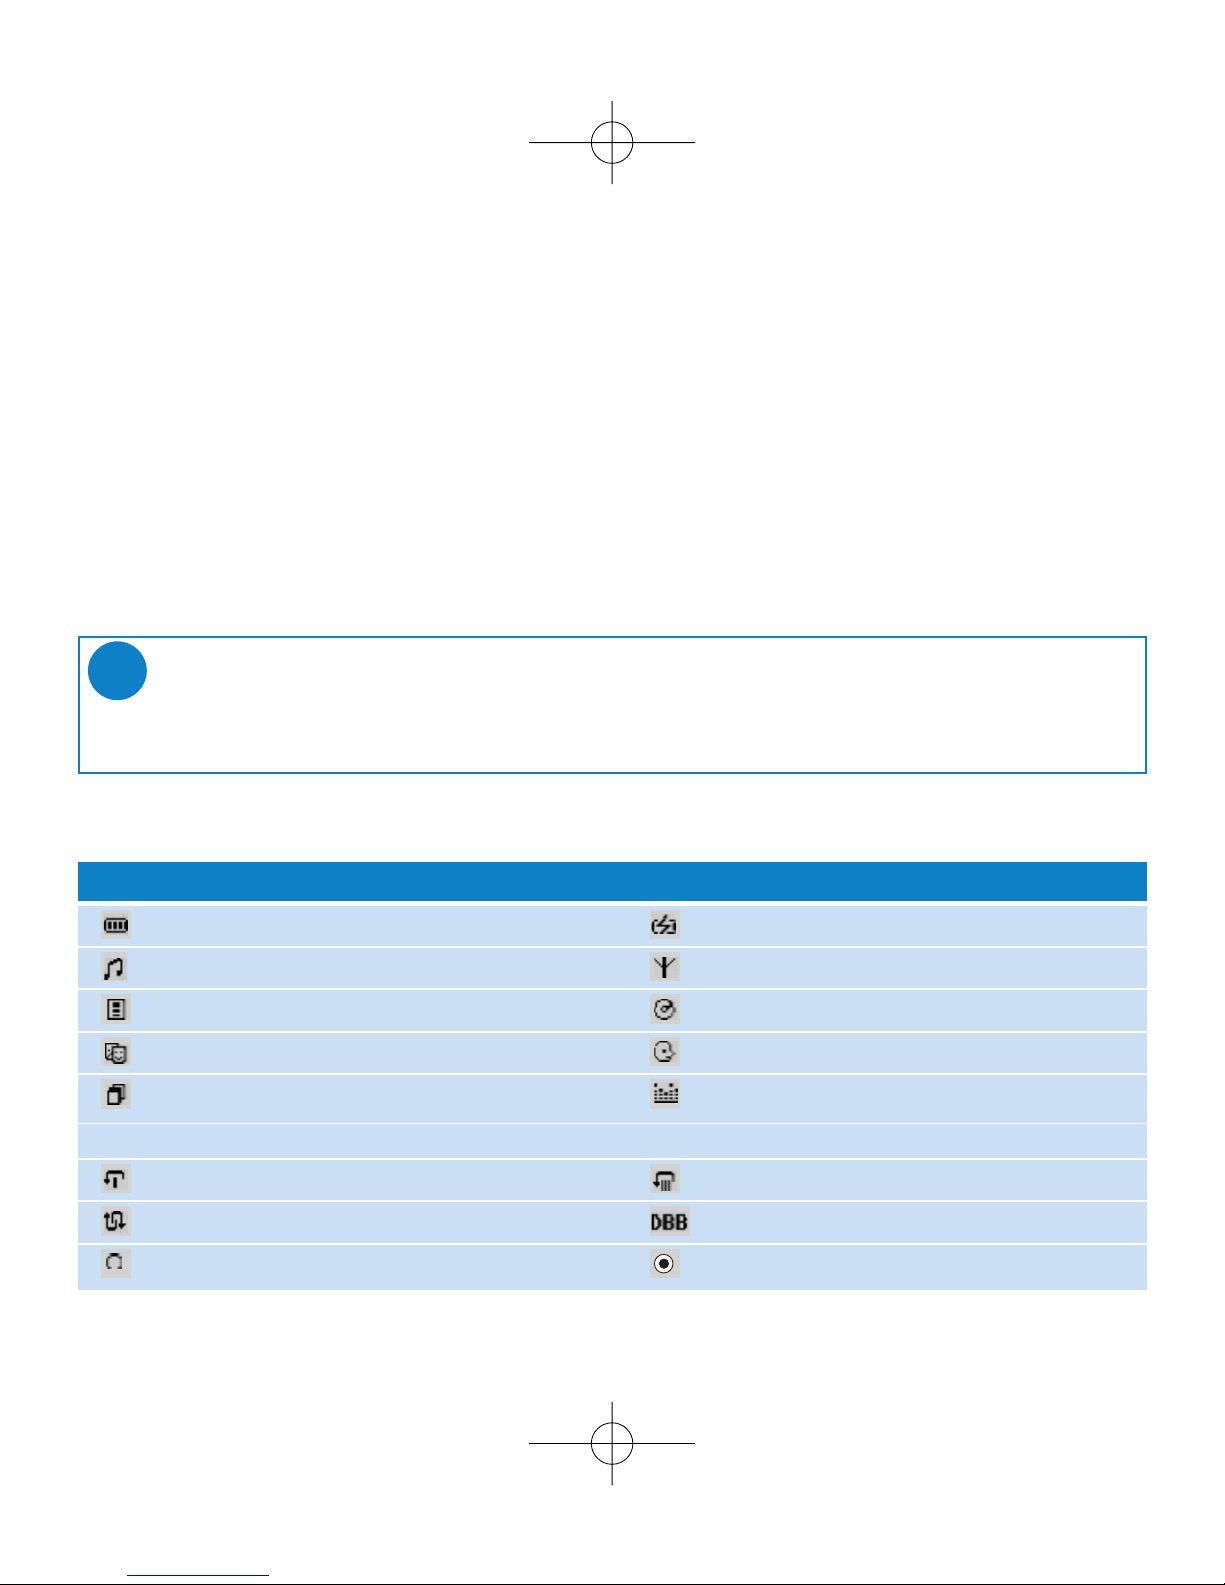
Understanding hdd display
Battery level indicator DC power connected
Music mode Radio mode
Playlist Album
Genres Artists
All tracks Equalizer (EQ)
< Previous menu / library level available > Next menu / library level available
Repeat once Repeat all
Shuffle Dynamic Bass Boost selected
Option available for selection Option selected
hdd has an intuitive display to show various information:
Music mode: playback
1 From the root menu, select HDD to enter the music mode.
2 Press
3
to scroll up or 4to scroll down for your option.
Press 2 for next or 1 for previous levels of library.
3 Press 2; to play or pause your selection.
TIP
The 2;,
3
and 4, keys are multi-functional.They work according to how you
press them: press halfway down, press down fully, or press and hold.
➯
HDD070_eng .qxd 24/11/04 9:06 Page 6

7
English
Using hdd controls
Troubleshooting Control to press
Reset hdd Press and hold 3+ [VOLUME +]
Restore hdd factory settings Press MENU/HOLD; scroll to Restore settings.
Press 2 to confirm
Basic Operation Controls to press
Switch hdd on / off Press and hold 2;
Call up library options Press 1 from the playscreen
Radio mode Select Radio from root menu
Lock keys / release locks on hdd Press and hold MENU/HOLD
Go to different levels of menu Press 2 for next and 1 for previous
Scrolling and browsing
3,4
, 1, 2 for up, down, left, right
Play music Highlight selection and press 2;
Pause music Press 2; during playback
Fast forward in a track Press halfway down and hold
4
Rewind in a track Press halfway down and hold
3
Change volume Press VOLUME + / –
Play next or previous track Press fully down 4for next and 3for previous
SuperScroll™ Press 3or 4fully down and hold
HDD070_eng .qxd 24/11/04 9:06 Page 7
8
Customizing settings
1 Press MENU/HOLD for settings options. Press
3
to scroll up or 4to scroll down for
your option. Press 2 for next or 1 for previous levels of menu.
2 Press 2 to confirm your selection by checking .
3 Press MENU/HOLD or 1 to exit the menu display. Options for each setting are shown on
hdd's display.
Repeat / Shuffle Play music tracks randomly (
Shuffle
) and / or repeatedly (
Repeat
)
DBB Enable or disable Dynamic Bass Boost
Sleep timer Set time to switch off hdd
Equalizer Adjust sound settings
[>] key shortcut
Adjust 2key actions during playback (Default: Repeat & Shuffle)
Display Adjust time for display to go dark and contrast level
Auto shutdown Set time for switching off hdd automatically to save battery power
Language Set hdd display language
Information Display hdd information
Restore settings Restore hdd factory settings in case of trouble shooting
Advanced settings and actions
HDD070_eng .qxd 24/11/04 9:06 Page 8
 Loading...