

Page 1
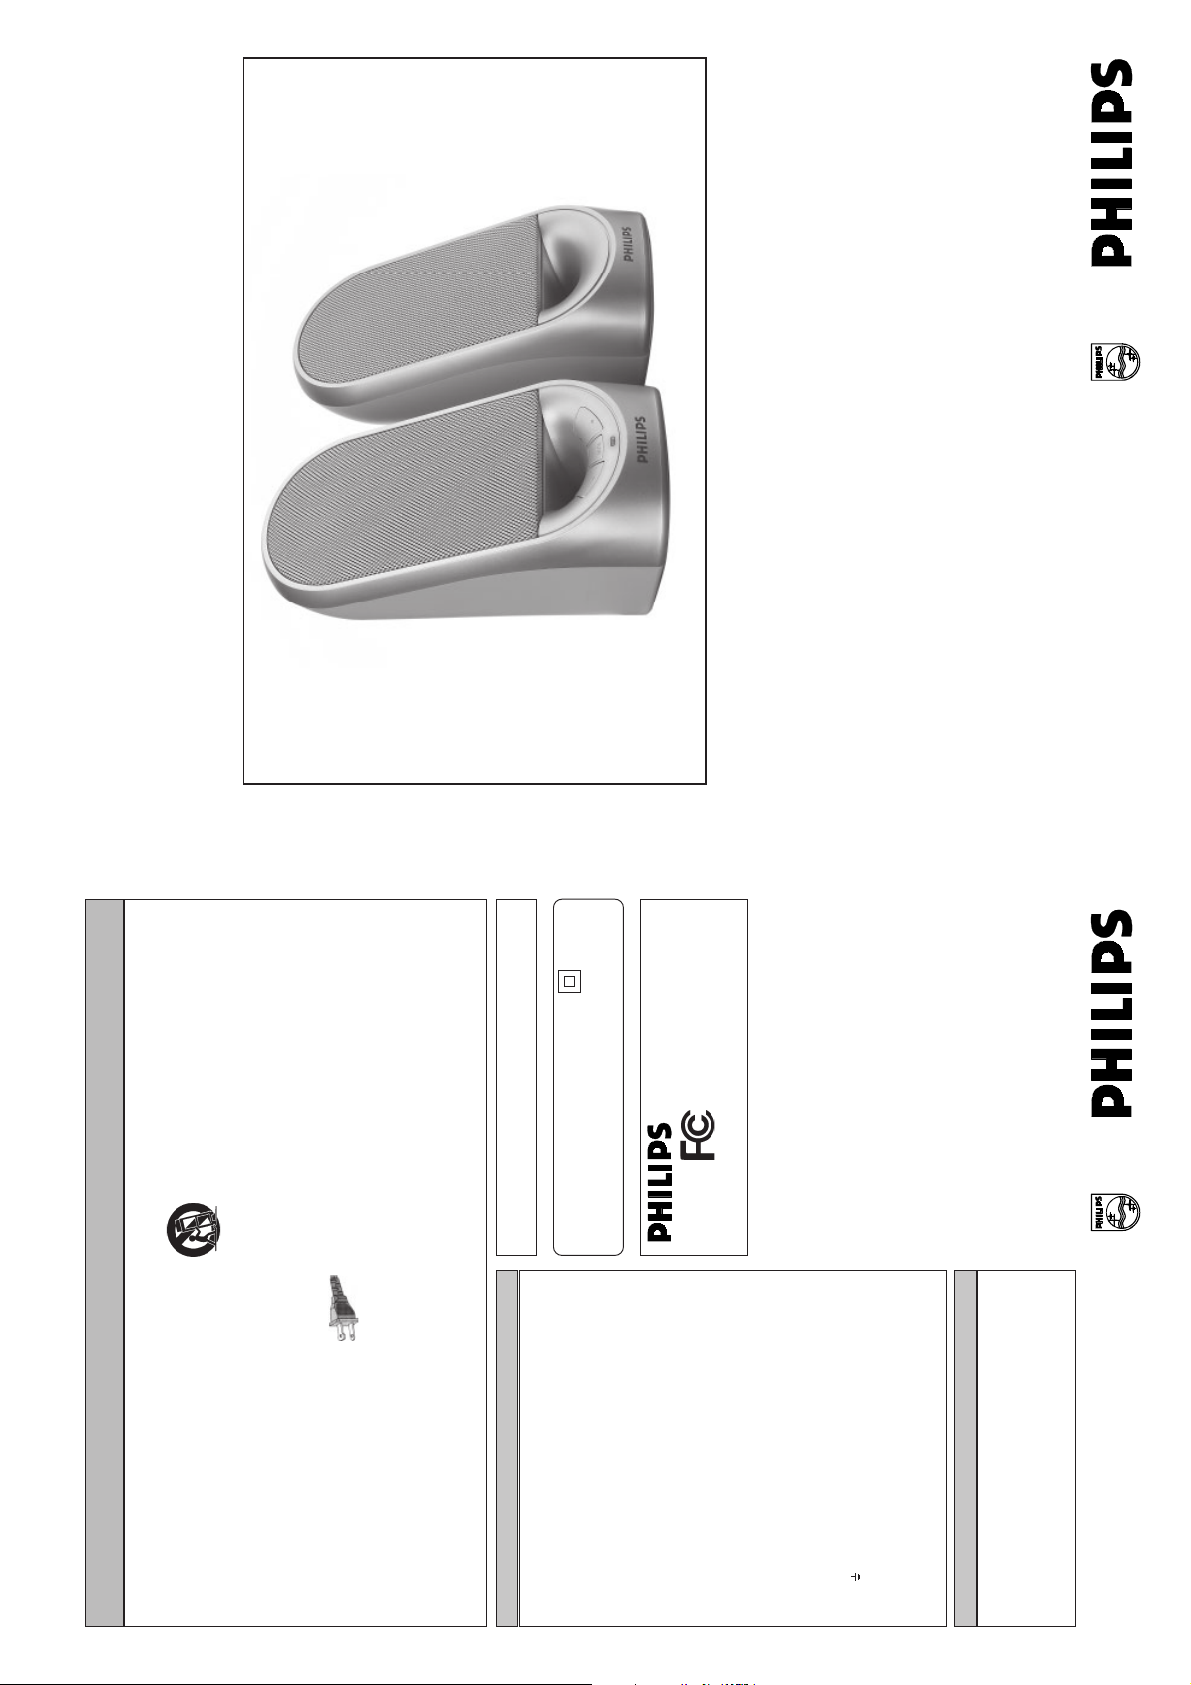
MMS 221
Multimedia Speaker System
This Quick Set-up Guide is applicable for :
Ø DGX 220
EL 6475-E004: 02/8
12. Use only with a cart, stand, tripod, bracket, or table
specified by the manufacturer, or sold with the apparatus.
When a cart is used, use caution when moving the cart/
apparatus combination to avoid injury from tip-over.
manufacturer.
11. Only use attachments/accessories specified by the
unused for long periods of time.
is required when the apparatus has been damaged in any way,
such as power-supply cord or plug is damaged, liquid has
been spilled or objects have fallen into the apparatus, the
apparatus has been exposed to rain or moisture, does not
operate normally, or has been dropped.
may result in bodily injury, property damage, or damage to the unit:
13. Unplug this apparatus during lightning storms or when
14. Refer all servicing to qualified service personnel. Servicing
• Install all batteries correctly, + and - as marked on the unit.
15. Battery usage CAUTION - To prevent battery leakage which
AC
Polarized Plug
• Do not mix batteries (old and new or carbon and alkaline, etc.).
• Romove batteries when the unit is not used for a long time.
The socket-outlet shall be installed near the equipment and shall be
easily accessible.
DGX 220
DGX 220 / 17
Tested To Comply
With FCC Standards
double insulation system.
Class II equipment symbol
This symbol indicates that the unit has a
FOR HOME OR OFFICE USE
Philips Consumer Electronics North America
Easy To Use Digital Audio
One Philips Drive, P.O. Box 14810, Knoxville, TN 37914-1810
Phone: 1-800-531-0039
This device complies with part 15 of the FCC Rules. Operation is subject to the
following two conditions: (1) This device may not cause harmful interference, and
The DGX220 provides digital quality audio without the need for a soundcard
and is completely self-powered over the USB bus, making a bulky power
adaptor unnecessary.
The system even includes the award winning Sound Agent 2 software to
optimize and give you full control over your audio. Thank you for choosing the
Philips DGX220 bus-powered speaker system.
(2) this device must accept any interference recieved, including interference
that may cause undesired operation.
NOTE: This equipment has been tested and found to comply with the limits for
a Class B digital device, persuant to part 15 of the FCC Rules. These limits are
designed to provide reasonable protection against harmful interference in a residential
installation. This equipment generates, uses and can radiate radio frequency energy
and, if not installed and used in accordance with the instructions, may cause
harmful interference to radio communications. However, there is no guarantee
that inteference will not occur in a particular installation. If this equipment does
cause harmful interference to radio or television reception, which can be determined
by turning the equipment off and on, the user is encouraged to try to correct the
interference by one or more of the following measures:
- Reorient or relocate the receiving antenna.
- Increase the separation between the equipment and receiver.
the receiver is connected.
- Connect the equipment into an outlet on a circuit different from that to which
- Consult the dealer or an experienced radio/ TV technician for help.
IMPORTANT SAFETY INSTRUCTIONS - Read before operating equipment
1. Read these instructions.
2. Keep these instructions.
3. Heed all warnings.
4. Follow all instructions.
5. Do not use this apparatus near water.
6. Clean only with dry cloth.
For US/Canada only
accordance with the manufacturer’s instructions.
registers, stoves, or other apparatus (including amplifiers)
that produce heat.
or grounding-type plug. A polarized plug has two
blades with one wider than the other. A grounding
type plug has two blades and a third grounding prong.
The wide blade or the third prong are provided for your safety. If the
povided plug does not fit into your outlet, consult an electrician for
replacement of the obsolete outlet.
particularly at plugs, convenience receptacles, and the point
where they exit from the apparatus.
7. Do not block any ventilation openings. Install in
8. Do not install near any heat sources such as radiators, heat
9. Do not defeat the safety purpose of the polarized
10. Protect the power cord from being walked on or pinched,
Important notes for users in the U.K.
Mains plug
This apparatus is fitted with an approved 13 Amp plug.
To change a fuse in this type of plug proceed as follows:
1 Remove fuse cover and fuse.
2 Fix new fuse which should be a BS1362 5 Amp, A.S.T.A. or BSI
approved type.
3 Refit the fuse cover.
If the fitted plug is not suitable for your socket outlets, it should be cut
off and an appropriate plug fitted in its place. If the mains plug contains
a fuse, this should have a value of 5 Amp. If a plug without a fuse is used,
the fuse at the distribution board should not be greater than 5 Amp.
Note: The severed plug must be disposed of to avoid a possible shock
hazard should it be inserted into a 13 Amp socket elsewhere.
How to connect a plug
The wires in the mains lead are coloured with the following code: blue
= neutral (N), brown = live (L). As these colours may not correspond
with the colour markings identifying the terminals in your plug, proceed
as follows:
Connect the blue wire to the terminal marked N or coloured black.
Connect the brown wire to the terminal marked L or coloured red.
E ( or ) or coloured green (or green and yellow).
Do not connect either wire to the earth terminal in the plug, marked
Before replacing the plug cover, make certain that the cord grip is
clamped over the sheath of the lead - not simply over the two wires.
Copyright in the U.K.
Recording and playback of material may require consent. See Copyright
Act 1956 and The Performer's Protection Acts 1958 to 1972.
Typeskilt finnes på apparatens underside.
Norge
Observer: Nettbryteren er sekundert innkoplet. Den innebygde netdelen
er derfor ikke frakoplet nettet så lenge apparatet er tilsluttet
nettkontakten.
For å redusere faren for brann eller elektrisk støt, skal apparatet ikke
utsettes for regn eller fuktighet.
4399 294 60971
Page 2

Provides power and
audio signal from PC or
5) USB cable
To adjust the volume
higher or lower
3) Volume up and down
~
For private listening a
headphone can be
1) Headphone (Blue)
EXPLANATION
~
Notebook
Press to mute and
unmute the sound
4) Mute
connected
An external micro
phone can be con
2) Microphone (Pink)
nected
Norge
Typeskilt finnes på apparatens underside.
Observer: Nettbryteren er sekundert innkoplet. Den innebygde netdelen er derfor ikke
frakoplet nettet så lenge apparatet er tilsluttet nettkontakten.
For å redusere faren for brann eller elektrisk støt, skal apparatet ikke utsettes for regn eller
fuktighet.
Deutschland
Hiermit wird bescheinigt, daß dieses Gerät in Übereinstimmung mit den Bestimmungen
der Amtsblattverfügung 1046/1984 funkentstört ist.
Der Deutschen Bundespost wurde das Inverkehrbringen dieses Gerätes angezeigt und
die Berechtigung zur Überprüfung der Serie auf Einhaltung der Bestimmungen
eingeräumt.
Installation
anschließen.
Deutsch
À USB-Kabel an den PC
datorn.
Swedish
À Anslut USB-kabeln till
au PC.
Francais
À Connectez le câble USB
English
À Connect USB cable to PC
Á Install Sound Agent 2
der CD-ROM installieren.
Á Sound Agent 2 Software von
Sound Agent 2 från CD-
ROM-skivan.
Á Installera programvaran
Agent 2 partir du CD-
ROM.
Á Installez le logiciel Sound
software from CD-ROM.
PC.
Italiano
À Collegare il cavo USB al
Á Installare il software
À Slut USB-kablet til pcen.
Á Installer Sound Agent 2
ordenador.
À Conecte el cable USB al
de PC.
À Sluit de USB-kabel aan op
softwaren fra CD-ROMen.
Á Instale el programa Sound
Á Installeer Sound Agent 2
Danish
Español
Nederlands
Sound Agent 2 dal CD-
ROM.
Agent 2 del CD-ROM.
met de cd-rom.
PCye baðlayýn.
Turkish
À USB kablosunu
À
Pod³¹cz przewód USB
do komputera.
Polish
À
Подсоедините USB
кабель к компьютеру.БУстановите программное
Russian
➀
Agent 2 yazýlýmýný
yükleyin.
Á CD-ROM’dan Sound
Á
Zainstaluj oprogramowanie
Sound Agent 2 z
dostarczonej p³yty
CD-ROM.
Á
обеспечение Sound
Agent 2 с компакт-диска.
Portuguese
Norwegian
Finnish
Agent 2 a partir do CD-
À Ligue o cabo USB ao PC.
Á Instale o software Sound
Sound Agent 2 fra CD-
À USB-kabelen koples til PC.
Á Installer programvaren
tietokoneeseen.
À Yhdistä USB-johto
Á Asenna Sound Agent 2
ROM.
ROM.
-ohjelma CD-ROM-levyltä.
 Loading...