

Page 1

PREPARATIONS
Page 2

Operating Instructions
Voltage Switch
220 - 240V / 120V
The sewing machine is set to the voltage 220 - 240V. To change the
voltage to 120V (US/Canada), you must set the voltage switch on the
underside of the machine to 120 V.
If you are unsure of the correct voltage for your country, please check
with your authorized Pfaff sewing machine dealer or local electrical
authorities before plugging in your machine.
Electrical connection
Connect the lead cord between the socket of the sewing machine and
the wall outlet.
For the USA and Canada:
This sewing machine has a polarized plug (one blade wider than the
other). To reduce the risk of electric shock, this plug is intended to
fi t in a polarized outlet only one way. If the plug does not fi t fully in
the outlet, reverse the plug. If it still does not fi t, contact a qualifi ed
electrician to install the proper outlet.
DO NOT modify the plug in any way!
Preparations
Connecting the foot control
Pull the retractable cord out of the foot control to a length that is
comfortable for you. The foot control has an automatic cord-rewind
reel for storage. Connect the plug of the foot control to the connection
socket of the sewing machine.
The sewing speed is controlled by pressing the foot control.
The foot control ATK 0080 must be used for this sewing machine.
2:2
Page 3

Main switch
When the main switch is switched on (switch function I) the sewing
lightbulb lights up and the multi-color touch screen lights up.
The sewing machine is now ready to function.
"0" = OFF
"I" = ON
Thread cutter
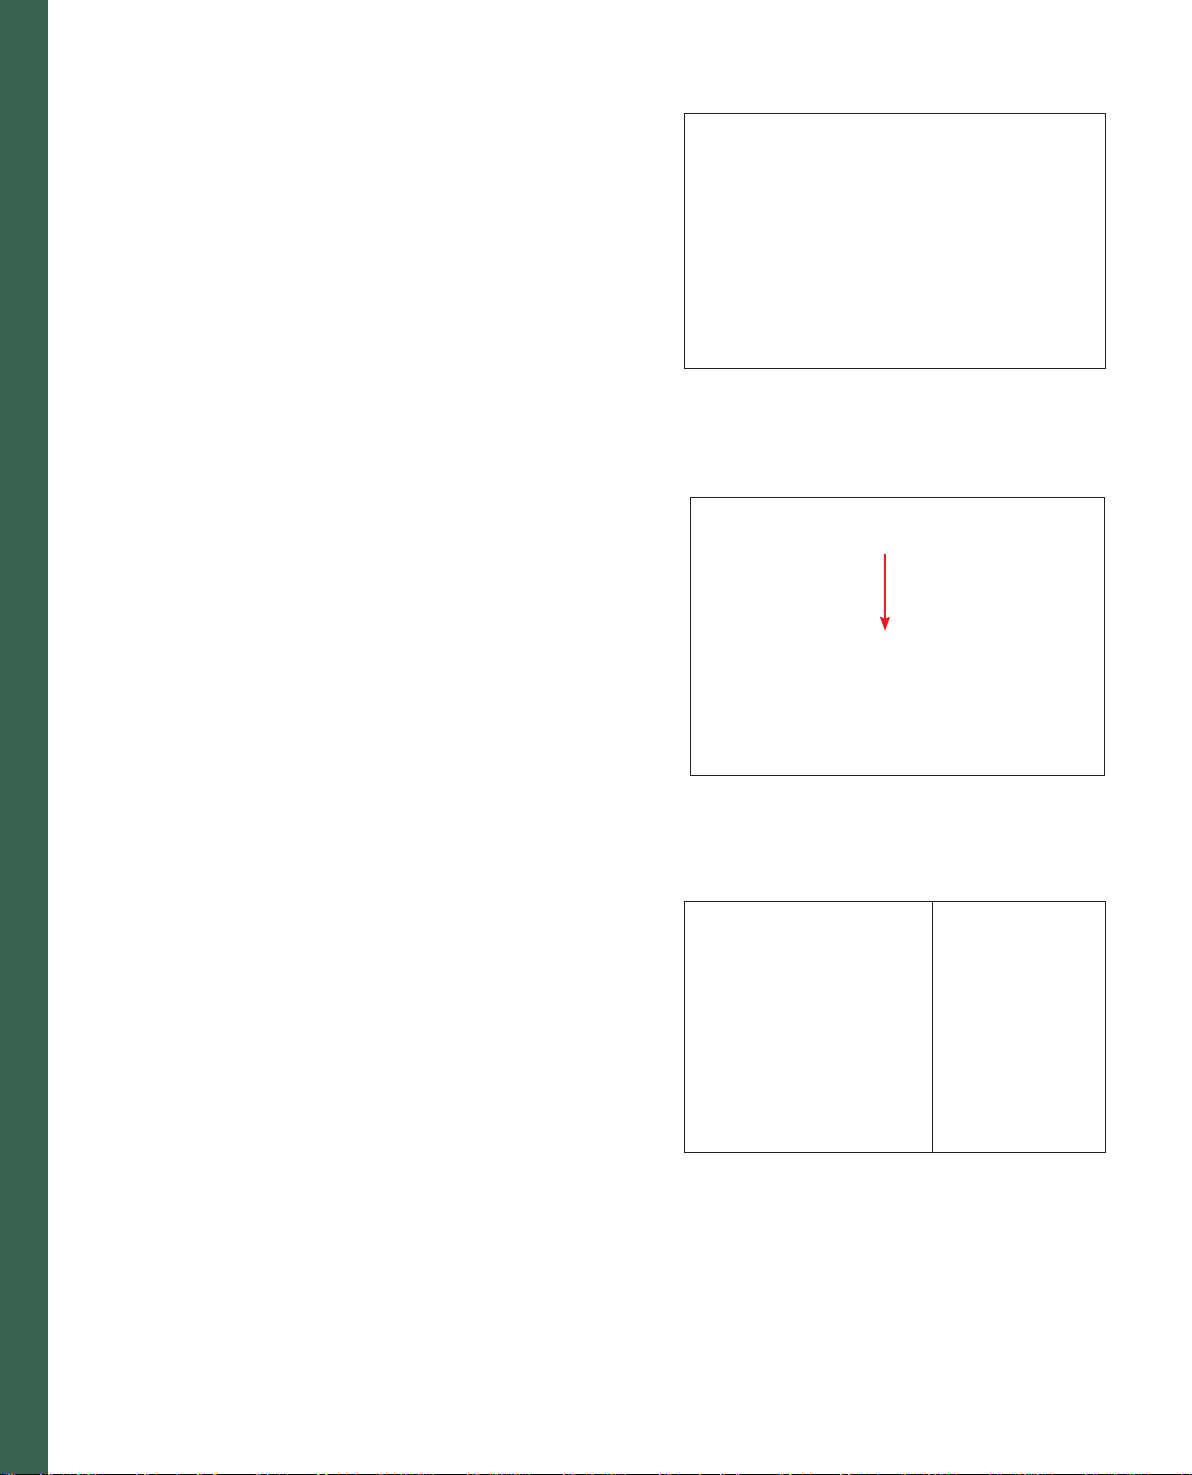
Pull the thread from the back to the front up over the thread cutter.
Preparations
A
Contrast of the screen
The contrast of the screen is adjustable. The setting can be re-adjusted
with the screen control dial (A).
2:3
Page 4
Carrying case
Place the enclosed lead cord, the foot control and instruction book into
the storage compartment of the carrying case.
Lid
Open the lid upwards.
The stitches of the sewing machine are illustrated on the inside of the
lid.
Preparations
Accessory tray
Open the accessory tray by placing your left index fi nger on the ridged
area on the left of the lid and open the lid up and towards you.
Free arm
In order to sew using the free arm, swing the detachable accessory tray
to the left and lift it up out of the hole. When replacing the accessory
tray, make sure it is fl ush with the free arm of the sewing machine.
Note: Some fabrics have a lot of excess dye which can cause discoloration on other fabric
but also on your sewing machine. This discoloring may be very diffi cult or impossible to
remove.
Fleece and denim fabric (especially in red and blue) often contain a lot of excess dye.
If you suspect that your fabric/ready-to-wear garment contains a lot of excess dye,
always pre-wash it before sewing/embroidering to avoid the discoloring.
2:4
Page 5

Changing the presser foot
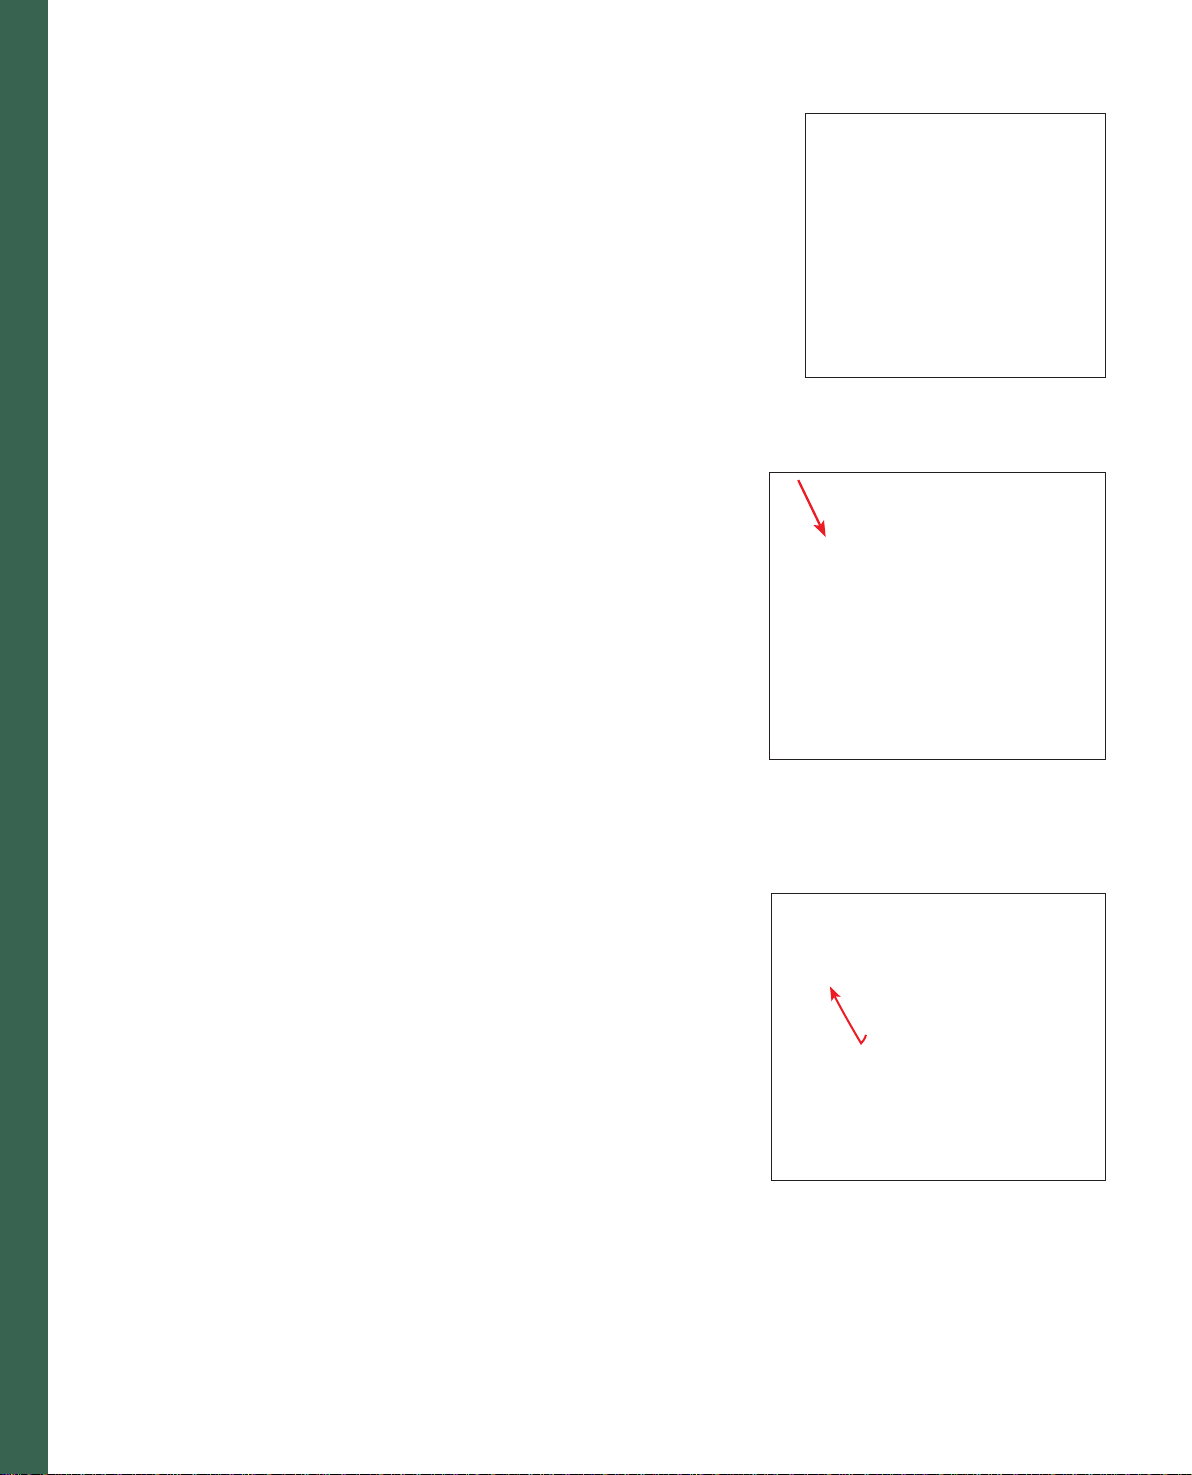
Snap off the presser foot
Switch off the main switch.
Press the front part of the presser foot upwards and at the same time
the rear part downwards until it disengages from the presser foot
holder.
Snap on the presser foot
Place the presser foot under the presser foot holder, so that when the
presser foot lift is lowered, the pins of the foot snap onto the presser
foot holder.
Preparations
Check:
Please check that the presser foot is properly attached by raising the
presser foot lift.
Note: If your Presser foot lift is disengaged because of the embroidery or free-motion, step
on the foot control in a sewing stitch or disengage the free-motion icon.
2:5
Page 6
The IDT (Integrated Dual Feed)
For sewing any fabric precisely Pfaff provides the ideal solution: the
Integrated Dual Feed, IDT system. As on industrial machines, the IDT
feeds the fabric from the top and bottom at the same time at the same
stitch length. The fabric is fed precisely. On light fabrics such as silk or
rayon the dual feed prevents puckering of the seam. The even feeding
action also ensures perfect matching of checked and striped fabrics. The
IDT keeps all layers of quilt projects aligned to prevent stretching of the
top layers.
Engaging the IDT
Important: For all work with the Integrated Dual Feed IDT, use presser
feet with the center back cut-out.
Raise the presser foot. Press the IDT down until it engages.
Preparations
Disengaging the IDT
Hold the IDT with two fi ngers at the ribbed ankle. Press the IDT down,
then pull it away from you and release the IDT slowly upward.
2:6
Page 7
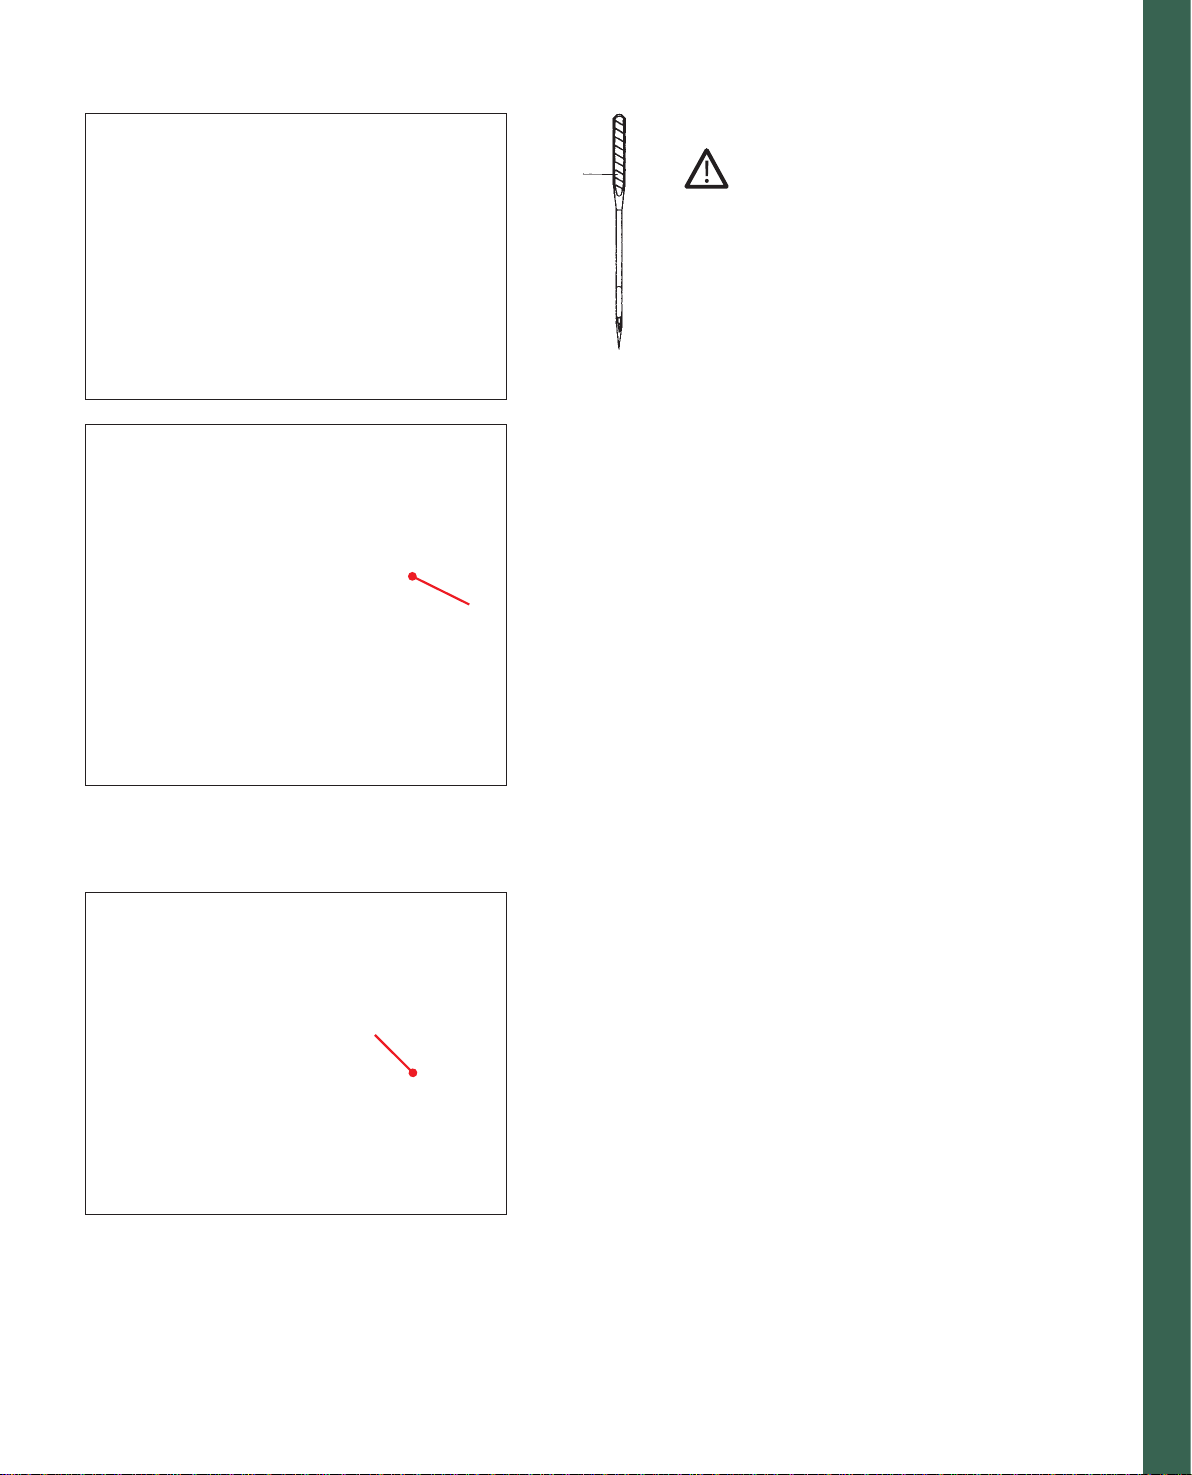
Changing the needle
A
A
Switch off the main switch.
To remove: Lower the presser foot and set the
needle to its highest position. Loosen the needle
screw and pull the needle out downwards.
To insert: The fl at side A of the needle must face
to the rear. Lower the presser foot and insert the
needle, pushing it up as far as it will go. Hold the
needle and tighten the needle screw fi rmly.
The feed dogs
For certain sewing work such as free-motion
quilting or darning or when embroidering, the feed
dog must be lowered. On your Pfaff creative 2170
there are two different methods for lowering the
feed dogs, one on the outside of the machine and
one inside the bobbin door.
For either method:
Raise the presser foot before lowering the feed dog.
Push slide A or B to the left.
To bring the feed dogs back up move the slide to the
right.
Preparations
B
2:7
Page 8

Winding the bobbin from the spool pin
Choose a spool cap slightly larger in diameter than the spool. For
example use the large spool cap for larger spools of thread, and the
smallest cap with cone-type spools. Place the sewing thread on the
spool pin. Slide the cap tightly against the spool.
Threading
Place the thread into guide (A) from front to back and pull it counterclockwise ABOVE the bobbin winder thread guide (B).
Wind the start of the thread around the bobbin several times in a
clockwise direction.
Note: When bobbin winding always place the thread ABOVE the bobbin winder thread
guide (B). Place a bobbin on the bobbin winder with the Pfaff logo up. Make sure the
bobbin is secure on the bobbin winder by placing the small pin on the bobbin winder into
Preparations
the slot on the bobbin.
Switch on the main switch.
B
A
Start bobbin winding by pushing the bobbin winding lever to the
right. You may need to adjust the Winding speed on the window in
the multi- color touch screen as explained on page 2:11. As soon as the
bobbin is full, the winding action will be stopped automatically. Cut
the thread and remove the bobbin from the winder.
2:8
Page 9

2.
1.
B
A
Swing the second spool pin up and lock. Place a spool of thread
with an appropriate spool cap on the spool pin.
Preparations
2. Winding from the third spool pin
Insert the third spool pin in the hole provided. Place the appropriate
spool cap and then a spool on the spool pin.
Threading
Place the thread into thread guide (A) from front to back and pull
it counter clockwise above the bobbin winder thread guide (B).
Wind the start of the thread around the bobbin several times in a
clockwise direction.
Start bobbin winding by pushing the bobbin lever to the right.
As soon as the bobbin is full, the winding action will be stopped
automatically. Cut the thread and remove the bobbin from the
winder
1. Winding from the second spool pin
2:9
Page 10

Bobbin winding while embroidering
The creative 2170 has a thread guide for bobbin winding while
embroidering.
The needle thread (red) is placed into the thread guide (A) and
underneath the bobbin winder thread guide (B). Pull the bobbin thread
(blue) counter clockwise above the bobbin winder thread guide. Wind
the start of the thread around the bobbin several times in a clockwise
direction.
Winding a bobbin through the needle
It is possible to wind bobbins even when the machine is fully threaded
(see page 2:14 for threading instructions).
Raise the presser foot. Pull the needle thread underneath the presser
foot and upward through the right-hand threader slot.
B
A
Preparations
Place the thread from left to right through the take-up lever (C).
Note: The take-up lever must be at its highest position.
Guide the thread to the right. Wind the start of the thread around the
bobbin several times in a clockwise direction. Start bobbin winding
by pushing the bobbin lever to the right. As soon as the bobbin is full,
the winding action will be stopped automatically. Cut the thread and
remove the bobbin from the winder.
Note: The thread knife next to the bobbin winder makes it easy to cut the thread after
bobbin winding.
2:10
C
Page 11

Setting the bobbin winding speed
You can select the speed in which the bobbin winding is wound when
the machine is stopped. In the context menu (A), you will fi nd an icon
called Winding speed. If you touch that icon, a pop-up will appear
where you can choose if you want the winding speed to be Slow,
Medium or High.
If you touch the Show Dialog icon, a window for selecting the speed
opens each time the bobbin winder is switched on.
The speed that you have selected can halved at any time by touching
the half speed button.
Note: If you wind the bobbin while the sewing machine is running, the winding speed is
automatically set to Low.
A
Preparations
2:11
Page 12

Inserting the bobbin and bobbin case
Switch off the main switch.
Open the bobbin door at the left side swinging it open towards the
front.
Lift the latch of the bobbin case and pull the bobbin case out of the
machine. Release the latch and take the empty bobbin out of the bobbin
case.
Bobbin thread monitor
When the bobbin thread is nearing its end the red light next to the
reverse button fl ashes automatically. A warning message will also be
given on your display. This function is only activated when the bobbin
door is closed.
Inserting the bobbin
Insert the full bobbin (with the Pfaff logo facing towards the bobbin
case) in the bobbin case. When doing so, pull the thread through slot
(A), then under tension spring (B) until it rests in the opening (see
arrow).
Preparations
Check: Hold the bobbin case with the bobbin facing towards you. When you pull the
thread, the bobbin must turn clockwise.
Inserting the bobbin case
Lift latch (E) and push the bobbin case fully onto pin (C) of the sewing
hook. Opening (D) of the bobbin case must face upwards.
Check: Pull the bobbin thread sharply. The bobbin case must not fall out of the hook.
2:12
Page 13

Correct top tension - How to get it
This machine will automatically preset the tension for different types of
stitches. Depending on what type of fabric and threads you are using,
manual adjustments might be needed.
If you fi nd that the bobbin thread is visible on the top side of the fabric
or that the top thread is visible on the underside of the fabric, you need
to adjust the thread tension.
Press the thread tension icon (A), + and - to set the required amount
of the needle thread tension. Your adjustments will be reset when you
select a new stitch or design. To save your alterations for the next time
you sew see page 3:12.
A
Thread tension
For the best stitch appearance and durability make sure the needle
thread tension is correctly adjusted, i.e. the threads evenly meet
between the two fabric layers.
The following is valid for general sewing work:
Preparations
Bobbin thread is visible on the top side of the fabric:
The needle thread tension is too tight.
The needle thread tension must be reduced.
Top thread is visible on the underside of the fabric:
The needle thread tension is too loose.
The needle thread tension must be increased.
For decorative stitches and buttonholes the top thread should be visible
on the underside of the fabric.
2:13
Page 14

Threading the needle
Raise the presser foot. Place the thread on the spool pin and fi t a spool
cap of the right size.
Using both hands, pull the thread into the thread guide (A) from front
to back. Place the thread from the right underneath the bobbin winder
thread guide (B).
Now pass it through the left-hand threading slot downwards.
Pull the thread around the stop (C) in the right-hand threading slot and
upwards to the take-up lever (E). The thread must be pulled fully into
the take-up lever from left to right. Pass the thread downwards in the
right-hand threading slot.
Pull the thread from the side behind one of the two thread
guides (D).
To thread the needle, please refer to the next section.
Note: When sewing always place the thread underneath the bobbin winder thread guide
(B).
B
A
E
Preparations
Needle threader
In order to make threading of the needle easier and quicker the Pfaff
needle threader is built-in. The needle threader allows you to thread
the needle automatically.
1. Lower the presser foot. Press the threader down with the handle.
The threader hook (G) swivels through the needle eye.
2. Place the thread from the back, over the hook (F) and under the
thread hook (G) and hold the end of the thread taut. Reduce the
pressure so that the needle threader slowly moves upwards.
3. At the same time, the threader hook swivels out of the needle eye
and pulls the thread through the eye. Slightly release the end of the
thread, so that a thread loop can form behind the needle. Release
the threader and pull the rest of the thread end through the needle
eye.
C
D
1.
2:14
F
2.
G
3.
Page 15

Bobbin thread
Raise the presser foot. Insert the bobbin case and place the thread to the
left (see picture). Close the hook/bobbin door. Place the fabric under
the presser foot and start to sew. The machine will pull the thread up
by itself.
Threading the twin needle
Replace the sewing needle with a twin needle.
A
Swing the second spool holder up and lock. Place a spool of thread
with an appropriate spool cap on it. Make sure that both threads are
placed underneath the bobbin winder thread guide. During threading
in the left threading slot, make sure that you pass one thread to the
left and one thread to the right sides of the tension disk (A). Continue
threading in the usual manner, making sure the threads do not become
twisted together.
Preparations
Pull the right thread into the right thread guide and thread the right
needle. Pull the left thread into the left thread guide and thread the left
needle.
It is not possible to use the automatic needle threader with a twin
needle.
2:15
Page 16

Presser foot lift
The presser foot is raised or lowered with the presser foot lift.
Electronic knee lift
Your Pfaff creative 2170 is provided with an electronic knee lift for
regulating the presser foot height.
1. Push the knee lift fully into the provided hole on the machine.
Note: the fl at side must face upwards.
2. Adjust the rectangular bar on the knee lift until it is positioned at a
comfortable height for you.
If you press the knee lift to the right, the presser foot will raise.
Now you can guide the fabric with both hands.
3. To remove the knee lift, just pull it out of the hole.
Preparations
1. 2.
3.
2:16
Page 17

General notes on how the Pfaff creative 2170
works
In your sewing machine there are two tools to help you while you are
sewing; the creative Assistant and the Machine Assistant.
Creative Assistant
In your Pfaff creative 2170 there is a creative Assistant function (A)
that gives you information on how to use the machine. If you press the
creative Assistant while you are on the Main menu you will get general
information about the machine. If you touch the icon within a stitch,
the direct help function is launched. It provides you with information
about what foot to use etc.
Machine Assistant
When you are in the creative Assistant you can reach the Machine
A
Assistant function by pressing the Machine Assistant icon (B). The
Machine Assistant gives you information on how to use the machine.
You can choose from two menus; Sewing and Embroidery. You can
among other things, fi nd instructions on how to thread the needle,
wind a bobbin, change the presser foot, change the light bulb, and fi t
the embroidery hoop to the machine.
Preparations
When closing the creative Assistant press the (C) icon. The toolbar will
change color and the buttons will change to the normal toolbar.
C
B
2:17
Page 18

creative Data Manager
The creative Data Manager organizes your Pfaff creative 2170’s stitches.
Here you can organize stitches, stitch sequences, personal menus, and
programs as the Patchwork program.
You have access to the following functions:
1. Personalized stitches can be saved and renamed, copied or deleted.
2. Designs can be copied from a card to a creative memory card.
3. Sequences/combinations can be renamed, altered or deleted.
4. Personal menus can be altered, renamed or deleted.
5. New directories and sub-directories can be created in the machine
or on a creative memory card.
6. Data in the memory can be accessed.
7. Individual stitches or designs within a sequence/combination can
be accessed.
8. An entire directory can be accessed. Your Pfaff creative 2170 is
always ready to sew, even when the Creative Data Manager is
open.
In your creative Data manager there are two fi elds available. One
fi eld is the source data. The other fi eld is the destination data. Either
fi eld can be used as source or destination. To open directories, sub-
directories/sequences/combinations, personal menus or data records
there is a selection bar which you can move up or down with the
arrows.
In order to process the data record, it must be selected.
Preparations
2:18
Page 19
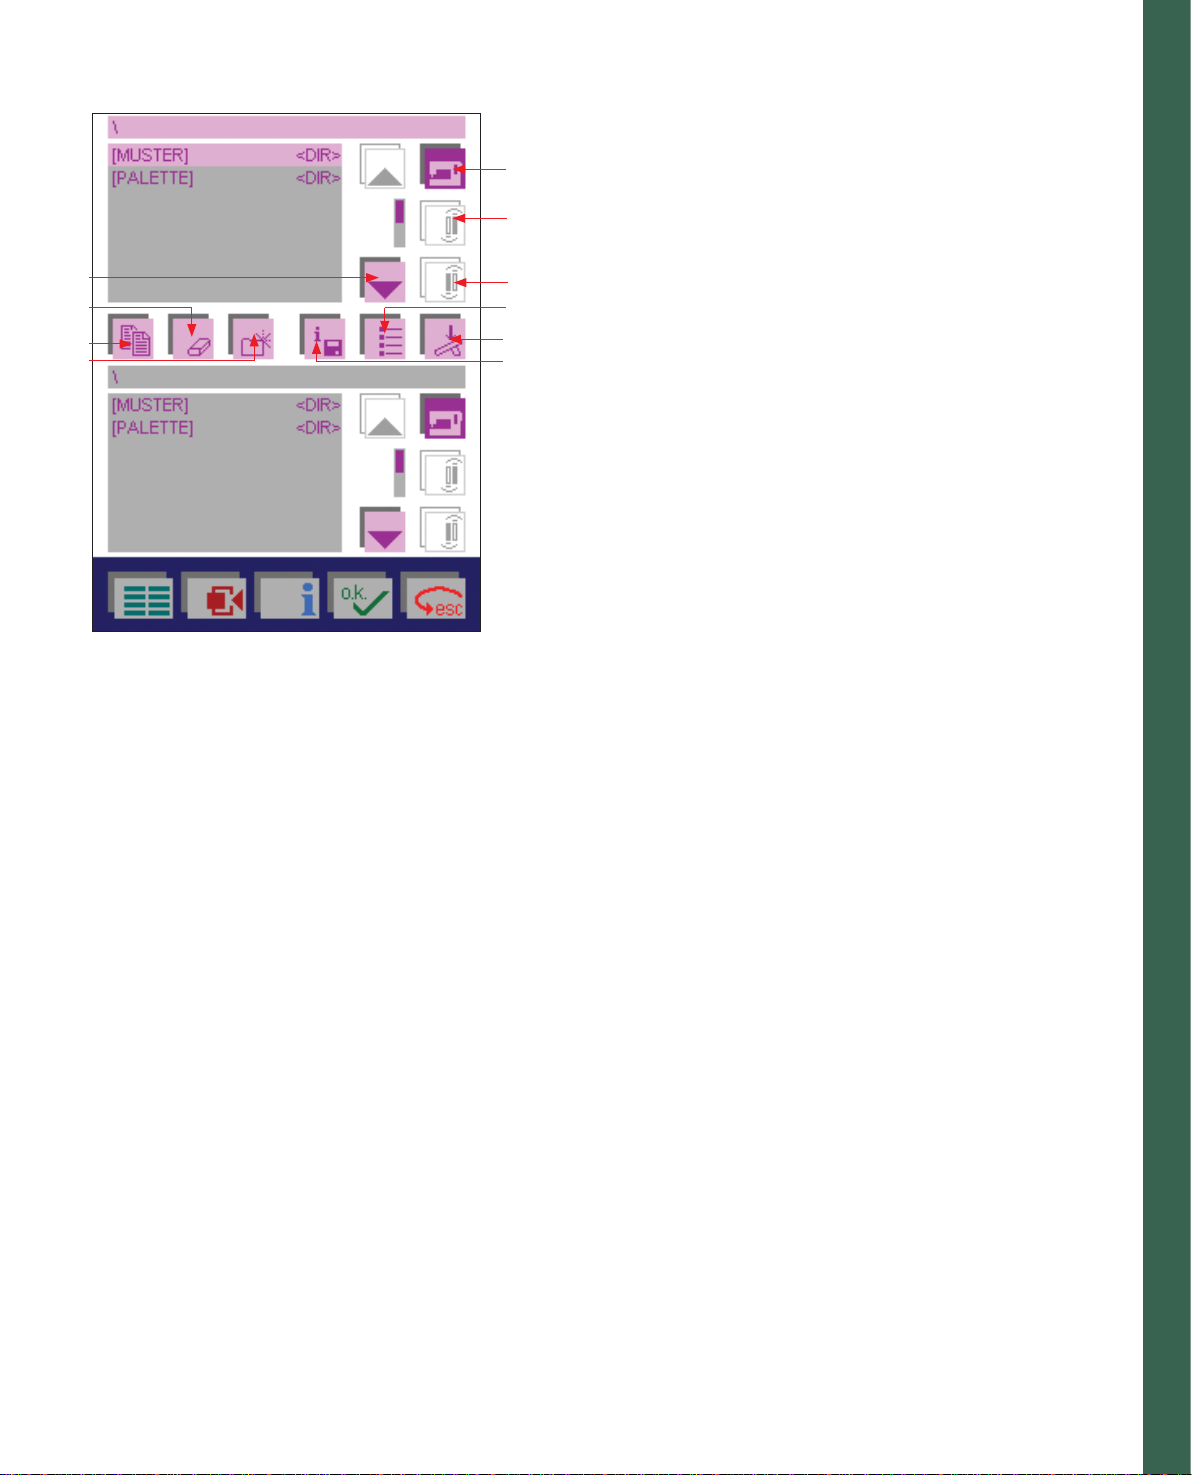
creative Data manager
A. Machine memory icon: Use this function to access the stitches or the
A
embroideries in the machine.
B. Front card drive icon, card inserted: use this function to access the
B
front card drive.
C. Rear card drive icon, no card in the machine: Use this function to
G
H
I
J
access the rear card drive.
C
D. Sort criterion icon: use this function to sort your data alphabetically
D
or according to data type.
E
E. Start sewing: If you touch this icon when you have marked
F
a sequence, you can sew it straight away. The corresponding
processing menu for the sewing sequence or embroidery
combination appears on the screen. Read more about sewing
sequence on page 4:4-4:5.
If you touch this icon when a stitch is marked, the processing menu
for the stitch appears and the machine is ready to sew.
If you touch this icon when a Personal menu is marked the personal
menu is displayed and you can select a stitch and sew it. The stitch
appears on the corresponding processing screen.
F. Memory information icon: Use this function to consult the data
records contained in a directory or stitch that you have marked.
G. Activity arrow icon: using these arrows you can browse through
the screen. The dark marker bar indicates the marked area.
H. Delete icon: Use this icon to delete a data record (directory, stitch or
stitch sequence) that you have marked.
I. Copy icon: this is a function for copying renaming, moving
stitches/designs, sequences or combinations.
Preparations
Copying data:
You can duplicate data, such as stitches and stitch sequences, from the
machine or a creative card and save them in a different memory or save
or insert them on a creative card. To do this, mark your destination fi le,
mark the source fi le and touch ’Copy’.
Sequence: 1. Mark destination / 2. Mark source / 3. Copy
Renaming data:
To rename data such as stitches, stitch sequences or personal menus,
touch the Copy icon and Rename. A window for entering a new name
(max. 8 characters) is opened.
Move:
You can move stitches or stitch sequences from the machine or from
a creative card to another memory or onto a creative card. To do this,
mark your source fi le, mark the destination fi le and touch the Copy
icon and Move.
Sequence: 1. Mark destination / 2. Mark source / 3. Move
2:19
Page 20

How to update your machine
Together with your Pfaff creative 2170 you received a special cable with
USB connection on one end and a creative card on the other. Use this
cable when updating your machine or when transferring data between
your Pfaff creative 2170 and the 3D File Assistant on your computer.
1. Enter the Pfaff home page at www.pfaff.com and click on 2170
update.
2. Click to download.
3. Fill out your registration form or enter your e-mail address and
start the search. When the registration is complete, start the
download.
Note: Depending on the Windows version installed on your computer, your screen may
look different than those shown.
4. To run the download program directly from the site, choose Open
this fi le from its current location.
5. If you want to download the program to your hard drive and
update the machine later, choose Save this fi le to disk. See How to
save the update program to your hard drive.
6. Click Yes to continue.
7. When screen (C) appears the update program is activated and you
can close your Internet connection.
Preparations
C
2:20
Page 21

Set your Pfaff creative 2170 in the update mode
1. Connect the cable to a port on your computer then insert the card in
one of the card drives in your sewing machine.
2. Turn the machine on.
3. Touch the Main Menu.
4. Touch Context menu. Touch Firmware update. Choose yes to the
prompting question. A new pop-up with updating instructions
appears.
5. Read the instructions, then touch OK to prepare your Pfaff creative
2170 for updating. Yet another pop-up appears telling you that the
machine is waiting for data.
6. Click on the Update sewing machine icon on the computer
to start the update. The updating process will begin and after
approximately 20 minutes, you can restart the sewing machine
and your Pfaff creative 2170 is ready to use with the new program
version. If you have problems updating your Pfaff creative 2170,
see section Troubleshooting, page 2:23.
Preparations
How to save the update program to your hard drive
Note: Depending on the Windows version installed on your computer, your screen may
look different than those shown.
1. Click on the update link, the following screen appears.
2. Choose Save this fi le to disk by clicking in the white circle in front
of the text (if it has a dot in front of it, it is already selected). Click
OK.
3. The Save As window appears. If you have updated your 2170
previously, browse to the update folder you created and save the
new fi le there. Otherwise create a new folder according to the
instructions below.
2:21
Page 22

Create a folder to save in
4. Left mouse click on the arrow down symbol. Your hard drive is
most often called Local Disk and is followed with a C: as the name
of the drive.
5. Find your hard drive and left mouse click to open it.
6. Click on the new folder icon, (A) to create a new folder on your
hard drive.
Preparations
7. The new folder is selected so you can enter a new name. Name the
folder Update 2170.
8. Double-click on the folder to open it.
9. Left mouse click on the Save icon to save the update fi le in the
folder.
A
2:22
Page 23

10. The saving to the folder begins. The speed of your Internet
connection will determine how long the download will take.
11. The fi le Update 2170 has now been downloaded.
Left mouse click on the Open folder icon, to open the folder where
the update fi le is stored.
(Depending on the settings in your computer the above window might close
automatically. If so, please follow the instructions under Update later).
12. Double-click the left mouse button on the Update 2170 icon. The
update program starts. Follow the instructions on the screen and set
your 2170 in the update mode.
Preparations
Update later
If you want to update your Pfaff creative 2170 at a later time, left mouse
click on the Close icon. If the Download complete screen is closed
automatically, disregard the above.
When you want to update your 2170, left mouse double click on the
My Computer icon on your desktop (the opening screen when you fi rst
turn on your computer). Left mouse double click on the C: drive.
Left mouse double click on the Update 2170 folder to open it.
Double click on the Update 2170 fi le.
The update program starts.
Follow the instructions on the screen and set your 2170 in the update.
Troubleshooting
• The message Unable to open COM-port/USB appears. Check that
the correct COM-port/USB is selected in the serial port selection
list.
• The message Unable to initialize the sewing machine monitor
appears. Check all connections between the computer and the
machine. Switch off your Pfaff creative 2170, restart and set it in the
update mode. Restart the update program.
• If a communication error occurs, check the connection to the
computer, turn the sewing machine off and back on again. When
turning the machine on, the screen will be black. Click the Update
sewing machine icon on the PC. Within a few seconds the updating
process will start again.
2:23
 Loading...