

Pavo LAMINATING MACHINE User Manual [es]
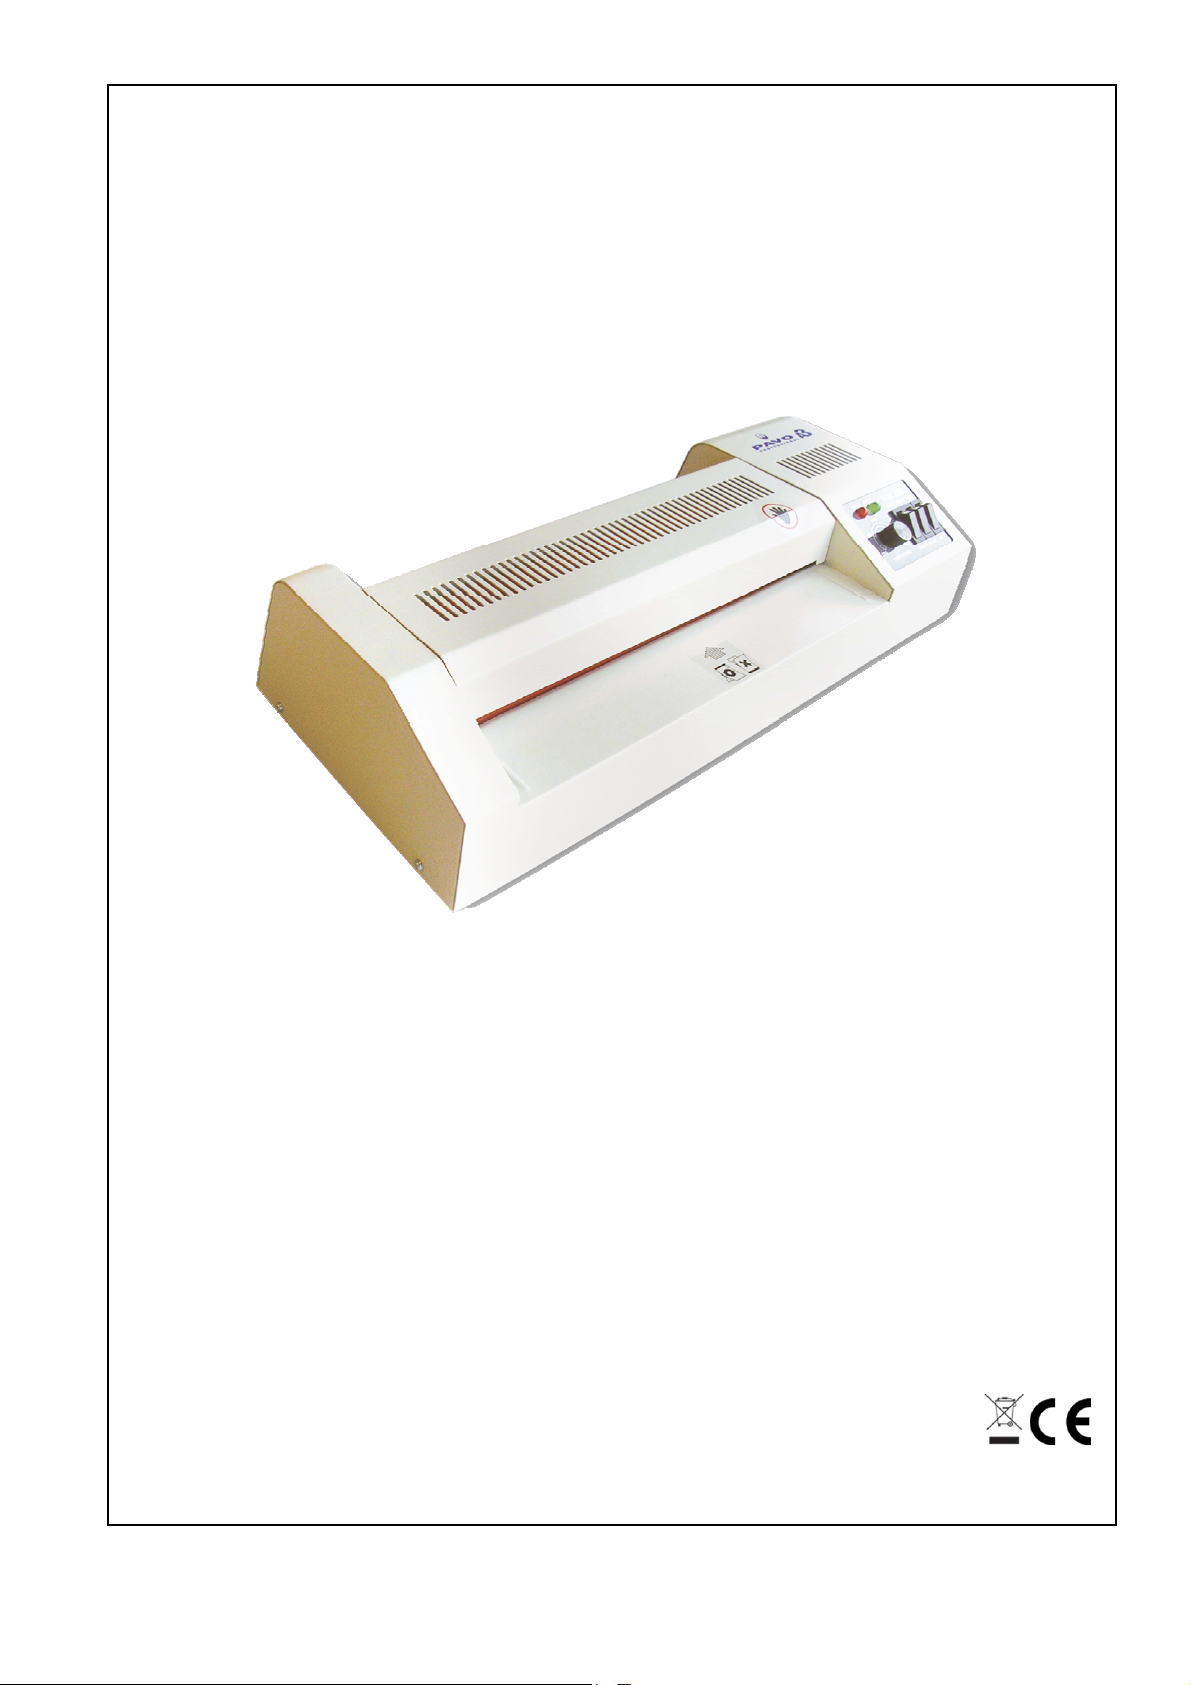
LAMINATING MACHINE
English............................................................................................................................3
Français..........................................................................................................................5
Deutsch...........................................................................................................................7
Polski ..............................................................................................................................9
Español.........................................................................................................................11
Nederlands...................................................................................................................13
1 2 3


LAMINATING MACHINE
SAFETY NOTICE
Read all instructions before use
Do not leave cable where other may trip
Do not attempt to open casing
Do not use if wet
Switch off and unplug when not in use
Do not cover the heat vents when in use
OPERATING INSTRUCTIONS
Before laminating it is advisable to carry out a test lamination to familiarise yourself and to make
sure that your machine is working correctly.
1. Put your laminator on a stable place (table, desk, etc.) and connect it to a domestic 220v
(110v for some countries).
2. Turn the control knob to the desired temperature level. Note: The thickness, size and quality
of the artwork and the type of paper can affect the temperature chosen.
3. Press the “On” button. When the "On" lights up, it indicates that the Laminator is turned on.
4. The "Heat" light which indicates the temperature, lights up after 2-3 minutes indicating that
the device is ready to laminate.
5. Place the document you want to laminate inside the pouch, then place the pouch at the
insertion of the machine (Be sure to introduce the sealed part of the pouch first). Attention:
please do not push or press the pouch into the laminator. The rollers of the machine will help
take in the pouch. If the document has been badly inserted (e.g. skewed), and there are jams,
do not hesitate to press the “Out” button immediately. Wait until the paper comes out
completely and then replace and press the button "In” order to continue normal lamination.
6. Get the laminated pouch from the laminator and place it flat to cool off for a few seconds.
7. Once completed, remember to press "Off" to turn off the machine.
BE CAREFUL: If changing to a thinner pouch type allow time for the machine to cool to the correct
temperature. If changing from hot to cold lamination make sure machine is completely cooled.
Do not touch the heat vents when the machine is
working,
Do not put any items through the heat vents.
Do not use if machine, cable, or socket is damaged
Wait for pouches to cool before handling, they may be
hot.

TROUBLESHOOTING
A. If the pouch is not well laminated or white traces appear, increase the temperature (turn the knob
that indicates the temperature clockwise). Wait a few minutes until the temperature light is lit.
Laminate.
B. If the pouch is wavy, it means that the temperature is too high. Lower the temperature by turning
the knob counter clockwise. Wait a few minutes. Laminate.
C. The Laminator is specially designed to take all types of pouches, with or without the use of
carriers. However, pouches from some brands may contain high levels of glue which may
overflow during the heating process. If you use these kits, we strongly advise the use of paper
carriers during lamination. This will prevent possible fouling of the rollers.
D. If you would like to cold laminate the pouches, adjust the temperature knob on "cold". If the
laminator is hot, please wait a few minutes until it cools down.
OTHER INFORMATION
Laminating:
When laminating both hot and cold pouches we recommend that you leave minimum margin of
3mm / ⅛ inch around the edge. If laminating several objects, leave a space of 6mm / ¼ inch between
objects.
If you need to cut a pouch do so after laminating. Cut pouches can leak glue in to your machine.
Pouches are also easier to cut accurately when laminated.
WARRANTY
The machine has a warranty of 2 years (the warranty is not applicable if the pouches has been
inserted in the wrong position/direction, or the machines has been used for an inappropriate
purpose).
TECHNICAL DATA
Voltage....................................................................................................................220-240V
Power consumption.................................................................................................680W
Max width laminating.............................................................................................330mm/13’’
Max thickness laminating .......................................................................................2x250mic
4

PLASTIFIEUSE
CONSIGNES DE SECURITE
Lire attentivement les consignes avant
utilisation.
Ne pas brancher avec plusieurs fils
électriques.
Ne pas essayer d’ouvrir le boîtier.
Ne pas utiliser dans un environnement
humide.
Eteindre et débrancher la machine
lorsqu’elle n’est pas utilisée.
CONSIGNES D’UTILISATION
Avant de plastifier, il est recommandé de faire un essai pour se familiariser avec la machine et pour
s’assurer que celle-ci fonctionne correctement.
1. Placez votre « Laminator » sur un endroit stable (table, bureau, etc.) et branchez le sur une
prise domestique de 220v (110v pour certains pays).
2. Tournez le bouton de control de température au degré souhaité. A noter: l’épaisseur, la taille
et la qualité de la pochette ainsi que le type de papier peuvent influer sur la température a
choisir.
3. Pressez le bouton «On» marche. Le voyant «On» s’allume et indique que le «Laminator» est
sous tension.
4. Le voyant «Heat » qui indique la température s’allume au bout de 2/3 minutes vous
indiquant ainsi que l’appareil est prêt a plastifier.
5. Placez le document que vous souhaitez plastifier à l’intérieur de la pochette de plastification,
puis placez la pochette au niveau d’insertion du «Laminator» (Veillez bien à introduire la
partie soudée de la pochette en premier). Attention, veuillez ne pas coller ou presser la
pochette. Les rouleaux de la machine entraînent directement la pochette.
6. Si le document a mal été inséré (de travers par exemple), et qu’il y a un risque de bourrage,
n’hésitez pas à presser le bouton «Out» marche arrière immédiatement. Attendez que le
document ressorte complètement puis replacez et appuyez sur le bouton «In» afin de
continuer la plastification normalement.
7. Récupérez la pochette à la sortie du «Laminator» et posez la bien à plat afin qu’elle
refroidisse quelques secondes.
8. Une fois terminé, n’oubliez pas de presser «Off» afin de mettre l’appareil hors tension.
Ne pas couvrir la ventilation lorsque la machine
fonctionne.
Ne pas toucher la ventilation en cours de
fonctionnement.
Ne mettre aucun objet dans la ventilation .
Ne pas utiliser la machine, le fil électrique ou la prise
de courant si ceux-ci sont endommagés.
Attendre que les documents plastifiés refroidissent
avant de les manipuler, ils peuvent être chauds.
ATTENTION: Si vous changez d’épaisseur de pochette pour la remplacer par une plus fine, cela
prend quelque temps à la machine pour refroidir. Si vous passez d’une plastification à chaud à une
plastification à froid, assurez-vous que la machine soit complètement refroidie.
5
 Loading...