

Panasonic SL-MP50 User Manual
1
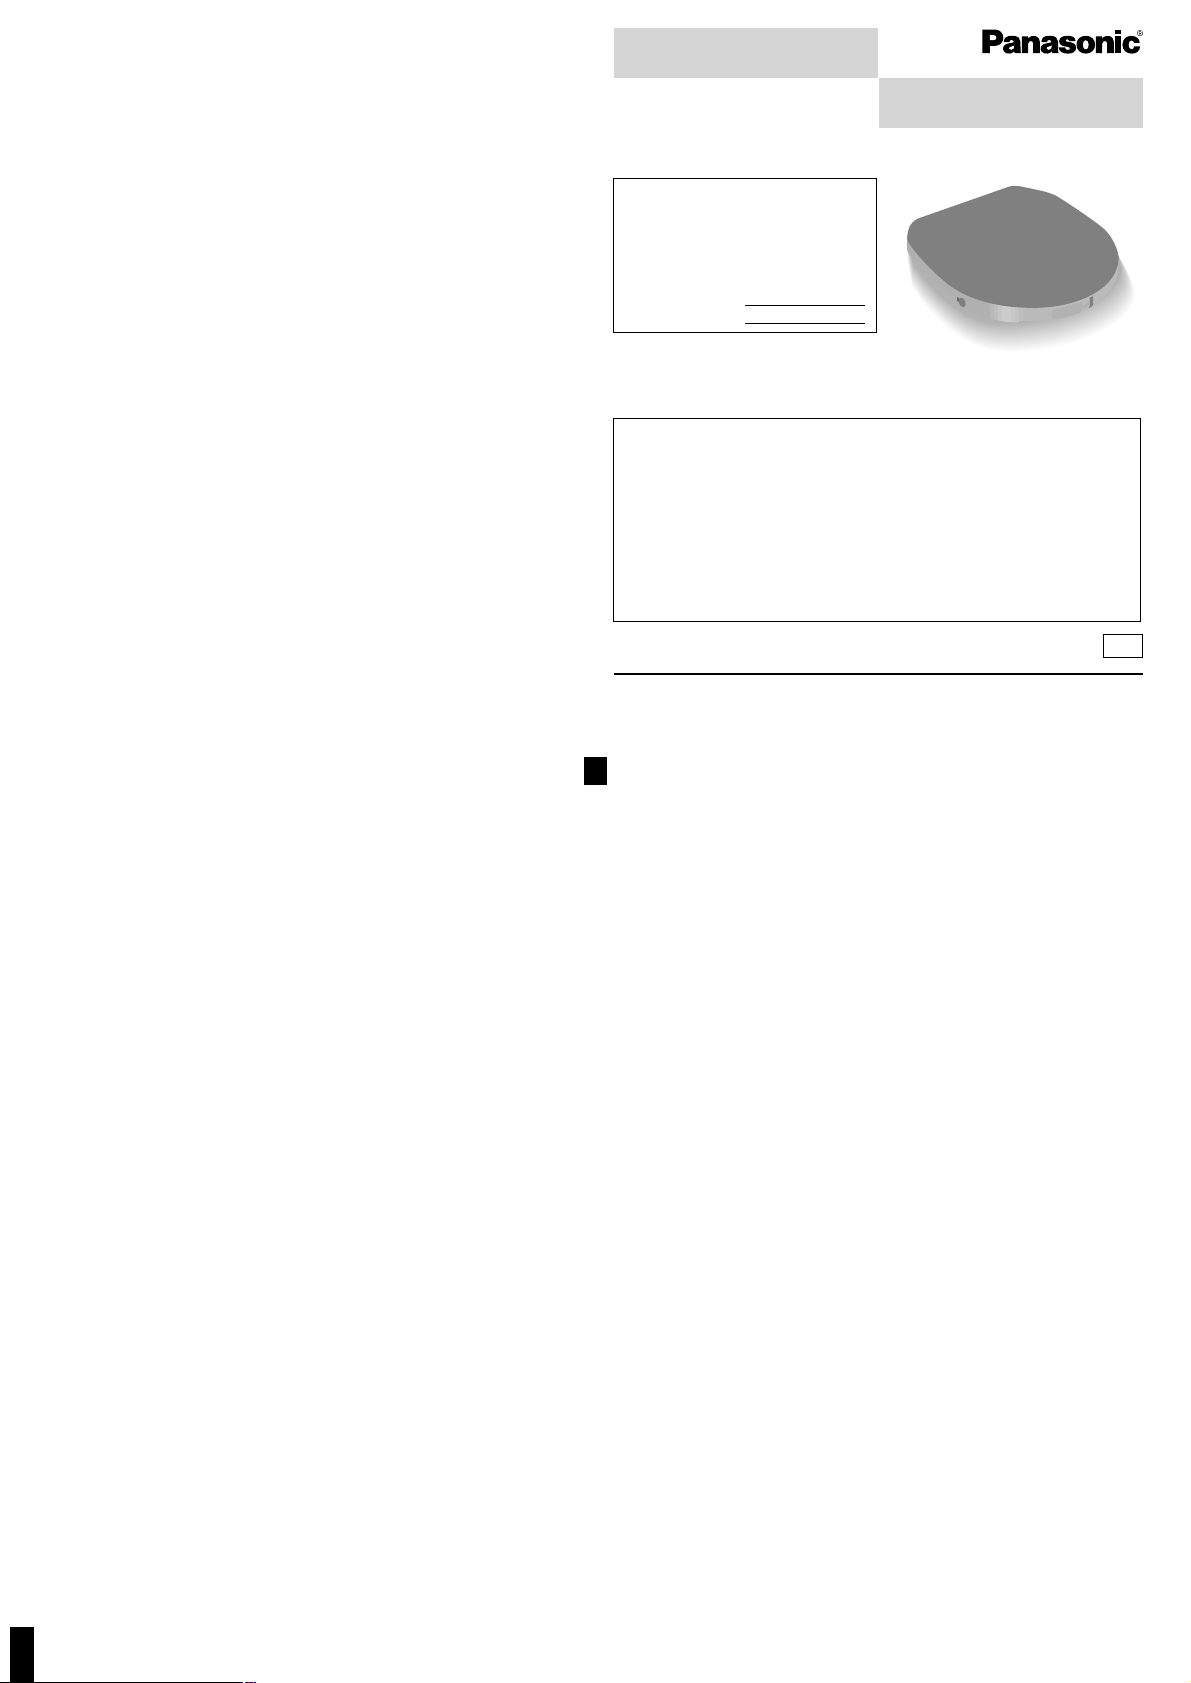
Supplied Accessories
Check the packing carton for these accessories.
Model No. SL-MP50
Before connecting, operating or adjusting this product, please read these
instructions completely. Please keep this manual for future reference.
Portable CD player
Operating Instructions
The model number and serial number
of this product can be found on either
the back or the bottom of the unit.
Please note them in the space provided below and keep for future reference.
MODEL NUMBER
SERIAL NUMBER
Car adaptor . . . . . . . . . . . . . . . . . . 1
(SH-CDC12PEY)
Car stereo cassette adaptor. . . . . . 1
(SHCDM10B1PYK)
Use numbers indicated in parentheses when asking for replacement parts.
To order accessories contact 1-800-332-5368 or web site
(http://www.panasonic.com).
Panasonic Consumer Electronics Company, Division of
p
Matsushita Electric Corporation of America
One Panasonic Way Secaucus, New Jersey 07094 http://www.panasonic.com
Panasonic Sales Company, Division of Matsushita Electric of Puerto Rico, Inc. (“PSC”)
Ave. 65 de Infantería, Km. 9.5 San Gabriel Industrial Park, Carolina, Puerto Rico 00985
C 2001 Matsushita Electric Industrial Co., Ltd.
P

Power Supply Preparations
Refer to the specifications (page 8) for information on operating times when using rechargeable batteries or dry-cell batteries.
Using the car adaptor
Be sure to use the supplied car adaptor specially designed for this model.
(Refer to the separate installation instructions.)
The car adaptor can be used to recharge the unit’s batteries while in the car.
Using the AC adaptor
(not included)
Connect the AC adaptor.
Using rechargeable batteries
(not included)
Obtain the optional rechargeable batteries.
Make sure to recharge the batteries before using them.
The unit cannot be used to charge rechargeable batteries other than those specially designed for it.
Optional batteries: P-3GAVA/2B
Recharging procedure
1 Insert the special rechargeable bat-
teries into the unit.
2 Connect the AC adaptor.
(Refer to “Using the AC adaptor” for connection
instructions.) Recharging starts and the “H
”
charging indicator flashes on the display. When
the rechargeable batteries fully recharge the
charging indicator disappears.
3 When recharging is complete, un-
plug the AC adaptor from the
household AC outlet and the DC IN
jack.
Note!
≥Rechargeable batteries have a service life of approxi-
mately 300 charge-discharge cycles. The batteries
have reached the end of their operational life if they
last for a noticeably shorter time after recharging, or if
they cannot be recharged at all. Replace the batteries.
≥Recharging may only be performed when the unit is
powered off.
≥The AC adaptor and rechargeable batteries may be-
come warm while recharging is in progress. This is not
a malfunction.
Using dry-cell batteries
(not included)
After disconnecting the AC adaptor, insert two “LR6,
AA, UM-3” alkaline batteries.
The procedure for inserting and removing dry-cell
batteries is identical to that for rechargeable batteries.
Battery indicator
This indicator flashes when the batteries are almost out
of power. Power is cut off completely a short while later.
Rechargeable batteries: Recharge batteries.
Dry-cell batteries: Replace batteries with new ones.
Note!
≥The length of time the unit will continue to operate be-
tween when the battery indicator starts flashing and
when the power is cut off differs depending on the
type of batteries used.
≥The battery indicator may not flash if rechargeable
batteries other than those designated by Panasonic
are used.
Removing batteries
Push up on the battery
in the direction indicated by the arrow. Then
lift it out.
If the battery lid
comes loose
Slide the lid back into
place horizontally.
If the unit malfunctions or freezes during use,
then disconnect the power source (the AC
adaptor or batteries).
Re-connect the power source and continue operation.
1
+
-
2
3
2
DC IN jack (DC IN 4.5 V K)
Back panel of the unit
Household
AC outlet
AC adaptor
S-XBS
Battery indicator
Location of Controls
A Display
B Album mode button
(ALBUM MODE)
C Memory/recall button
(MEMORY/RECALL)
D Repeat button (REPEAT)
E S-XBS button (S-XBS)
F Album skip buttons
(MALBUM L)
G Skip/search buttons
(:, 9)
H Play/pause button (1/;)
I Stop/operation off button
(∫,OPR OFF)
J Open switch (OPEN 1)
K Headphone volume control
(VOLUME)
L Headphone jack (Ë)
M Hold switch (HOLD)
N Play mode selector
(NOR, RANDOM, RESUME)
O CD release button (PUSH)
P Hole for car mounting base
Q DC IN jack
(DC IN 4.5 V K)
HOLD
Back panel of
the unit
Conserving power
To save power when the unit is not to be used for a long
time, unplug the AC adaptor from the household AC
outlet. Reprogram tracks if necessary before use.
BCDAEFG
N
MLK JI H
O
P
Q
HOLD mode
Before operating the buttons
Be sure to move [HOLD] to release
the unit from the HOLD mode.
This function causes the unit to ignore
short, accidental button presses. (The
disc lid can still be opened and closed.)
The HOLD function prevents the
following:
≥The unit is powered on accidentally
when not in use, causing the batteries
to run down.
≥A button is accidentally pressed during
play, interrupting the operation.
To use the HOLD function
Set [HOLD] to the HOLD position.
“(” indication
When the unit is in HOLD mode, pressing any button causes the indication
“(” to appear on the display.
When the unit is powered off
The “(” indication appears only
when [1/;] is pressed.
HOLD Function
≥Never mix dry cell and rechargeable batteries.
≥Turn the unit off before replacing the recharge-
able batteries.
To order the optional AC adaptor RP-AC46 contact
1-800-332-5368 or web site
(http://www.panasonic.com).

Button Display/referenceOperation
To pause play
To stop play
To turn off the
unit
Skip forward/
backward
(skip function)
Rapid forward/
backward
(search function)
Off mode
Stop mode
Sequential Play
Basic Play
Follow steps 1–6.
In step 2: Connect the stereo headphones to the [Ë] jack. (Plug in firmly.)
≥Play stops automatically when all the tracks have been played.
≥If the unit has been connected to the car audio system, adjust the volume level between 4 and 6 on the unit, then
adjust the volume level on the system.
For your reference:
“)” indication
This indication appears for about 30 seconds if [1/;] is
pressed when no disc is loaded in the unit or if the disc
is not properly secured.
“*” indication
This indication appears for about 10 minutes when the
cover is opened. (However, the indication does not appear when the unit is powered off.)
Removing discs
1 Press [∫,OPR OFF] to stop play and disc
rotation.
2 Slide [OPEN 1] to open the lid.
3 Press [PUSH] to release the disc.
Do not stop the disc by hand or try to remove it before it
stops rotating. This can damage CDs.
Note!
Never insert foreign objects into the unit.
Auto power off function
If the unit is left in stop mode for approximately 10 minutes, the unit powers itself off automatically in order to
prevent the batteries from running down.
(If no disc is loaded in the unit it powers itself off in
about 30 seconds.)
≥During program play (page 4), these buttons are
used to skip forward or back through the programmed sequence of tracks.
≥During random play (page 4), the skip buttons
cannot be used to skip back to tracks that were
played previously in the random sequence.
≥During program play, random play or 1-track re-
peat play (page 4), search operation is limited to
the current track only.
Press during play.
Press during play.
Press during stop mode.
Press during play.
(Press [:] twice to skip to the
beginning of the previous track.)
Press again to restart play.
Press and hold during play.
P
U
S
H
P
U
S
H
Label must face upward.
Track number in play
Elapsed playing time of each track
3
/
O
P
R
O
F
F
O
P
R
O
F
F
Backward Forward
S-XBS
S-XBS
Total number of tracks
Total playing time
Plug type:
3.5 mm (1/8 in.) stereo
Note on CD-R and CD-RW
This unit can play CD-DA format audio CD-R and
CD-RW that have been finalized
§
upon completion
of recording. It may not be able to play some CD-R
or CD-RW due to the condition of the recording.
§
Finalizing is a process that enables CD-R/CD-RW players
to play audio CD-R and CD-RW.
Anti-Skip System
This system deals with skipping in a variety
of ways:
≥An anti-skip mechanism prevents skipping caused
when play speed changes due to swinging of the unit.
≥A recovery system immediately returns the laser pick-
up to its original position if it is knocked off the track by
a strong shock.
≥The 40-second anti-skip memory fills in interruptions
caused by bumps and vibrations.
The anti-skip system works automatically while the
system is on and cannot be canceled.
When bumps continue repeatedly
The elapsed playing time disappears and sound is interrupted.
Note!
≥The anti-skip memory compresses digital signals.
≥The anti-skip memory holds up to 100 seconds of data
when playing MP3 files created with a compression
rate of 128kbps. (see pages 4 to 6).
S-XBS
Close the lid.
/
5
S-XBS
RANDOM
NOR
RESUME
4
HOLD
F
F
O
O
R
P
6
2
VOLUME
6
4
5
OPEN
1
R
L
3
 Loading...