

Panasonic PT-61G53, PT-51G53X, PT-51G53 Owner’s Manual
Panason,c
Color Video Projection System
Operating Instructions
PT-51G53
PT-61G53
PT-51G53X
PT-61G53X
TQB2AA0225
PRINTED IN USA 80304
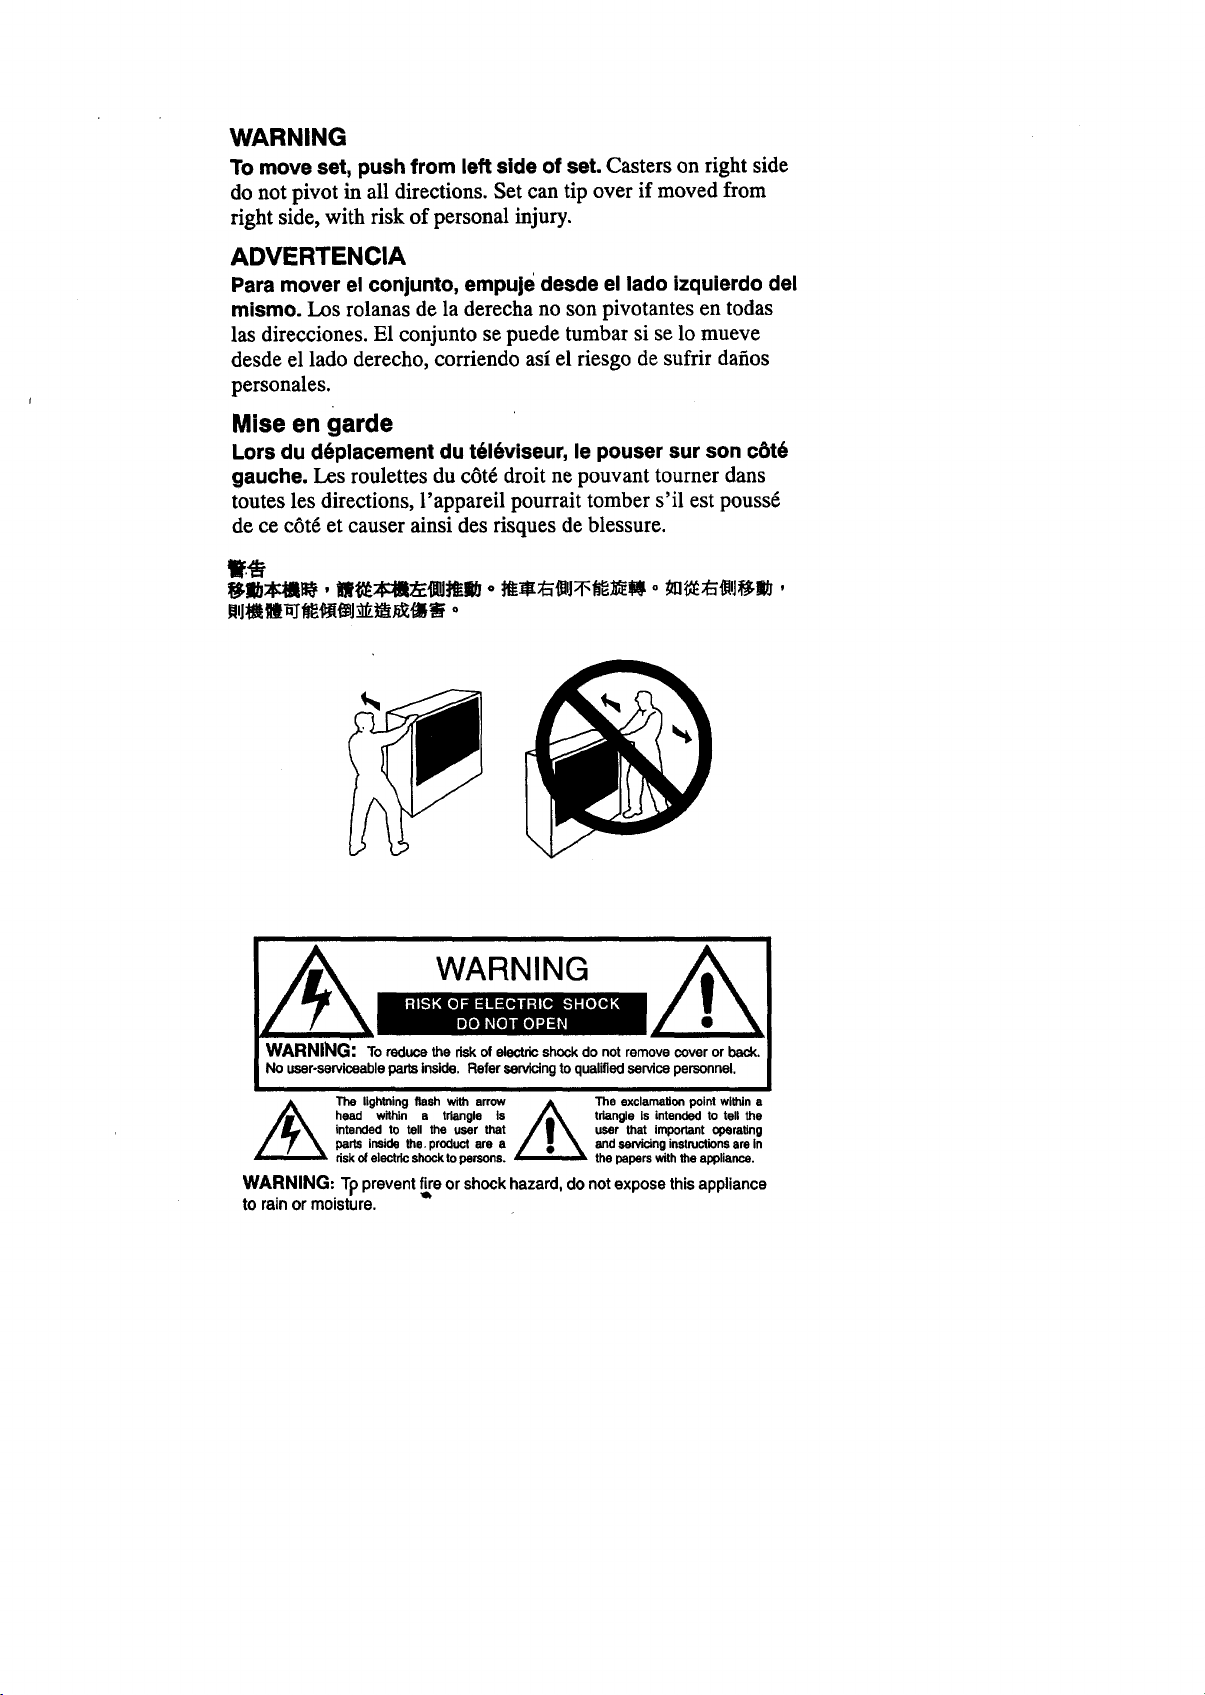
WARNING
To move set, push from left side of set. (3asterson right side
do not pivot in all directions. Set can tip over if moved from
right side, with risk of personal injury.
ADVERTENCIA
Para mover el conjunto, empuje desde el lade izquierdo del
mismo. Los rolanas de la derecha no son pivotantes en todas
las direcciones. E1 conjunto se puede tumbar si se lo mueve
desde el lade derecho, corriendo asi el riesgo de sufrir dafios
personales.
Mise en garde
Lors du d6placement du t616viseur, le pouser sur son c6t6
gauche. Les roulettes du c6t_ droit ne pouvant tourner dans
toutes les directions, l'appareil pourrait tomber s'il est pouss6
de ce c6t6 et causer ainsi des risques de blessure.
r_llb:_l_, _l!_:_l_J_l_l * _=_1:_ *_n_q_,
lllJ_m_J__ *
A WARNING
WARNING': To reducethe riskof electricshockdo notremovecoveror back.
No user-serviceable partsinside. Refer servicingto qualifiedsenhee personnel.
head within a triangle Is triangle is intended to tell the
A The lightning flesh with arrow The exclamatioo point within a
WARNING: Tp prevent f_e or shock hazard, do not expose this appliance
to rain or moisture.
intended to tell the user that user that important operating
parts inside the. product are a and servicing instructions are in
risk el electric shock to persons, the papers with the appliance.
Table of Contents
Congratulations ........................................................ 2
Customer Record ..................................................................... 2
Care and Cleaning ................................................................... 2
Specifications........................................................................... 2
Installation ................................................................. 3
Television Location................................................................... 3
Optional Cable Connections............................. ........................ 3
AC Power SupplyCord ... ........................................................ 3
Cable / Antenna........................................................................ 3
Cable Connection ..................................................................... 3
Antenna Connection................................................................. 3
Optional Equipment Connections............................................. 4
To Audio Amplifier.................................................................... 4
Audio Adjustments .................................................................. A
Picture In Picture (PIP) Operation ........................... 5
With/Without a VCR and Cable Box....................................... 5
With a VCR - No Cable Box ................................................... 6
Main Menu ................................................................. 7
ACTION Button ........................................................................ 7
CH / VOL Buttons ..................................................................... 7
Main Menu Feature Chart ......................................... 8
TABLE OF CONTENTS
Special Features ..................................................... 10
Languages .............................................................................. 10
Convergence Adjustment ....................................................... 10
Timer ...................................................................................... 11
Sleep Timer ............................................................................ 11
Program Timer ....................................................................... 12
CH CAP (Channel Caption) .................................................... 13
LOCK...................................................................................... 13
Game Guard Lock .................................................................. 13
Unlocking Game Guard .......................................................... 14
Troubleshooting Chart ........................................... 15
ii

CONGRA TULA TIONS
Congratulations
Customer Record
care and Cleaning
Your new Projection Television (P'I'V) system features a solid state chassis that is designed to
give you many years of enjoyment. It was thoroughly tested and tuned at the factory for best
performance.
The model and serial number of this product are located on the back of the PTV. You should
note the model and serial number in the space provided and retain as a permanent record of
your purchase. This will aid in identification in the event of theft or loss. Product registration.is
available at www.prodreg.com/panasonic.
Model
Number
Serial
Number
Projection Screen (Turn PTV Off)
The projection screen is a high precision lens system which does not attract dust.
O Occasionaldustingwitha featherdusterorvery softbrushusingonlyupand downmotions.
• Never rubacrossthescreeninsideto sidemotion.
O Infrequentwashing with a very weak solution of dishwashing soap, using a soft, lint-free
clean cloth.
• DO NOT USE ABRASIVE CLEANERS.
• Do not use window or glass cleaner, laundry detergent, automatic dishwasher soap, or
abrasive cleaners.
• Do not use alcohol, ammonia, or petroleum based products.
[3 Avoid excessive moisture and wipe dry.
• Prevent solution from running into the receiver below.
[3 Avoid bumping or scraping the screen.
• Protect the very fine grooves on the screen which transport the picture.
Cabinet and Remote Control
[3 For plastic cabinets and Remote Control, use a soft cloth dampened with water or a mild
detergent solution. Avoid excessive moisture and wipe dry.
I:1 For wooden cabinets, use a soft cloth and an occasional coat of furniture polish to preserve
the finish.
O Do not use benzene, thinner or other petroleum based products.
Specifications
am
PowerSource
PT-51G53
PT-51G53X
2 Video Input Jacks
PT-61G53
PT-61G53X
1Vp-p, 75 Ohm, Phono Jack Type
_2 A
To AudioAMP Jack
Specifications are subject to change withoutnotice or obligation.
120V AC, 60Hz
VHF_12 UHF,56; Cable-113
.........
500mV RMS 47K Ohm:
0-2.0V RMS 4.7K Ohm
Installation
Television Location
Thisunitcanbeusedas an entertainmentcenter.Consultyourdealerforavailableoptions.-"
O Avoidexcessivesunlightorbrightlights,includingreflections.
13 Keep away fromexcessiveheator moisture. Inadequateventilationmay cause internal
O FluorescentlightingmayreduceRemoteControltransmittingrange.
O Avoid magneticequipment,includingmotors,fans,orexternalspeakers.
INSTALLATION
componentfailure.
Optional Cable
Connections
Shielded audio and video cables should be used between components. For best results:
O Use 75-ohm coaxial shielded cables,
O Check type of output and input connectors on your components.
O Determine required cable lengths,
AC Power Supply Cord
CAUTION: TO PREVENT ELECTRICSHOCK,MATCHWIDE BLADEOF PLUGTO
WIDESLOT OF ACOUTLETAND FULLYiNSERT. DO NOT USE A PLUGWITH A
RECEPTACLE OR OTHER OUTLET UNLESS THE BLADE CAN BE FULLY
iNSERTEDTO PREVENT BLADEEXPOSURE. FOR SOME MODELSTHATARE
NON-POLARIZED,THE USEOFAN ACADAPTORCONNECTOR MAY
BENECESSARY.
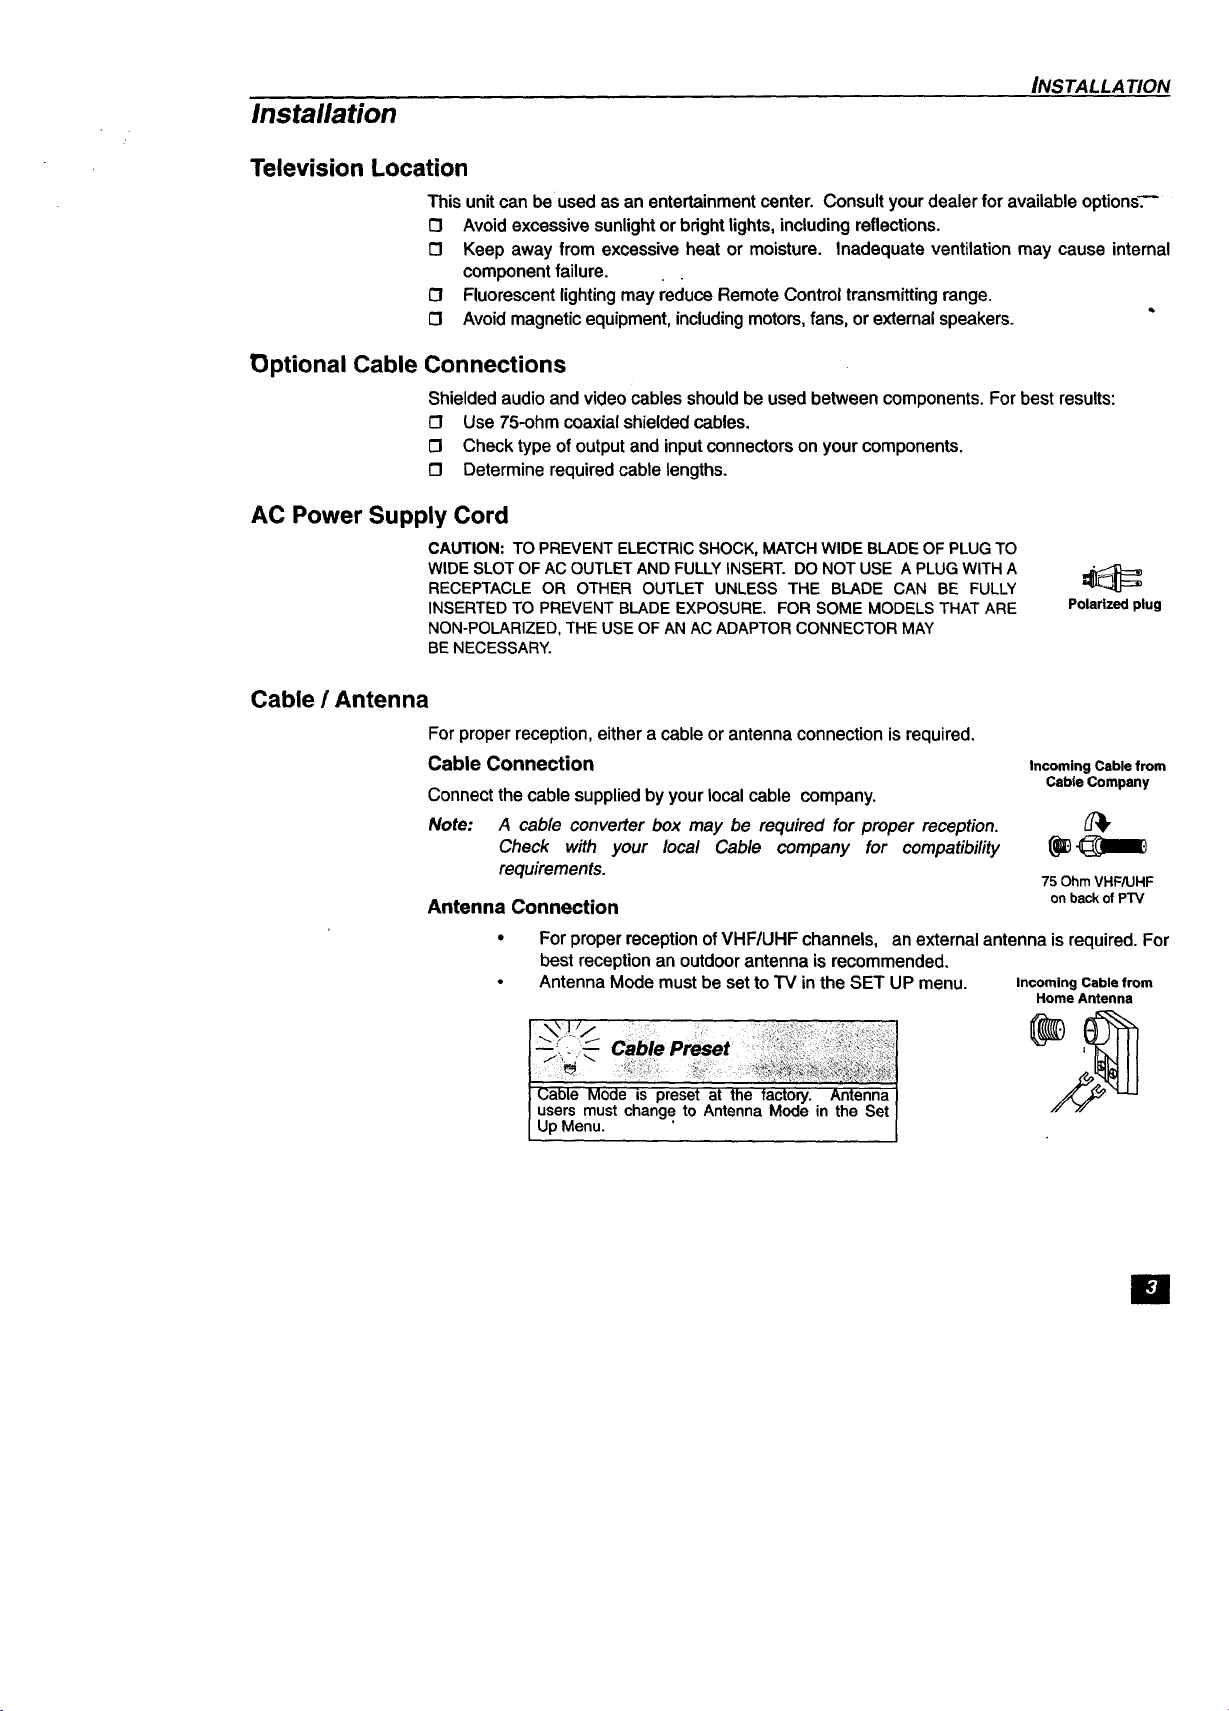
Cable / Antenna
For proper reception, either a cable or antenna connection is required,
Cable Connection
Connect the cable supplied by your local cable company.
Note: A cable converter box may be required for proper reception.
Antenna Connection
Incoming Cable from
Cable Company
Check with your local Cable company for compatibility
requirements.
For proper reception ofVHF/UHF channels, an external antenna is required. For
best reception an outdoor antenna isrecommended,
Antenna Mode must be set toTV inthe SET UP menu.
75 Ohm VHF/UHF
on back of PTV
Incoming Cable from
Home Antenna
Polarized plug
21,
" Cable Preset
Cable Mode is preset at the factory. Antenna
users mustchangeto AntennaMode in the Set
UpMenu.
m
INSTALLATION
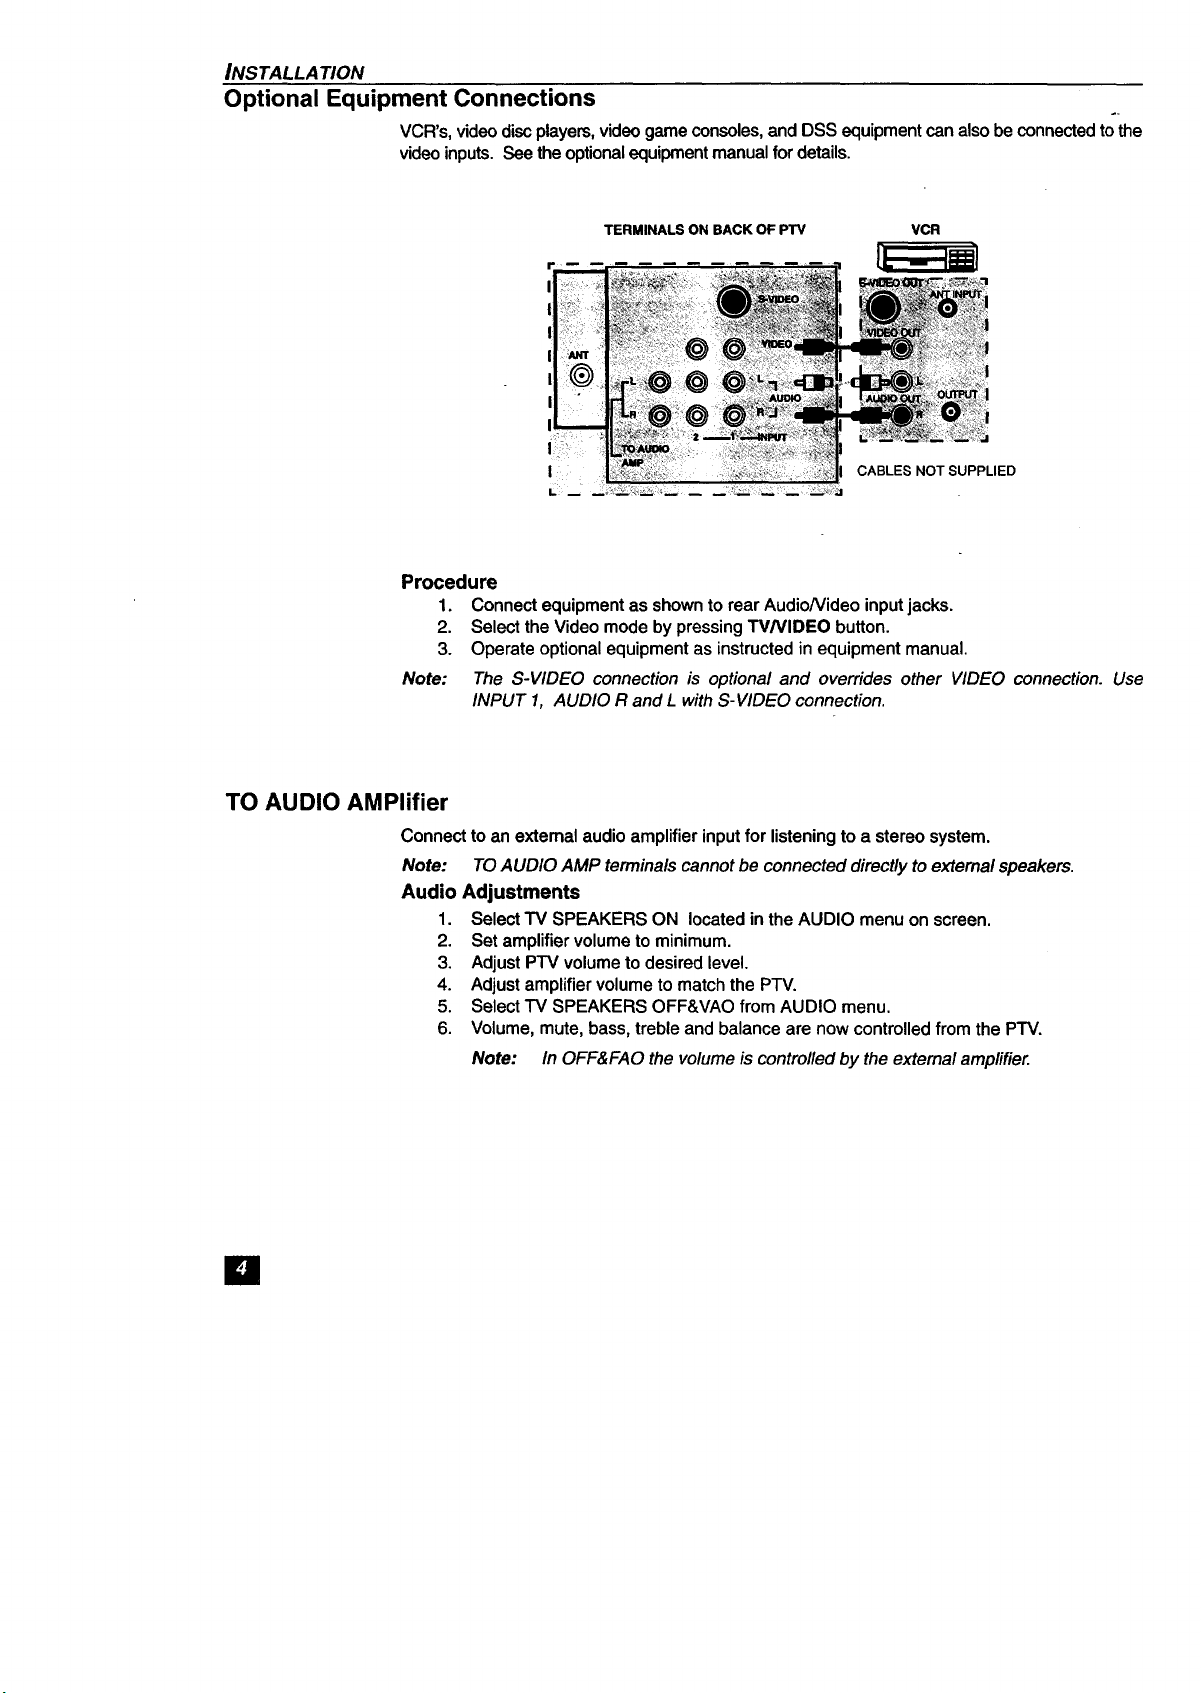
Optional Equipment Connections
VCR's, video disc players,video game consoles,and DSS equipment can also be connectedtothe
video inputs. See the optionalequipment manual fordetails.
r
I
Ii
!
I
I
I
I
i
I
Procedure
1. Connect equipment as shown to rear AudioNideo input jacks.
2. Select the Video mode by pressing W/VIDEO button.
3. Operate optional equipment as instructedin equipment manual.
Note: The S-VIDEO connection is optiona/ and overrides other VIDEO connection. Use
INPUT 1, AUDIO R and L with S-VIDEO connection.
TERMINALS ON BACK OF PTV VCR
CABLES NOT SUPPLIED
TO AUDIO AMPlifier
Connect to an extemal audio amplifier inputfor listening to a stereo system.
Note:
Audio
Ire
TO AUDIO AMP terminals cannot be connected directly to external speakers.
Adjustments
1.
Select TV SPEAKERS ON located in the AUDIO menu on screen.
2.
Set amplifier volume tominimum.
3,
Adjust PTV volume to desired level.
4.
Adjust amplifier volume to match the PTV.
5.
Select TV SPEAKERS OFF&VAO from AUDIO menu.
6.
Volume, mute, bass, treble and balance are now controlled from the PTV.
Note: In OFF&FAO the vo/urne is contro/led by the external amplifier
 Loading...