

Panasonic H-FS045200 - Lumix Telephoto Zoom Lens Operating Instructions Manual
Operating Instructions
INTERCHANGEABLE LENS FOR DIGITAL CAMERA
Model No. H-FS045200
VQT1U88_ENG_Cover.fm 1 ページ 2008年8月29日 金曜日 午後1時33分
Contents
Information for Your Safety.....................................2
Precautions...........................................................5
Supplie d Ac cesso r ie s ......... .... ... .... .... ............ .........6
Attaching/Detaching the Lens.................................6
Names and Functions of Components ................... 8
Caution s for Use.. ... ................... ............ ................. 9
Troubleshooting.................................................. 10
Specifications........................................................ 11
Limite d War ranty .. ................... ........... ................... 12
-If you see this symbol-
THE FOLLOWING APPLIES ONLY IN CANADA.
Information for Your Safety
Keep t he unit as far away as possible fr om
electromagnetic equipment (such as microwave
ovens, TVs, video games, radio transmitters,
high-voltage lines etc.).
≥ Do not use the c amera near cell phones because
doing so may result in noise adversely affecting
the pictures and sound.
≥
If the camera is adversely affected by electromagnetic
equipment and stops functi oning properly, turn the
camera off and remove the battery and/or the
connected AC adaptor. Then reinsert the battery and/
Information on Disposal in other Countries
outside the European Union
This symbol is only valid in the
European Union.
If you wis h to di scard thi s
product, pleas e contact yo ur
This C lass B digit al apparatus complies with
Canadian ICES-003.
VQT1U88_ENG_SPA.book 2 ページ 2008年8月27日 水曜日 午前10時20分
≥ The di gital c amera illustrations in these o perating
instructions show DMC-G1 as an example.
≥ The ap pearanc e and specification s of products
described in this manual may differ from the actual
products you have purchased due to later
enhancements.
≥ Four Thirds
TM
is a trademark.
≥ Micro Four Thirds is a trademark.
≥ Other names, company names, and product
nam e s printe d in thes e in st r uc t io ns are
trademarks or registered trademarks of the
comp anies conce rned.
ENGLISH
VQT1U88_ENG_SPA.book 3 ページ 2008年8月27日 水曜日 午前10時20分
THE FOLLO WING APPLIES ONLY IN THE U.S.A.
FCC Note:
This equipment has been tested and found to comply with the limits for a Class B digital device, pursuant to Part 15 of
the FCC Rules.
These limits are designed to provide reasonable protection against harmful interference in a residential installation.
This equipment generates, uses and can radiate radio frequency energy and, if not installed and used in accordance
with the instructions, may cause harmful interference to radio communications. However, there is no guarantee that
interference will not occur in a particular installation. If this equipment does cause harmful interference to radio or
television reception, which can be determined by turning the equipment off and on, the user is encouraged to try to
correct the interference by one or more of the following measures:
● Reorient or relocate the receiving antenna.
● Increase the separation between the equipment and receiver.
● Connect the equipment into an outlet on a circuit different from that to which the receiver is connected.
● Consult the dealer or an experienced radio/TV technician for help.
Any unauthorized changes or modifications to this equipment would void the user’s authority to operate this device.
This device complies with Part 15 of the FCC Rules. Operation is subject to the following two conditions: (1) This
device may not cause harmful interference, and (2) this device must accept any interference received, including
interference that may cause undesired operation.
Responsible Party:
Panasonic Corporation of North America
One Panasonic Way
VQT1U88_ENG_SPA.book 4 ページ 2008年8月27日 水曜日 午前10時20分
∫ Lens Care
≥ Sand and dust can damage the lens. Make
sure that no sand or dust gets inside the lens
or the terminals when using the lens on a
beach, etc.
≥ This lens is not waterproof. If drops of water
get onto the lens, wipe the lens with a dry
cloth.
≥ Do not press the lens with excessive force.
≥ When there is dirt (water, oil, and fingerprints, etc.)
on the surface of the lens, the picture may be
affe ct ed . Li gh tl y w ip e th e s ur fac e o f the le ns w ith a
soft, dry cloth before and after taking pictures.
≥ Do not pl ac e t he len s mo unt fac in g do w nw a rds .
Do not allow the lens contact point 1 to become
dirty.
∫ About Condensation (Fogging of the
Lens)
≥ Condensation occurs when there a re differences
in temp era ture an d hum i di ty as des c r ib ed belo w.
Condensation can cause the lens to beco me dirty
and lead to mold and malfunctioning, so exercise
caution in th e following situations:
–When t he ca mer a i s br ou ght i nd oors f rom ou t si de
during cold weather
– When the camera is brought into an air-
con ditioned car
–When cold air from an air conditioner is dir ectly
blown onto the lens
– In humid pla c es
≥ Put the camera into a plastic bag to allow it to
acclimate to the surrounding temperature in order
to prevent condensation. If condensation occurs,
tur n t he pow er off and le av e i t for a bo ut t w o hour s .
Precautions
VQT1U88_ENG_SPA.book 5 ページ 2008年8月27日 水曜日 午前10時20分

Supplied Accessories
[Inspec tion to be perform ed whe n you unpac k
the unit]
When removing the unit from its packing box, check
that the main unit and the supplied accessories are
there and also check their external appearance and
functions to v erify that they have not sustained any
damage during distribution and transportation.
If you discover any trouble, contact your vendor
before using the product.
1 Lens Storage Bag
Attaching/Detaching the Lens
≥ Ref er also to th e camera’s operatin g instructions
for atta ch in g an d detaching th e len s.
∫ Attaching the Lens
≥ Check that the camera is turned off.
1 T urn the lens rear
cap to detach it .
A: Lens Rear Cap
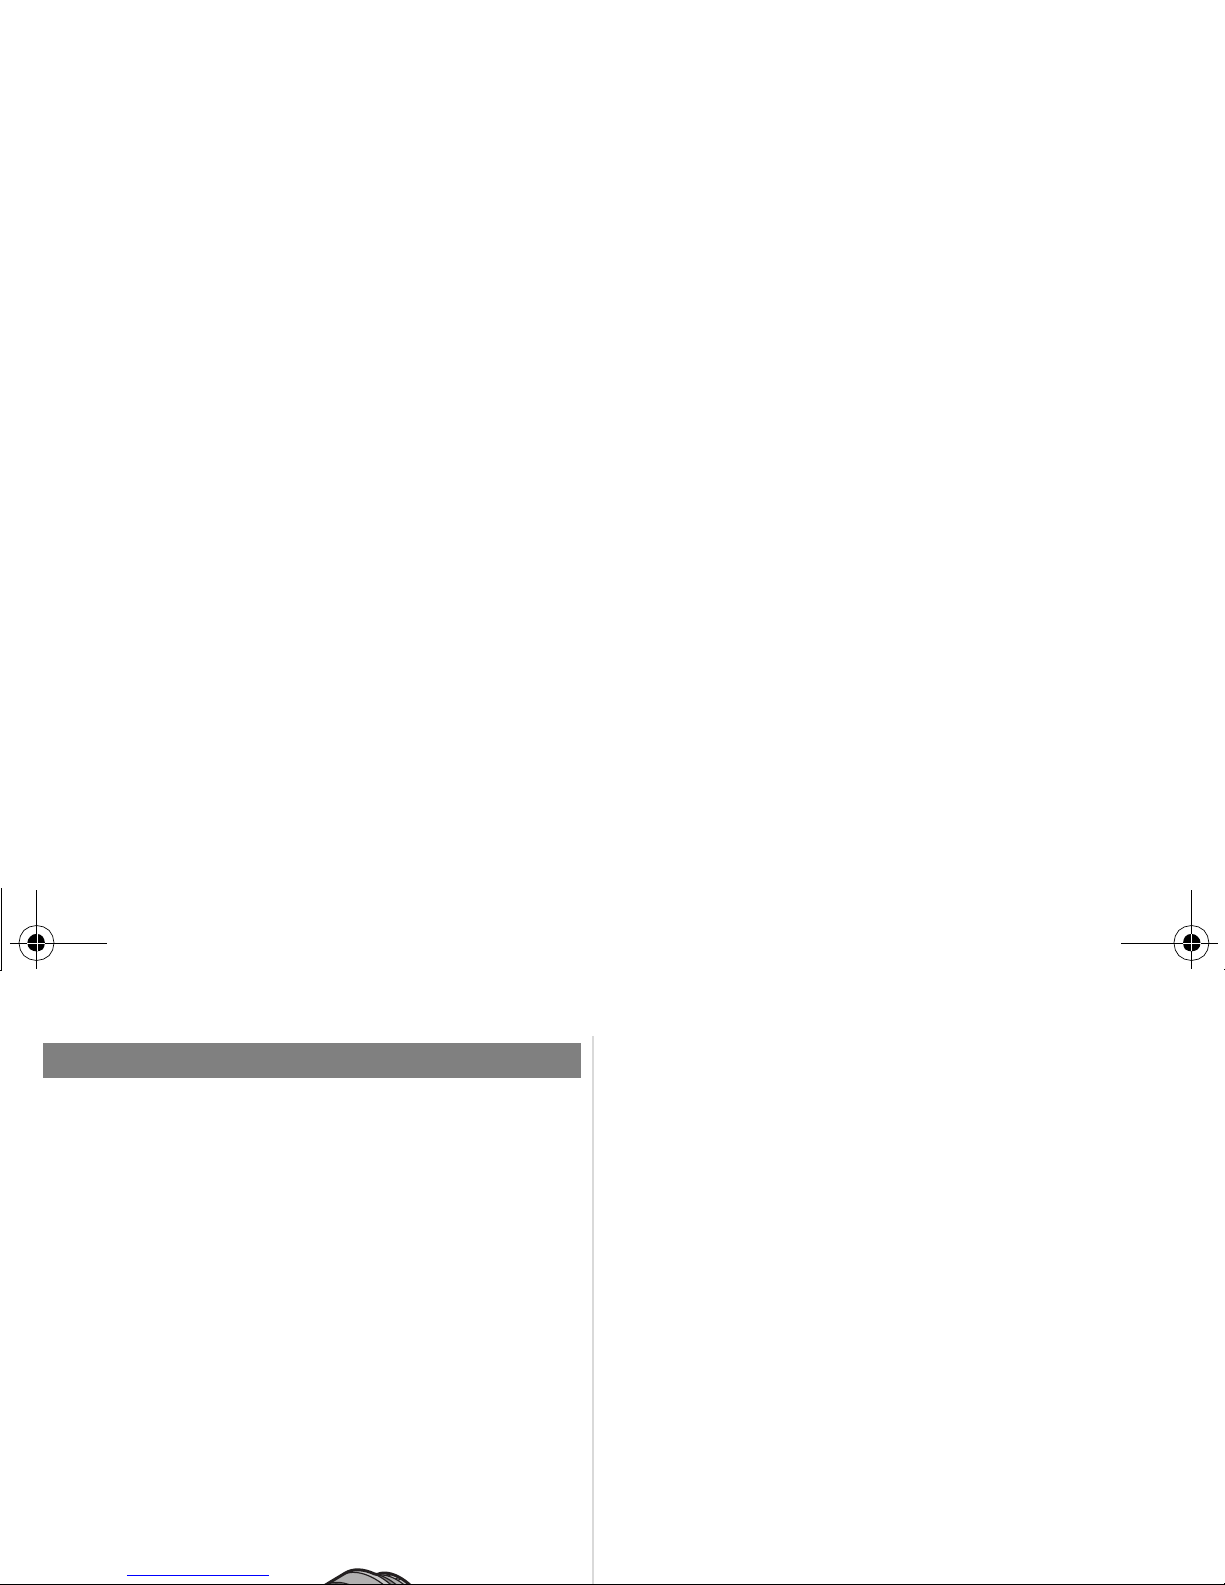
2 Align the lens fitt ing
marks
B (red marks) on
the camera body and the
len s a n d th e n rotate th e
lens in the direction of
VFC4358 VYC0986 VYF3201 VFC4315
312 4
VQT1U88_ENG_Body.fm 6 ページ 2008年8月28日 木曜日 午前10時49分
∫ Detaching the Lens
≥ Check that the camera is turned off.
Press the lens release
button C while turning
the lens as far as
possible in the direction
of the ar r ow to detac h it .
•Attach the lens rear cap so
that the lens c ontact point does not get
scratched.
•Attach the body cap to the camera so no dirt or
dust will get inside the main unit.
∫ Attaching and Detaching the Lens Cap
≥ Be careful not to lose
the lens cap.
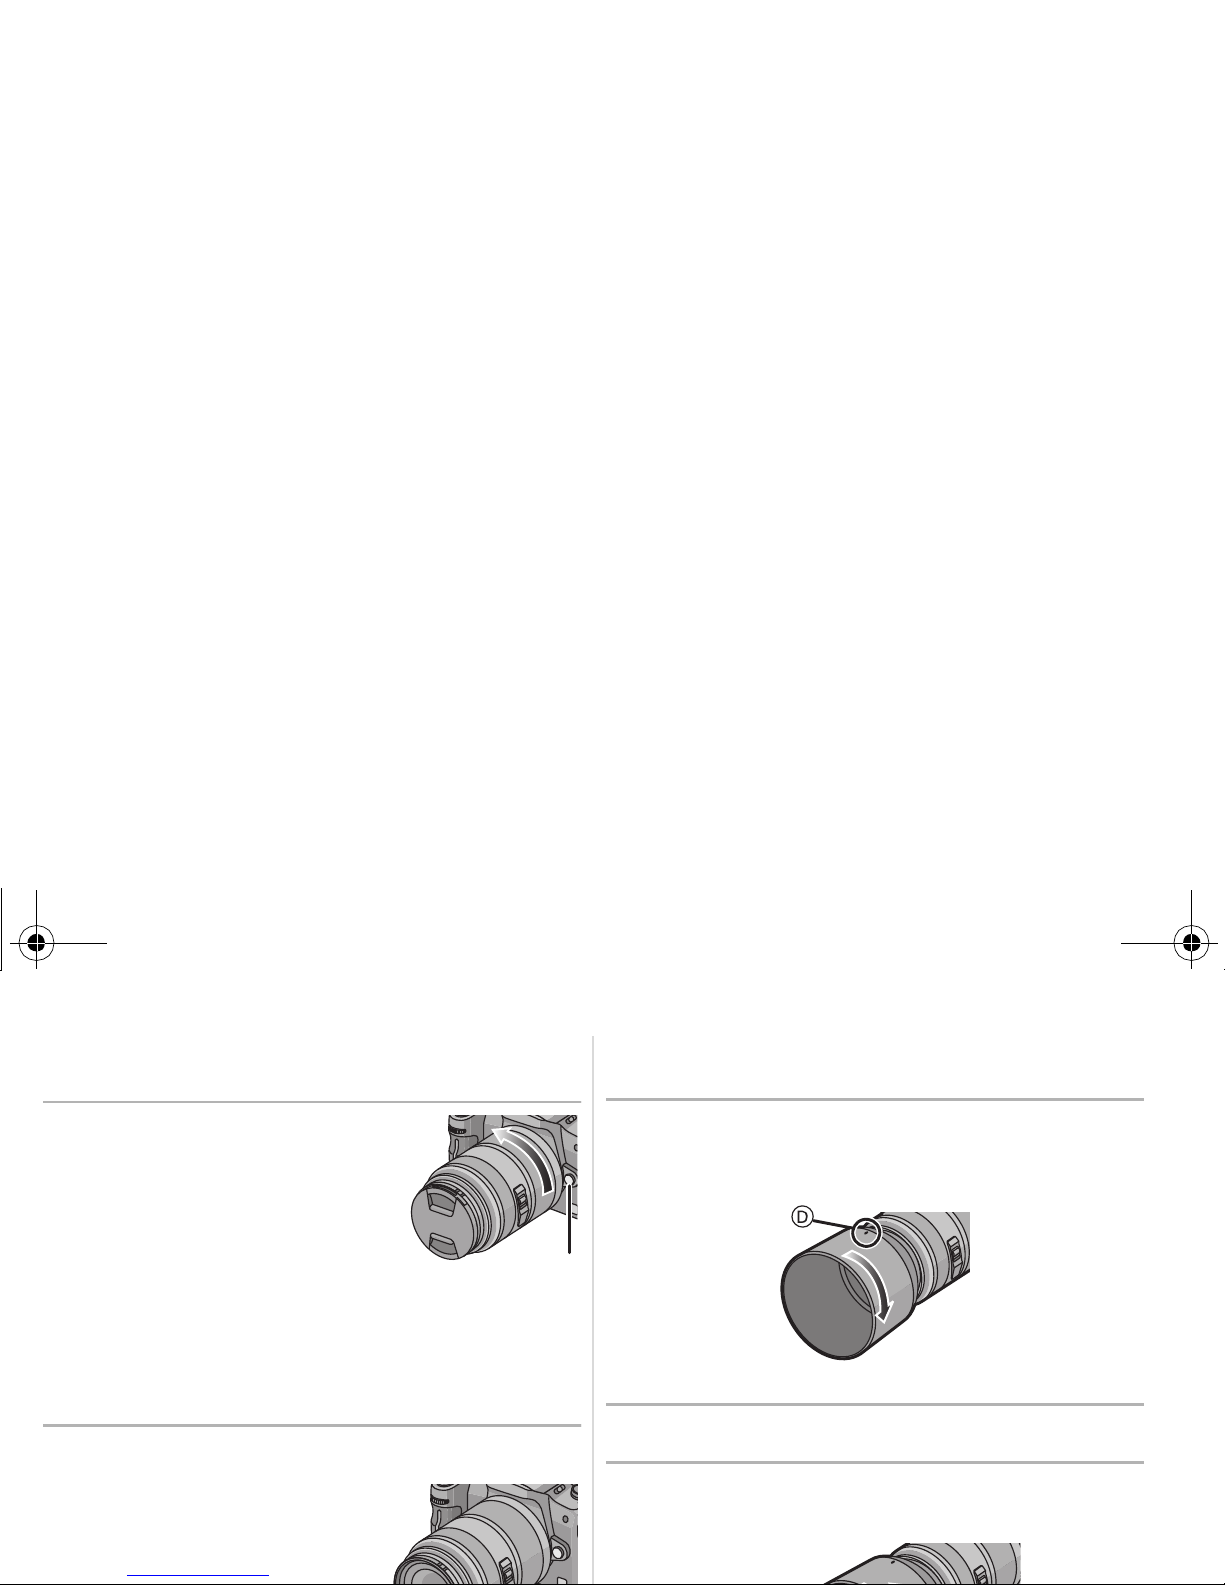
∫ Attaching the Lens Hood
(Supplied Accessory)
Insert the lens hood into the lens, and
turn in the direction of the arrow unt il it
stops.
D: Fit to the mark
∫ Temporarily Storing the Lens Hood
1 T urn the lens hood in the direction of the
arro w to de ta ch it.
VQT1U88_ENG_Body.fm 7 ページ 2008年8月28日 木曜日 午前10時49分

2 Reverse the lens hood and then attach it
in the same way as sho w n previously.
•When taking pictu res with
the flash with the len s hood
attached, the lower portion
of the screen may turn dark
(vignetting effect) and the
control of the flash may be
disa bled becau s e the photo
flash may be obscured by the lens hood. We
recommend detaching the lens hood.
•When using the AF assist lamp in the dark,
detach the lens hood.
∫ Attaching Filters
≥ Edges of pictures may be cut off if more than one
PL filt er (optional) or MC pro tector (op t io na l) is
used o r if thick fi lters and/or protectors are used.
Names and Functions of
Components
∫ Lens
1 Lens sur face
234 56
1
VQT1U88_ENG_Body.fm 8 ページ 2008年8月28日 木曜日 午後6時18分
 Loading...