

Page 1
O p e r a t r i g
I n s t m c t i o n s
MiniD^
AC Adapter
Model: DE-852D
Model: AG-B15
Panasonic
Before attempting to connect, operate or adjust this product, please read these instructions completely.
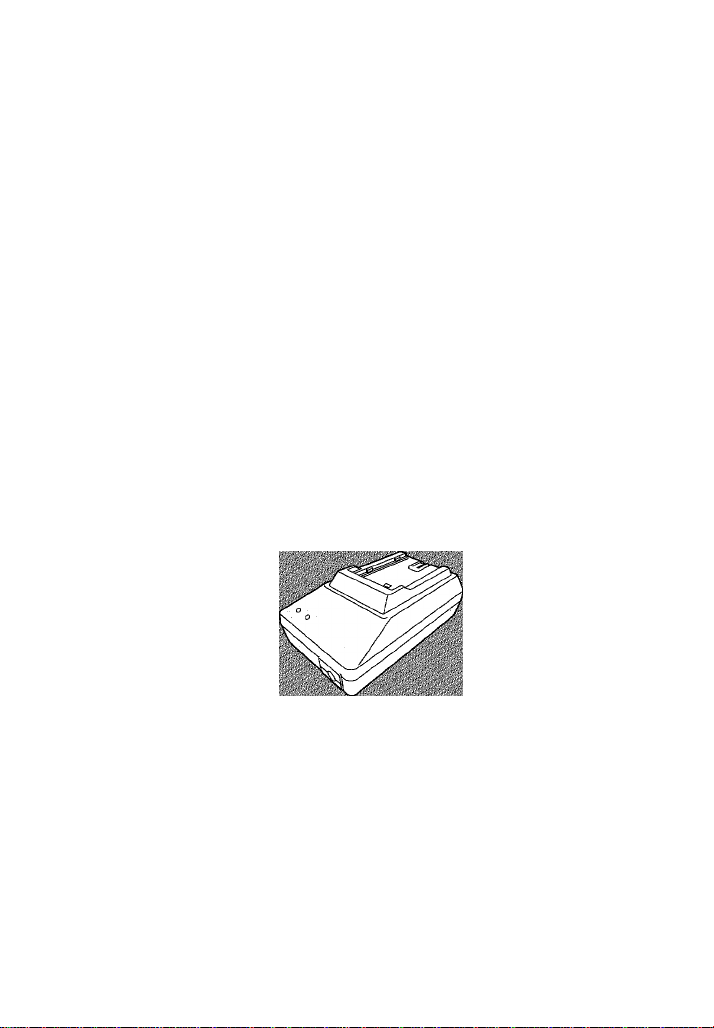
The DE-852D AC Adapter is an accessory for the AG>DVC10/15 Camera Recorder.
The AC Adapter provides power to the Camera Recorder unit in place of battery power, and aiso
provides charging of Camera Recorder unit battery packs.
Printed in Japan
VQT9266
F0101H1011
Page 2
For your safety
1
CAUTION: TO REDUCE THE RISK OF ELECTRIC SHOCK,
REFER SERVICING TO QUALIFIED SERVICE PERSONNEL.
f
5] indicates safety information.
This unit is exclusively for use with the Panasonic AG-DVC10/15 currently produced. It
cannot be used with other types of portable recorders.
RISK OF ELECTRIC SHOCK*
DO NOT OPEN
DO NOT REMOVE COVER (OR BACK).
NO USER-SERVICEABLE PARTS INSIDE.
This symbol warns the user that
uninsulated voltage within the
unit may have sufficient mag
nitude to cause electric shock.
Therefore, it is dangerous to
make any kind of contact with
any inside part of this unit.
This symbol alerts the user that
important literature concerning
the operation and maintenance
of this unit has been included.
Therefore, it should be read
carefully in order to avoid any
problems.
WARNING:
TO PREVENT FIRE OR
SHOCK HAZARD, DO NOT
EXPOSE THIS EQUIPMENT
TO RAIN OR MOISTURE.
The left side markings are
located on the appliance
bottom cover.
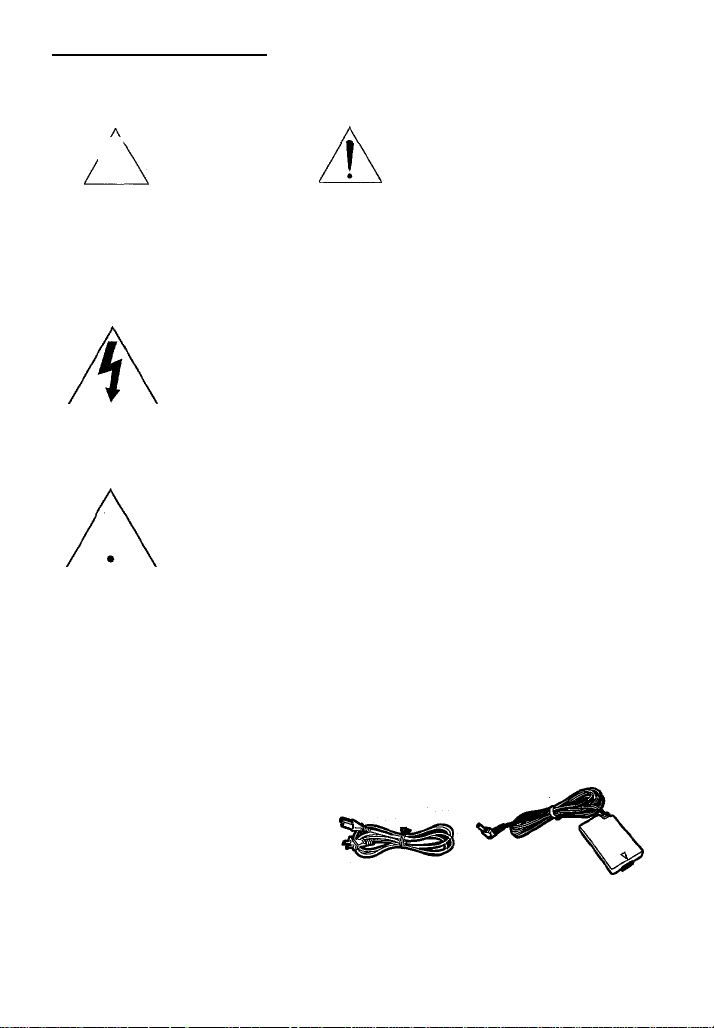
These accessories are provided in order to set up or use your AC Adapter.
Model: DE-852D
1 pc. AC Power Cable
(K2CB2DB00001)
Model:AG-B15
1 pc. AC Power Cable
(K2CB2DB00001)
1 pc. DC In Cable
(VEK8722)
Page 3
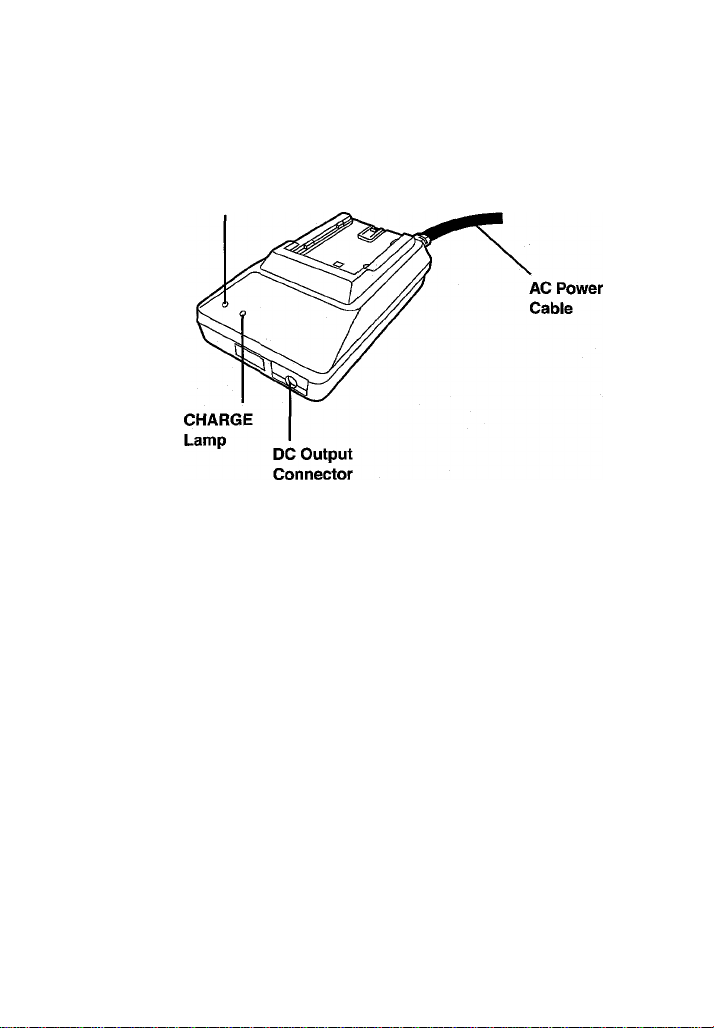
Index of Controls
AC Adapter
POWER Lamp
CAUTION:
This unit will operate on 110/120/220/240V AC. An AC plug adapter may be required
for voltages other than 120V AC.
Please contact either a local or foreign electrical parts distributor for assistance in
selecting an alternate AC plug.
We recommend using the accessory power plug adapter (VJSS0070) in an area which
has special AC outlets.
Page 4

Supplying Power
Charge the Battery Pack
1 Connect and plug in the cables as
shown.
• POWER Lamp will light.
• Remove the DC Cable, if attached,
from the adapter.
2 Attach the Battery as shown to charge.
• CHARGE Larpp lights up. It goes out
when charging is complete.
APPROXIMATE CHARGE TIME:
CGR-D16; 2 hours
CGP-D28; 3 hours and 15 min.
3 Remove the Battery.
Slide the Battery out and then lift up.
About the Flashing of the CHARGE Lamp:
• Charge the Battery within an ambient temperature range of 40°F and 86°F (10°C and
SO^C).
• If charging is done in extreme low or high temperatures. Battery charge time increases.
CHARGE Lamp flashes when...
• The Battery is being charged, but charging is taking longer than normal.
• Charging is not possible. Remove the Battery once, wait a short time, then reattach it
for charging.
Page 5

Supplying Power
AC Adapter
11nsert the battery-shaped connector
of the DC Input Cable into the Cam
era Recorder.
2 Connect the other end of the DC In
put Cable to the AC Adapter as shown.
3 Plug In the AC Adapter.
• The POWER Lamp of the AC Adapter
lights up.
• When the DC Input Cable is connected into the AC Adapter, the AC Adapter cannot
charge the Battery.
About the AC Adapter:
• When the Charge Lamp does not light, remove and then reattach the Battery. Or, attach
the Battery to the Camea recorder, use it for 10-20 minutes, and then reattach the
Battery to the AC Adapter.
• If it still cannot be charged, consult with your dealer.
• When the Battery is hot, charging takes longer than normally.
• If you remove and reattach the Battery during charging, the Charge Lamp may go off
momentarily while the AC Adapter is checking the change remaining in the Battery, but
this is normal.
• If you use the AC Adapter very close to a radio while listening to a broadcast (especially
in the AM range), the reception may be distorted by interference. Use the AC Adapter
more than 1 meter away from a radio.
• During use, the AC Adapter may emit some sound, but this is normal.
• After use, be sure to disconnect the AC Cable from the AC outlet. (If it is left connected,
approximately 1 W of power will be consumed.)
• It may take a short time before the AC adapter’s POWER Lamp lights, but this is normal.
Page 6

Important Safeguards
1. Read Instructions — All the safety and
operating instructions shouid be read before
the unit is operated.
2. Retain Instructions — The safety and
operating instructions shouid be retained for
future reference.
3. Heed Warnings — Aii warnings on the unit
and in the operating instructions shouid be
adhered to.
4. Foiiow Instructions — Ail operating and
maintenance instructions shouid be
foliowed.
5. Cieaning — Unplug this video unit from the
wali outiet before cieaning. Do not use iiquid
or aerosoi cleaners. Use a dry cloth for
cleaning.
6. Attachments — Do not use attachments not
recommended by the video product
manufacturer as they may be hazardous.
7. Water and Moisture — Do not use this
video unit near water — for example near a
bath tub, wash bowl, kitchen sink, or
laundry tub, in a wet basement, or near a
swimming pool, and the like.
8. Accessories — Do not place this video unit
on an unstable cart, stand, tripod, bracket,
or table. The video unit may fall, causing
serious injury to a child or adult, and
serious damage to the unit. Use only with a
cart, stand, tripod, bracket, or table
recommended by the manufacturer, or sold
with the video unit. Any mounting of the unit
should follow the manufacturer’s instruc
tions and should use a mounting accessory
recommended by the
manufacturer.
An appliance and
cart combination
should be moved
with care. Quick
stops, excessive
force, and uneven
surfaces may cause the
appliance and cart combination
to overturn.
9. Ventilation — Slots and openings in the
cabinet are provided for ventilation and to
ensure reliable operation of the video unit
and to protect it from overheating. These
openings must not be blocked or covered.
Never place the video unit on a bed, sofa,
rug, or other similar surface, or near or over
a radiator or heat register. This video unit
should not be placed in a built-in installation
such as a bookcase or rack unless proper
ventilation is provided or the manufacturer's
instructions have been adhered to.
10. Power Sources —This video unit should be
operated only from the type of power
source indicated on the marking label. If
you are not sure of the type of power supply
to your home, consult your appliance dealer
or local power company. For video units
intended to be operated from battery power,
or other sources, refer to the operating
instructions.
11. Grounding or Polarization — This video unit
may be equipped with either a polarized 2-
wire AC (Alternating Current) line plug (a
plug having one blade wider than the other)
or 3-wire grounding type plug, a plug having
a third (grounding) pin.
The 2-wire polarized plug will fit into the
power outlet only one way. This is a safety
feature. If you are unable to insert the plug
fully into the outlet, try reversing the plug. If
the plug still fails to fit, contact your
electrician to replace your obsolete outlet.
Do not defeat the safety purpose of the
polarized plug.
The 3-wire grounding type plug will fit into a
grounding type power outlet. This is a safety
feature. If you are unable to insert the plug
into the outlet, contact your electrician to
replace your obsolete outlet. Do not defeat
the safety purpose of the grounding type
plug,
12. Power-Cord Protection — Power-supply
cords should be routed so that they are not
likely to be walked on or pinched by items
placed upon or against them, paying
particular attention to cords of plugs,
convenience receptacles, and the point
where they exit from the unit.
Page 7

Important Safeguards
13. Outdoor Antenna Grounding — If an outside
antenna or cabie system is connected to the
video unit, be sure the antenna or cabie
system is grounded so as to provide some
protection against voitage surges and builtup static charges. Part 1 of the Canadian
Eieotricai Code, in USA Section 810 of the
Nationai Eieotricai Code, provides
information with respect to proper grounding
of the mast and supporting structure,
grounding of the iead-in wire to an antenna
discharge unit, size of grounding conduc
tors, location of antenna discharge unit,
connection to grounding electrodes, and
requirements for the grounding eiectrode.
14. Lightning — For added protection of this
video unit receiver during a iightning storm,
or when it is ieft unattended and unused for
iong periods of time, unpiug it from the wali
outlet and disconnect the antenna or cabie
system. This wiii prevent damage to the
video unit due to lightning and power-line
surges.
15. Power Lines — An outside antenna system
shouid not be located in the vicinity of
overhead power iines or other electric iight
or power circuits, or where it can fali into
such power lines or circuits. When instaiiing
an outside antenna system, extreme care
shouid be taken to keep from touching such
power lines or circuits as contact with them
might be fatai.
16. Overioading — Do not overioad wail outlets
and extension cords as this can result in a
risk of fire or electric shock.
17. Objects and Liquids — Never push objects
of any kind into this video unit through
openings as they may touoh dangerous
voltage points or short out parts that could
result in a fire or electric shock. Never spill
liquid of any kind onto the video unit.
18. Servicing — Do not attempt to service this
video unit yourself as opening or removing
covers may expose you to dangerous
voltage or other hazards. Refer all servicing
to qualified service personnel.
19. Damage Requiring Service — Unplug this
video unit from the wall outlet and refer
servicing to qualified service personnel
under the following conditions:
a. When the power-supply cord or plug is
damaged.
b. If any liquid has been spilled onto, or
objects have fallen into the video unit.
c. If the video unit has been exposed to
rain or water.
d. If the video unit does not operate
normally by following the operating
instructions. Adjust only those controls
that are covered by the operating
instructions, as an improper adjustment
of other controls may result in damage
and will often require extensive work by
a qualified technician to restore the video
unit to its normal peration.
e. If the video unit has been dropped or the
cabinet has been damaged.
f. When the video unit exhibits a distinct
change in performance - this indicates a
need for service.
20. Replacement Parts — When replacement
parts are required, be sure the service
technician has used replacement parts
specified by the manufacturer or have the
same characteristics as the original part.
Unauthorized substitutions may result in
fire, electric shock or other hazards.
21. Safety Check — Upon completion of any
service or repairs to this video unit, ask the
service technician to perform safety checks
to determine that the video unit is in safe
operating order.
FCC Warning: Any unauthorized changes or modifications to this equipment would
void the user’s authority to operate.
Page 8

Specifications
Power Source: 110/120/220/240 V AC, 50/60 Hz
Power Consumption: 18 W
Weight: 0.35 lbs. (0.16 kg)
Dimensions: 2-13/16 (W)x1-13/16 (H)x 4-5/8 (D) inch
70 (W)x44.5 (H)x116 (D) mm
Weight and dimensions shown are approximate.
Specifications are subject to change without notice.
Panasonic
PANASONIC BROADCAST & TELEVISION SYSTEMS COMPANY
DIVISION OF MATSUSHITA ELECTRIC CORPORATION OF AMERICA
Executive Office:
3330 Cahuenga Blvd W., Los Angeles, CA 90068 (323) 436-3500
EASTERN ZONE
One Panasonic Way 4E-7, Secaucus, NJ 07094 (201)348-7621
Southeast Region:
1225 Northbrook Parkway, Ste 1-160, Suwanee, QA 30024 (770) 338-6835
Central Region:
1707 N Randall Road E1-C-1, Elgin. IL 60123 (847) 468-5200
WESTERN ZONE:
3330 Cahuenga Blvd W., Los Angeles, CA 90068 (323) 436-3500
Government Marketing D^Mftment:
52 West Qude Drive. Rockville, MD 20850 (301 ) 738-3840
Broadcast PARTS INFORMATION & ORDERING:
9:00 a.m. - 5:00 p.m. (EST) (800) 334-4881/24 Hr. Fax (800) 334-4380
Emergency after hour parts orders (800) 334-4881
TECHNICAL SUPPORT:
Emergency 24 Hour Service (800) 222-0741
Panasonic Canada Inc.
5770 Ambler Drive, Mississauga, Ontario L4W 2T3 (905) 624-5010
Panasonic de Mexico S. A. de C.V.
Av angel Urraza Num. 1209 Col. de Valle 03100 Mexico, D.F. (52) 1 951 2127
Panasonic Sales Company
Division of Matsushita Electric of Puerto Rico Inc.
San Gabriel Industrial Park, 66fh Infentry Ave„ Km. 9.5, Carolina, Puerto Rico 00630 (787) 750-4300
 Loading...