

Page 1
Installation
Manual
Nonlinear Editing System
3D Effect Board
AY-PB2001
Page 2

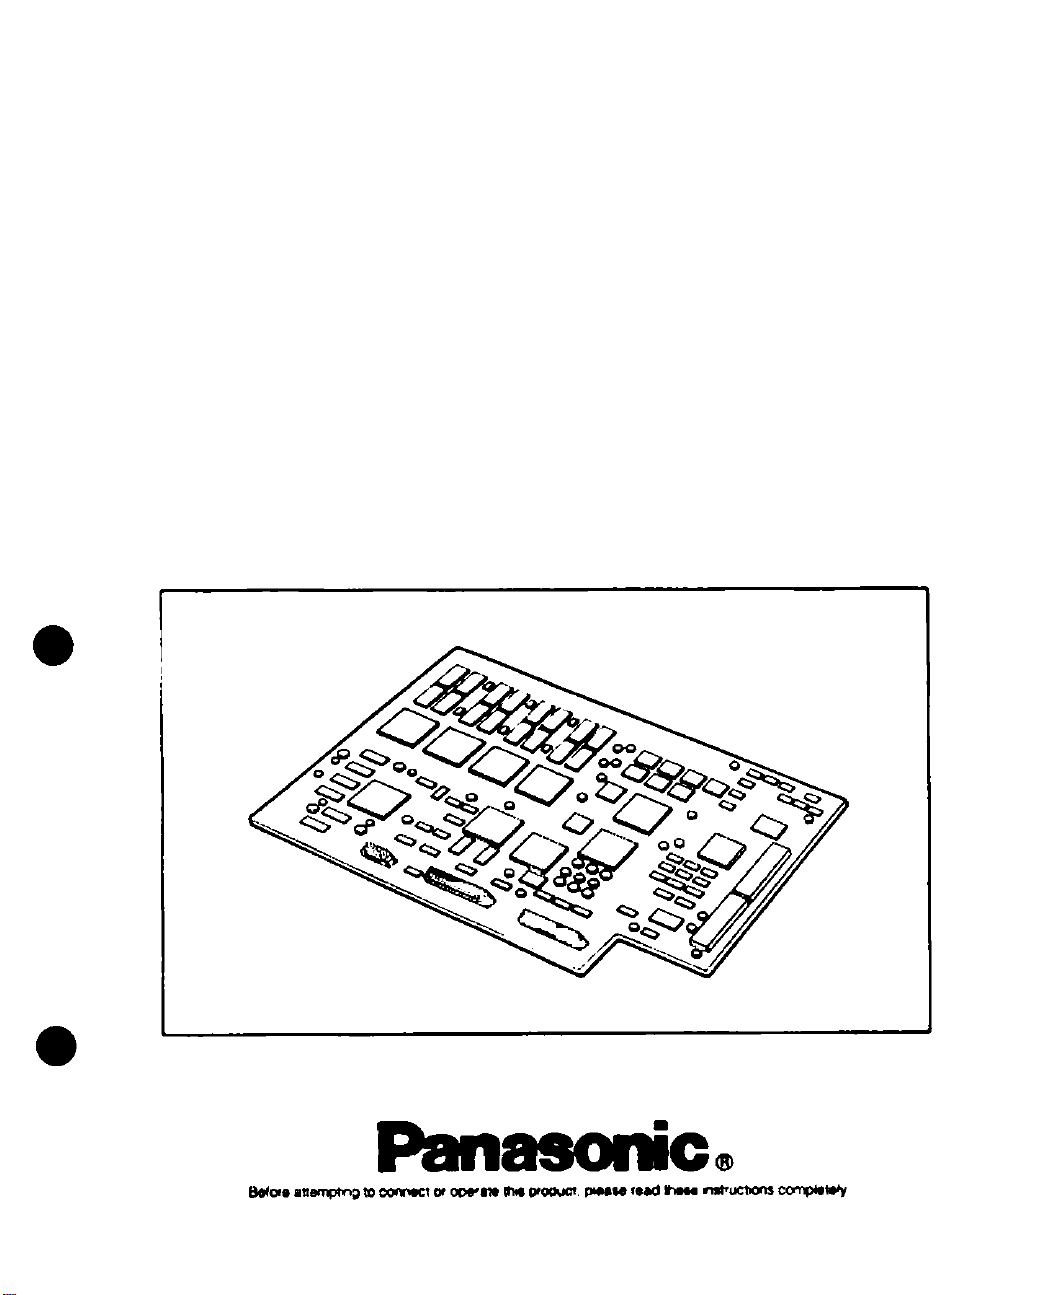
FE/VPÜRES
This board can produce a range of 3-dimensional video effects when it has been installed inside the non-linear AV
work station main unit (AY-NE2000).
The 3-dimensional effects which are added by this board are as follows:
Page turn, roll turn, ball mapping, perspective, accordion, flag, melt-down, spark, ripple mix, split slide, after-image
effect and lighting effect
BOARD SETUP
You must have your dealer install the board.
Before installing the board, set the power switch on the unit in which the board is to
be installed to the "OFF" position, and disconnect the unit's power plug from the
power outlet.
Before handling the board, touch a metal part of the unit's body to discharge any
static which may have accumulated in your body. Wearing anti-static wrist straps is
even an more effective precautionary measure.
When temporarily putting the board down or aside, place it on top of the anti-static
bag (which originally contained the board). Do not bring any metal parts on the
board into contact with any metal parts of any other boards.
1. Exit the system, turn the power switch to the "OFF" position, and unplug thè power plug from the power outlet.
For details on the procedure for exiting the system, refer to the Operating Instructions of the main kit (AY-NE2000).
2. Remove the four screws on the left and right side panels of the main unit (AY-NE2000) to remove the front pane!.
Ensure that these screws are not misplaced.
3. Next, remove the five screws to remove the protective cover. Ensure that these screws are not misplaced.
4. Remove the mixer board which is the fourth board from the top.
It can be removed by pulling the catches toward you.
5. Plug the connectors on the 3D effect board into the connectors on the mixer board (3 locations).
6. Fasten the board securely using the three mounting screws (supplied).
Pull the catches on the board toward you, and insert the board which you have removed so that it is returned to its
original position. Push the catches down to secure the board. Push them down as far as they will go.
8. Check that the board has been properly inserted.
9. Attach the protective cover using the five screws.
10. Then attach the front panel using the four screws.
11. Check that the front panel is firmly secured (mounted in place).
12. Plug the power plug into the power outlet, and set the power switch to the "ON" position.
Check that the system now starts up. For details on the procedure for starting up the system, refer to the Operating
Instructions of the main kit (AY-NE2000).
Page 3

SPECIFICATiONS
Power Supply:
Ambient Operating Temperature;
Ambient Operating Humidity;
Input/Output Facilities:
5V DC
5°C to 35°C
10% to 90%
60-pin connector x 2,
20-pin connector x 1
Dimensions (W x H x D):
Weight:
Accessories supplied;
235 X 20 X 320 mm
{9V4'xi3y,6’x 125/s")
750 g (26,5 oz.)
Mounting screws x 3
Page 4

Panasonic
PANASONIC BROADCAST & DIGrTAL SYSTEMS COMPANY
DIVISION OF MATSUSHITA ELECTRIC CORPORATION OF AMERICA
Executive Office: 3330 Cahuenga Btvd W„ Los Angeles. CA 90068
EASTERN ZONE: One Panasonic Way 4E-7, Secaucus, NJ 07094 (201)348-7621
Mid-Atlantic: One Panasonic Way 4E-7, Secaucus, NJ 07094 (201)348-7621
Southeatt Region; 1225 Northbrook Parkvifay, Ste 1-160 Suwanee, GA 30024
Central Region; 1707 N Randall Road El-C-I, Elgin. IL 60123 (847)468-5200
WESTERN ZONE: 3330 Catiuenga BNd W„ Los Angeies. CA 90068 (323)436-3500
Dallas Region: 6226 Abington Way, Houston, TX 77008 (713)802-2726
Government Marketing Depaitmeni: 52 West GudeOrive, Rockville, MD 20850(301)738-3840
PANASONIC CANADA INC.
5770 Ambler Drive, Mississauga, Ontario L4W 2T3 (905)238-2115
PANASONIC SALES COMPANY
DIVISION OF MATSUSHITA ELECTRIC OF PUERTO RICO, INC.
San Gabriel Industrial Park, 65th Inlantiy Ave„ KM9.5 Carolina, Puerto Rico 00630 (809)750-4300
(323>4X-3500
(770)338-6845
7J1A235A Printed in Japan
 Loading...