

Ozito CDL-7100, CDL-1810, CDB-6100 Instruction Manual
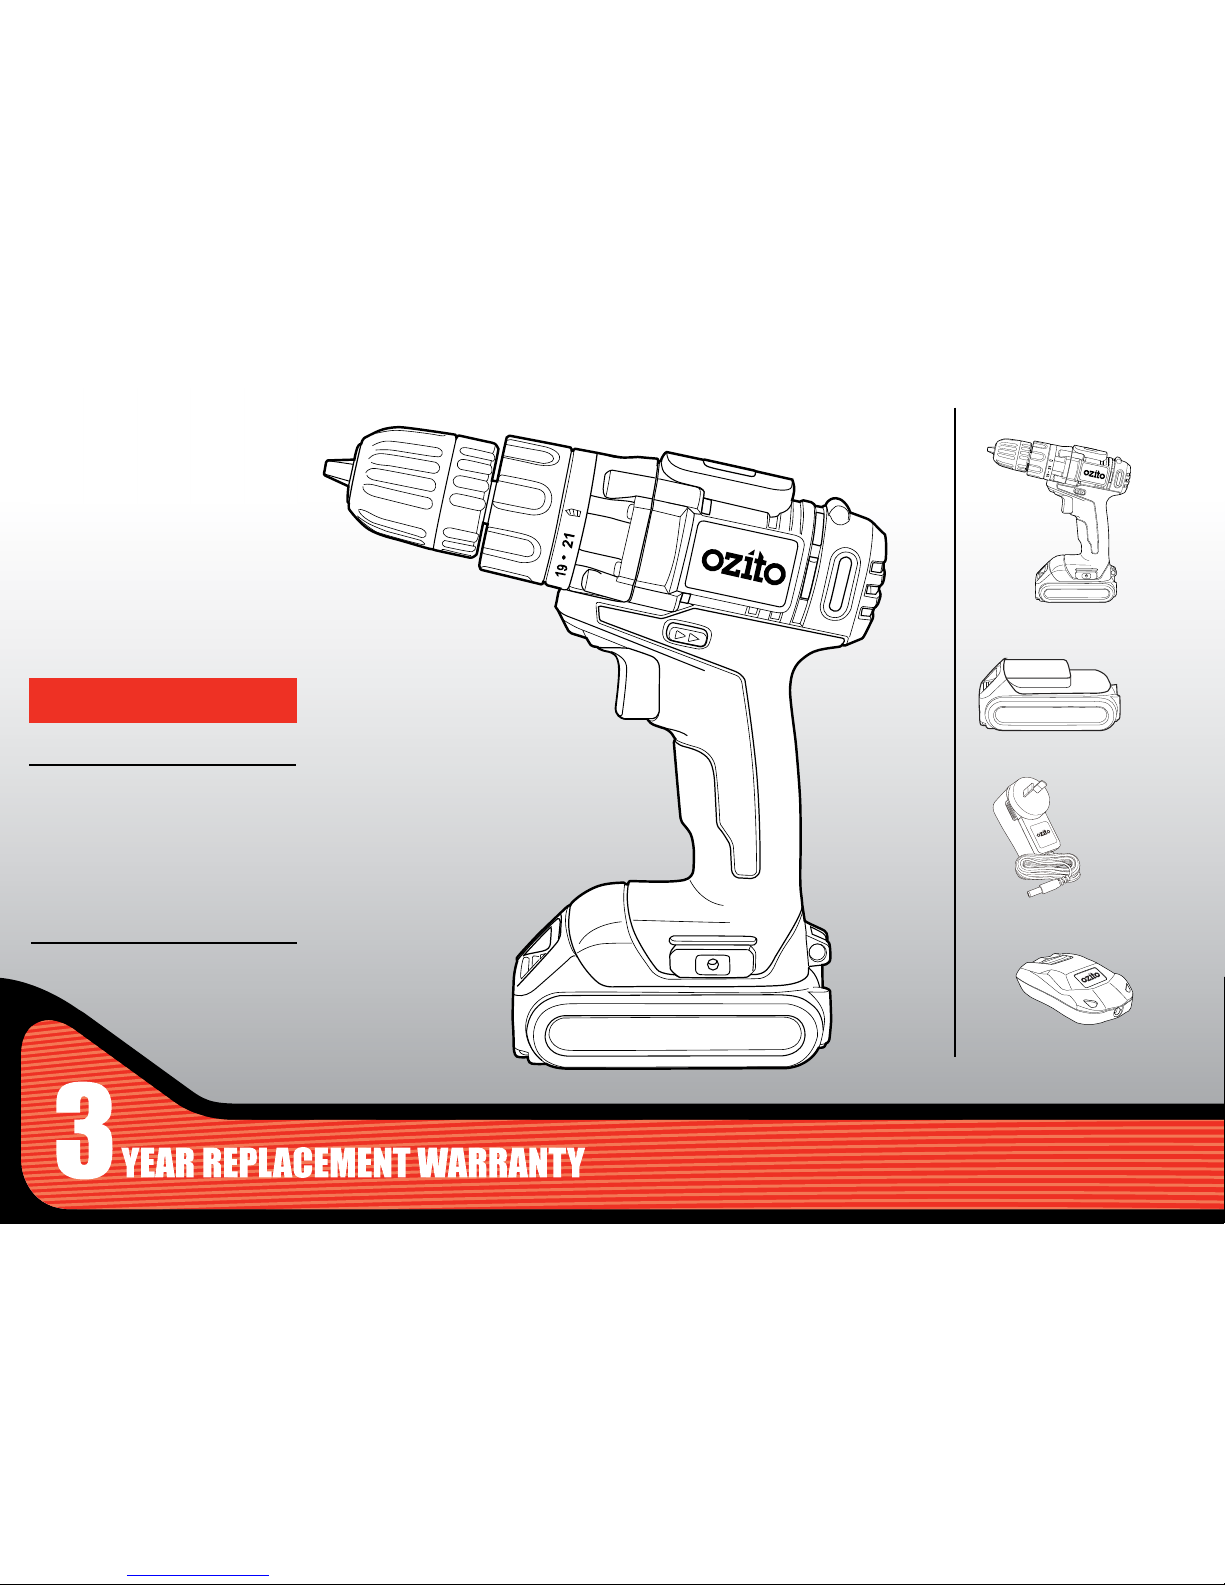
CORDLESS
DRILL
DRIVER
18V Lithium Ion
INSTRUCTION MANUAL
SPECIFICATIONS
Input: 18V
Chuck Size: 10mm Keyless
No Load Speed: 0-550/min
Torque Setting: 21
Max. Torque: 16Nm
Battery Power: 1.5Ah Lithium Ion
Charge time: 1 Hour
Weight: 0.9kg
CDL-7100
WHAT’S IN THE BOX
Cordless Drill Driver
ozito.com.au
18V Battery x2
Charging Adaptor
Charging Cradle
ONLINE MANUAL
Scan this QR Code with your
mobile device to take you to
the online manual.
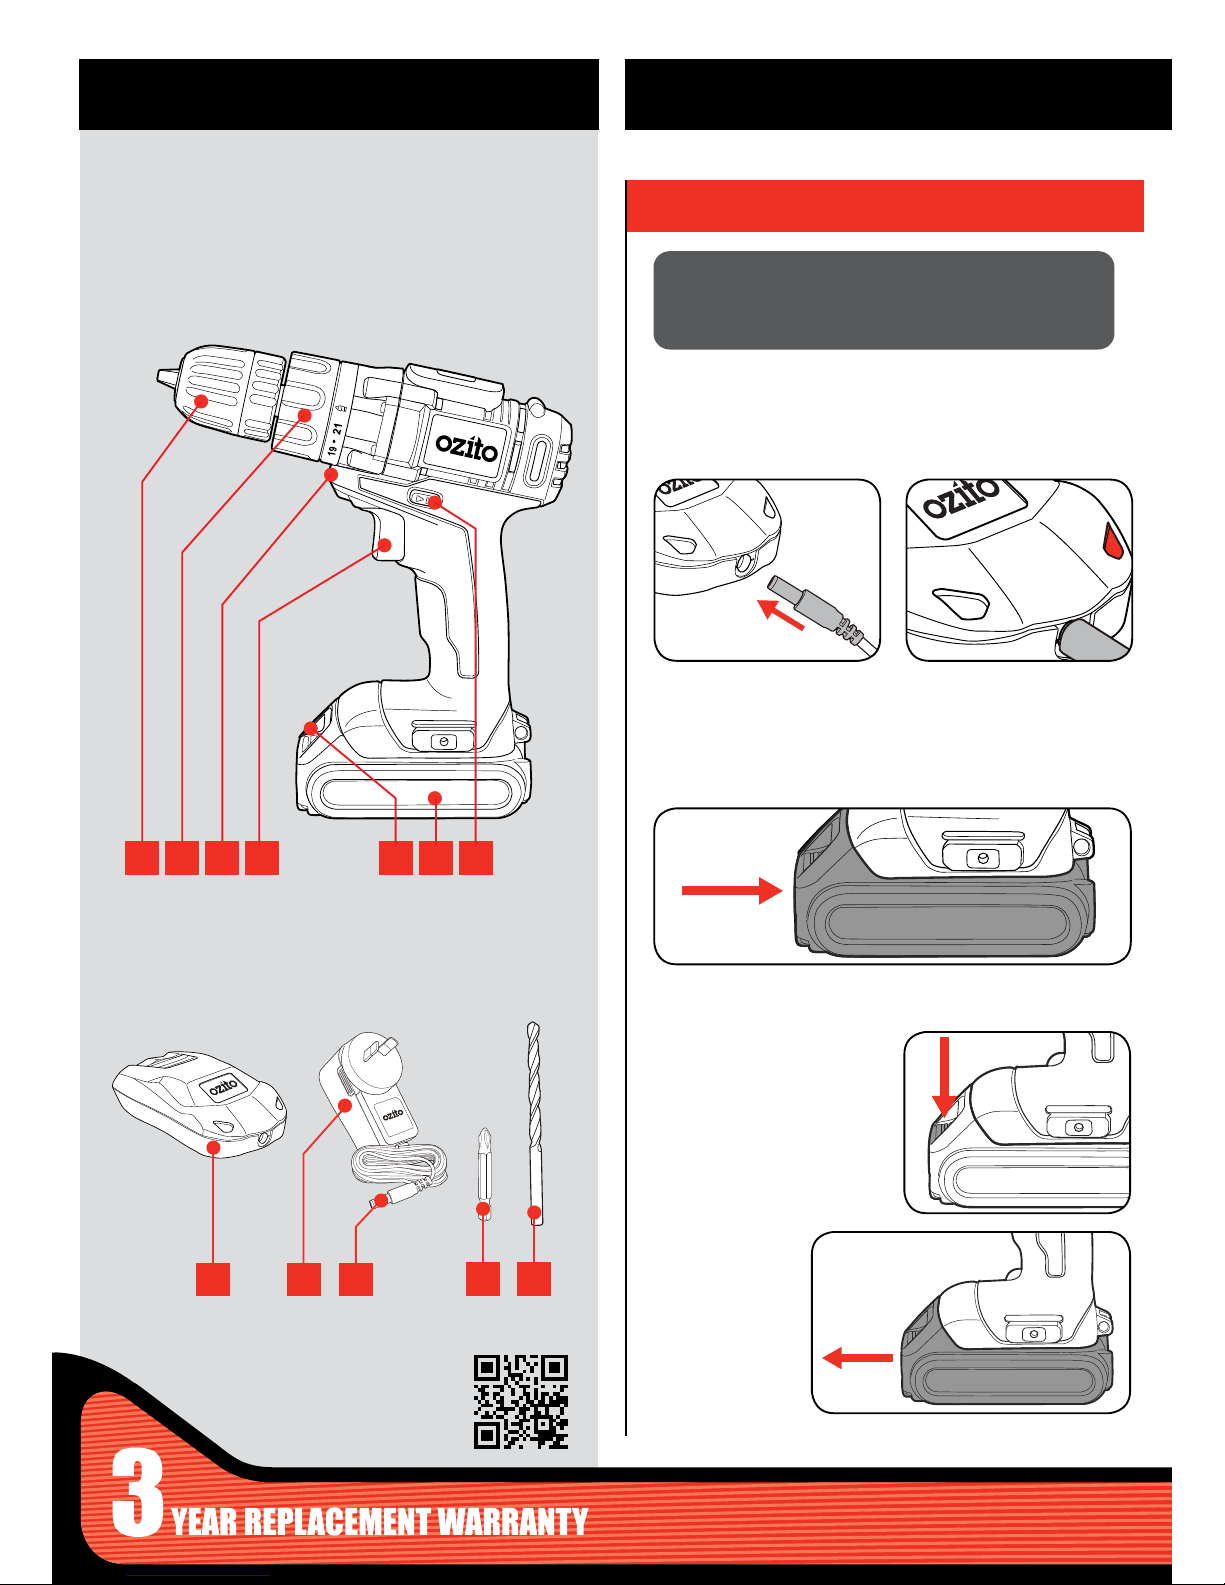
KNOW YOUR PRODUCT SETUP & PREPARATION
1. BATTERY
1 Keyless Chuck
2 Torque Adjustment Collar
3 LED Light
4 Variable Speed Trigger
5 Battery Release Button
6 Battery 18V
7 Forward/ Reverse Lever
CORDLESS DRILL DRIVER
1 2 3 4 5 6 7
Charging
Installing the Battery Pack
1 Plug charging jack into
charging cradle. Both lights will
illuminate when connected.
1 Slide the battery into the drill base until it clicks into place.
2 Slide the battery onto the
charging cradle. Only the red
light will be illuminated when
properly connected.
Note: Once fully charged, both the red and green lights will
illuminate.
Removing the Battery Pack
1 Hold down the battery release
button.
2 Slide the battery
out.
WARNING! THE POWER SUPPLY FOR THIS CHARGER
SHOULD BE PROTECTED BY A RESIDUAL CURRENT
DEVICE (RATED AT 30MA OR LESS). A RESIDUAL CURRENT
DEVICE REDUCES THE RISK OF ELECTRIC SHOCK.
8 9 10
8 Charging Cradle
9 Charging Adaptor
10 Charging Jack
11 CRV Driver Bit x 50
12 Drill Bit x 20
ACCESSORIES
11 12
FWD
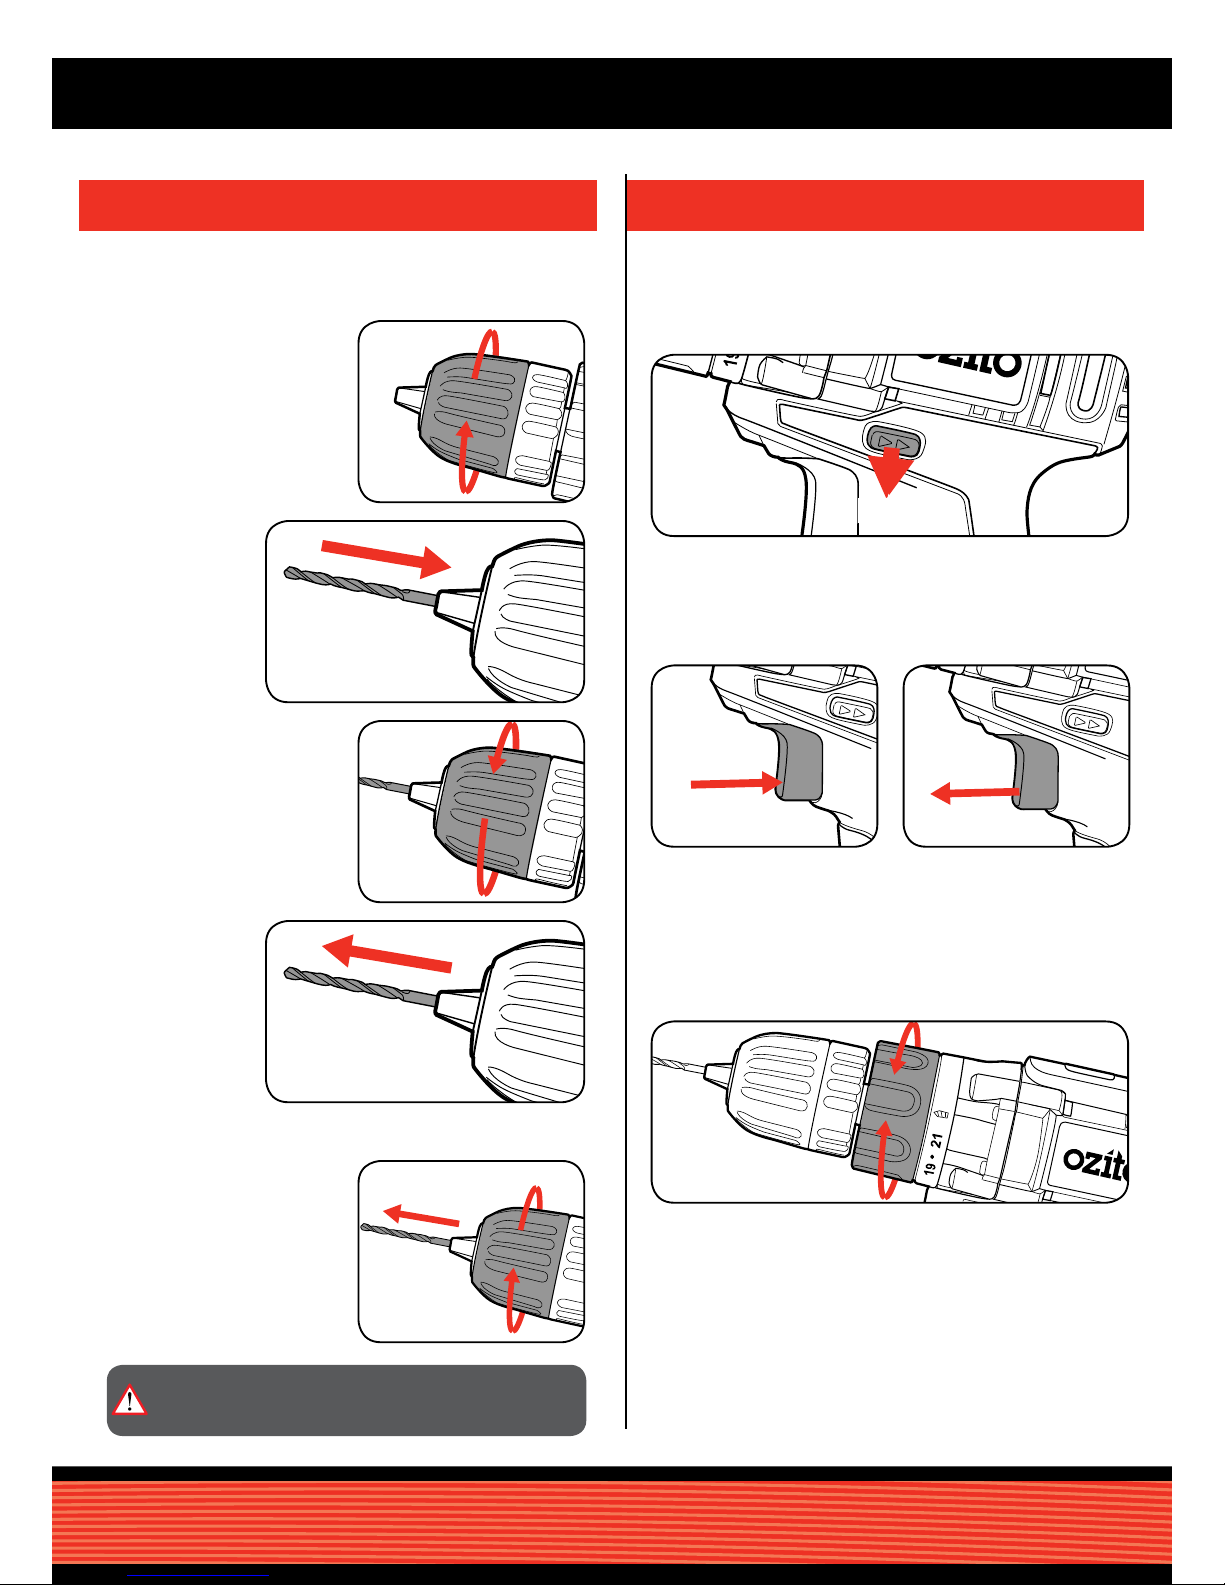
2. KEYLESS CHUCK 3. CONTROLS
OPERATION
Forward/ Reverse Lever
Adjusting Torque
Variable Speed Trigger
1 For forward rotation, push the fwd/rev lever towards the left side of
the drill. For reverse rotation push fwd/rev lever to the right.
1 Rotate the torque collar to the desired setting.
1 To start drilling squeeze the
variable speed trigger.
2 To stop drilling release the
trigger.
Installing a Drill Bit
Removing a Drill Bit
1 Rotate the chuck collar anti-
clockwise to open the chuck
1 Open the chuck by rotating the
chuck collar and remove the
frill bit.
3 Tighten the chuck by turning
clockwise.
2 Insert the drill bit,
making sure it
is centred in the
chuck.
4 Pull on the bit to
ensure it is rmly
secured.
Note: The more the variable speed trigger is depressed, the
faster the drill bit will rotate.
Note: Selecting a higher torque setting will allow the drill to
use more torque to drive the screw in or out. To prevent
damaging the screw head, it is recommended to start at
a low torque setting and increase when necessary.
CAUTION: TO REDUCE THE RISK OF INJURY WE
RECOMMEND THE USE OF GLOVES WHEN HANDLING
DRILL BITS.
WARNING! Ensure the tool is turned off & disconnected from the
power supply before performing any of the following operations.
 Loading...