

Olympus U-HGLGPS, U-LLGAD, U-LLG150, U-LLG300 Instruction Manual

Modules described
in this manual
U-HGLGPS
U-LLG150/300
U-LLGAD
INSTRUCTIONS
LIGHT GUIDE ILLUMINATION
SYSTEM
This instruction manual is for the Light source Model U-HGLGPS.
To ensure the safety, obtain optimum performance and to familiarize yourself fully with the use of this
light source, we recommend that you study this manual thoroughly before operating this system.
Retain this instruction manual in an easily accessible place near the work desk for future reference.
A X 8 1 0 4
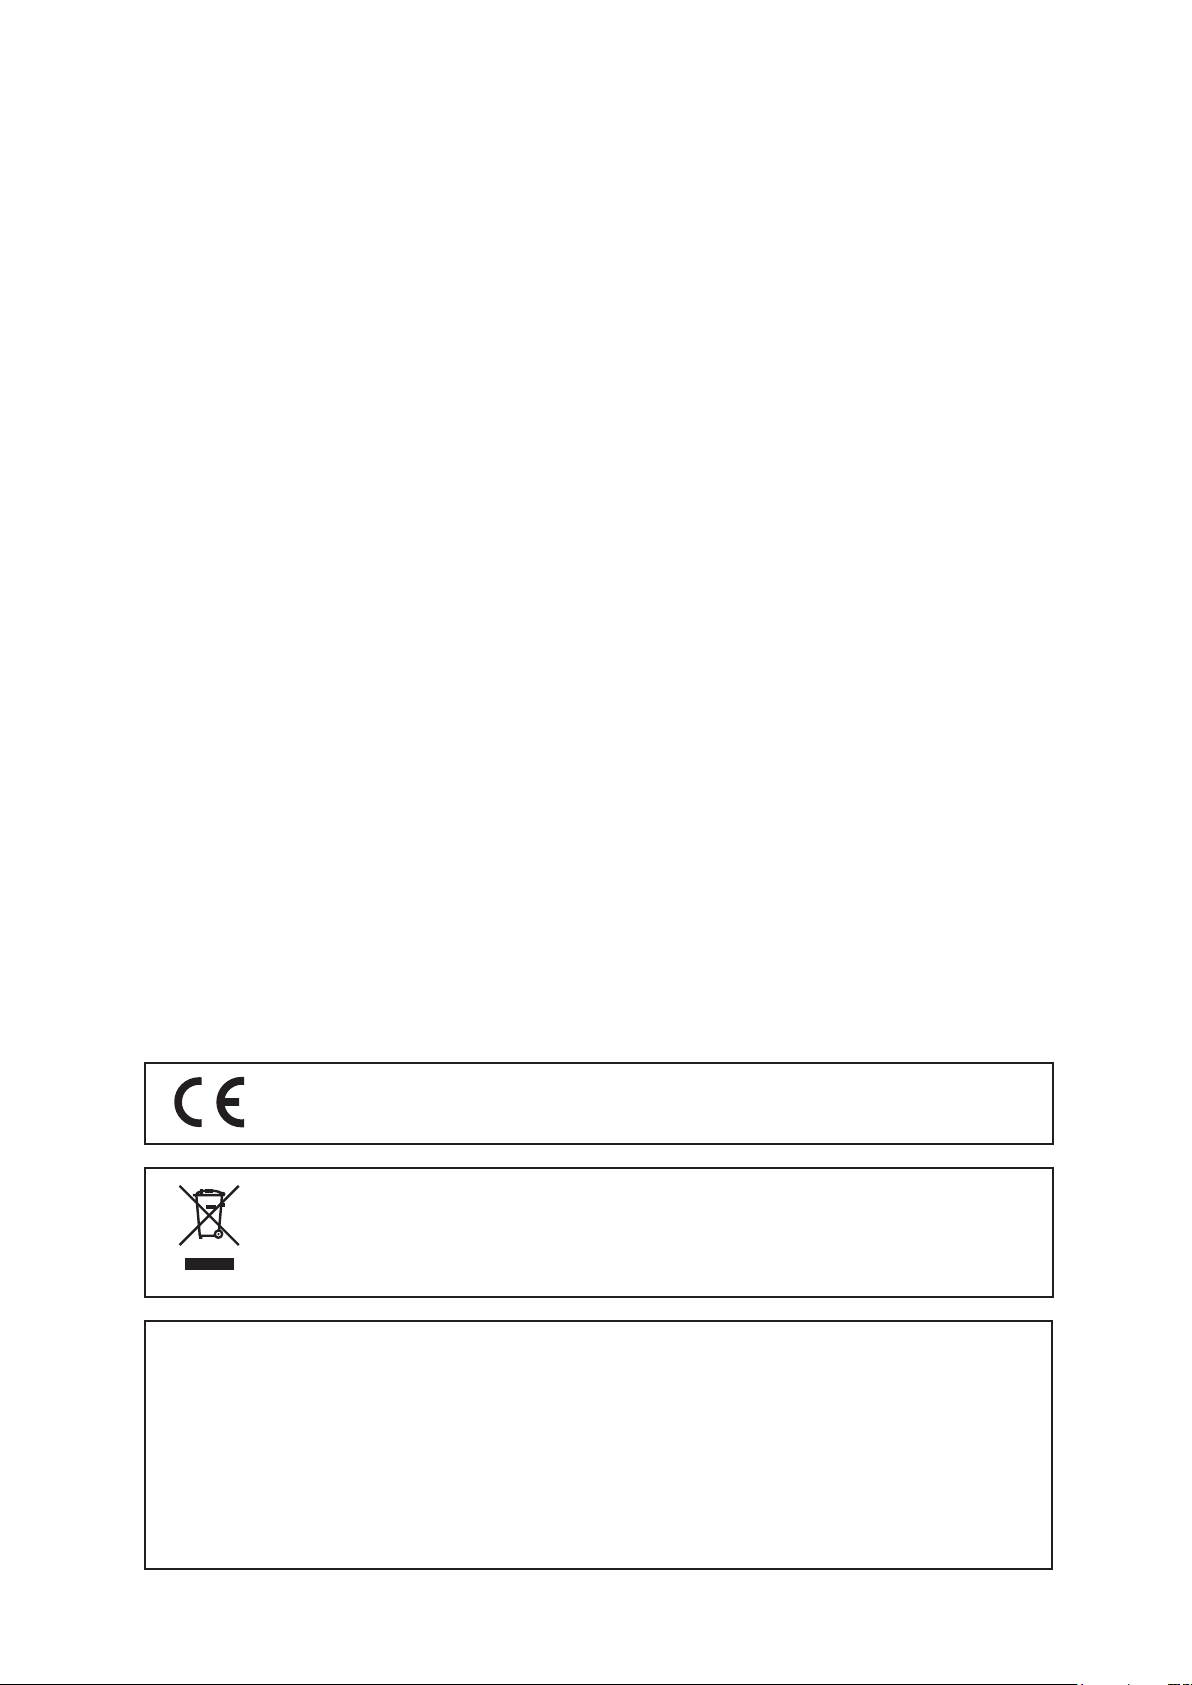
This device complies with the requirements of both directive 2004/108/EC concerning
electromagnetic compatibility and directive 2006/95/EC concerning low voltage.
The CE marking indicates compliance with the above directives.
In accordance with European Directive 2002/96/EC on Waste Electrical and Electronic
Equipment, this symbol indicates that the product must not be disposed of as unsorted municipal
waste, but should be collected separately.
Refer to your local Olympus distributor in EU for return and/or collection systems available in
your country.
NOTE: This equipment has been tested and found to comply with the limits for a Class A digital device, pursuant
to Part 15 of the FCC Rules. These limits are designed to provide reasonable protection against
harmful interference when the equipment is operated in a commercial environment. This equipment
generates, uses, and can radiate radio frequency energy and, if not installed and used in accordance
with the instruction manual, may cause harmful interference to radio communications. Operation of this
equipment in a residential area is likely to cause harmful interference in which case the user will be
required to correct the interference at his own expense.
FCC WARNING: Changes or modications not expressly approved by the party responsible for compliance
could void the user’s authority to operate the equipment.

CONTENTS
IMPORTANT -- Be sure to read this section for safe use of the equipment. --
1 Getting Ready
...................................................................
2 Maintenance and Storage ........................2
2
1 MODULE NOMENCLATURE
2 ASSEMBLY
1 Mounting of Light Guide .............................4
2 Mounting of Power Cord .............................5
3 OPERATION
1 Turning ON the lamp ......................................6
3 Adjustment of the brightness .................7
5 Lighting Display LED .......................................7
7 Replacement of Fuse ....................................9
2 Turning OFF the lamp ....................................6
4 Counter Display ..................................................7
6 Replacement of Lamp ..................................9
4 TROUBLESHOOTING GUIDE
1-2
3
4-5
6-9
10
5 SPECIFICATIONS
6 LAMP HOUSING INSPECTION SHEET
n
PROPER SELECTION OF THE POWER SUPPLY CORD
............................................................
11
12
13,14

U-HGLGPS
IMPORTANT
This light source unit is the fluorescence illumination light source which does not need to adjust
centering. By combining with the microscope, uneven stable illumination can be provided.
SAFETY PRECAUTIONS
1) Do not turn on the lamp without attaching liquid light guide and liquid light guide adapter to the microscope. The
UV light is included in the lights from this lamp. Looking directly into the light may damage your eyes. Also, it could
cause fire.
2) Before replacing the lamp, be sure to set the power switch to \ (OFF), unplug the power cord from the outlet, and
wait until the lamp replacement cover and the lamp have cooled down completely (more than 40 minutes as a
guide) to avoid electric shock or burn.
3) Install the light source unit on a sturdy, level table or bench.
4) Install this equipment on a flat surface which does not block the ventilation opening on the bottom panel. Do not
place it on a soft surface, e.g. paper or cloth, etc. This could cause fire.
5) Make sure to leave sufficient space for ventilation around this equipment. Never allow metallic objects to enter the
ventilation opening. This could cause fire or electric shock.
6) When installing this equipment, secure sufficient space larger than 10 cm around this equipment to release the
heat.
7) In order to prevent the liquid light guide from being broken, the bend radius of the liquid light guide must be larger
than 40 mm.
8) Always use the power cord provided by Olympus. If no power cord is provided, please select a proper power cord
by referring to the section “PROPER SELECTION OF THE POWER CORD” at the end of this instruction manual. If the
proper power cord is not used, product safety performance cannot be warranted. Place the power cord far enough
from the heat source so that it does not touch it, e.g. near the lamp replacement cover, etc.
9) Do not turn ON the light while the lamp replacement cover is open. Doing so could result in electric shock, burn,
light source unit failure or deterioration of the light guide.
10) Be sure to connect the power cord to a grounded outlet. Otherwise Olympus cannot warrant the intended electric
safety and performance of this equipment.
11) Never touch the power plug during a thunder-storm.
12) The light source must be located/installed in such a way that there is easy access to the AC inlet located on the
rear of the equipment as the AC inlet is designated as the main disconnecting device for this equipment.
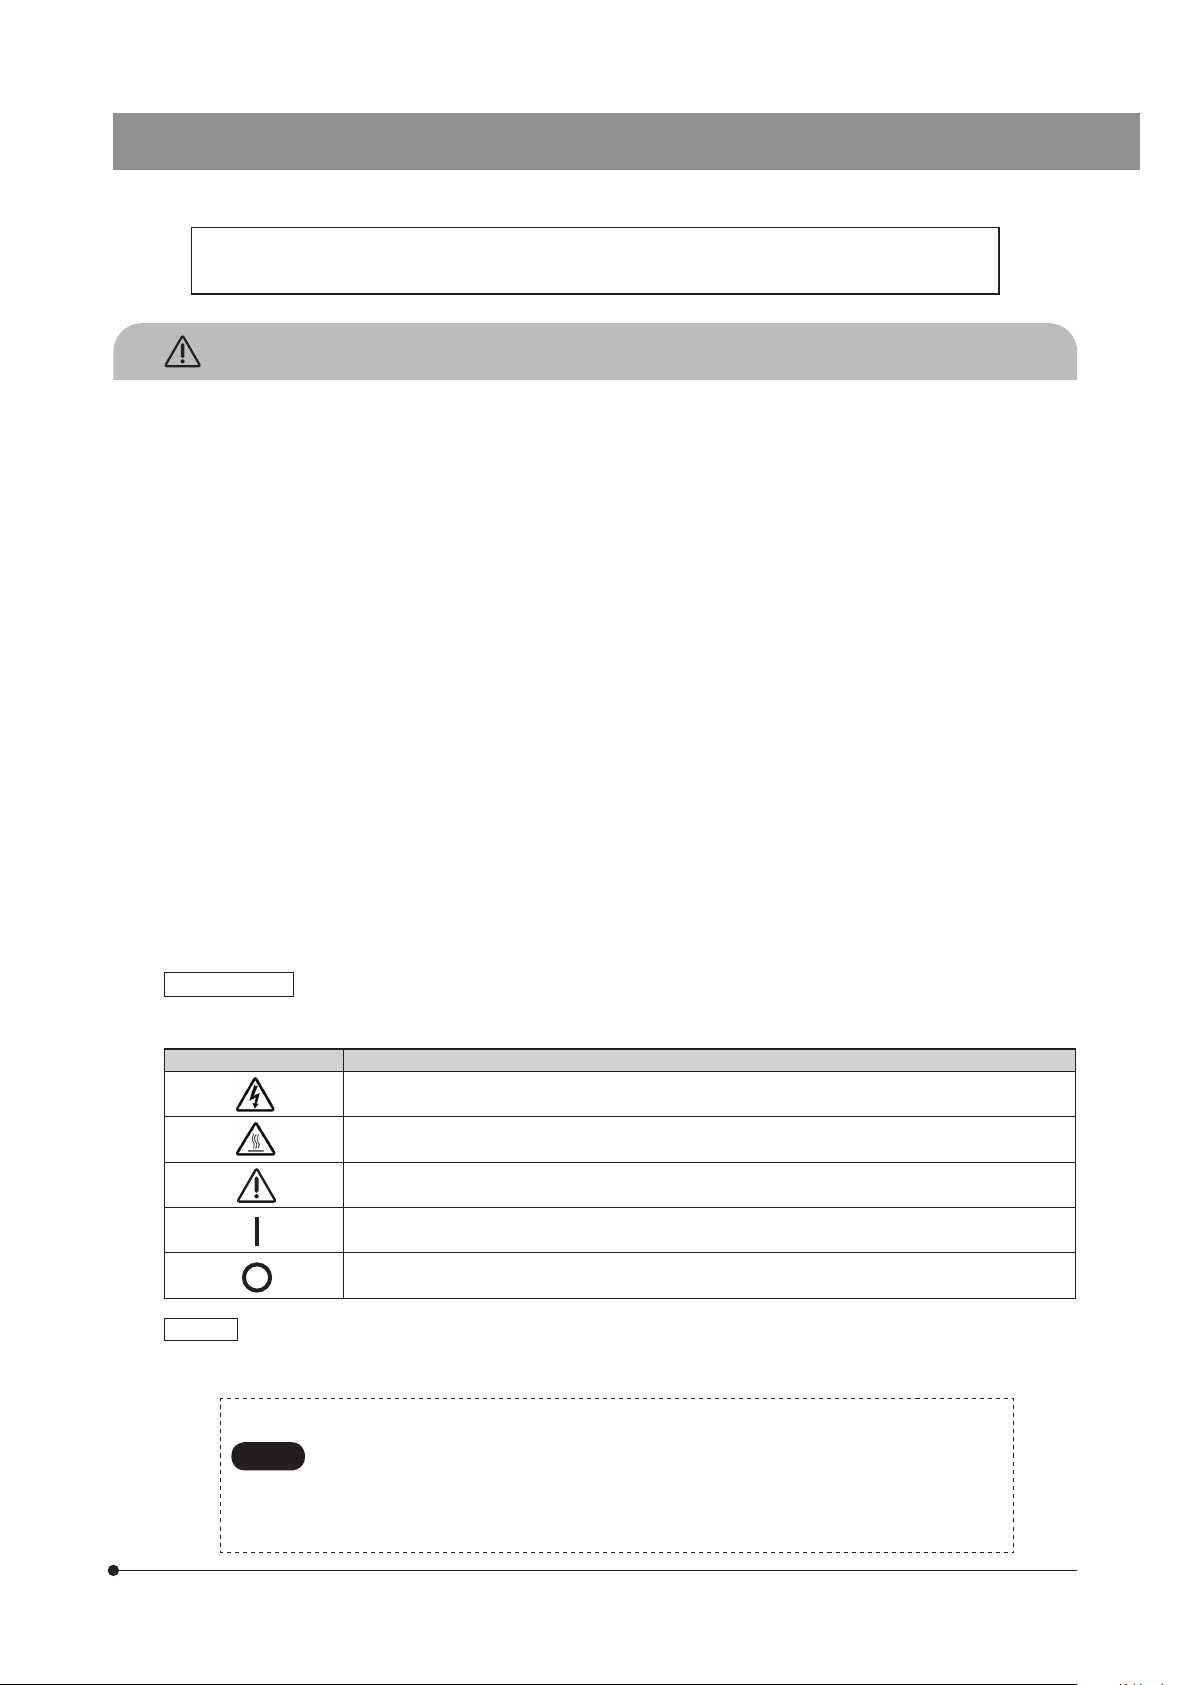
Safety Symbols
The following symbols are on the unit. Study the meaning of the symbols and always use the equipment in the safest
possible manner.
Symbol Explanation
Indicates the presence of high voltage. Take caution to guard against electric shock.
Indicates that the surface becomes hot, and should not be touched with bare hands.
Indicates a non-specific general hazard. Follow the description given after this symbol or in
instruction manual.
Indicates that the main switch is ON.
Indicates that the main switch is OFF.
Caution
If the system is used in a manner not specified by this manual, the safety of the user may be imperiled. In addition, the
equipment may also be damaged. Always use the equipment as outlined in this instruction manual.
The following symbols are used to set off text in this instruction manual.
CAUTION
} : Indicates commentary (for ease of operation and maintenance).
: Indicates a potentially hazardous situation which, if not avoided, may result in minor or
moderate injury or damage to the equipment or other property. It may also be used to alert
against unsafe practices.
1

1 Getting Ready
1) This Instruction Manual pertains only to the light source unit. Read also the Instruction Manual of the microscope to
be used together with this equipment so that you can understand the comprehensive use procedures.
2) This equipment is a precision unit. Handle it carefully to avoid sudden and severe impact. This equipment is not
waterproof.
3) Do not use this equipment where it is subjected to direct sunlight, dust, steam or vibration. For operating
environment, refer to [5 Specifications] on page 11.
4) Highly flammable organic solvent, e.g. dehydrated alcohol, etc. may cause fire. Keep it away from the light source
unit while the light source is turned on or immediately after the light source is turned off.
5) When the liquid light guide is broken, solvent leaks out. Though the solvent is not severely toxic, wash your hands
and/or eyes thoroughly with water if they got in touch with the solvent.
6) Do not twist the liquid light guide excessively to prevent it from being damaged. Also do not pull it with more than
3kg tension.
7) Be sure to set the power switch to \ (OFF) and unplug the power cord from the outlet and remove the liquid light
guide before carrying the equipment.
8) Be careful not to touch around the ventilation opening area while this equipment is turned on or immediately after it
has been turned off. As this ventilation opening area is heated, this causes burns.
9) Do not repeat turning ON/OFF the lamp more than necessary. The life of the lamp may be shortened.
After the lamp is turned ON, wait for 2 minutes before turning OFF the lamp.
After the lamp is turned OFF, wait for 10 minutes before turning ON the lamp.
2 Maintenance and Storage
1) Clean periodically (every 100 hours as a guide). Before cleaning, unplug the power plug from the outlet and wipe it
with a fluff-free soft dry cloth.
2) If the light source unit and the liquid light guide are very dirty, wipe them with the soft cloth slightly containing the
diluted detergent. If the edge surface of the liquid light guide is dusty, blow the dust off with the clean air. If the dust
cannot be removed, clean it off with the cotton swab or the lens paper containing the alcohol.
3) Vacuum the dust around the ventilation openings on the bottom and side of the light source with a vacuum-cleaner
periodically (every 6 months as a guide). Using the dusty equipment continuously may result in a fire or failure.
4) Never disassemble/remodel anything other than those described in this Instruction Manual. This may cause the
performance deterioration or incidents.
5) If you don’t use the equipment, be sure to turn \ (OFF) the power switch and unplug the power cord from the outlet.
Then, after confirming that the equipment is cooled down completely, store it and put the dust prevention cover over
it.
6) When the lamp replacement instruction of the equipment appears (when the lamp "lighting time" blinks), install a
new lamp. (See page 9.) The mercury lamp, different from the fluorescence, contains a high pressure gas within the
tube. If you keep using it beyond the lifetime extremely, the glass tube may burst due to the accumulated strain. The
used mercury lamp must be disposed of as industrial waste. If you cannot dispose of it by yourself, bring it to the
Olympus sales office.
7) Before disposing of this product, be sure to follow the regulations and rules of your local government.
2
In case that the lamp bursts
Should the lamp burst, follow the procedures below.
• Should the lamp burst, unplug the power cord from the outlet. Leave that place and ventilate for at least 30 minutes.
• After the lamp and the lamp house have cooled down, collect the remaining mercury with packing tape, paper or
dropper, etc.
• The collected mercury and tools used must be sealed completely in a nonmetallic container, and ask the waste
disposer to dispose them.
• Should you have inhaled mercury steam, consult the doctor immediately and follow his/her instructions.
 Loading...