

Olympus E-M5 II User Manual

1 Camera Setup and Control Reference
Image © Jay Dickman
3
Congratulations! You’ve purchased, or are about to purchase, one of Olympus’s professional-level, mirrorless, interchangeable lens, Micro Four Thirds format cameras: the OM-D
E-M5 Mark II. To simplify references to the camera, we’ll use “E-M5II” in the remainder of
the book.
While no professional digital camera is inexpensive, the E-M5II provides passionate
photographers with a camera that has excellent resolution, an interactive electronic viewfinder, easy-to-use physical controls, and deep custom menu configurability, all at an attractive price. The E-M5II’s strong, all-metal body is also splash proof, dust proof, and freeze
proof. It should remain a reliable camera for years of faithful service.
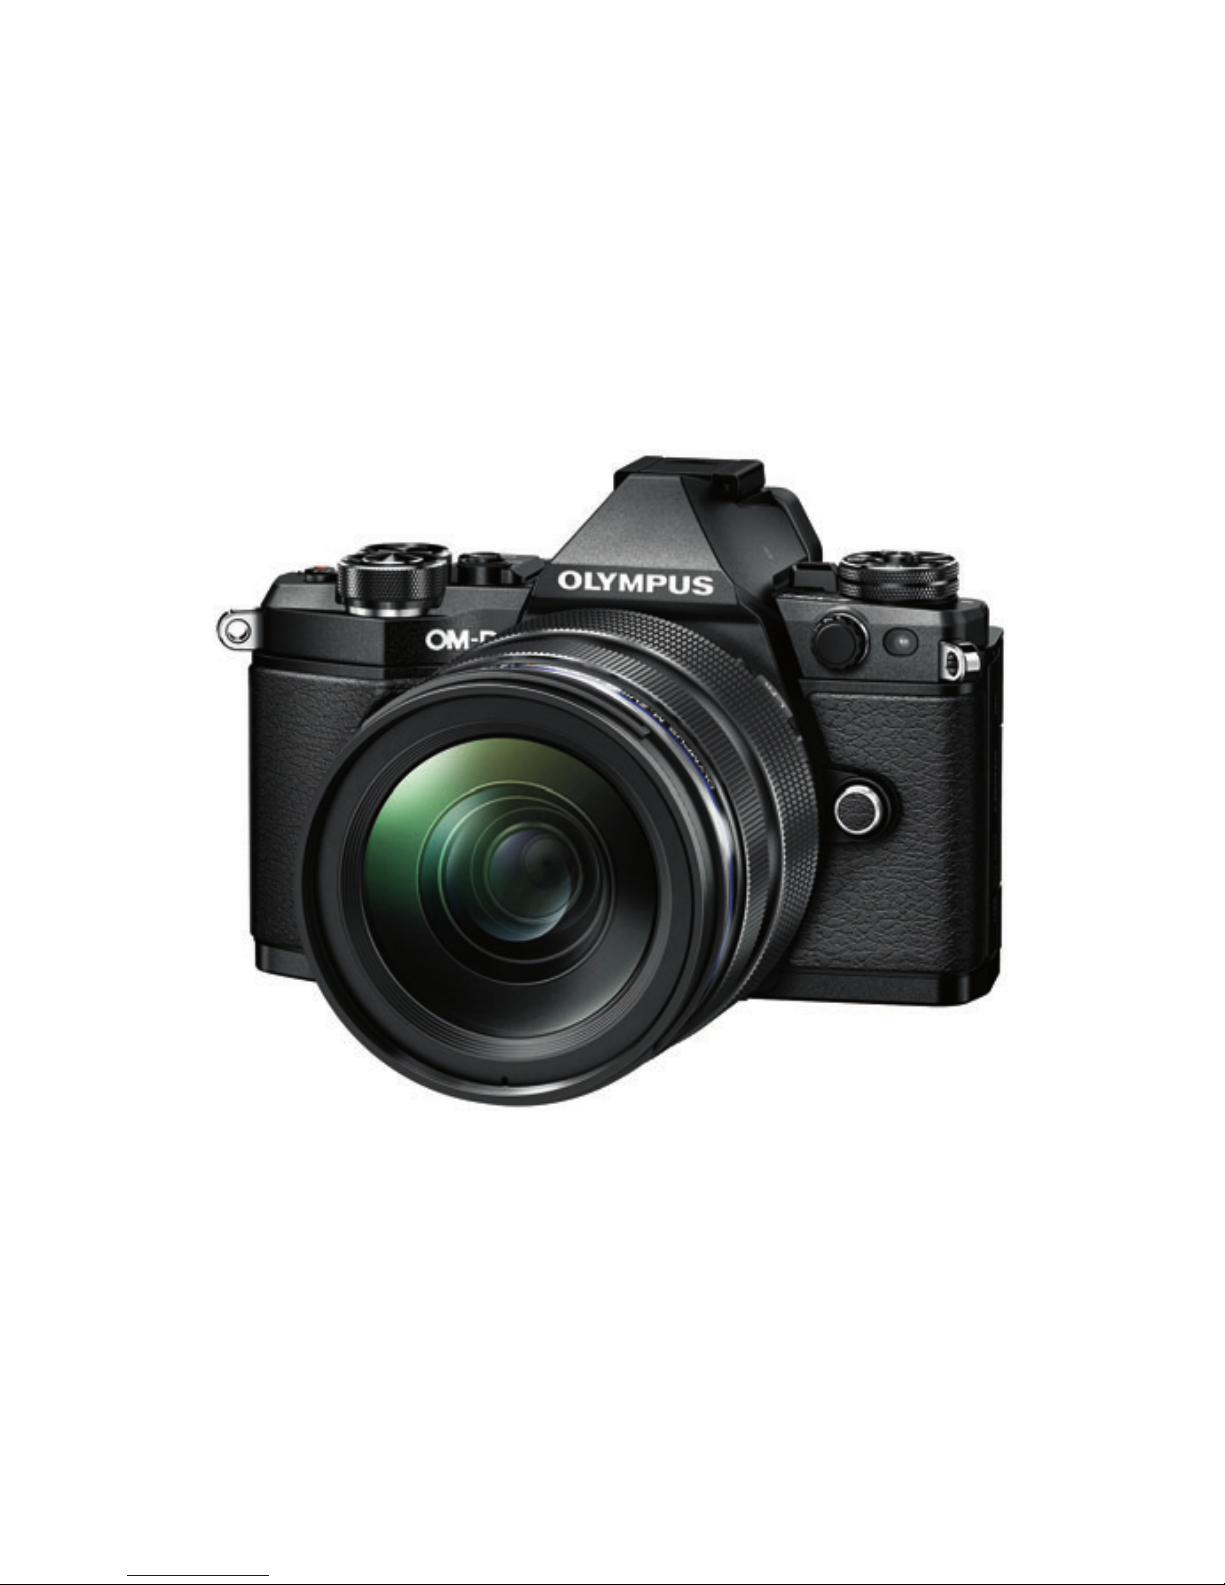
Figure1.1: Olympus E-M5II front view
The small size of the camera allows great portability for a full photography system. The
entire system—including lenses, a battery pack, a flash unit, and accessories—can be
contained in a small camera bag, allowing you to carry a full range of equipment without
wearing yourself out.
The 17.2-megapixel imaging sensor (16.1 megapixel effective), interactive electronic
viewfinder, fully articulated and touch-sensitive live view display screen, 10 frames-persecond shooting rate, 5-axis image stabilization, contrast detection autofocus, and Digital
ESP metering system allow you to take complete creative control of the scene in front of
your lens.
4 Chapter 1 – Camera Setup and Control Reference
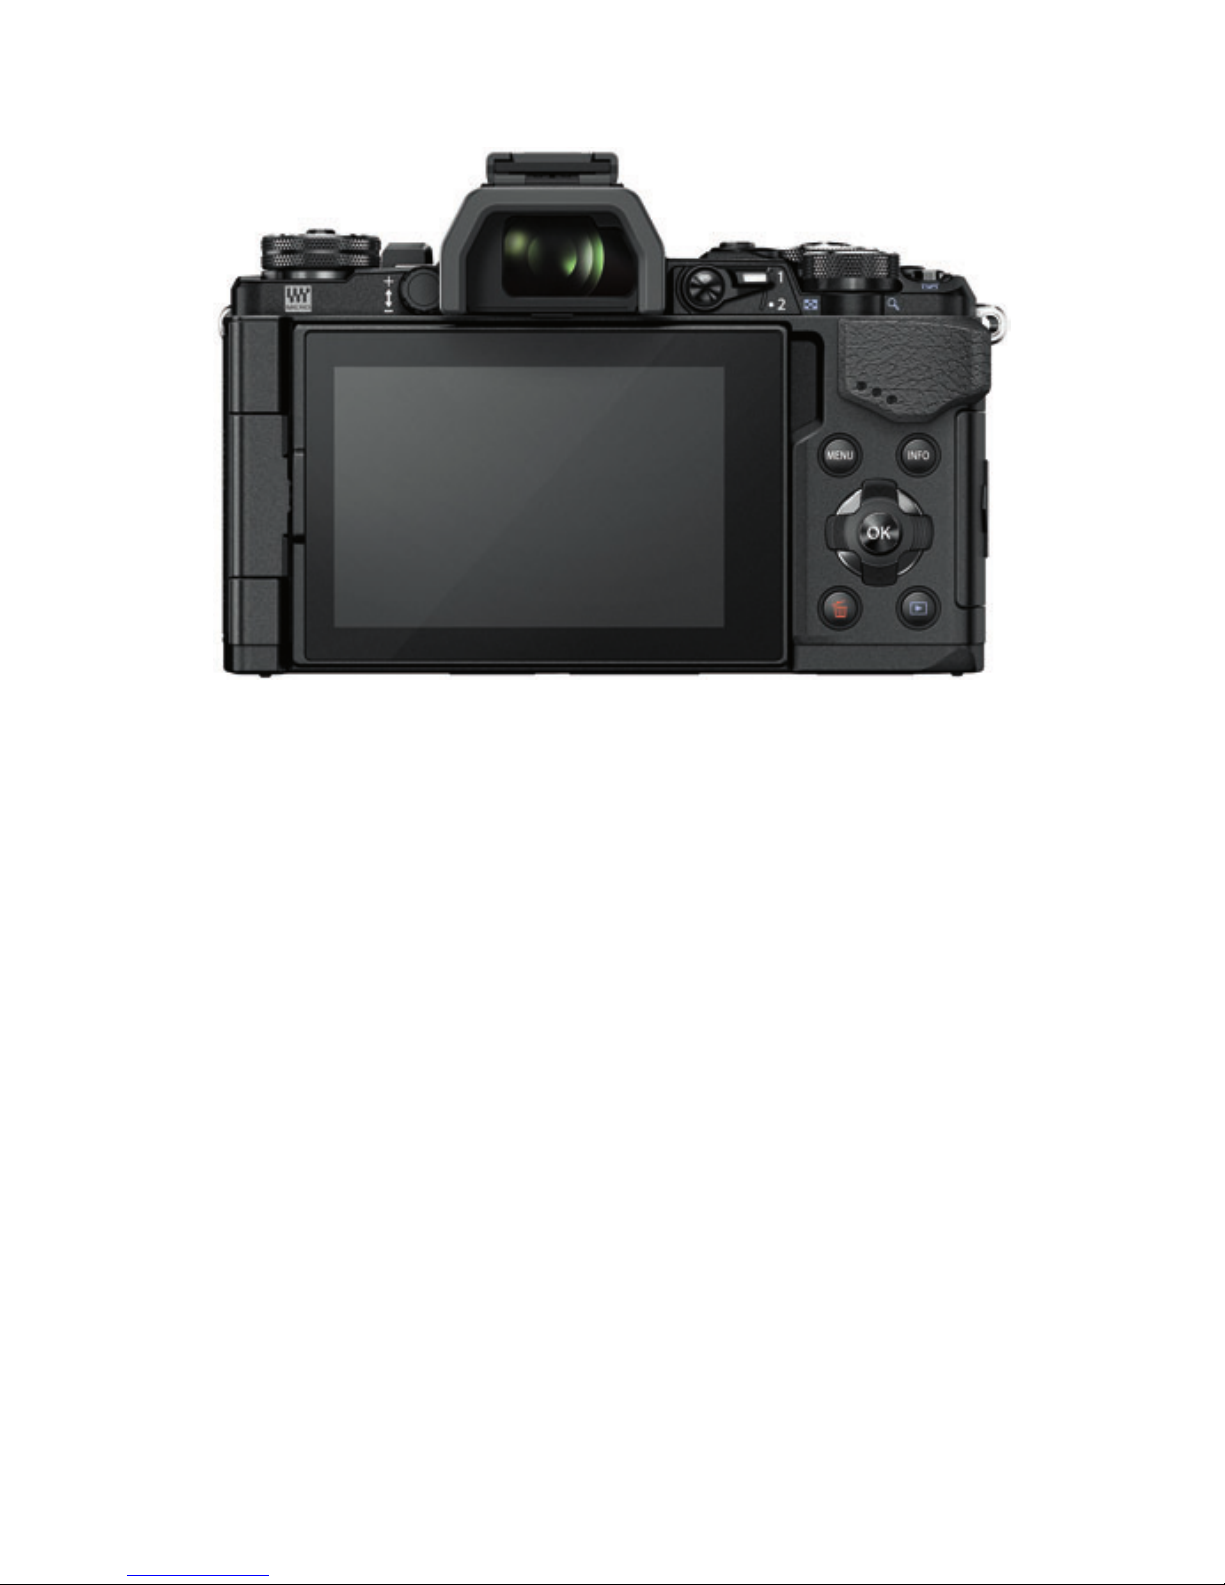
Figure1.2: Olympus E-M5II back view
The E-M5II is one of the most configurable cameras ever created. The deep menu system allows for custom configuration, making the E-M5II an ideal camera for photographers who
want absolute control over every aspect of their photography. On the other hand, the camera offers fully automatic modes that allow a new photographer to create outstanding images without excessive camera setup. You can start with the E-M5II as a new photographer
and grow into the camera, gradually learning about custom features and relying less on
automatic features over time. Or as an experienced photographer, you can take immediate
control of every aspect of digital photography with full camera cooperation and assistance.
This book will explore your incredibly feature-rich camera in great detail, using everyday language. We will cover virtually every button, dial, switch, and menu setting, giving
you how, when, and why information so that you can become a master of your new, powerful imaging instrument. Your passion for excellent photography can be fully expressed
with your E-M5II. It’s time to take control of it!
How to Use This Book 5
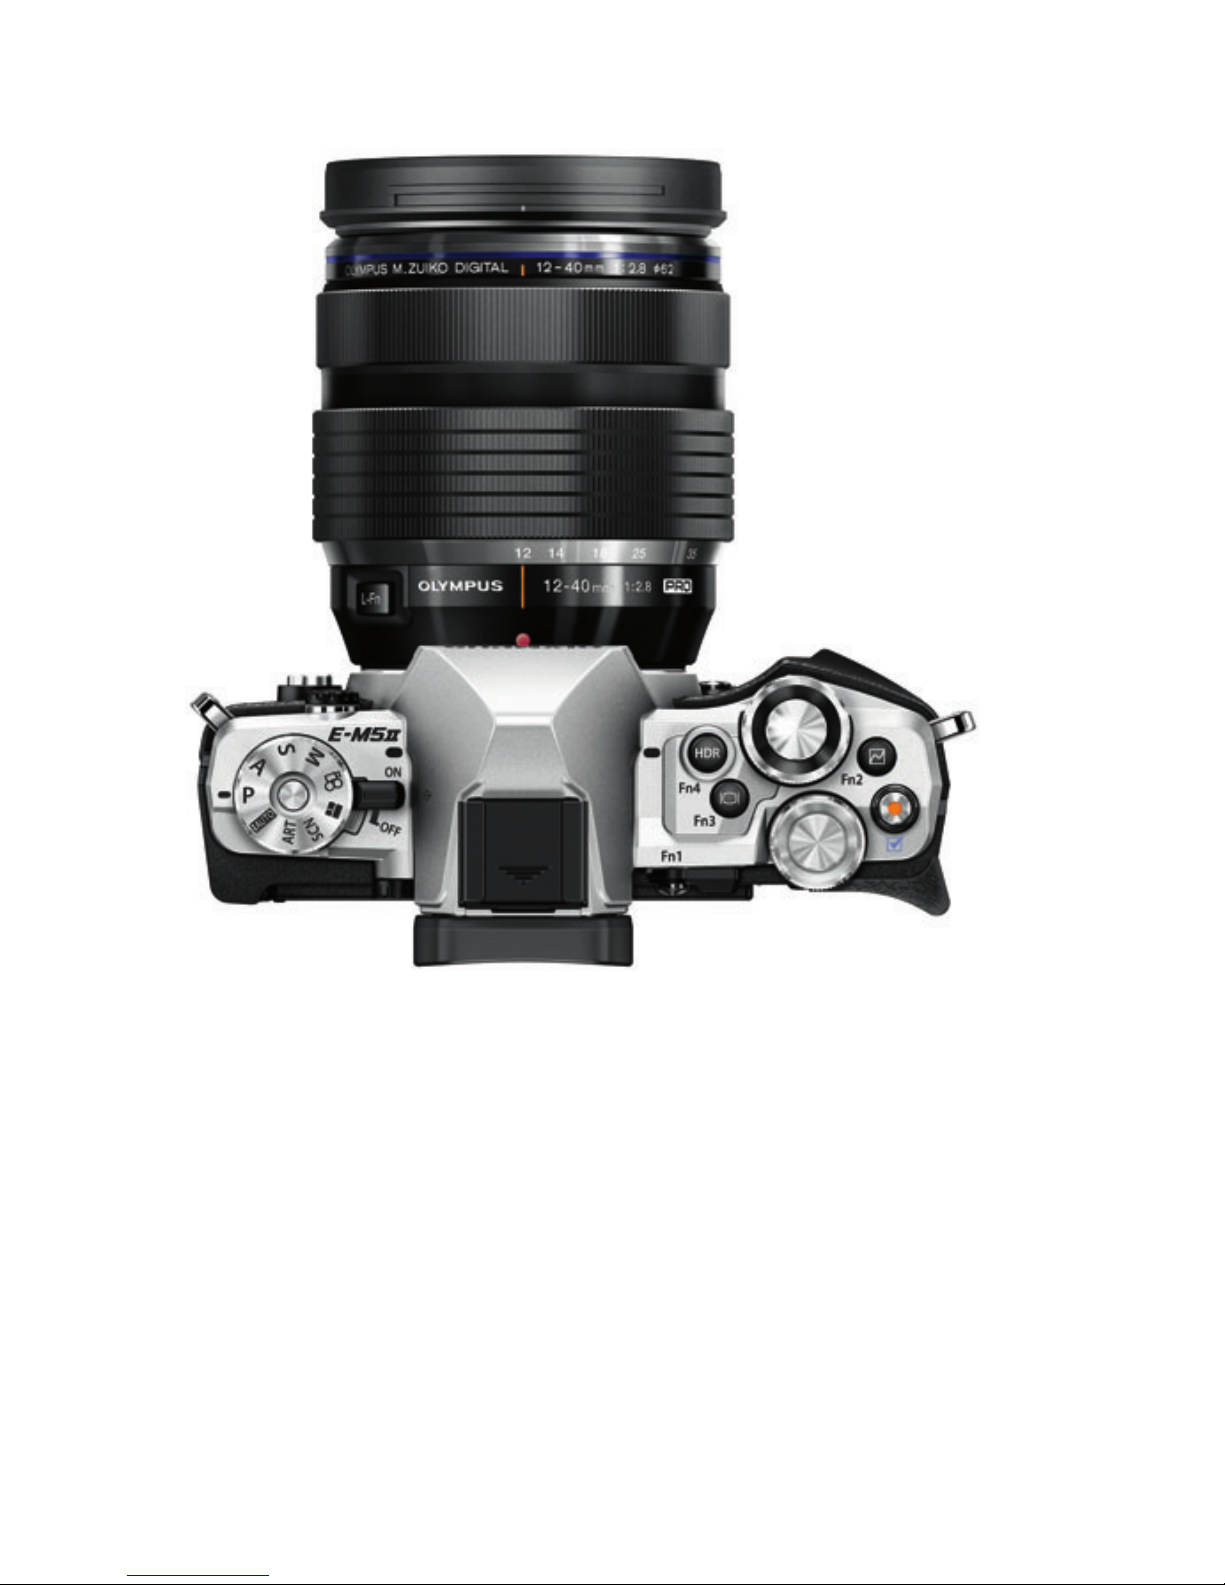
Figure1.3: Olympus E-M5II (Silver) with M.Zuiko ED 12–40mm f/2.8 PRO lens
How to Use This Book
The upcoming sections and chapters are best read with your camera in hand, ready for
configuration. There are literally hundreds of things that can be configured on this advanced, mirrorless interchangeable-lens compact (MILC) camera.
This chapter will give new E-M5II users a place to start. Later, as you progress through
the book, we’ll look at all the buttons, switches, dials, and menu settings in detail. You will
be able to fully master the operation of your E-M5II.
This book is a super user’s manual that goes way beyond the small manual that comes
with the camera. It covers not only how a certain function works (like the basic manual),
but also when it is best to use certain features and why the features are best configured
in particular ways. You will find a Settings Recommendation feature at the end of most

6 Chapter 1 – Camera Setup and Control Reference
sections, in which I offer suggestions for the best use of the various setting choices for different styles of photography.
There is an individual chapter for all the visual display touch screens and for each menu
system in the camera, giving you a detailed examination of virtually every aspect of the
camera’s control systems.
Because the E-M5II is a camera made primarily for advanced and professional users, this
book assumes you have knowledge of basic things like depth of field; lens focal length and
angle of view; and how the aperture, shutter speed, and ISO sensitivity control exposure.
If you need to brush up on these subjects, you can find a lot of helpful information in
my book Beyond Point-and-Shoot. It assumes absolutely no previous knowledge of photography and covers the basics for new users of MILC and DSLR cameras. You can find out
more about Beyond Point-and-Shoot at Darrell’s website:
http://www.PictureAndPen.com/BeyondPS
I sincerely hope this book is useful to you and greatly expands your understanding of
your new E-M5II camera.
Charge the Battery
When you first open the box that contains your new E-M5II, you should charge the camera’s
battery. The battery may have enough life in it for an hour or two of use, so it may not be
critical to charge it immediately. However, for extended configuration and use, it is best to
have a fully charged battery in the camera.
Super Control Panel or Live View Screen?
When you turn your new camera on, the first screen that appears on the monitor is the
Super Control Panel (figure1.4, image1). This panel allows you to control things like the
shutter speed, aperture, ISO, autofocus, and several other key camera functions. It is a very
convenient screen, and we will consider it in detail in the chapter Screen Displays for
Camera Control.
When the Super Control Panel is displayed on the monitor, you will need to use the electronic viewfinder (EVF) to compose your pictures. If you want to use the Live View screen
(figure1.4, image3) to compose your pictures instead of the EVF, you will need to press
the LV button (figure1.4, image2). Note that on the E-M5II, this is actually the Fn2 button, which can have any one of 27 different functions assigned to it. The factory-default
assigned function is Live View, and the icon for Live View is engraved on the button top.
Hereafter, we’ll refer to this button simply as the LV button.
My camera’s Live View screen is displaying my current subject, a battery and some Lego
blocks in my light tent. The LV button toggles between the Super Control Panel and the
Live View screen, as shown in figure1.4. Regardless of whether the monitor is displaying
 Loading...