

Page 1
Portable Elemental Analyzer MH-5000
For Measurement
株式会社マイクロエミッション
Page 2

Caution! For safety use ( before use )
Don’t touch the electrode directly with your bare hand.
Please set the apparatus in place horizontally.
Please open and close the lid softly.
Please keep any liquids away from all parts of the machine.
When you treat harmful samples, please wear a pair of protective gloves, a
lab coat, a mask, a goggle, etc.
1
Page 3

商品の確認
Product overview
part names
Apparatus
Electrode Lid
LepiCuve
Mode button
Monitor
Up button
Start button
Power lamp
Down button
Power switch
2
Page 4
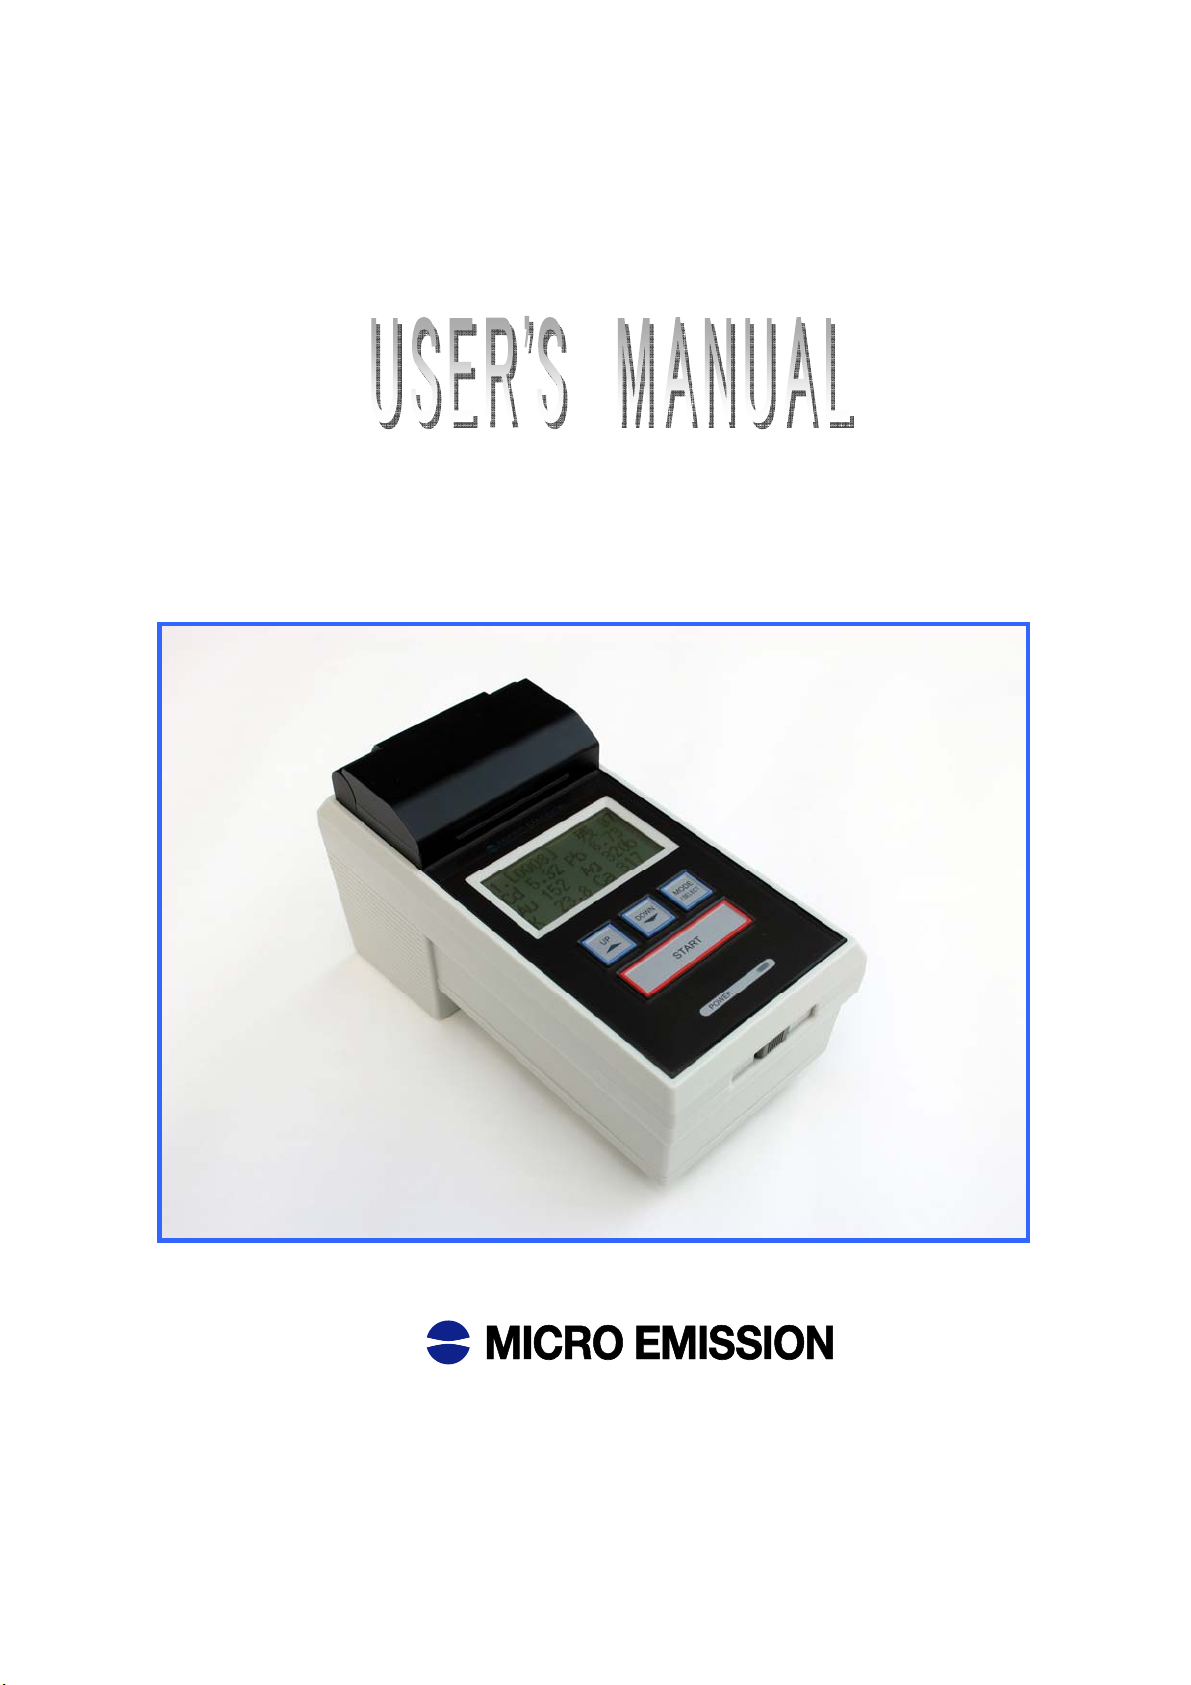
Apparatus: Back / Bottom
AC adapter USB connector
Bottom opening a battery case lid
Connecting the USB connector and
the AC adapter.
3
Page 5
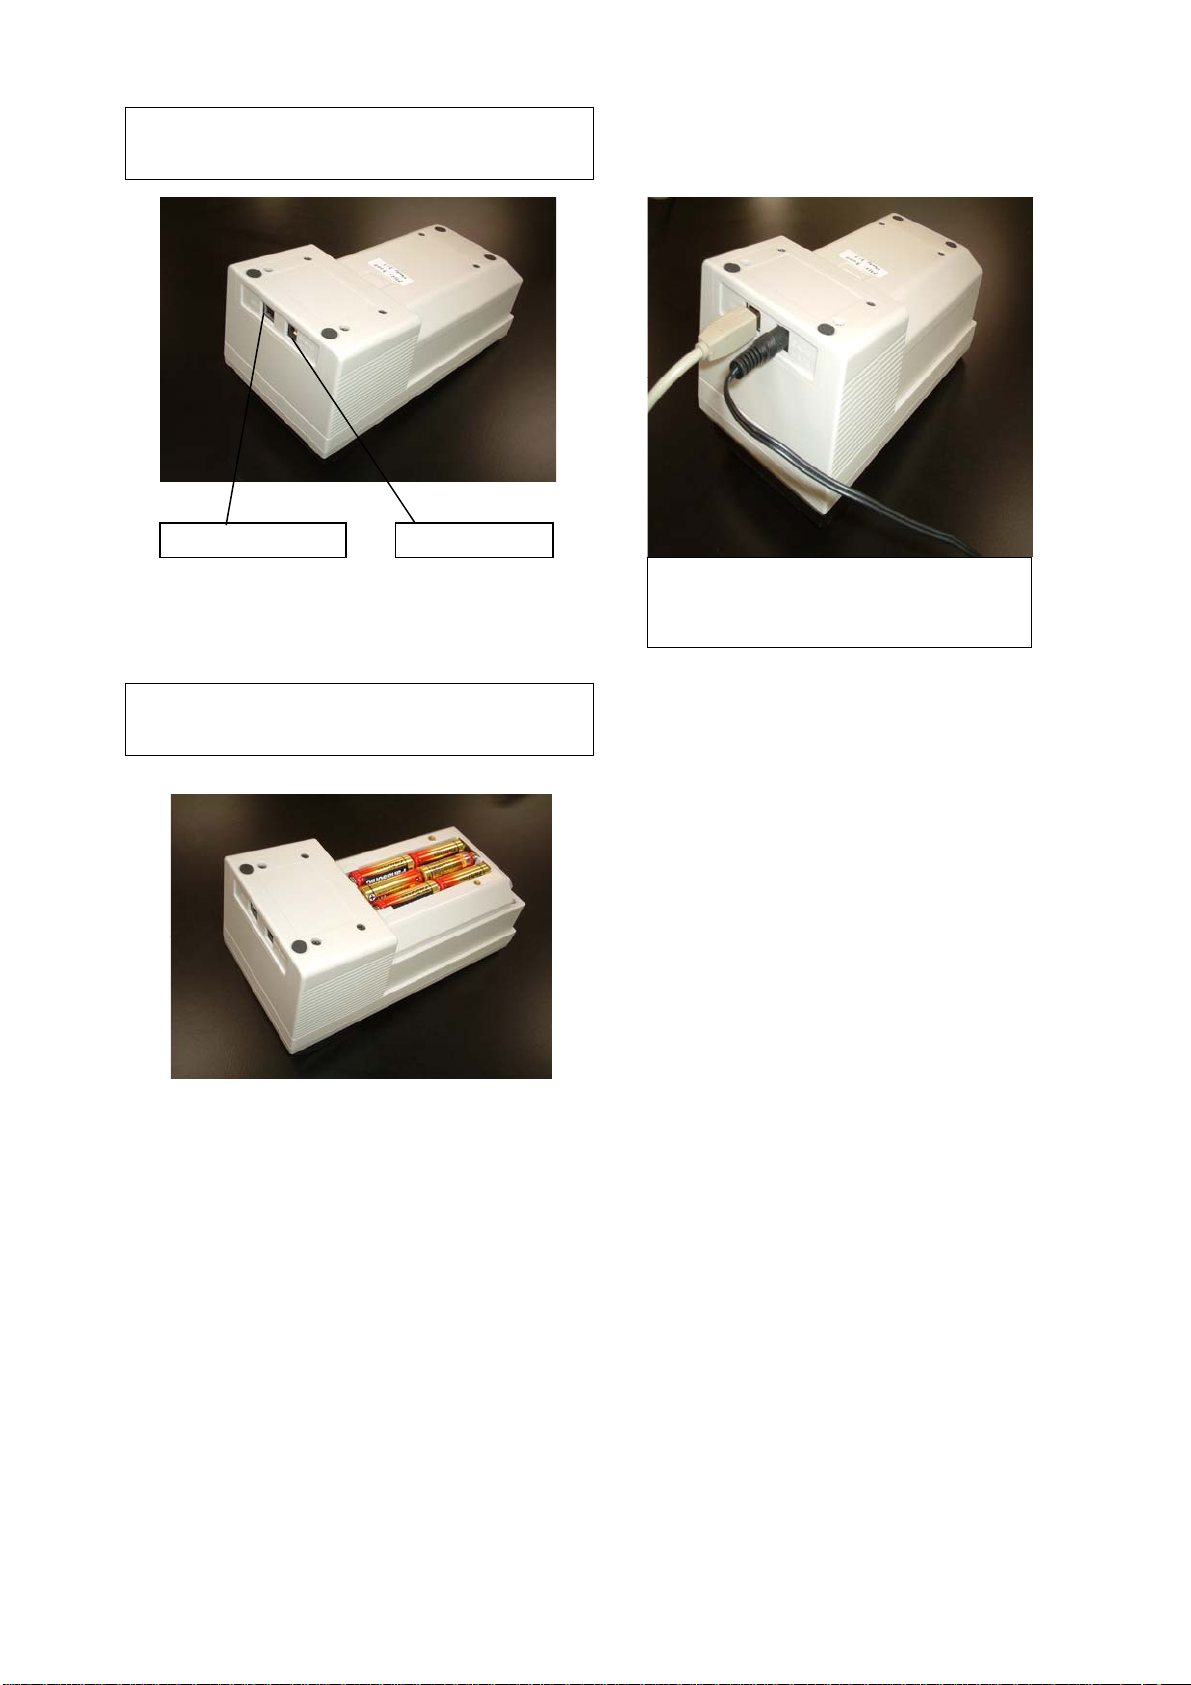
Micropipette
Syringe
LepiCuve
4
Page 6

Preparation
Preparation of the apparatus
① Open the lid, and wipe the electrodes for
cleaning.
How to wipe the electrodes
Please wipe the electrodes gently with a cotton
stick soaked in ethanol.
② Put the batteries in.
③ Otherwise, connect the AC adapter.
5
Page 7

Up to 6 elements are registerable before the measurement,
shown at right photo.
The registered elements are shown at right photo.
The registered elements are variable.
If you change the registered elements , please refer to the
” User’s manual / about configuration”
6
Page 8

Putting in liquid sample
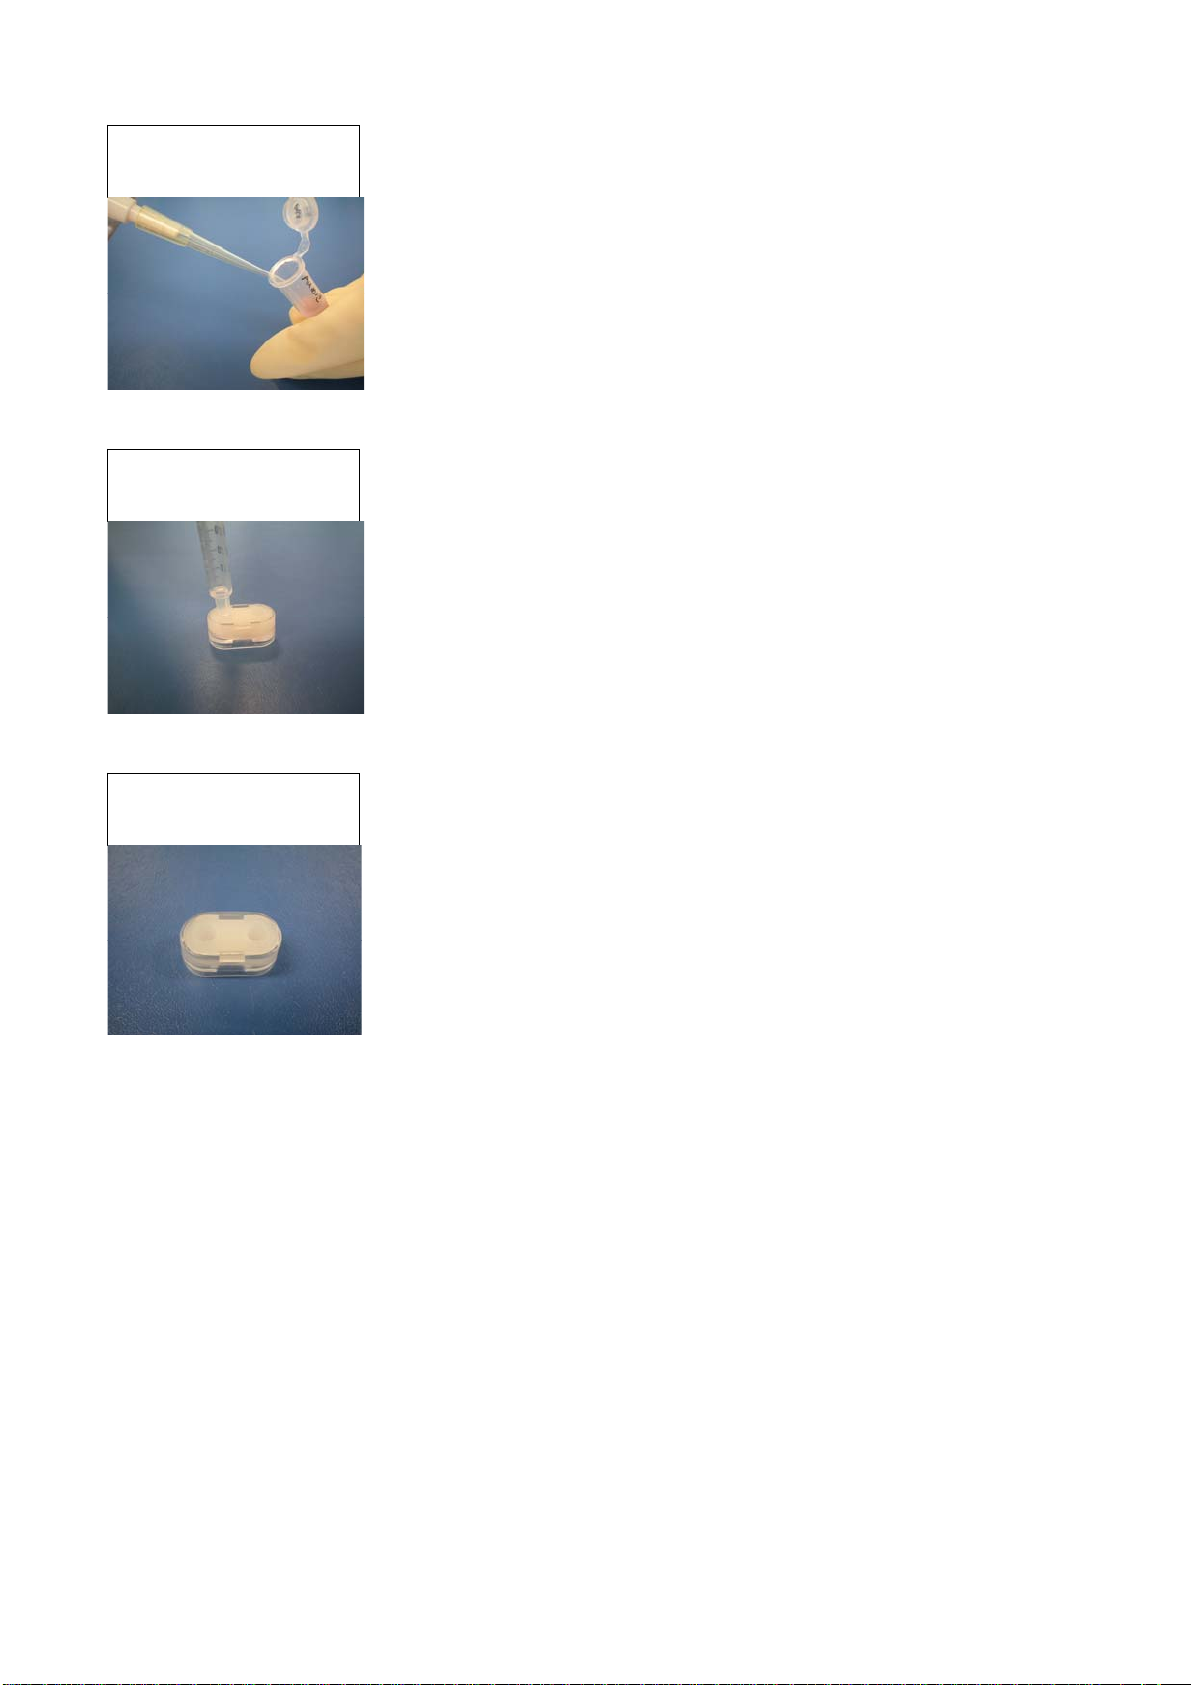
① Prepare a dedicated container (LepiCuve) in
advance.
②. Take a sample with micropipette. 30-40 ul (one
drop is required for one measurement.
③Put a sample into the one side of LepiCuve.
④Place a syringe softly on the one hole filled a
liquid sample. Fix the syringe by one hand, and push
a piston carefully. Push out about a half to the
other side using a syringe, looking for moving of a
liquid sample.
⑤Confirm for the both hole of LepiCuve filled with a
liquid sample.
7
Page 9

Measurement
Operation of the apparatus
①Turn a power switch on.
②Please wait during the message is shown
as the left photo.
③ Confirm whether measurement mode
may be appropriate.
Please change the measurement
mode, if it is not appropriate.
(referring to the page○)
The measured elements are shown
on the display. Up to 4 sets of 6
elements are selectable in advance.
④Open a lid of the apparatus.
8
Page 10

⑤Put LepiCuve in the pit of the apparatus.
⑥Close the lid softly.
If the other messages are shown on a display,
Please refer to“Troubleshooting”( page,○).
⑦Make sure that “Resistance OK” is shown.
1.The measurements cannot be done
because conducting is too low.
2.The measurements cannot be done
because resistance is too low
Please refer to “Troubleshooting Tips”, if
the message is shown as left.
9
Page 11

⑧Press a start button, then a measurement
starts.
Results
① Results (ppm or ppb) are displayed in
approximately 1min.
Residual quantity stored in the memory of the
apparatus
(*If the figure 0 is shown, please refer to
“troubleshooting tips”
(About a unit)
If only the figure is shown, it is displayed in terms of
“ppm”.
If “b” is added after the figure, it is displayed in
terms of “ppb”.
If “%” is added after the figure, it is displayed in
terms of “%”.
“ element name” < →less than
lower detection limit
“ element name” > →more than
upper detection limit
).
10
Page 12

After Measurements
①Open a lid, and put off LepiCuve.
②Wipe electrodes softly.
③If you measure some
another samples, please
back to the step
“measurement” (P.8)
④Turn a power
switch off, when the
measurements are
over.
11
Page 13

Other information
For maintenance
● Please wipe electrodes. (referring to how to wipe )
If the following messages are displayed
Please change the batteries.
The dedicated container( LepiCuve ) have not be set.
12
Page 14

13
Page 15

Troubleshooting Tips
Problem
If “Please close a lid” is shown → Please close a lid.
If “Please start” is shown → Please put off the dedicated
container LepiCuve, or start
to measure.
If “Resistance is too low” is shown
→
If “Conductivity is too low” is shown → Please inject the liquid sample
If “Please put off LepiCuve” is shown → Please put off the container
If “Power save mode. Press a mode
button” is shown →
“EEPROM Not initialized“ → Please call our customer
Please refer to the user’s
manual ” for setting “
again.
Please press a mode button.
support
Solution
Cause
Lower electrical
conductivity because
of bubbles in a
sample liquid
Out of order
If “ERROR” is shown→ Please take a number of the
error message, call our
customer support.
If ”Resistance OK” is shown
continuously, though the lid is
close-fitting enough,→
If ”Resistance OK”is not shown on a
display, though the lid is close-fitting
enough →
Nothing is shown on a display→ Please refer to the user’s
If electrodes are broken→
If the lid can not be close enough →
If the apparatus make a strange sound
continuously different from usual during
a measurement →
Please turn in a clockwise
direction with a dedicated
industrial tool (fine hexagon
wrench).
Please turn in a clockwise
direction with a dedicated
industrial tool (fine hexagon
wrench).
manual ” for setting “
Please call our customer
support.
Please turn off the power
switch at once, call our
customer support.
14
Page 16

Customer support
If the troubleshooting tips and User‘s manual do not solve your problems,
please contact your customer support desk
To assist in troubleshooting, please have the following information available.
• Any error message you received
• Approximate time and day of attempt(s)
Micro Emission Ltd. Phone +81-761-51-1420
15
 Loading...