

Page 1
Nokia 6250
06.11.00
Quick Guide to Using the Nokia 6250 with Lotus cc:Mail 8.2
1. Installation and setting up
Install the client as instructed in the Lotus cc:Mail 8.2 (later called cc:Mail in this document) User Guide. You must
also have the correct settings for your post office, etc. available when installing the client. Before using the Nokia
products you have to copy a script file to the location where all other *.MDM files are stored. (for example
C:\LOTUS\CCMAIL\MDM).
The Nokia files can be downloaded from our support web pages which can be found at http://www.forum.nokia.com
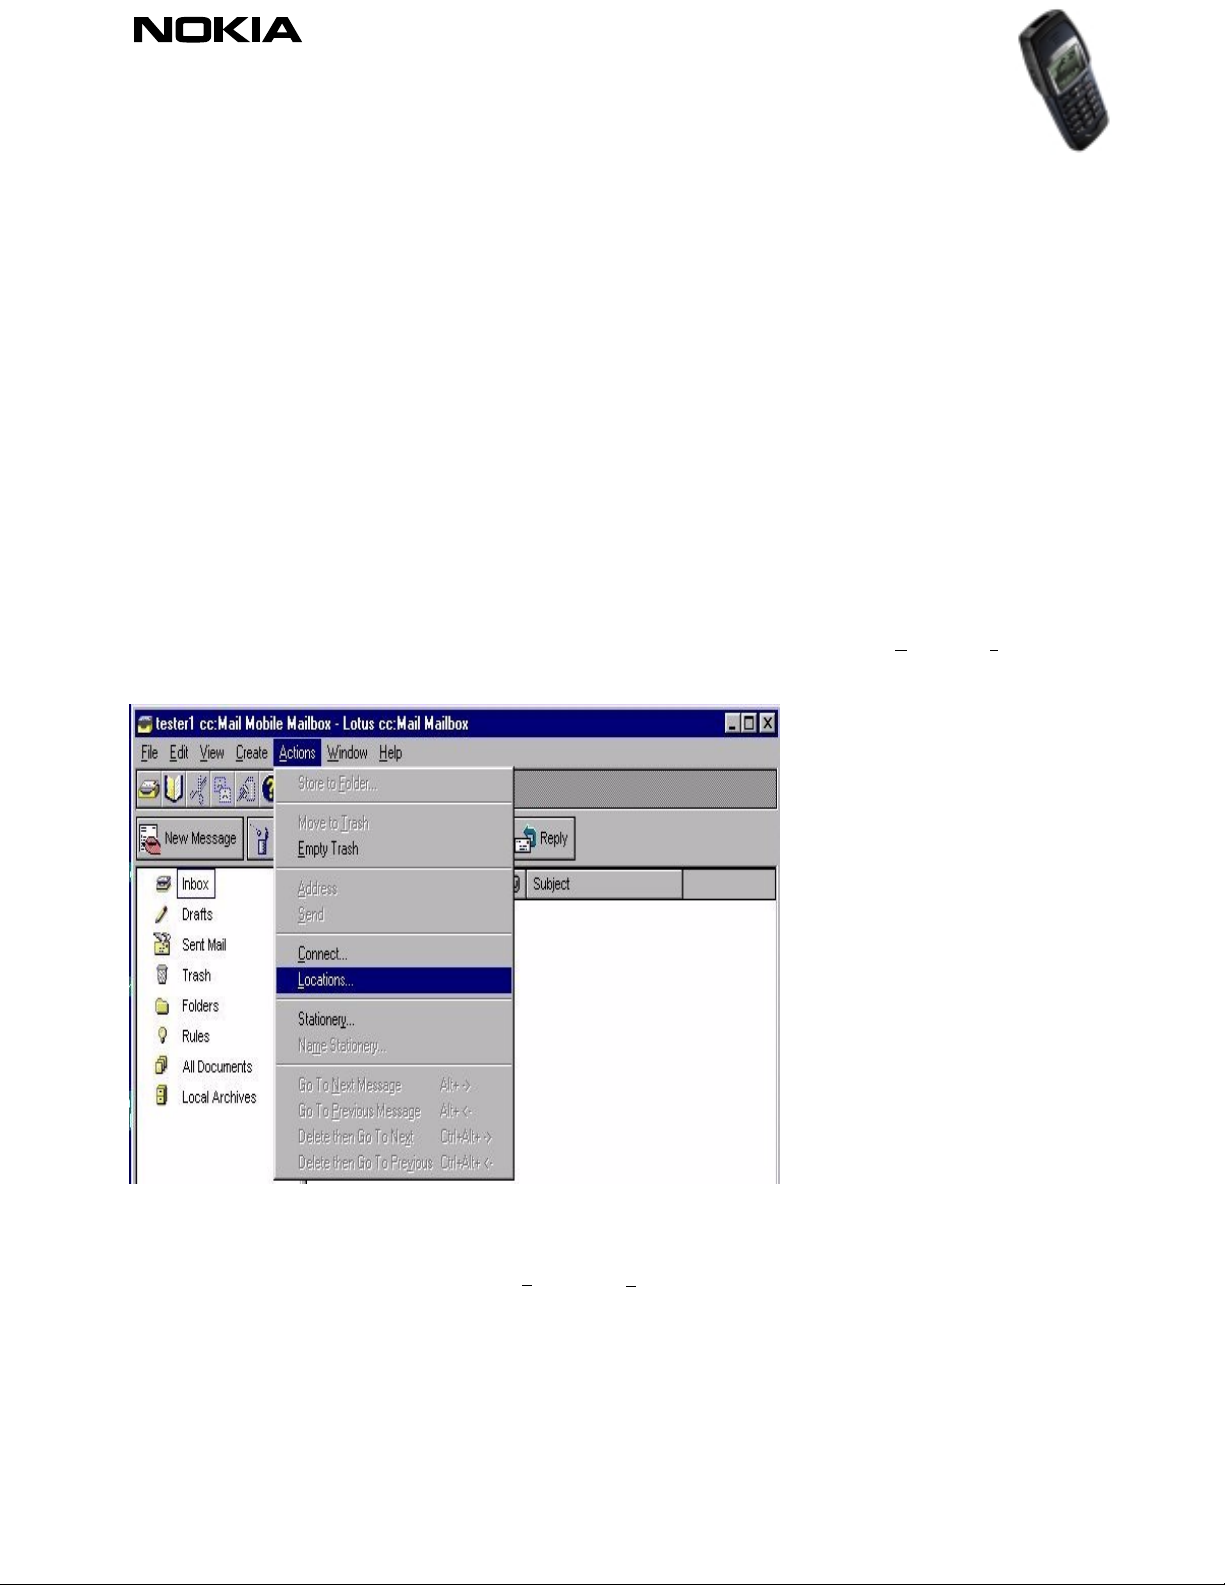
When the files are copied to the correct location, the cc:Mail has to be configured from Actions -> L
(Figure 1).
Figure 1. Starting setup ..
ocations…
Then choose one of the locations and choose Edit.. When Edit is selected the main window of the location is opened.
Choose the Connections tab (Figure 2).
Copyright ã 2000. Nokia. All rights reserved.
1(6)
Page 2
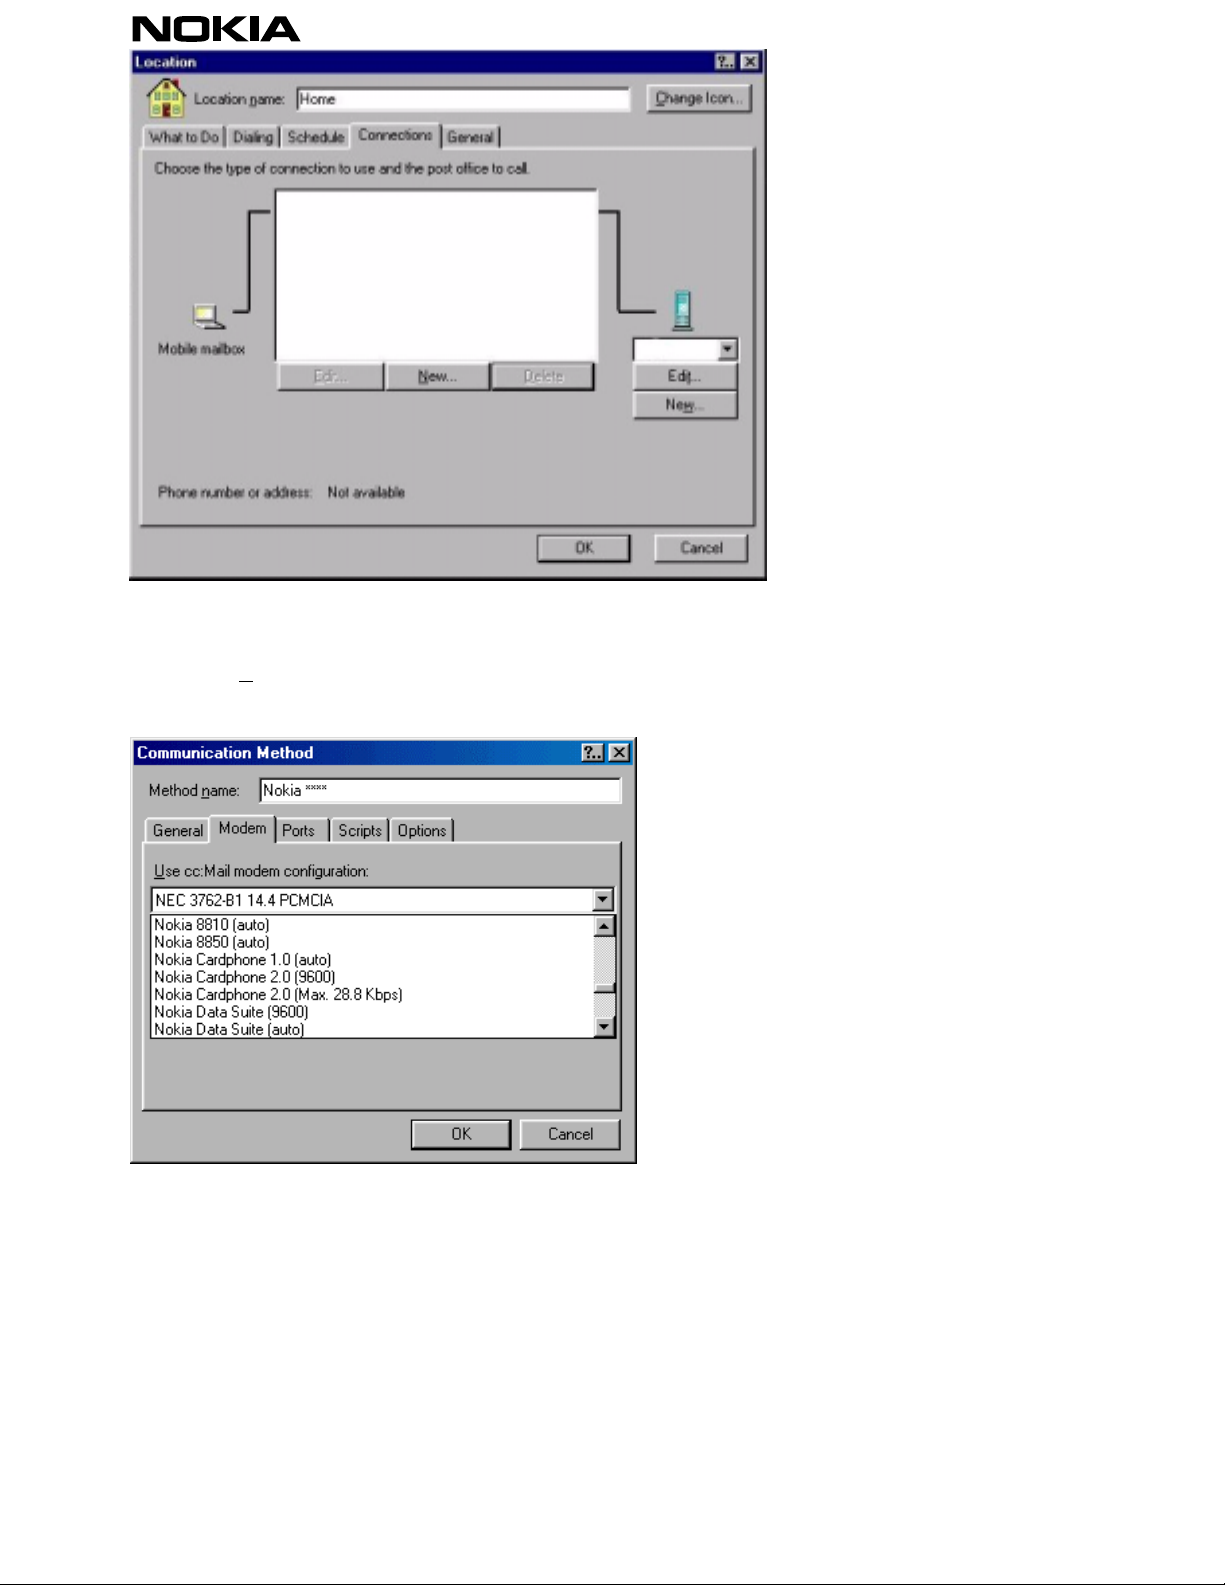
Figure 2. Making a new connecti o n.
By choosing New.. it is possible to choose the communications method and other communication settings. Firstly,
from the modem list the correct modem must be chosen for the Nokia CardPhone (Figure 3) as the active modem.
Figure 3. Choosing the right modem ... Scroll the list to find Nokia 6250.
Then choose the port settings and change them to their correct status; it is only necessary to change port and speed
settings (Figure 4). NOTE: To find out which port the Nokia 6250 is using, open the Win95/98 Modems (Start ->Settings
->Control Panel ->Modems) and look at the Modem entries and select Nokia 6250 and properties and check the COM
port. Specify the port in your communication application. NOTE! If the Nokia 6250 is using COM port 5 or above
please try to change the COM port to 4 or lower (this may be the case if you wish to use IrDA).
Copyright ã 2000. Nokia. All rights reserved. 2(6)
Page 3

Figure 4. Port settings…
When the port and modem settings are changed accept all by clicking OK. It is shown as the named connection
(Figure 5).
Figure 5. Accepti ng the connections.
You also have to edit the post office settings. This can be done by choosing Edit…. (under the server icon) (Figure 6).
Select New.. and the post office settings can then be added.
Copyright ã 2000. Nokia. All rights reserved. 3(6)
Page 4

Figure 6. Edit the post office settings.
By choosing Add/Remove Addresses…. The post office settings can be set through New.. (Figure 7).
Figure 7. Post office addresses.
Add the relevant country code (choose the correct country from the list), add the area code (without the first zero),
followed by the phone number without the area and country codes. After this, accept with the OK button. (Figure 8)
Copyright ã 2000. Nokia. All rights reserved. 4(6)
Page 5

Figure 8. Post office addresses continued…
1.1 Sending / Making a connection
Connection to the post office can be made by clicking Actions -> C
onnect… The connection is confirmed by clicking
OK and after that the client will start to call the phone number which was defined earlier (Figure 9).
Figure 9. Connection confirmation.
1.2 Troubleshooting
Make sure that there are NO PARENTHESES in the phone number (NO SEPARATE AREA CODE AND PHONE NUMBER
=> SET ALL NUMBERS IN THE PHONE NUMBER FIELD)
Copyright ã 2000. Nokia. All rights reserved. 5(6)
Page 6

LEGAL NOTICE
Copyright © Nokia Mob ile Phones 2000. All rig hts re served.
Reproduction, transfer, distribution or storage of part or all of the contents of this document in any form without the prior written permission of
Nokia is prohibited.
Nokia and Nokia Connecting People are registered trademarks of the Nokia Corporation. Other product and company names mentioned herein
may be trademarks or tradenames of their respective owne rs.
Nokia operates a policy of continuous development. Therefore, we reserve the right to make changes and improvements to any of the products
described in this document without prior notice.
Under no circumstances shall Nokia be responsible for any loss of data or income or any special, incidental, consequential or indirect damage
howsoever caused.
The contents of this document are provided "as is". Except as required by the applicable law, no warranties of any kind, either expr ess or im plied ,
including, but not limited to, the implied warranties of merchantability and fitness for a particular purpose, are made in relation to the accuracy,
reliability or contents of this document. Nokia reserves the right to revise this document or to withdraw it at any time without prior notice.
Copyright ã 2000. Nokia. All rights reserved. 6(6)
 Loading...