

Nikon NIKKOR 8Smm, AF-S DX Micro NIKKOR 8Smm f/3.5G ED VR User Manual
Nikon
NIKKOR
AF-S
DX
Micro
Pykoso.QCTBO
NIKKOR
Benutzerhandbuch
Manuel d'utilisation
Manual del usuario
Anvandarhandbok
nonb30BaTenfl
8Smm
f~mma~~
User's
f/3.5G
Manual
ED
P.
2
P.
12
5.
26
P.
36
P.
46
5.
56
CTP.
VR
Bl
Bl
lml
III
Dl
•
El
66
Gebruikshandleiding
Manuale d'uso
Navod. kobslu.z.e
Uzfvaterska prfrucka 5TR.·l06
ffmi~QM=t~
ammoo11
Af~~
~A~
P.
76
P.
86
5TR.
P.
rro
P.
13o
P.
138
96
Eil
131

Ill
Notes on Safety Operations
~CAUTION
Do
not
Touching the internal parts
disassemble
of
the
camera or
lens could
result
in
injury.
Should
other accident, take the
representative for inspection after
or removing
Turn
Should
camera or lens,
avoid burns.
After removing or disconnecting the
product
inspection.
Do
Repairs
the camera or
off
immediately
you notice smoke or
to
not
use
should be performed
the
battery.
remove
Continued
a Nikon-authorized service representative for
the
camera
only
lens break open
product
in
the event of
the
battery immediately, taking care
operation could
or
lens
an
unusual
in
to
a Nikon-authorized service
unplugging
the
gas
by qualified technicians.
as
the
result
the
of
a
fall
product
malfunction
smell
result
power
presence
coming
in
injury.
source, take
from
of flammable
the
or
and/
the
to
Operating electronic
gas
could
Do
not
Viewing the sun or other strong
viewfinder
Keep
Particular care should be taken
the batteries or other
out of
Observe
camera
• Keep the camera and
in fire or
result
look
could
at
in
the
reach
the
and
following
lens
electric shock.
equipment
an
explosion or fire.
sun
cause permanent visual impairment.
of
through the
children
small
parts
precautions
lens
unit
in
the
presence
lens
light
to
sources
prevent infants from
into
their mouths.
when
dry. Failure
or
viewfinder
through
handling
to
do
of
flammable
the
putting
the
so
could
lens
result
or
12

• Do
not
handle
or touch the camera or lens
unit
with
wet
hands.
Failure
When shooting
•
sun or
cause the camera
• When the
attach
from direct
lens
to
allow sunlight
lens will
both
may focus
front
sunlight. Failure
so
do
could result
with
sunlight
back-lighting,
pass
to
overheat and
to
be used for
not
and rear
onto
electric
in
directly
lens caps and store the
so
do
to
a flammable
shock.
point
not
do
down
possibly
extended period
an
could result in a fire,
the
cause a fire.
object.
the lens
lens
the
at
this may
as
time,
of
lens away
the
as
_._
llliillll
13

•
Nomenclature
G)
Lens
@
Lens
index
® Lens
(P.
0
Lens
index
® Focus ring
® Distance
0
Mounting
hood
hood
hood
22)
hood
(P.
(P.
22)
22)
scale
(P.
22)
attachment
setting index
mounting
(P.
17)
index
(P.
16)
® Lens
gasket
®
CPU
@)
Focus
@ Vibration reduction
OFF
@ Reproduction
(P.
@ Distance index
mount
(P.
contacts
mode
switch
18)
( ) : reference page
rubber
22)
(P.
switch
(P.
22)
20)
ratio scale
line
(P.
ON/
(P.
18)
17)
14

Thank you for purchasing
the
AF-S
OX
Micro
NIKKOR
85mm
f/
specially
NIKKOR
3.5G
use
the 0300-series and
cameras,
l.Sx
please
User's
•
•
•
ED
with
Nikon digitai-SLR (Nikon
the
focal length in
the
read these instructions and refer
Manual.
Major features
This
close-up photography, reproduction work, snapshots, and
general
This
system, which offers excellent
lens exhibits sharp rendering characteristics suited
photography
lens
is
lens.
VR
OX
090. When
lens
equipped
picture angle
35mm
at
with
lenses
is
format. Before using this
shooting distances.
all
the
are
format) cameras, such
OX
mounted
equivalent
Nikon Internal Focusing
balance between sharp focus
on Nikon
to
your camera's
to
designed for
format
OX
approximately
as
lens,
to
(IF)
lr.ll!l
lliilll
on the primary subject and pleasing
background and foreground.
the
• Superior optical performance and rendering characteristics
one extra-low dispersion
of
use
maximized
are
glass element,
aberration.
and pleasing
out-of-focus.
are
four Wireless Remote Speed
to
Up
•
mounted
on
with
which
addition,
In
blur
the
the
ensure correction
rounded aperture produces soft
the
characteristics in portions
edge
of
the
lens.
blur
light
characteristics in
chromatic
of
pictures
of
SB-R200s
can be
(ED)
that
75
•
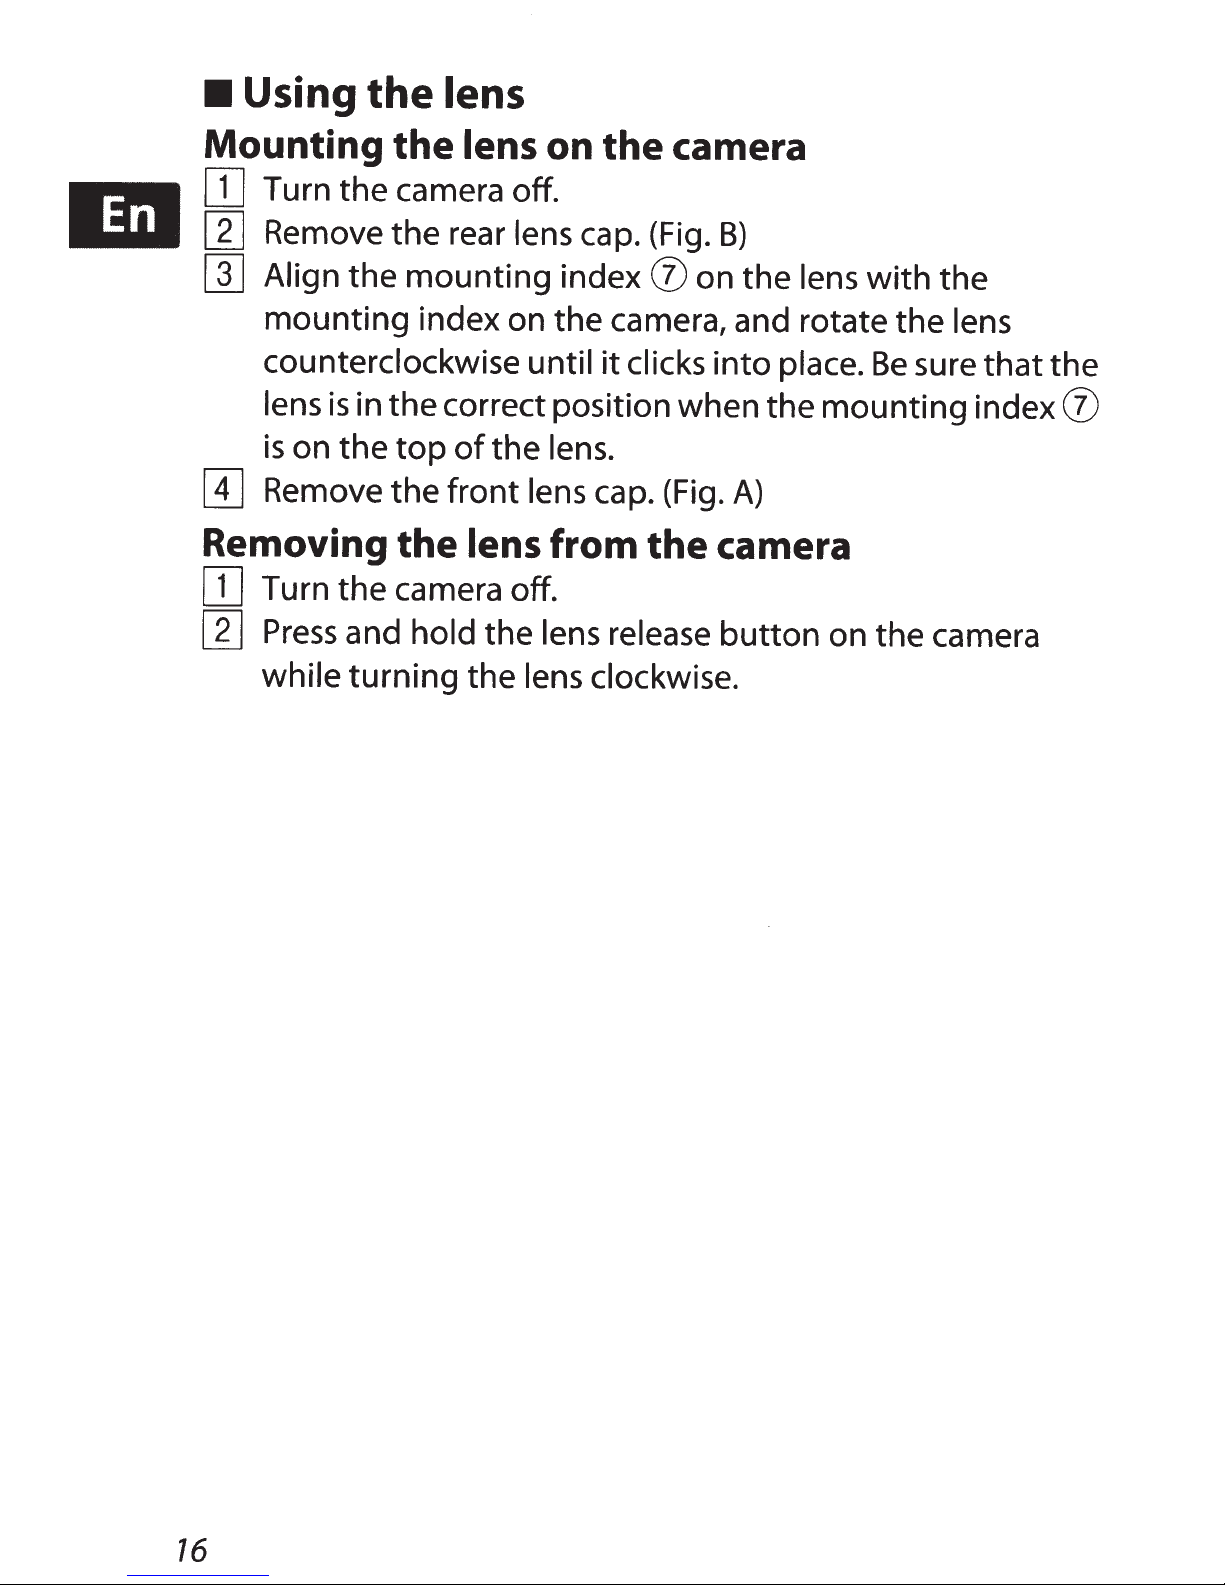
Using
the
lens
m
Mounting
ITJ
Turn the camera off.
[I]
[]]
[1]
Remove
Align the
mounting
counterclockwise until
lens
is
Remove
on
is
in
the
Removing
ITJ
[I]
Turn
Press
while
the
and
turning
the
the
the
top
the
the
camera off.
lens
rear
mounting
index on the camera, and rotate
correct position when the
of
front
lens from
hold the
the lens
on
the
lens cap. (Fig.
the
lens
index
lens.
0
it
clicks
cap. (Fig.
the
lens release
clockwise.
camera
B)
on
the
lens
into
place.
A)
camera
button
with
Be
mounting
on the camera
the
the
sure
lens
that
index
the
0
16
 Loading...