

Page 1
Installation Guide
5-Port Gigabit Ethernet Switch GS605v4
Estimated installation time: 5-10 minutes
Package Contents
The package includes:
5-port Gigabit Ethernet Switch GS605v4
• Power adaper
• Vertical stand
• Installation Guide (this document)
• Warranty/Support information card
Prepare to Install the Switch
Decide where you want to place the switch. Find a flat horizontal surface such as a
table, desk or shelf. Make sure the selected location is:
• Not in direct sunlight or near a heater or heating vent.
• Not cluttered or crowded. There should be at least 2 inches (5 cm) of clear
space on all sides of the switch.
• Well ventilated (especially if it is in a closet).
Note: The switch is not designed to be stacked on top of other switches. If you
need several units in one location, use the vertical stand to position them near
each other.
Depending on the speed of your network devices, you need a Category 3 (10
Mbps), Category 5 (100 Mbps) or Category 5e (1000 Mbps) Ethernet cablecable
with RJ-45 connectors for each device you want to connect to the switch. Each
Ethernet cable must be less than 328 feet (100 meters).
Install the Switch and Connect the Other Devices
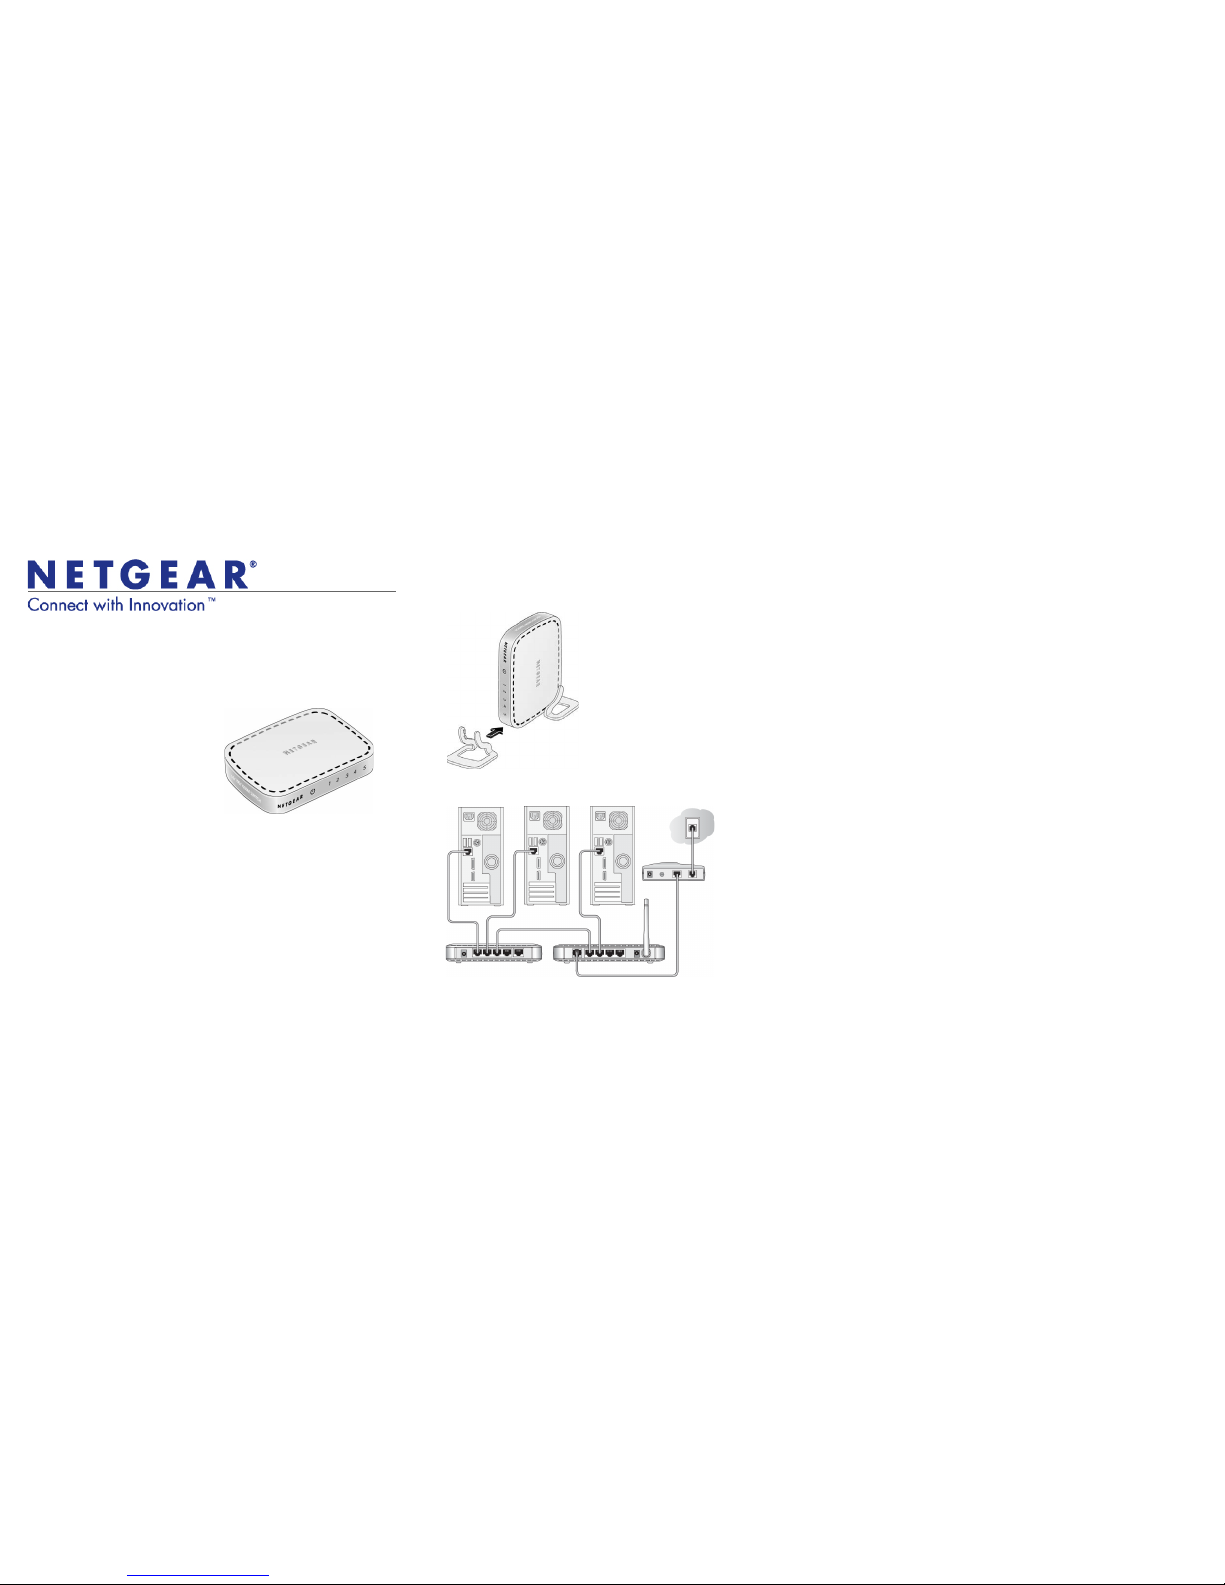
1. Place the switch on a flat surface. If you want to use the vertical stand, attach
both pieces it to the switch.
2. For each device, insert one end of an Ethernet cable into the port in the device
and insert the other end into one of the Ethernet ports on the switch.
5-Port Gigabit Ethernet
broadband
router
modem
Switch GS605v4
If you have more devices to connect than the number of ports on the switch,
connect the devices to a hub or other switch and then connect that hub or
switch to this switch. See the note about placing several switches near each
other in the previous section.
3. Connect the power adapter cord into the back of the switch and then plug the
adapter into a power source (such as a wall socket or power strip).
4. Check the LEDs to confirm that the switch is connected correctly.
• The Power LED is lit.
• Each port on the back has associated with it a bicolor LED on the front.
- Green: 1000 Mbps link
- Amber: 10 Mpbs or 100 Mbps link
- Blinking: Activity
Note: If any light does not operate as indicated, go to the Troubleshooting section.
Troubleshooting
The Power light is not lit.
The switch has no power.
• Make sure that the power cord is correctly connected to the switch.
• Make sure that the power adapter is connected to a functioning power outlet. If it
is in a power strip, make sure that the power strip is turned on. If the socket is
controlled by a light switch, make sure that the switch is in the on position.
• Make sure that you that are using the NETGEAR power adapter supplied with
your switch.
The Port number light is not lit for a connected device or stays on continu ously .
There is a hardware connection problem.
• Make sure that the cable connectors are securely plugged in at the switch and
the device.
• Make sure that the connected device is turned on.
• If the Ethernet cable is connected to a NIC or other Ethernet adapter, make sure
that the card or adapter is installed correctly and is working.
• Make sure that the cable is less than 328 feet (100 meters).
Page 2
March 2011
This symbol was placed in accordance with the European Union Directive 2002/96 on the Waste
Electrical and Electronic Equipment (the WEEE Directive). If disposed of within the European
Union, this product should be treated and recycled in accordance with the laws of your
jurisdiction implementing the WEEE Directive.
©2010 by NETGEAR, Inc. All rights reserved. NETGEAR and the NETGEAR logo are registered trademarks
of NETGEAR, Inc. in the United States and/or other countries. Other brand and product names are
trademarks or registered trademarks of their respective holders. Information is subject to change without
notice.
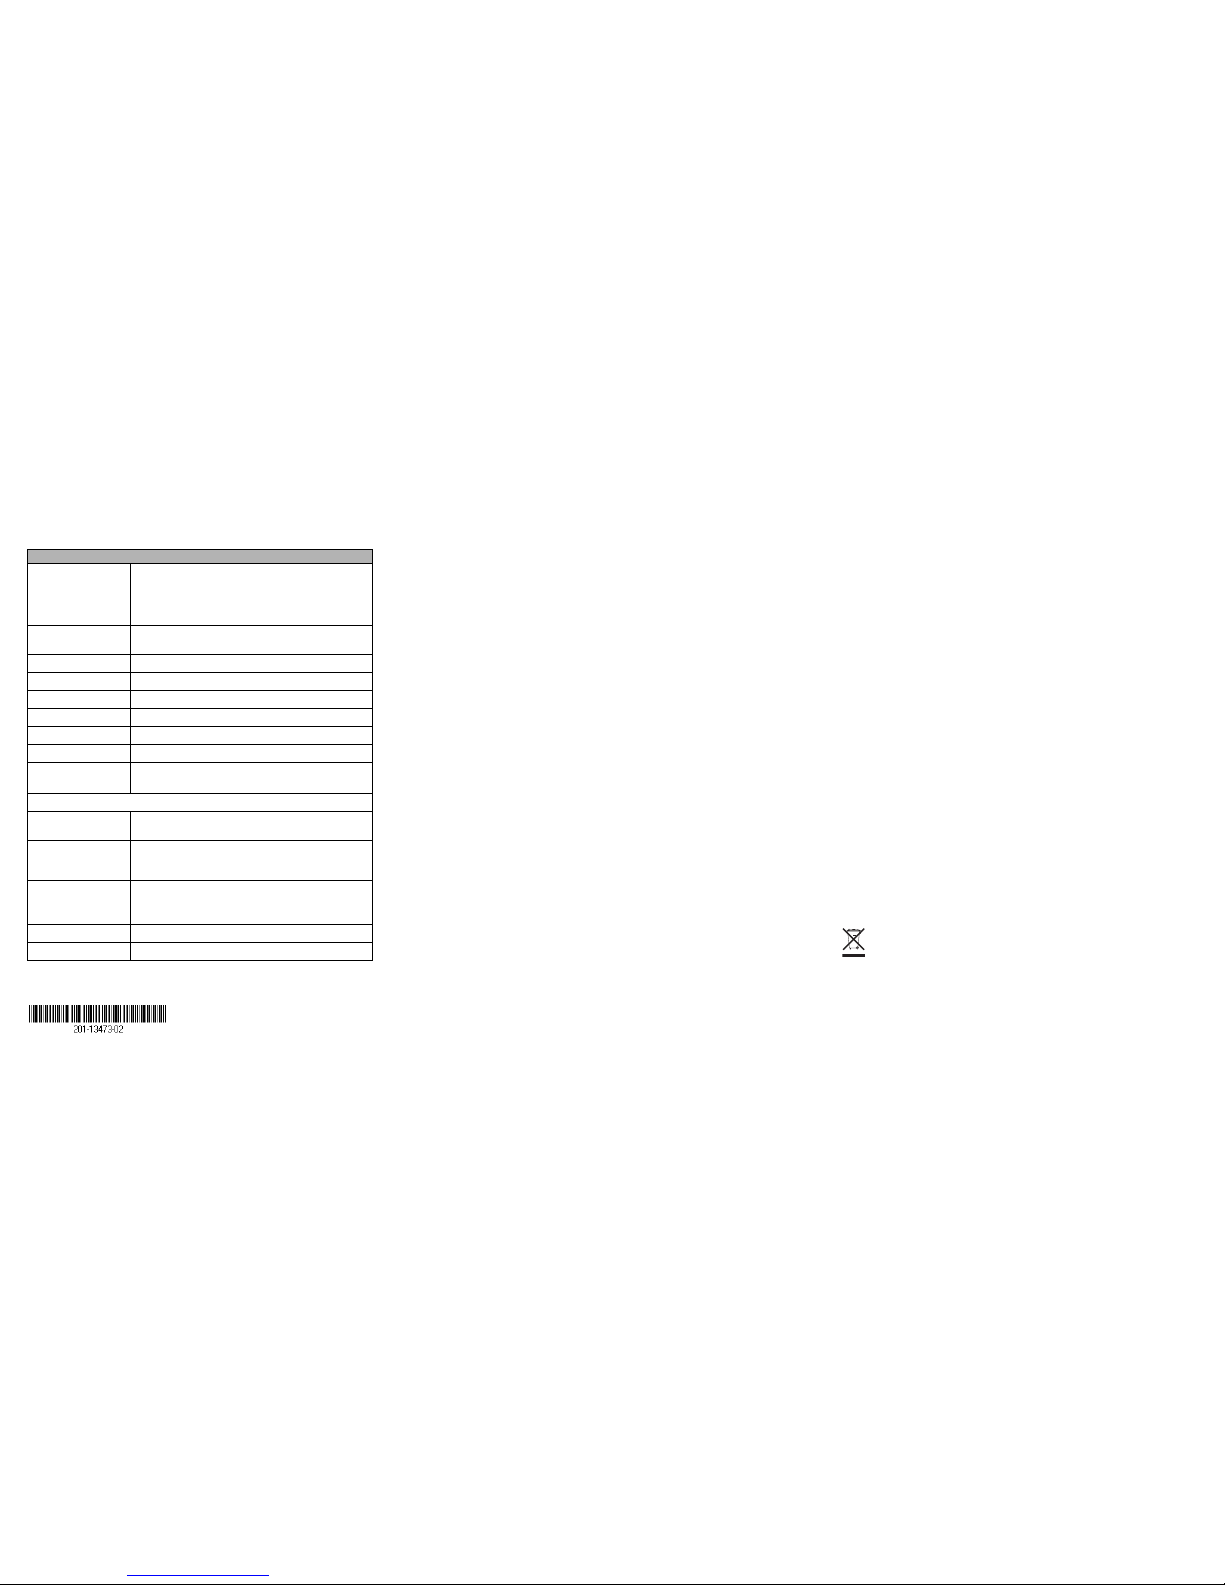
Technical Specifications
Standards compatibility Specifications IEEE 802.3i 10BASE-T Ethernet, IEEE
802.3u, 100BASE-TX Fast Ethernet, IEEE 802.3ab
1000BASE-T Gigabit Ethernet, IEEE 802.3x Flow Control,
IEEE 802.1p Priority Tags; DSCP Priority: Jumbo frame
(9K); compatible with Windows, Mac OS, NetWare, Linux
Network interface RJ-45 connector for 10BASE-T, 100BASE-T, or
1000BASE-T Ethernet interface
DC Power 12W max and 12V @1A DC input
Power consumption 4W max
Physical dimensions W: 147mm (5.8”) D: 96mm (3.8”) H: 29mm (1.1”)
Weight 0.44 lbs (0.20 kg)
Operating temperature 0 to 40C (32 to 104F)
Operating humidity 10% to 90% relative humidity, noncondensing
Electromagnetic
compliance
FCC Part 15, Class B; EN 55022
(CISPR 22) Class B, VCCI Class B
Performance Specifications
Frame filter rate 14,800 frames/sec max for 10M port; 148,000 frames/sec
max for 100M port; 1,480,000 frames/sec for 1000M port
Frame forward rate 14,800 frames/sec max for 10M port; 148,000 frames/sec
max for 100M port; 1,480,000 frames/sec max for 1000M
port
Network latency (using
64-byte packets)
10Mbs: 26µs max
100Mbs: 4.6µs max
1000Mbs: 2.75µs max
Address database size 4000 MAC addresses
Packet buffer 128 KB embedded
Statement of Conditions
In the interest of improving internal design, operational function, and/operability,
NETGEAR reserves the right to make changes to the product described in this
document without notice. NETGEAR does not assume any liability that may occur
due to the use or application of the product(s) or circuit layout(s) described herein.
Technical Support
Thank you for selecting NETGEAR products.
After completing the installation, locate the serial number on the bottom label of
your product, and use it to register your product at
http://www.NETGEAR.com/register.
Registration on the website or over the phone is required before you can use our
telephone support service. The phone numbers for worldwide regional customer
support centers are on the Warranty and Support Information card that came with
your product.
For complete DoC please visit the NETGEAR EU Declarations of Conformity
website at: http://kb.netgear.com/app/answers/detail/a_id/11621/
Go to http://kbserver.netgear.com for product updates and Web support.
 Loading...