

Page 1
Installation Guide
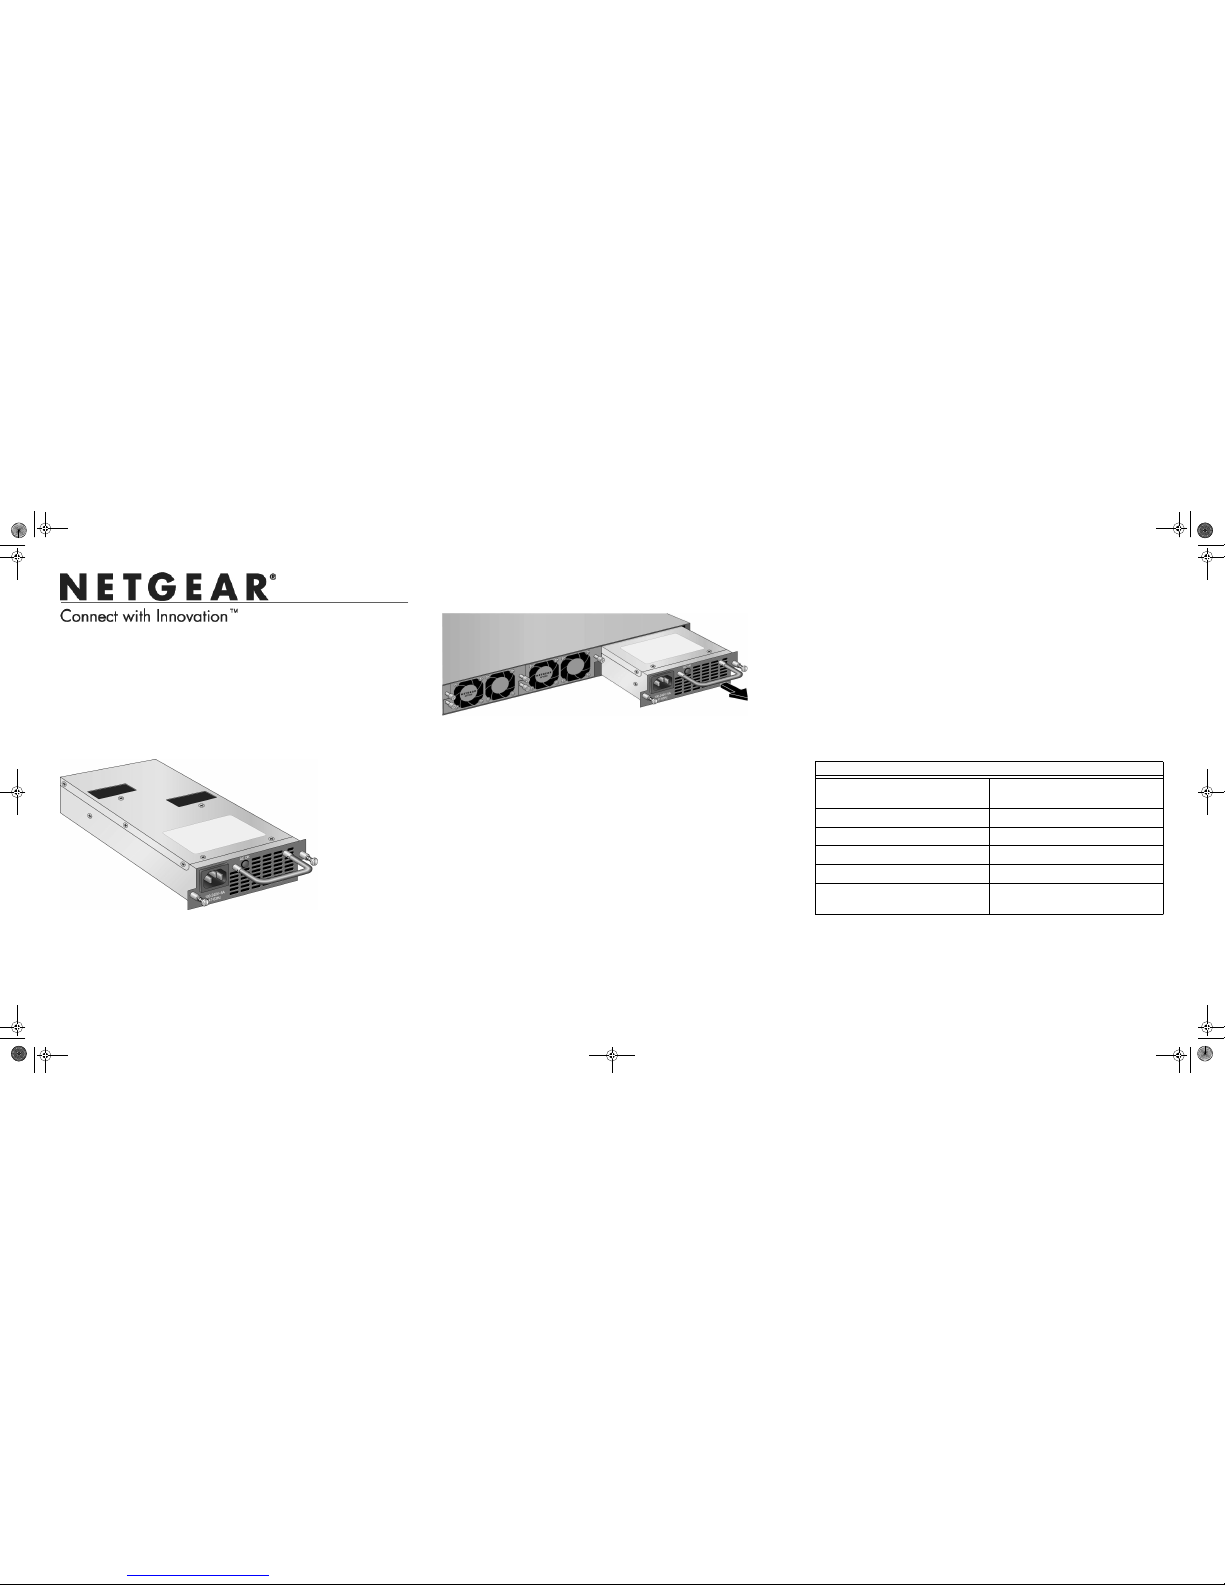
Replacing an APS300W Power Supply
Removing an APS300W Power Supply
To remove the APS300W power module, follow these steps:
1. Disconnect the power cord from the power module.
2. Remove the power cord from the power connector.
3. Loosen the two captive screws on the power module.
4. Remove the power module from the power module slot by pulling on the
extraction handle.
Installing an APS300W Power Supply
To install an APS300W power module, follow these steps:
WARNING!! When inserting a power module into the switches, do not use
unnecessary force. Doing so can damage the connectors on the rear of the
supply and on the midplane.
1. Insert the new power supply module into the power module slot, and gently
push the module into the slot.
2. Align the two captive screws with the screw holes in the switch’s back panel.
3. Using a screwdriver, gently tighten the captive screws.
4. Insert the AC power cord into the power module and connect the power cord to
an AC outlet.
Specifications
Specifications
Dimensions (HxWxD) 1.60" x 4.90" x 9.00"
(40.6 x 124.4 x 228.6mm)
Weight 2.82 lb (1.28kg)
Operating Temperature 32 to 122 ºF (0 to 50 ºC)
Storage Temperature -49 to 185 ºF (-45 to 85 ºC)
Operative relative humidity 10 to 90% and non condensing
MTBF 938,490 Hours (~107 years) @ 25ºC
421,664 Hours (~48 years) @ 50 ºC
ProSafe® Auxiliary Power Supply APS300W
The ProSafe® Auxiliary Power Supply APS300W provides a replaceable power
supply for the XSM7224S 10 Gigabit Switch. The XSM7224S Switch supports dual
APS300W power supplies, so you can make use of another APS300W while
replacing the failed power supply. Refer to the switch Hardware Installation Guide
for additional information. When another APS300W is used, the failed APS300W
can be replaced without stopping the switch or requiring a reboot.
APS300W_IG_2Nov10.fm Page 1 Friday, November 12, 2010 10:37 AM
Page 2
November 2010
This symbol was placed in accordance with the European Union Directive 2002/96 on the Waste
Electrical and Electronic Equipment (the WEEE Directive). If disposed of within the European Union,
this product should be treated and recycled in accordance with the laws of your jurisdiction
implementing the WEEE Directive.
©2010 by NETGEAR, Inc. All rights reserved. NETGEAR and the NETGEAR logo are registered trademarks of
NETGEAR, Inc. in the United States and/or other countries. Other brand and product names are trademarks or
registered trademarks of their respective holders. Information is subject to change without notice.
Technical Support
Thank you for selecting NETGEAR products.
After installing your device, locate the serial number on the label of your product and
use it to register your product at http://www.NETGEAR.com/register. Registration is
required before you can use our telephone support service. Registration via our
website is strongly recommended.
Go to http://kbserver.netgear.com for product updates and support information.
For complete DoC please visit the NETGEAR EU Declarations of Conformity
website at: http://kb.netgear.com/app/answers/detail/a_id/11621/
APS300W_IG_2Nov10.fm Page 2 Friday, November 12, 2010 10:37 AM
 Loading...