

Page 1
Page 2
Nothing contained in this manual shall be deemed to be, and this manual does not constitute, a warranty of, or representation with respect to, any of the equipment covered. This
manual is subject to change without notice and NEC America, Inc. has no obligation to provide any updates or corrections to this manual. Further, NEC America also reserves the
right, without prior notice, to make changes in equipment design or components as it
deems appropriate. No representation is made that this manual is complete or accurate in
all respects and NEC America shall not be liable for any errors or omissions. In no event
shall NEC America be liable for any incidental or consequential damages in connection with
the use of this manual. This document contains proprietary information that is protected by
copyright. All rights are reserved. No part of this document may be photocopied or reproduced without prior written consent of NEC America.
©2001 by NEC America, Inc. All Rights Reserved. Printed in U.S.A.
Year 2000 Compliance
The 28i/124i/384i systems are unaffected by the date change to the year 2000. The systems process the Leap Year correctly and do not require any additional upgrades or reprogramming. All versions of the 28i use a four-digit date code entry. The 124i with software
4.04 EXCPRU or Base 4.04 or higher uses a four-digit date code entry (e.g., 2000)
Previous software versions use a two-digit date code entry (e.g. 00=2000). The 384i
presently uses a four-digit year entry after software level 3.07.24.
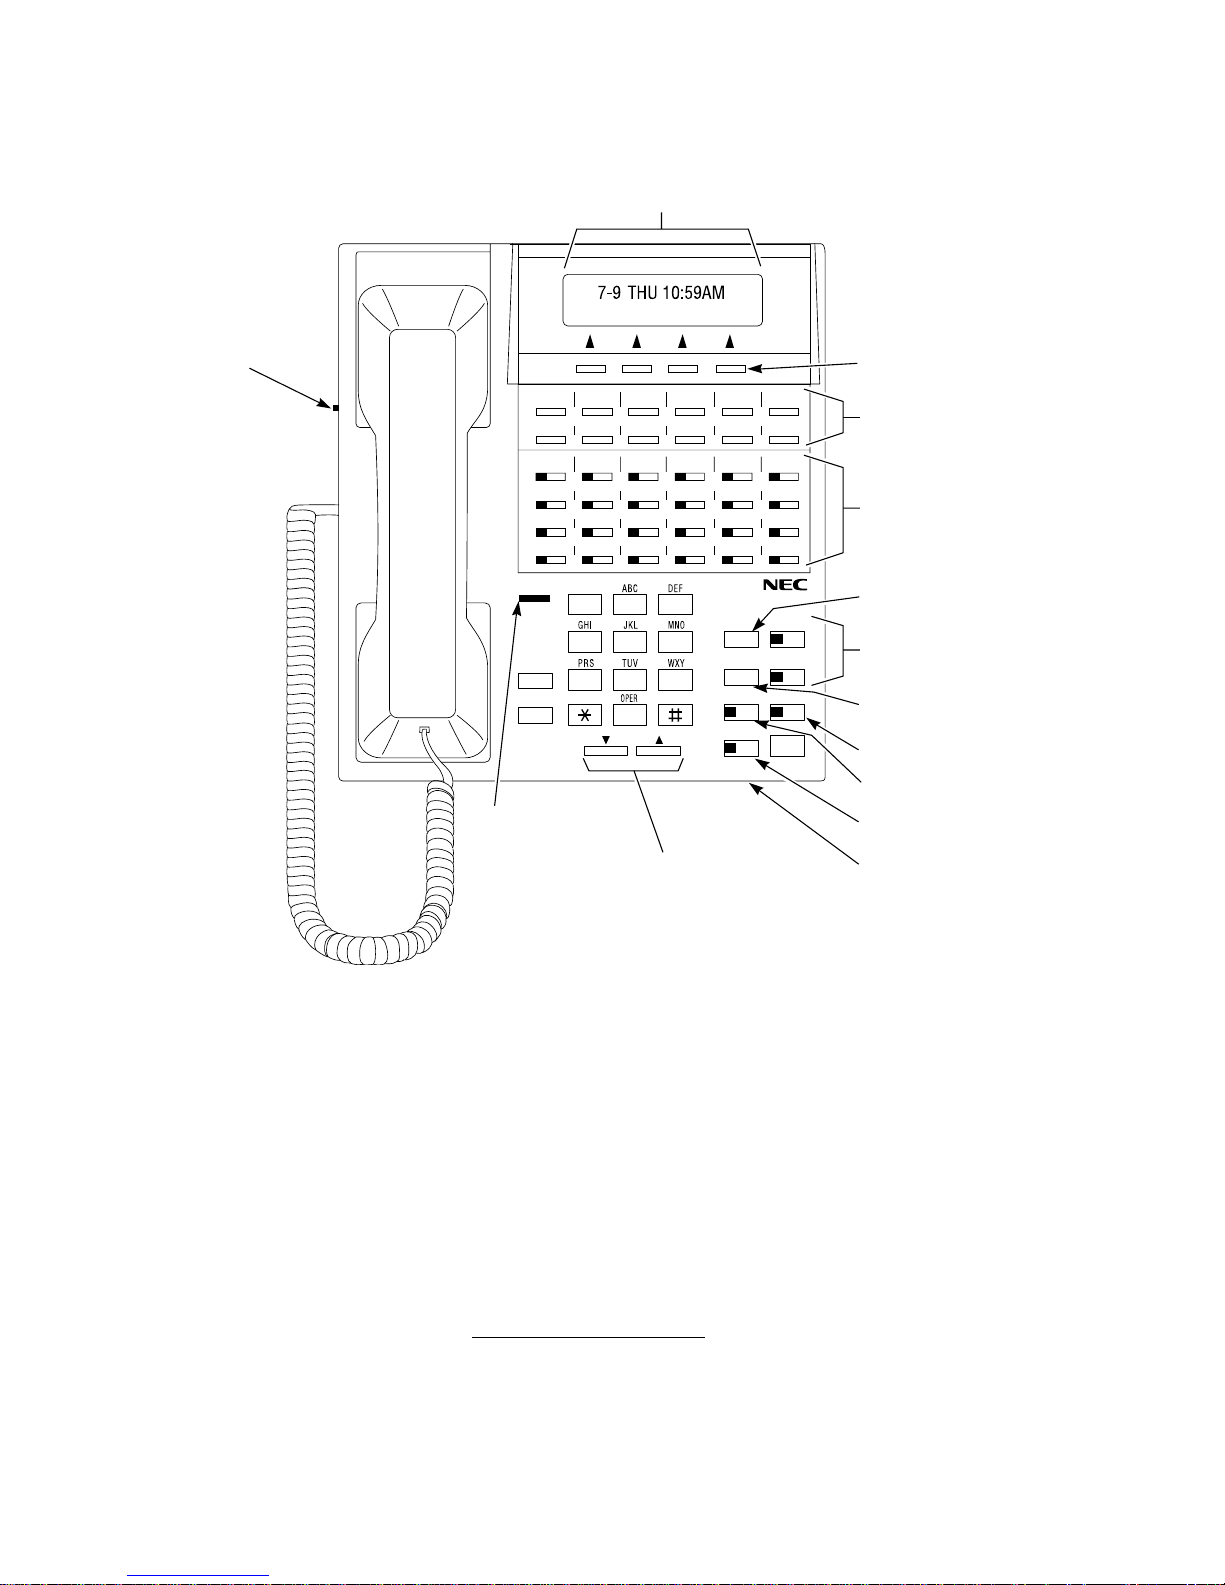
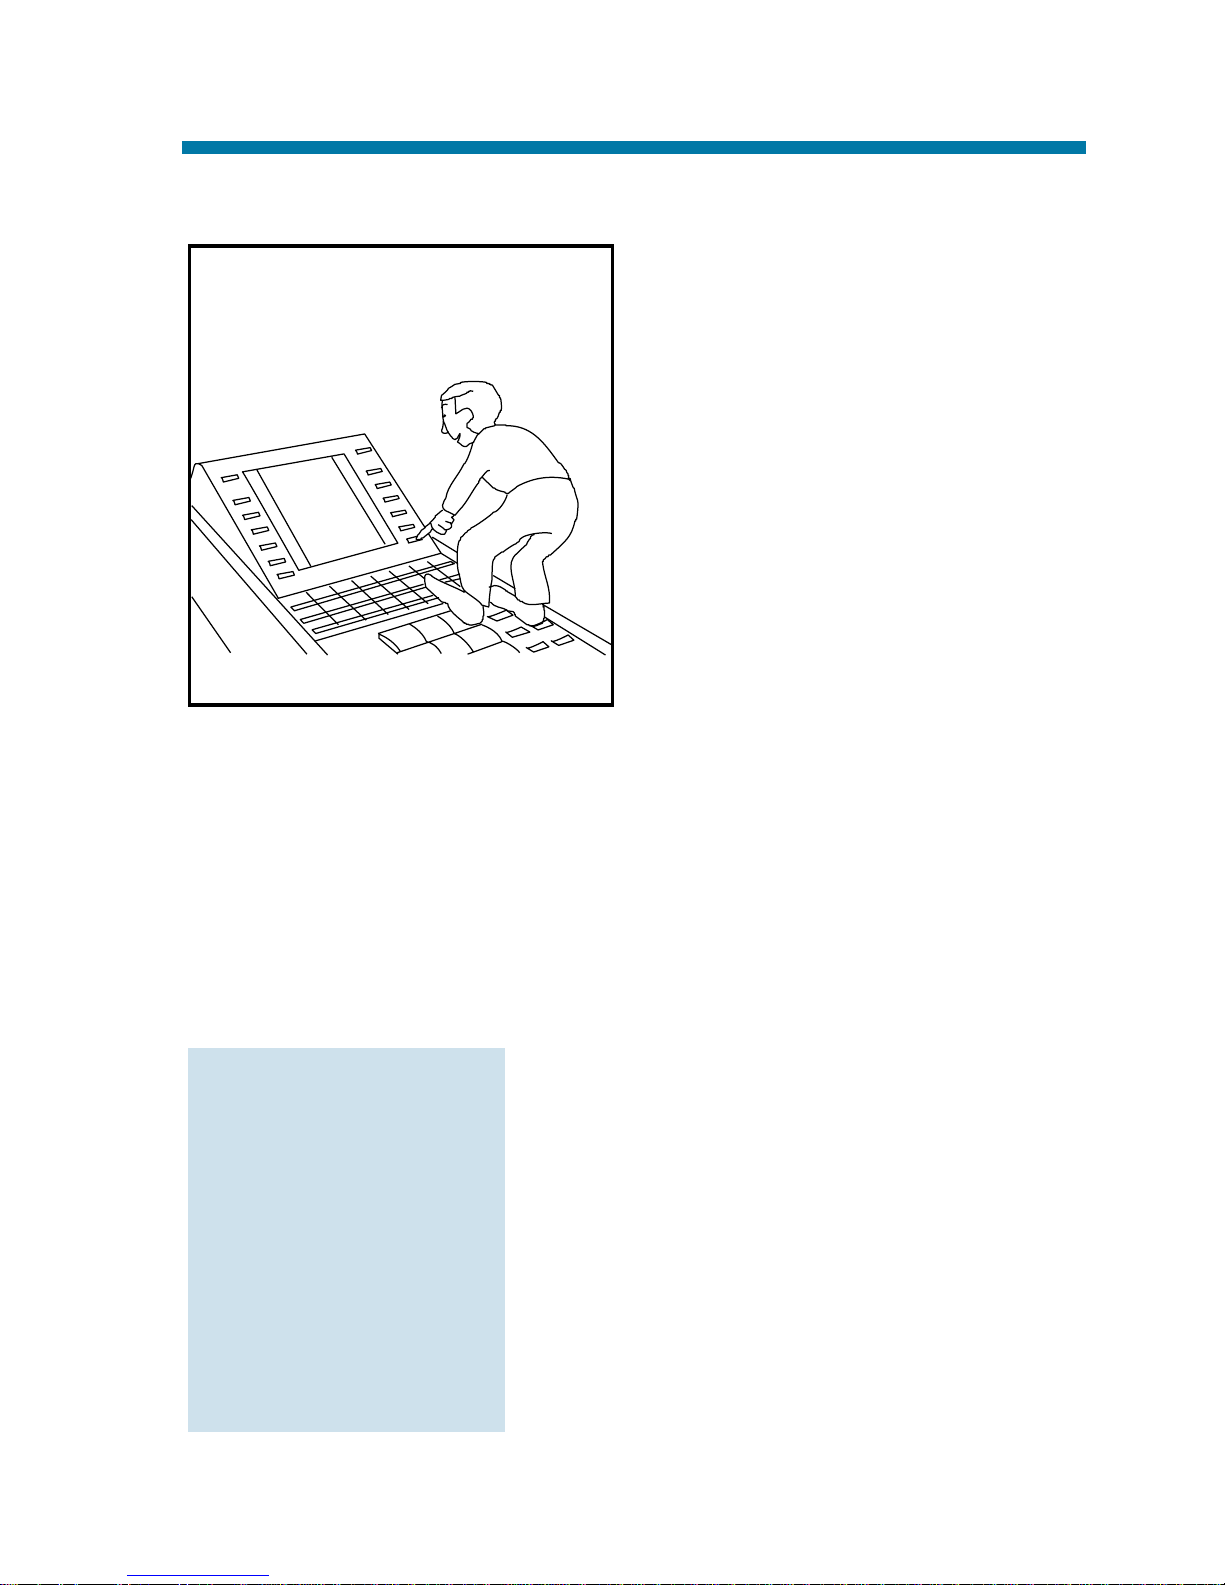
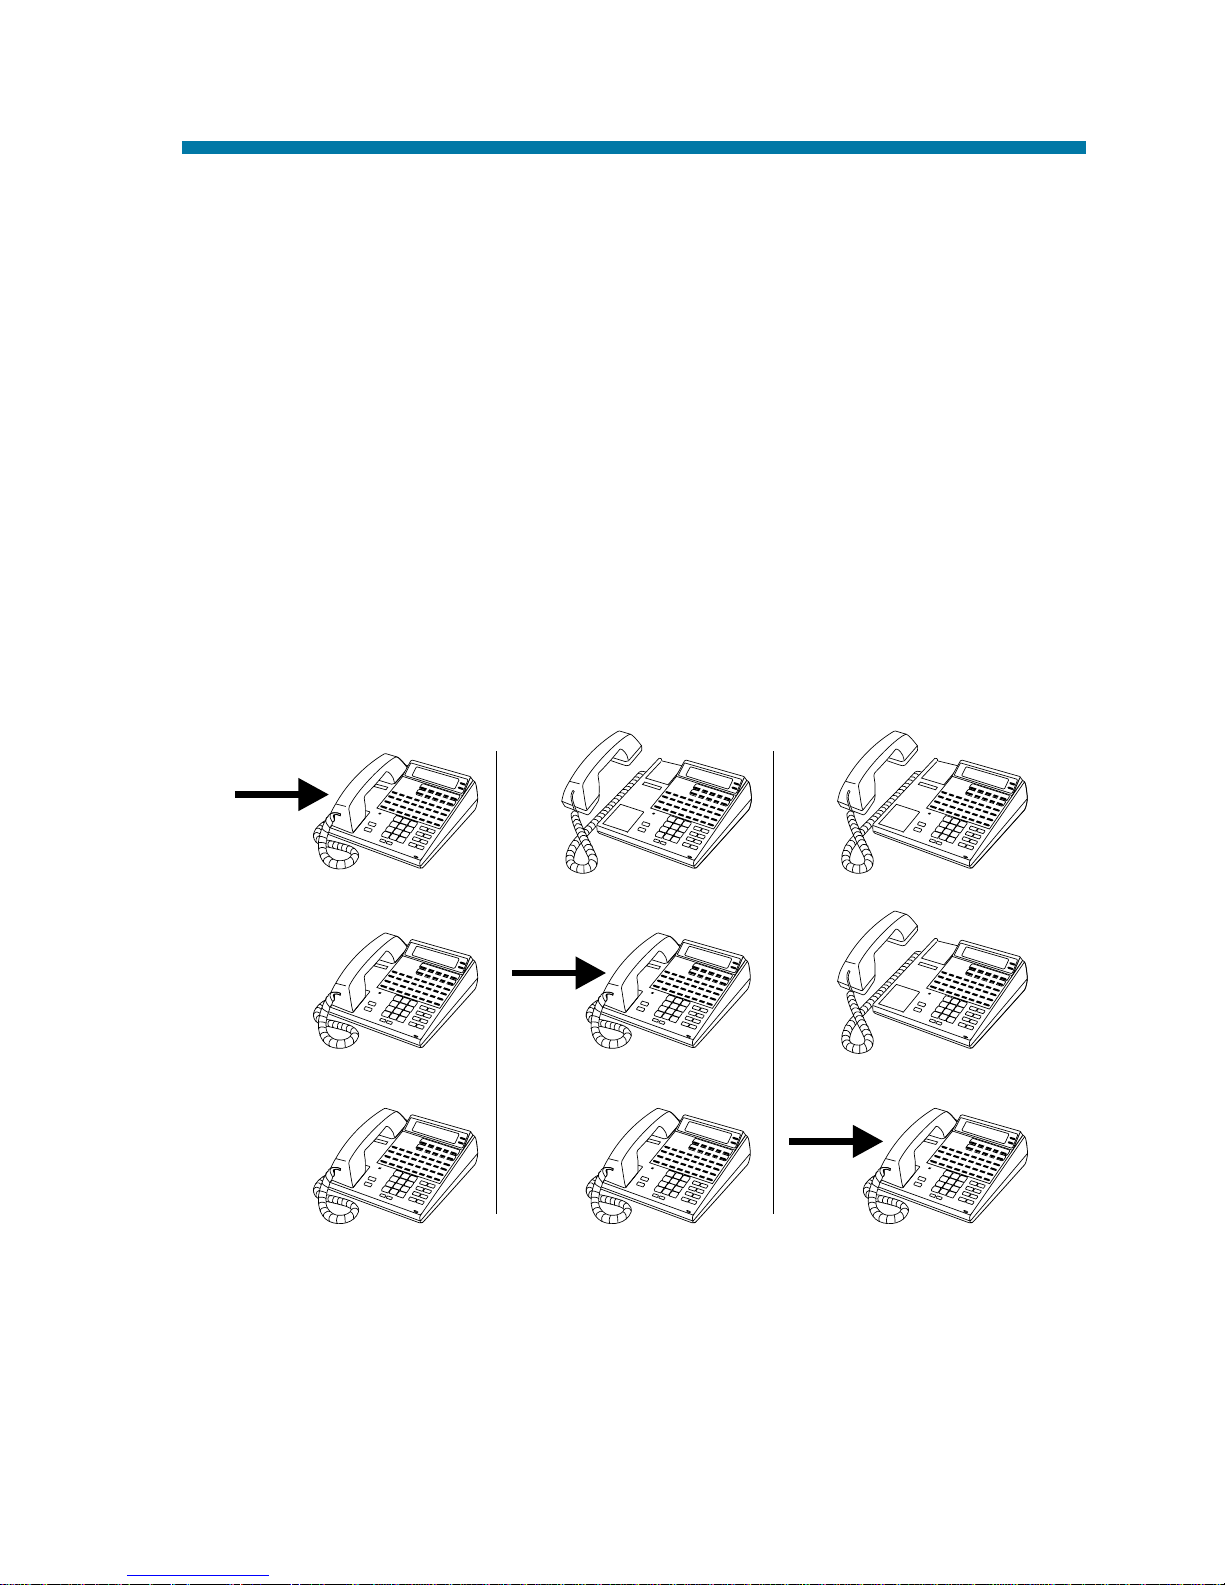
Your Multibutton Telephone
Alphanumeric
Display
92700 - 14
Ringer/Splash Tone
Volume Control
(Not available
on all models)
CLEAR
CHECK
1234 56
78 910 1112
13 14 15 16 17 18
19 20 21 22 23 24
MW
FLASH
CONF
Message
Waiting Lamp
302
123 45
678 910
1
4
7
VOL
STA 302
2
3
6
5
8
9
0
DIAL
LND
MIC
SPK
CALL 1
CALL 2
DND
HOLD
Handsfree,
Handset,
Page and BGM
Volume Control
Soft Keys
(Not available on
all models)
One Touch
Keys
Programmable
Function Keys
Abbreviated
Dialing
Dual Line
Appearance Keys
Last Number
Redial
Do Not Disturb
Microphone Cutoff
Speakerphone
Microphone
Page 3

Using Your Telephone.....................................................1
Handsfree Options . . . . . . . . . . . . . . . . . . . . . . . . . . .1
Using All Those Features! ...............................................2
Calling a Co-Worker . . . . . . . . . . . . . . . . . . . . . . . . . . .2
Outside Calls . . . . . . . . . . . . . . . . . . . . . . . . . . . . . . . .2
Handling And Rerouting Your Calls . . . . . . . . . . . . . . .3
When Your Call Can't Go Through . . . . . . . . . . . . . . . .3
Placing Calls Quickly . . . . . . . . . . . . . . . . . . . . . . . . . .4
When You Work In Groups . . . . . . . . . . . . . . . . . . . . . .5
If You Need Privacy . . . . . . . . . . . . . . . . . . . . . . . . . . .5
Have a Telephone Meeting . . . . . . . . . . . . . . . . . . . . . .6
Streamlining Your Telephone's Operation . . . . . . . . . . .6
Personalizing Your Telephone . . . . . . . . . . . . . . . . . . . .7
Your Phone Does the Talking . . . . . . . . . . . . . . . . . . . .8
And, Your Super Display Does The Thinking . . . . . . . .9
Features........................................................................11
Abbreviated Dialing . . . . . . . . . . . . . . . . . . . . . . . . . .11
Account Codes . . . . . . . . . . . . . . . . . . . . . . . . . . . . . .14
Alarm . . . . . . . . . . . . . . . . . . . . . . . . . . . . . . . . . . . . .15
Automated Attendant (VAU) . . . . . . . . . . . . . . . . . . . .16
Background Music . . . . . . . . . . . . . . . . . . . . . . . . . . .17
Barge In . . . . . . . . . . . . . . . . . . . . . . . . . . . . . . . . . . .18
Call Forwarding . . . . . . . . . . . . . . . . . . . . . . . . . . . . .19
Call Forwarding Off-Premise . . . . . . . . . . . . . . . . . . .21
Call Forward Follow Me . . . . . . . . . . . . . . . . . . . . . . .22
Call Forward/DND Override . . . . . . . . . . . . . . . . . . . .23
Call Timer . . . . . . . . . . . . . . . . . . . . . . . . . . . . . . . . . .24
Call Waiting/Camp On . . . . . . . . . . . . . . . . . . . . . . . .25
Callback . . . . . . . . . . . . . . . . . . . . . . . . . . . . . . . . . . .26
Caller ID . . . . . . . . . . . . . . . . . . . . . . . . . . . . . . . . . . .27
Conference . . . . . . . . . . . . . . . . . . . . . . . . . . . . . . . . .33
Conference, Voice Call . . . . . . . . . . . . . . . . . . . . . . . .34
Department Calling . . . . . . . . . . . . . . . . . . . . . . . . . . .35
Department Step Calling . . . . . . . . . . . . . . . . . . . . . . .37
Dial Number Preview . . . . . . . . . . . . . . . . . . . . . . . . .38
Dial Pad Confirmation Tone . . . . . . . . . . . . . . . . . . . .39
Directed Call Pickup . . . . . . . . . . . . . . . . . . . . . . . . . .40
Directory Dialing . . . . . . . . . . . . . . . . . . . . . . . . . . . .41
Table of Contents
i
Page 4

Do Not Disturb . . . . . . . . . . . . . . . . . . . . . . . . . . . . . .43
Door Box . . . . . . . . . . . . . . . . . . . . . . . . . . . . . . . . . .44
DSS Console . . . . . . . . . . . . . . . . . . . . . . . . . . . . . . . .45
Flash . . . . . . . . . . . . . . . . . . . . . . . . . . . . . . . . . . . . . .49
Forced Trunk Disconnect . . . . . . . . . . . . . . . . . . . . . .50
General Message . . . . . . . . . . . . . . . . . . . . . . . . . . . . .51
Group Call Pickup . . . . . . . . . . . . . . . . . . . . . . . . . . .52
Group Listen . . . . . . . . . . . . . . . . . . . . . . . . . . . . . . . .53
Handsfree and Monitor . . . . . . . . . . . . . . . . . . . . . . . .54
Headset Operation . . . . . . . . . . . . . . . . . . . . . . . . . . . .55
Hold . . . . . . . . . . . . . . . . . . . . . . . . . . . . . . . . . . . . . .56
System Hold . . . . . . . . . . . . . . . . . . . . . . . . . . . .56
Exclusive Hold . . . . . . . . . . . . . . . . . . . . . . . . . . .57
Group Hold . . . . . . . . . . . . . . . . . . . . . . . . . . . . .57
Intercom Hold . . . . . . . . . . . . . . . . . . . . . . . . . . .57
Hotline . . . . . . . . . . . . . . . . . . . . . . . . . . . . . . . . . . . .58
Intercom . . . . . . . . . . . . . . . . . . . . . . . . . . . . . . . . . . .59
Intercom Abandoned Call Display . . . . . . . . . . . .60
Last Number Redial . . . . . . . . . . . . . . . . . . . . . . . . . .61
Line Preference . . . . . . . . . . . . . . . . . . . . . . . . . . . . . .62
Meet Me Conference . . . . . . . . . . . . . . . . . . . . . . . . . .63
Meet Me External Conference . . . . . . . . . . . . . . .63
Meet Me Internal Conference . . . . . . . . . . . . . . . .64
Meet Me Paging . . . . . . . . . . . . . . . . . . . . . . . . . . . . .65
Meet Me External Paging . . . . . . . . . . . . . . . . . . .65
Meet Me Internal Paging . . . . . . . . . . . . . . . . . . .66
Memo Dial . . . . . . . . . . . . . . . . . . . . . . . . . . . . . . . . .67
Message Waiting . . . . . . . . . . . . . . . . . . . . . . . . . . . . .68
Microphone Cutoff . . . . . . . . . . . . . . . . . . . . . . . . . . .70
Multiple Directory Numbers/Call Coverage . . . . . . . .71
Multiple Directory Numbers . . . . . . . . . . . . . . . .71
Call Coverage . . . . . . . . . . . . . . . . . . . . . . . . . . .71
Name Storing . . . . . . . . . . . . . . . . . . . . . . . . . . . . . . .72
Night Service . . . . . . . . . . . . . . . . . . . . . . . . . . . . . . .74
Off Hook Signaling . . . . . . . . . . . . . . . . . . . . . . . . . . .76
One-Touch Calling . . . . . . . . . . . . . . . . . . . . . . . . . . .78
Using Personal Speed Dial without One-Touch
Keys . . . . . . . . . . . . . . . . . . . . . . . . . . . . . . . .81
One-Touch Serial Operation . . . . . . . . . . . . . . . . . . . .82
Outside Calls, Answering . . . . . . . . . . . . . . . . . . . . . .84
ii
Table of Contents
Page 5

Outside Calls, Placing . . . . . . . . . . . . . . . . . . . . . . . . .86
Converting from Pulse to Tone Dialing . . . . . . . .87
Are You Behind a PBX? . . . . . . . . . . . . . . . . . . .87
You May Have a Private Line . . . . . . . . . . . . . . .88
If You Hear a Warning Tone . . . . . . . . . . . . . . . . .88
How Prime Line Works . . . . . . . . . . . . . . . . . . . .88
Did Your Call Go Through? . . . . . . . . . . . . . . . . .89
Paging . . . . . . . . . . . . . . . . . . . . . . . . . . . . . . . . . . . .90
Internal Paging . . . . . . . . . . . . . . . . . . . . . . . . . . .90
External Paging . . . . . . . . . . . . . . . . . . . . . . . . . .90
Combined Paging . . . . . . . . . . . . . . . . . . . . . . . . .91
Park . . . . . . . . . . . . . . . . . . . . . . . . . . . . . . . . . . . . . .92
Park and Page (VAU) . . . . . . . . . . . . . . . . . . . . . . . . .94
Personal Greeting . . . . . . . . . . . . . . . . . . . . . . . . . . . .96
Programmable Function Keys . . . . . . . . . . . . . . . . . . .98
Repeat Redial . . . . . . . . . . . . . . . . . . . . . . . . . . . . . .103
Reverse Voice Over . . . . . . . . . . . . . . . . . . . . . . . . . .104
When You're On a Call . . . . . . . . . . . . . . . . . . . .104
When Your Phone is Idle . . . . . . . . . . . . . . . . . .104
Ringdown . . . . . . . . . . . . . . . . . . . . . . . . . . . . . . . . .105
Room Monitor . . . . . . . . . . . . . . . . . . . . . . . . . . . . .106
Save Number Dialed . . . . . . . . . . . . . . . . . . . . . . . . .107
Secretary Call . . . . . . . . . . . . . . . . . . . . . . . . . . . . . .109
Secretary Call Buzzer . . . . . . . . . . . . . . . . . . . . .109
Secretary Call Pickup . . . . . . . . . . . . . . . . . . . . .110
Selectable Display Messages . . . . . . . . . . . . . . . . . . .111
Selectable Ring Tones . . . . . . . . . . . . . . . . . . . . . . . .113
Serial Call . . . . . . . . . . . . . . . . . . . . . . . . . . . . . . . . .114
Tandem Trunking . . . . . . . . . . . . . . . . . . . . . . . . . . .115
Method A . . . . . . . . . . . . . . . . . . . . . . . . . . . . . .115
Method B (Requires a [Transfer] key) . . .116
Time and Date . . . . . . . . . . . . . . . . . . . . . . . . . . . . . .117
Transfer . . . . . . . . . . . . . . . . . . . . . . . . . . . . . . . . . . .118
Transferring Outside Calls . . . . . . . . . . . . . . . . .119
Transferring Without Holding . . . . . . . . . . . . . . .119
Transferring Intercom Calls . . . . . . . . . . . . . . . .120
Meet Me External Paging Transfer . . . . . . . . . . .121
Meet Me Internal Paging Transfer . . . . . . . . . . .122
Trunk Queuing and Camp On . . . . . . . . . . . . . . . . . .123
Voice Announce Unit (VAU) . . . . . . . . . . . . . . . . . . .124
Table of Contents
iii
Page 6

Voice Mail . . . . . . . . . . . . . . . . . . . . . . . . . . . . . . . .125
Calling Your Mailbox . . . . . . . . . . . . . . . . . . . . .126
Leaving a Message . . . . . . . . . . . . . . . . . . . . . . .126
Forwarding Calls to Your Mailbox . . . . . . . . . . .126
Emulating a Personal Answering Machine . . . . .127
Transferring Calls to a Mailbox . . . . . . . . . . . . .128
Recording Your Call . . . . . . . . . . . . . . . . . . . . . .128
Voice Over . . . . . . . . . . . . . . . . . . . . . . . . . . . . . . . .129
Voice Prompting Messages . . . . . . . . . . . . . . . . . . . .130
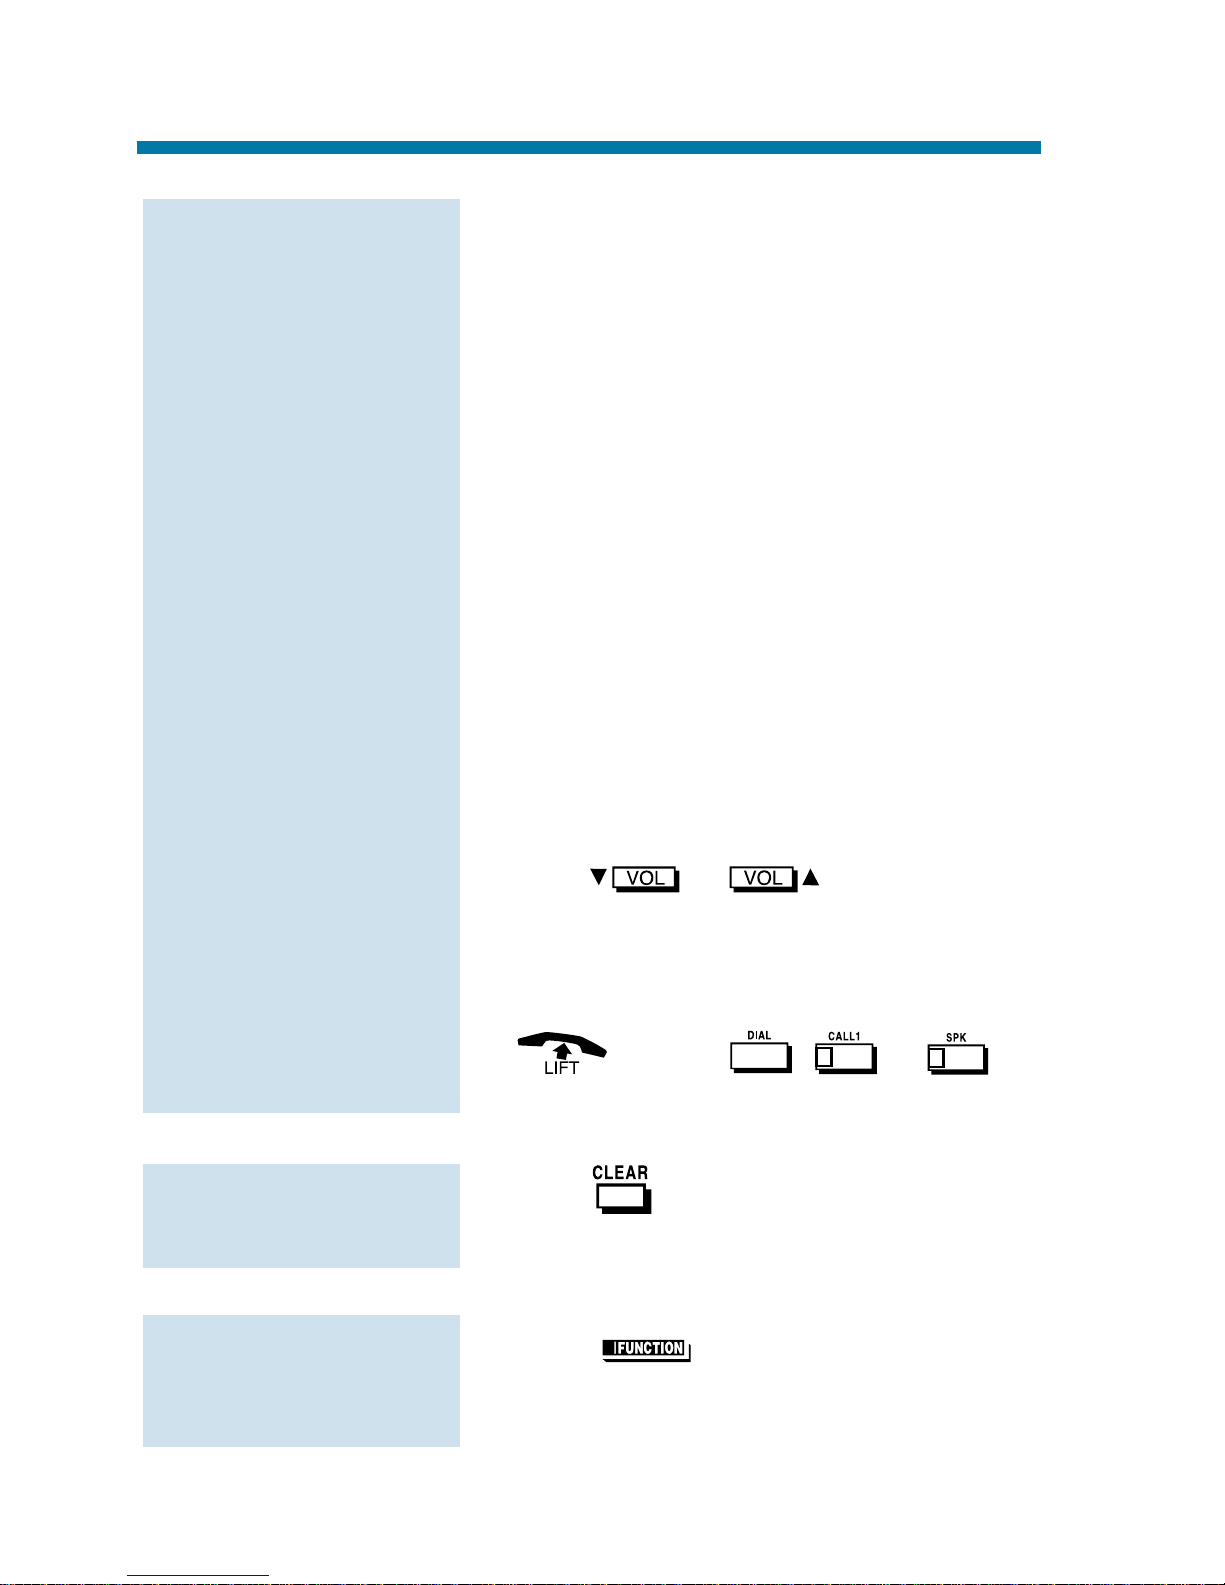
Volume Controls . . . . . . . . . . . . . . . . . . . . . . . . . . . .132
Charts and Illustrations ...............................................133
Table of Contents
iv
Page 7

Your telephone's Alphanumeric Display helps you use features and
tells you about your calls. For example, a ringing outside line may display a name before you answer it. (You may be able to change the time
and date on your phone if it's not correct. Turn to page 117 for more.)
Press a One-Touch Key for one-button contact with co-workers and
outside callers, or when using certain features. To learn how to program your One-Touch Keys, go to page 78.
Function Keys are normally line keys, but you can program them for
other features. In this handbook, the feature assigned to a function key
appears in parentheses next to the key. For example, (Hotline)
means press the function key set for Hotline. See page 98 for more.
Line Appearance Keys are Intercom keys for placing and answering calls. If you're busy on one - just use the other.
Press for Handsfree calls, or use the handset instead. See
Handsfree Options below. The Microphone picks up your voice for
Handsfree calls, while Feature Keys speed up using common features.
Handsfree Options
●
Handsfree lets you place and answer calls by pressing
instead of using the handset. Your telephone must have a
Speakerphone if you want to use Handsfree.
●
With Automatic Handsfree, press a line or Line Appearance key
without lifting the handset. You normally have this feature.
●
If you have Monitor, you can place a call without lifting the handset but you must lift the handset to speak. Telephones without
Speakerphones have Monitor.
Due to the flexibility built into the system, your dialing codes may differ
from those in this guide. Review Your System's Dialing Plan on page 133
and check with your Communications Manager.
Also, the system may restrict you from using some of the features in this
handbook.
Using Your Telephone
1
Page 8
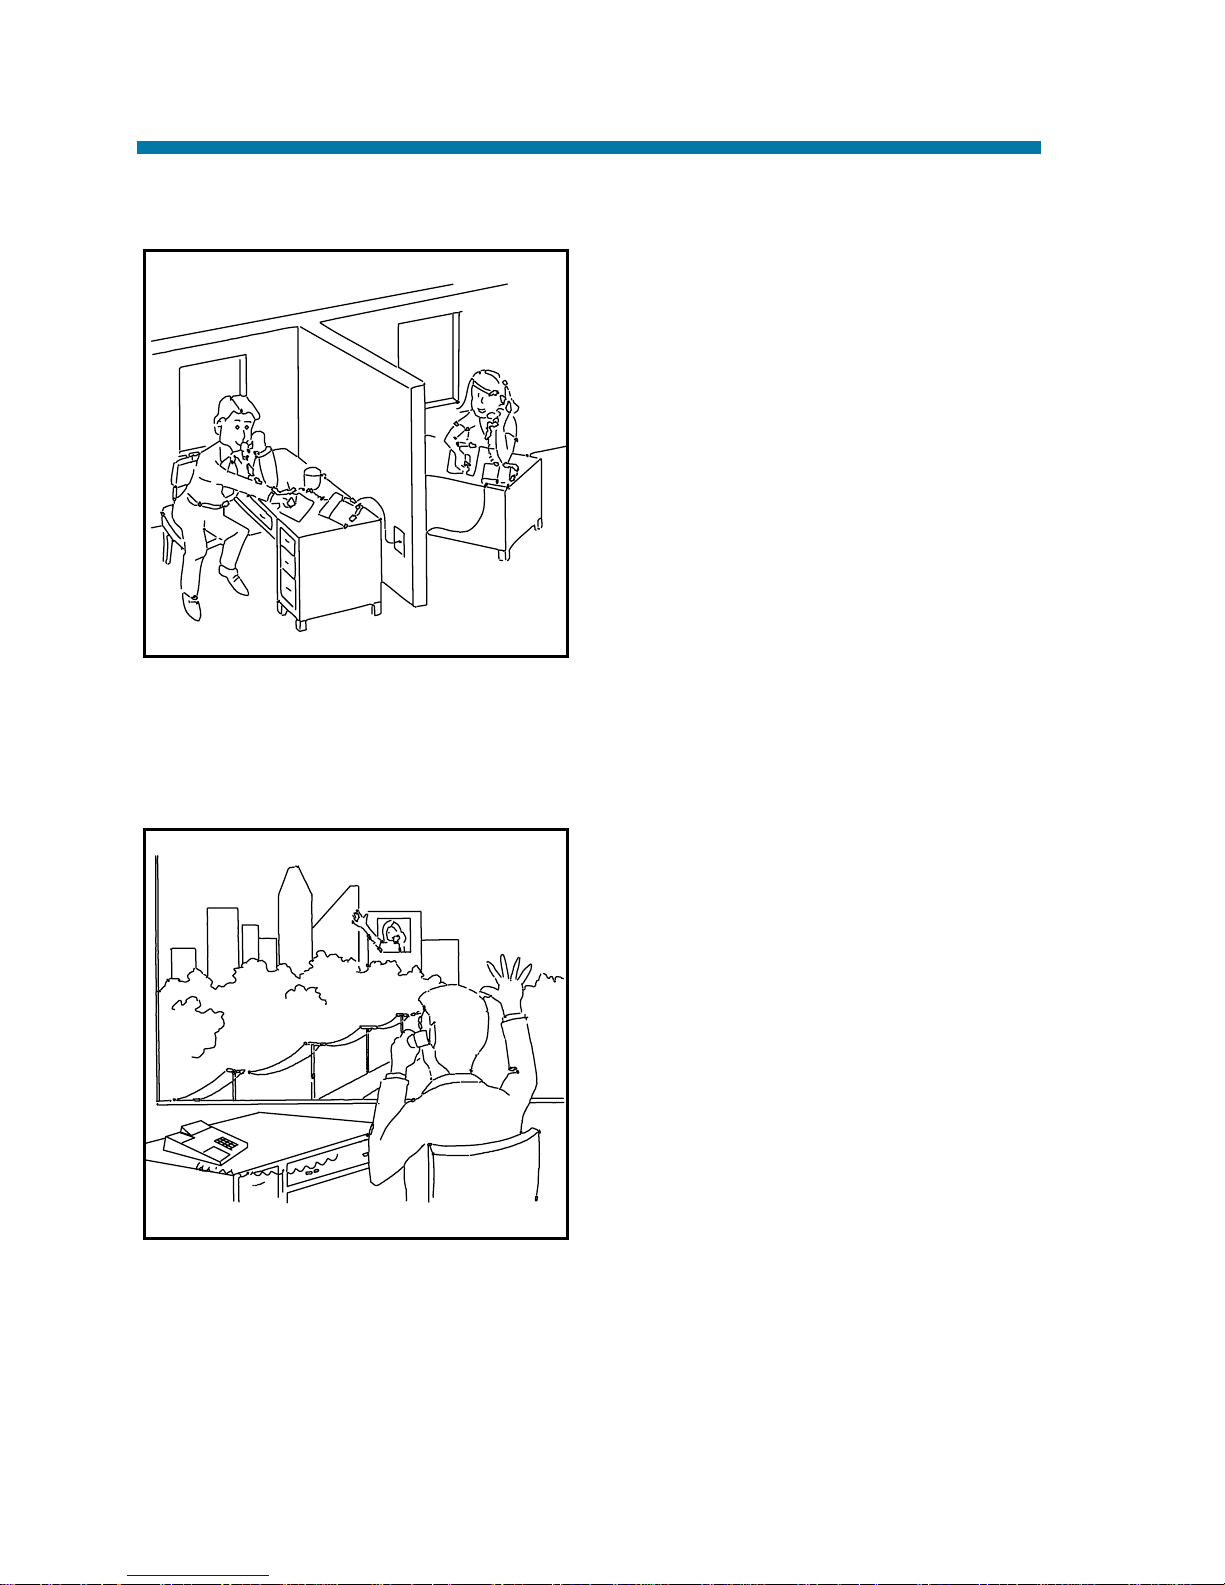
Calling a Co-Worker
You can dial a co-worker on the
Intercom (page 59), or use
Paging (page 90) if you don't
know where they are.
When you must get through right
away, interrupt a call using Barge
In (page 18).
Certain Intercom calls may ring
your phone on function keys as
Multiple Directory Numbers
(page 71).
Visitors at your entrance door can call you on the Intercom using a
Door Box (page 44).
Outside Calls
You can Answer Outside Calls
that ring your phone or flash your
line keys (page 84). Caller ID
allows you to identify the caller
before or after you pick up the
handset (page 27). Night Service
(page 74) may change the way
these same calls ring your phone.
Set your Line Preference (page
62) to answer ringing outside calls
or Intercom calls first.
To Place Outside Calls (page 86), use your line keys or dial codes.
You may have to enter Account Codes (page 14) before your call
goes through. Use Dial Number Preview (page 38) to check your
digits before you dial. Once your call goes through, the Call Timer
(page 24) shows you how long you're on the phone. You may be able
to use Flash (page 46) to place another call without losing your line.
Using All Those Features!
2
Page 9
Handling And Rerouting Your Calls
Use Hold (page 56) to have your
call wait at your phone. Or, Park it
in orbit for a co-worker (page 92).
Have a call for a co-worker?
Transfer it to them (page 118).
Don't know where they are? Use
Meet Me Paging Transfer (page
121) so they can pick it up wherever they are. If you want the call to
come back when your co-worker is
done, use Serial Call (page 114).
When you leave your desk, think about Call Forwarding your calls to
someone else (page 19). If that meeting runs long, go to another phone
and bring your calls to you with Call Forward Follow Me (page 22).
When you want callers to know where you are, set a Selectable
Display Message at your phone (page 111). You may be able to
Override (page 23) another user's Call Forward if you think they are
still at their phone.
When Your Call Can't Go Through
Don't just hang up when your call
can't get through to a co-worker!
Use Call Waiting (page 25) to wait
without hanging up. Send your coworker Off Hook Signaling (page
76) to let them know you're waiting. If you don't have time to wait,
leave a Callback request (page 26).
In a hurry? Think about leaving
your co-worker a Message
Waiting (page 68), or use optional
Voice Mail (page 125) to record a
voice message for them.
Using All Those Features!
3
FOLLOW
ME
CALL
FWD
DND
SEL.
DISPL.
HOLD
PARK
Page 10
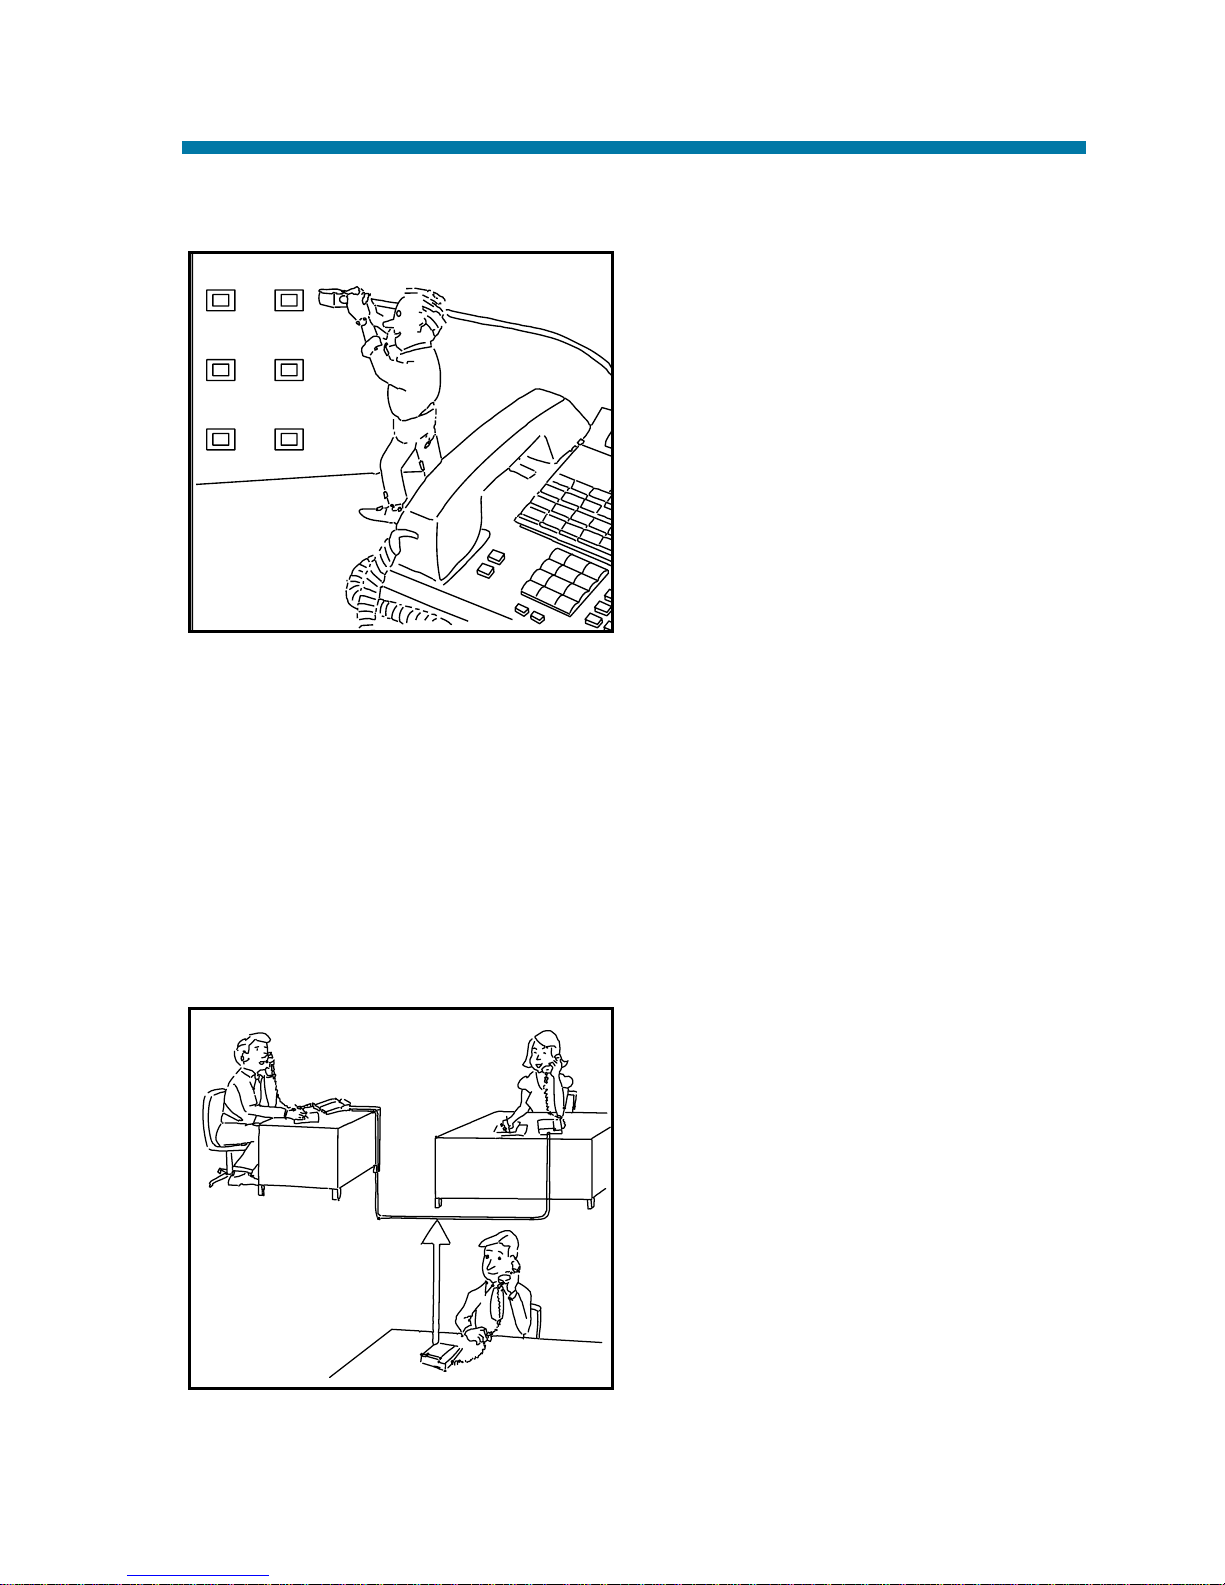
There's no need to keep redialing your outside call if it's busy or unanswered - use Repeat Redial instead (page 103). And when your system's lines are busy, Trunk Queuing (page 123) lets you wait for a
free one. If you have an emergency, Forced Trunk Disconnect (page
50) allows you to get through on a busy line right away.
With Voice Over (page 129), talk to a busy user - while they keep
talking to their initial caller. When you're busy on a call, you can do
the same thing with Reverse Voice Over (page 104).
Placing Calls Quickly
Store numbers that you call often
in Abbreviated Dialing bins (page
11). You can easily dial the stored
number with just a few key presses. To quickly retry the number
you just dialed, try Last Number
Redial (page 61). If you'll need to
redial the number later on, let
Save Number Dialed (page 107)
retain it for you. Ever call
Directory Assistance for a number
and not have a pen to write it
down? Use Memo Dial (page 67)
to jot the number down in your phone's memory instead.
Using All Those Features!
4
Page 11

When You Work In Groups
If you and your co-workers handle
each other's calls, you might want to
be in a Department Calling group
(page 35). Someone calling your
group's number goes through to anyone who's available. You can even
have Department Step Calling
(page 37) send your personal calls to
your group when you're not available. To answer a call already ringing a co-worker's phone, use Group
Call Pickup (page 52).
When you're on a call and you want the others in your area to listen in
on the conversation, activate Group Listen (page 53). Your co-workers hear the call through your telephone's speaker.
If you frequently call the same co-worker, you can have Ringdown
(page 105) automatically call them for you. All you have to do is lift
your handset.
If You Need Privacy
When you're busy in your office
and don't want to be interrupted,
use Do Not Disturb (page 43).
Before talking to someone at your
desk while you're on the phone, try
Microphone Cutoff (page 70).
Your caller cannot hear your voice
until you cancel Microphone
Cutoff.
Using All Those Features!
5
Page 12
Have a Telephone Meeting
Conference (page 33) allows you to
quickly set up a telephone meeting.
When your phone allows Voice
Call Conference (page 34), others
can join your outside call just by
pressing the line key.
Use Meet Me Conference (page
63) to set up a meeting which lets
others join if they choose.
Optionally, you can use Meet Me
Paging (page 65) to set up a meeting on a page zone.
To join two outside callers together and leave them to talk privately,
use Tandem Trunking (page 115).
Streamlining Your Telephone's Operation
Your telephone provides you with
options that can dramatically
streamline the way you handle
calls. For example, you can program One-Touch Keys (page 78)
for one-button access to co-workers, outside calls, Abbreviated
Dialing bins and certain feature
codes. Or record any dialing steps
in a one-touch "macro" key with
One-Touch Serial Operation
(page 82).
Want to automate Callback, Message Waiting or other features? Just
assign these functions to available Programmable Function Keys
Using All Those Features!
6
Page 13
(page 98). Need one-button Transfer and calling for a co-worker?
Program a Hotline (page 58) on another function key. (When you see
in this handbook, the operation needs a Programmable
Function Key.)
Are you a secretary - or do you have a secretary that handles your
calls? Set up Secretary Call buzzer keys (page 109). You can use
Secretary Call Pickup (page 110) to quickly pick up calls intended
for your secretary or boss.
Tired of always reaching for the handset or cradling it under your chin
while you type? Install a headset and enable Headset Operation
(page 55).
Personalizing Your Telephone
If your phone is near other phones
that ring the same way, choose
unique Selectable Ring Tones
(page 113) so you know which
calls are for you.
When you need to cover up noise
in your office that might be distracting to your work, turn on
Background Music (page 17).
Don't forget about that important
meeting - set an Alarm (page 15)
to remind you.
Let the co-workers you call know who's on the line. Go to Name
Storing (page 72) and assign a name to your extension.
To have your phone beep every time you press a dial pad key, enable
the Dial Pad Confirmation Tones (page 39).
Using All Those Features!
7
Page 14
Your Phone Does the Talking
The optional Voice Announce
Unit (page 124) gives your system
digital recording and play back
capability. This lets you handle
callers with that important
"Personal Touch". For example, if
you don't have an operator, the
Automated Attendant (page 16)
can answer your calls and play a
list of dialing options to your
callers. Use Personal Greeting
(page 96) to greet your callers with
your own recorded voice, and then
forward them to a co-worker. Or, you can have Park and Page (page
94) welcome your callers and automatically page you to pick up the
call.
You'll find other Voice Announce Unit features handy when using
your phone or staying in touch with others in your company. If there is
an announcement everyone in your company should hear, just listen to
your General Message (page 51). Voice Prompting Messages (page
130) tell you about your system, your own phone and the status of
your call. You'll hear voice prompts reminding you when your calls
are forwarded or when you have a message. You can even find out
your extension number, the date and the time of day.
Using All Those Features!
8
Page 15
And, Your Super Display Does The Thinking
Do you want a feature but not
know how to use it? Have you
ever been busy on a call and not
remembered the options your
phone provides? If you have an
optional Super Display Telephone,
the Soft Keys on your telephone
do the thinking for you.
When you use your Super Display,
your One-Touch Keys automatically turn into Soft Keys. A Soft Key
is a variable feature key - the
function of the key changes to match what you are doing. This lets you
spend more time thinking about your job and less time thinking about
your telephone.
The example on the next page shows how this works. In this example,
you are busy on an outside line talking to a customer. You realize that
you want to call this customer again, but can't remember the name of
the feature that lets you save the number.
1. MENU (Press the MENU Soft Key).
This is the top screen in the illustra-
tion on the next page.
2. SAVE DIAL (Press the SAVED DIAL
Soft Key).
This is the second screen in the illus-
tration on the next page.
The system saves the number you just
dialed and returns your Soft Keys to
One-Touch Keys. This is the last screen
in the illustration on the next page.
Here's what you do:
Using All Those Features!
9
?
Page 16
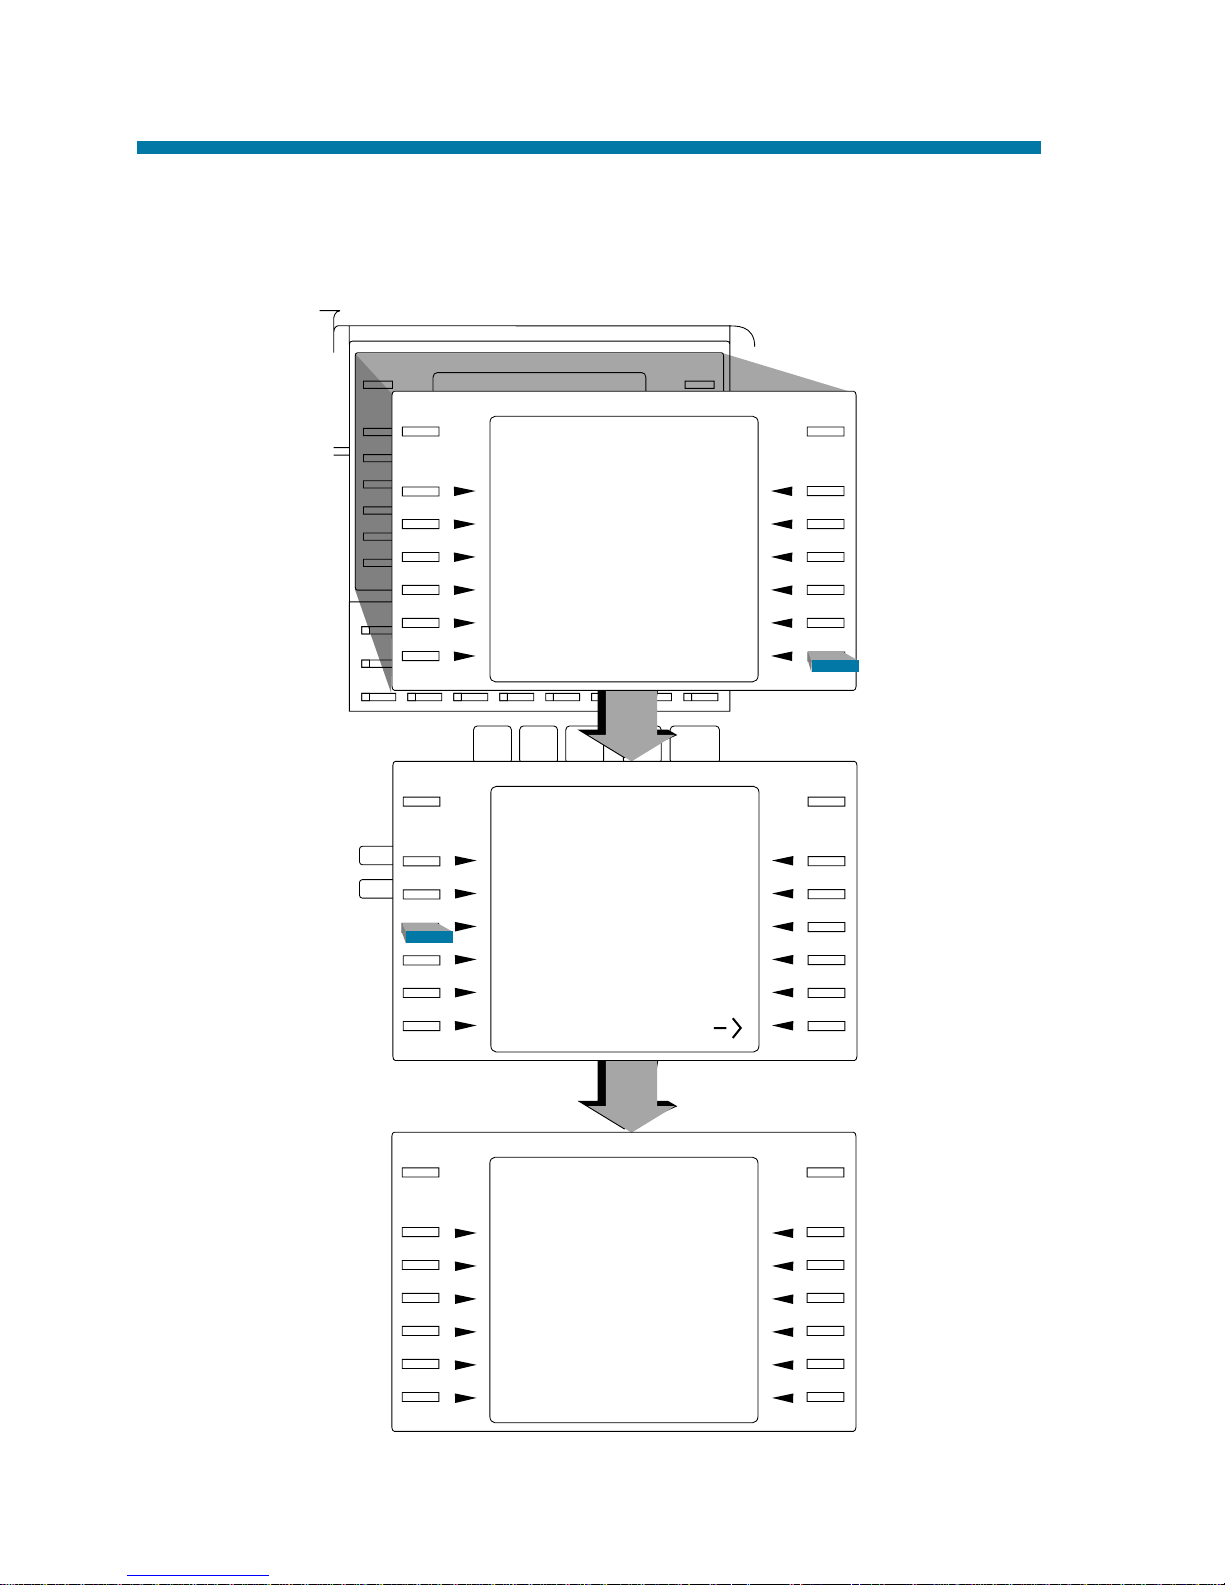
To find out more on using your Soft Keys, use the plastic laminated
Reference Card that came with your phone.
Using All Those Features!
10
92700 - 07
CHECK CLEAR
TRUNK 01
9265400
[MENU][DIRECTORY]
CHECK CLEAR
TRUNK 01
9265400
CONFERENCE
REPEAT DIAL
SAVED DIAL
ABB: COMMON
ABB: GROUP
[ ]
CHECK CLEAR
TRUNK 01
NUMBER SAVED
[MENU][DIRECTORY]
Page 17
Abbreviated Dialing gives you quick access to numbers you call frequently. This saves time, for example, when calling a client with
whom you deal often. Instead of dialing a long telephone number, you
just use Abbreviated Dialing.
There are three types of Abbreviated Dialing: Common, Group and
Personal. All co-workers within your Tenant Group can share the
Common Abbreviated Dialing numbers. All co-workers in your
Department Calling Group can share the Group Abbreviated Dialing
numbers. (See page 35 for more on Department Calling.) Only you
can use your Personal Abbreviated Dialing numbers. To set up
Personal Abbreviated Dialing, turn to One-Touch Calling on page 78.
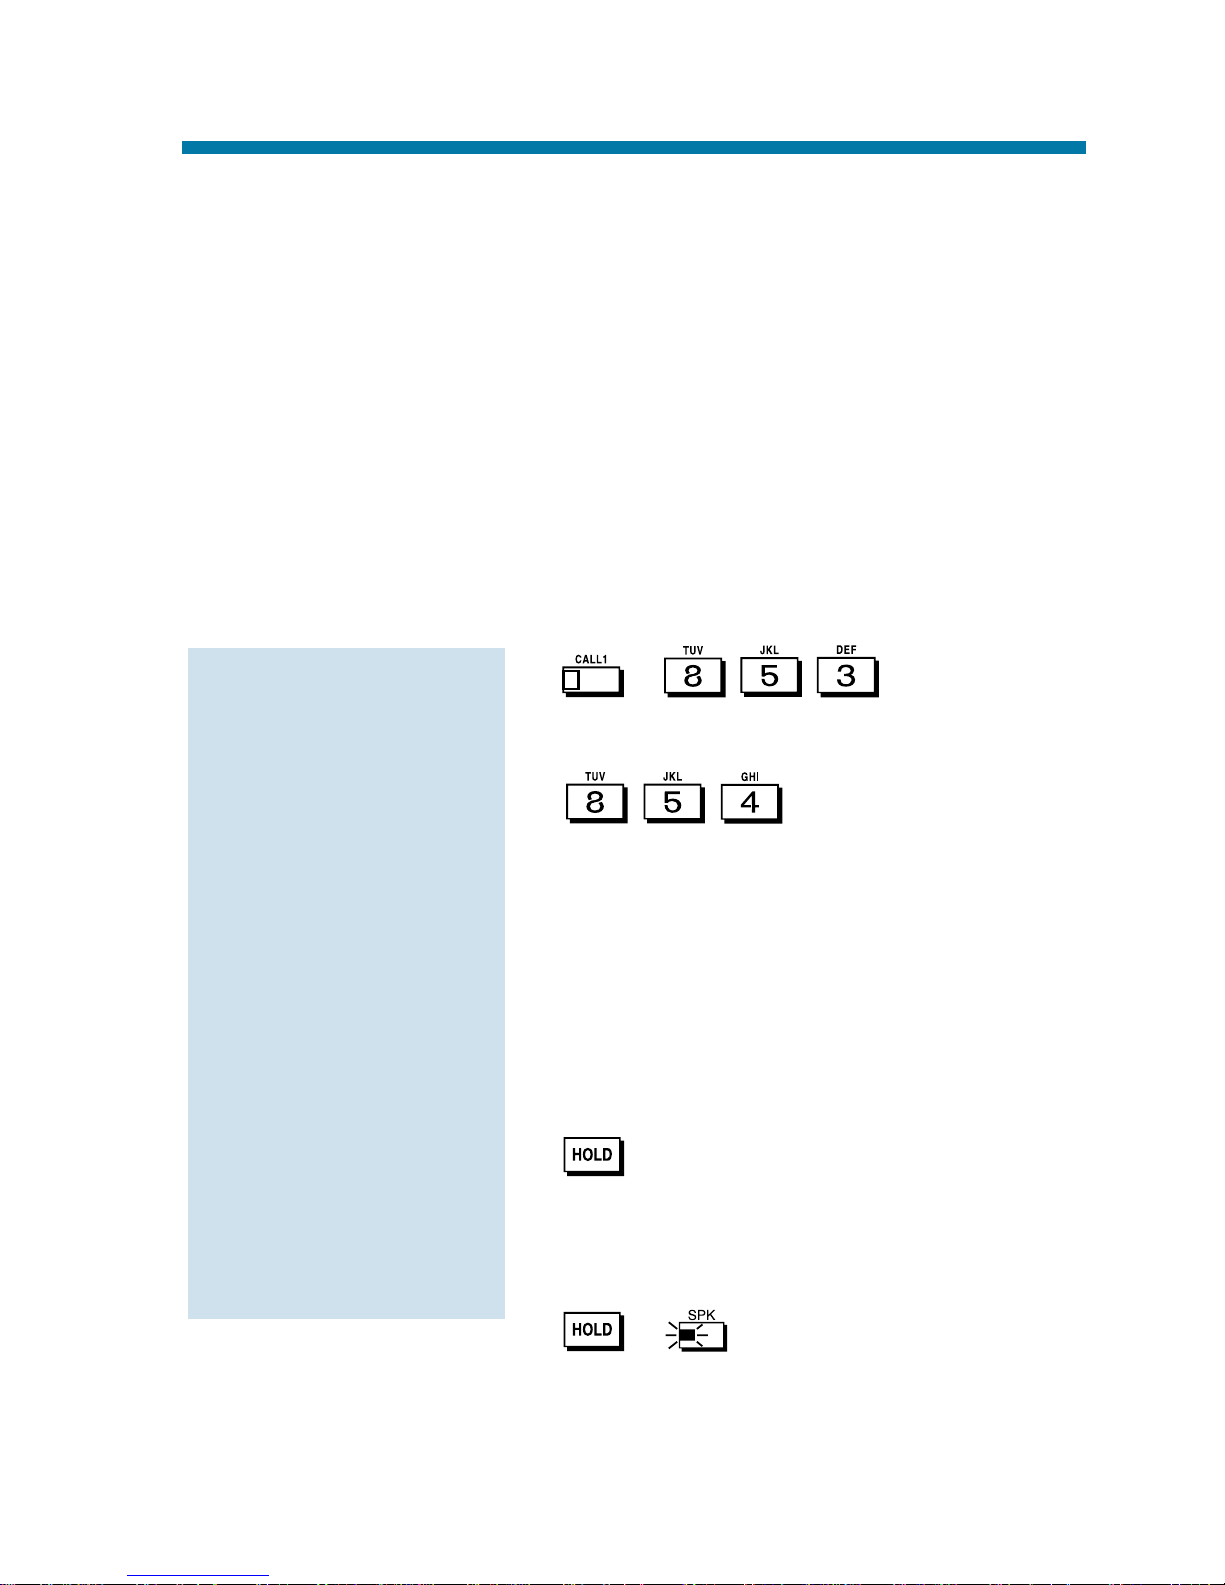
1. + (for Common).
OR
(for Group).
2. Dial Abbreviated Dialing bin number
(000-499 or 0000-1999).
Ask your Communications Manager
for your bin numbers.
3. Dial telephone number you want to store
(up to 24 digits).
Valid entries are 0-9, # and *. To
enter a pause, press MIC.
4. + Enter the name associated with
the Abbreviated Dialing number.
Refer to Name Storing on page 72 for
instructions on entering names.
5. + to hang up.
To store an
Abbreviated Dialing
number
(recommended for
display phones only):
Abbreviated Dialing
11
Page 18
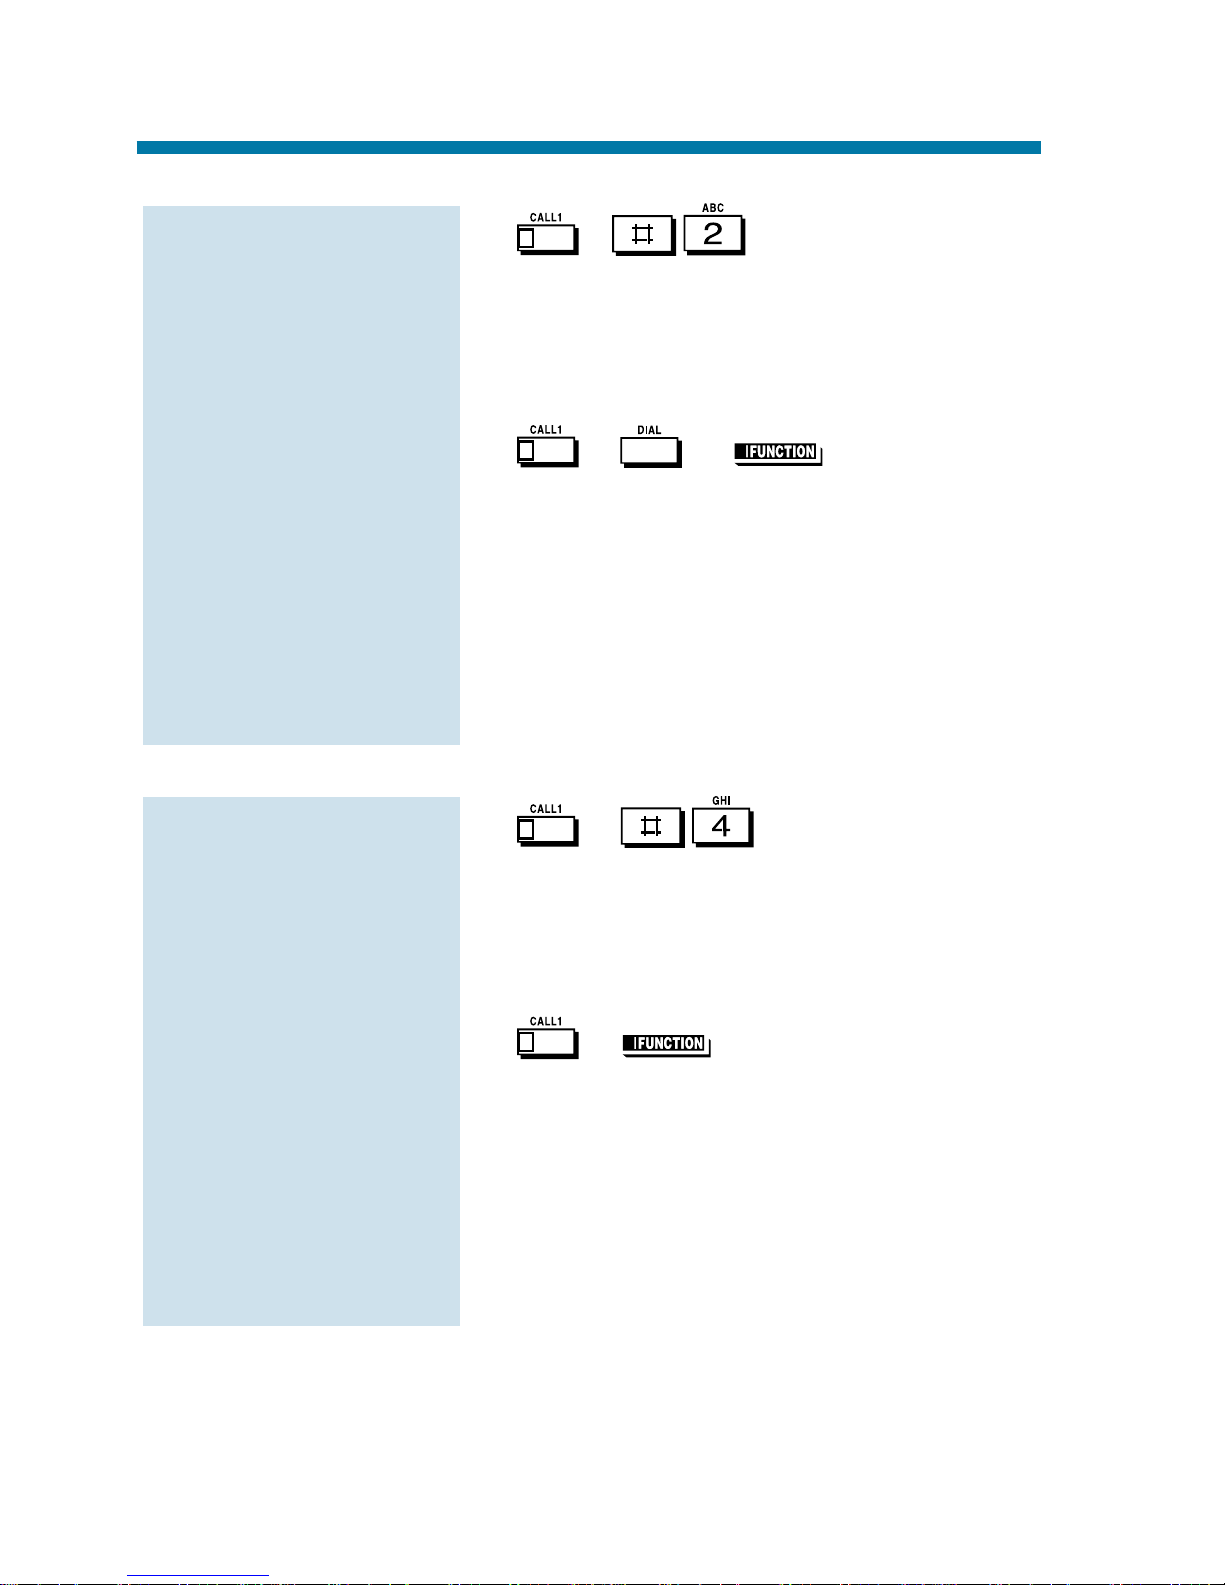
1. + .
2. Dial bin number.
The stored number dials out. The sys-
tem selects a line for you.
OR
1. + or (Common
Abbreviated Dialing).
To preselect, press a line key instead
of CALL1.
2. Dial Common Abbreviated Dialing bin
number.
The stored number dials out. Unless
you preselect, the system selects a line
for you.
1. + .
2. Dial bin number.
The stored number dials out. The system selects a line for you.
OR
1. + (Group Abbreviated
Dialing).
To preselect, press a line key instead
of CALL1.
2. Dial Group Abbreviated Dialing bin
number.
The stored number dials out. Unless
you preselect, the system selects a line
for you.
To dial a Group
Abbreviated Dialing
number:
To dial a Common
Abbreviated Dialing
number:
Abbreviated Dialing
12
Page 19

1.
2. (Common only).
3. Dial the Abbreviated Dialing code (e.g.,
001).
If the entire stored number is too
long for your phone's display, press
* to see the rest of it.
To check more Abbreviated Dialing
numbers, repeat from step 2.
4.
To check your stored
Abbreviated Dialing
numbers:
Abbreviated Dialing
13
Page 20
Account Codes are codes you enter that help keep track of outside
calls. There are two types of Account Codes: Optional and Forced.
With optional codes, the Account Codes you enter are solely for categorizing your calls. For example, if you work in an accounting firm
that must bill back customers for time on the phone, Optional Account
Codes are for you. Forced Account Codes also let you categorize calls,
but you must enter one before placing outgoing calls. If you don't
enter the code, you can't place the call. This ensures that calls don't go
out untracked.
Check with your Communications Manager to find out if your system
uses Account Codes - and which codes you should enter. Account
Codes can be from 1-16 digits long, using 0-9 and #.
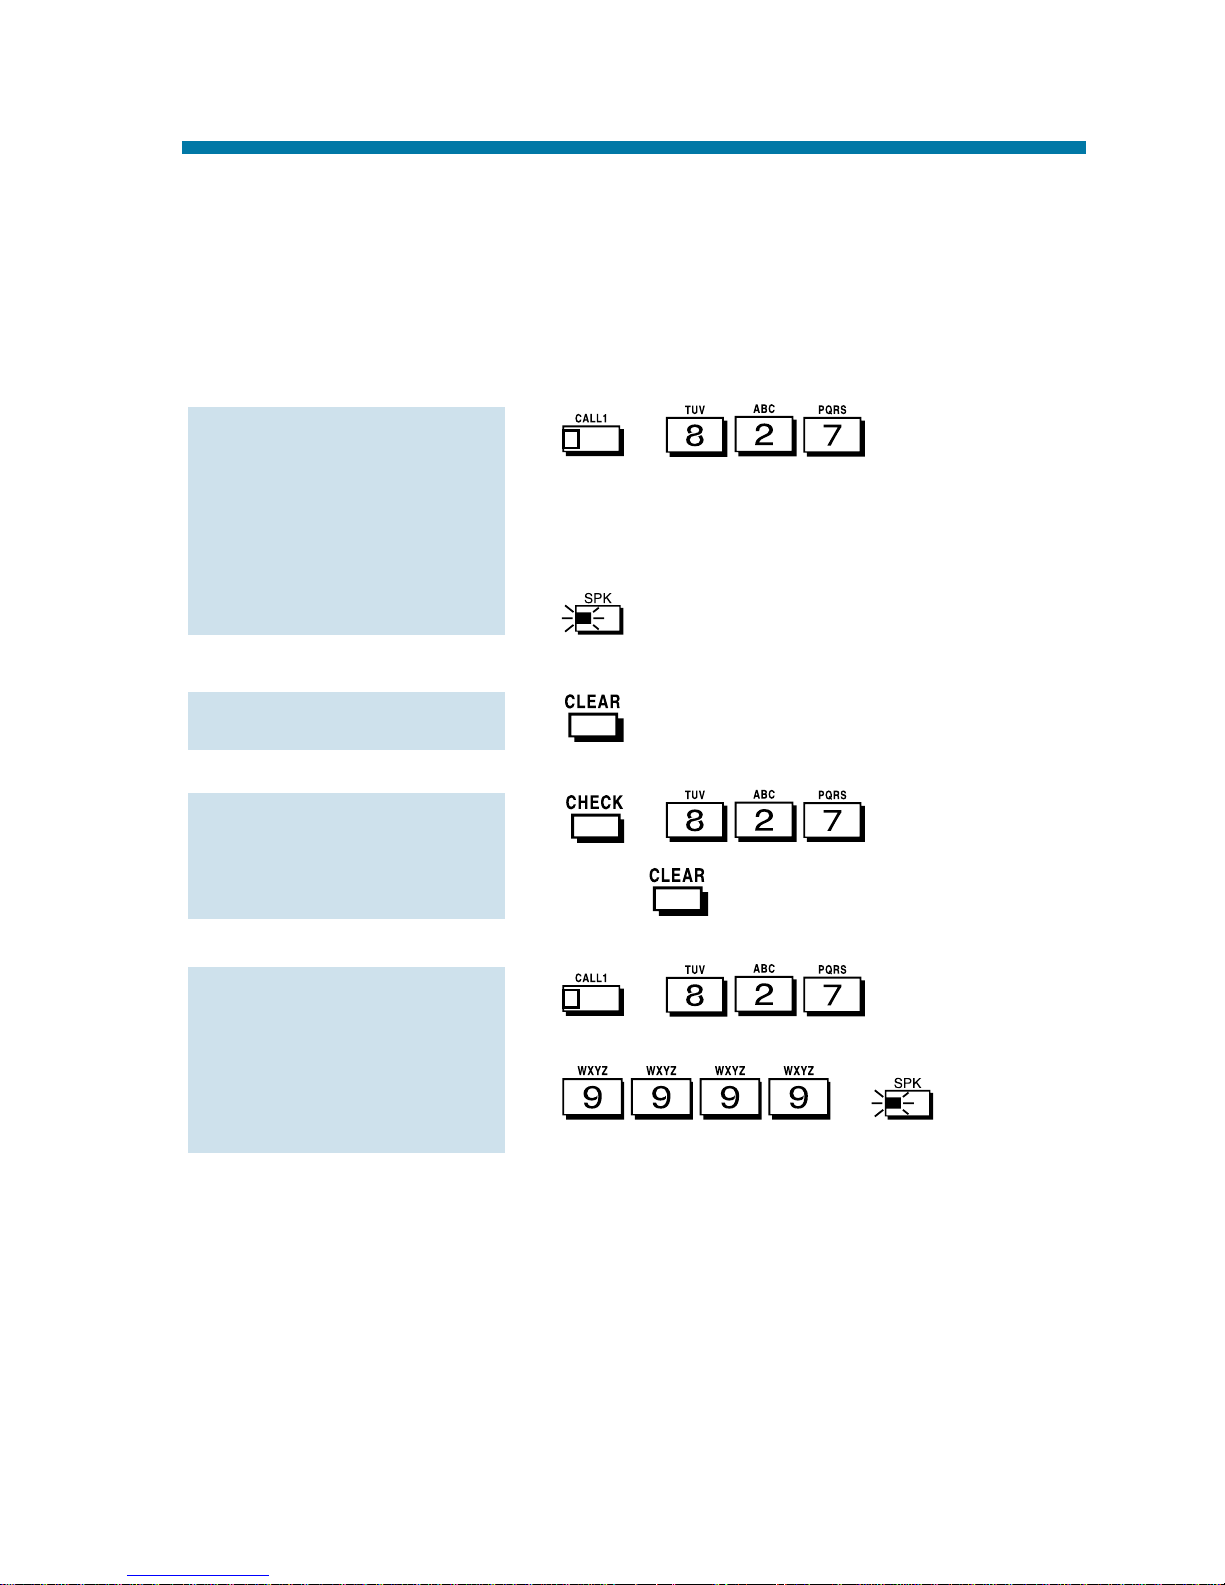
1. + Account Code (1-16 digits) +
.
1. Access trunk for outside call.
You can access a trunk by pressing a
line key or by dialing a code. Refer to
page 86 for more on placing outside
calls.
2. + Account Code (1-16 digits) +
.
3. Dial the number you want to call.
If you hear "stutter" dial tone after
dialing the number, your system
requires an ARS Authorization Code.
Ask your Communications Manager for
your codes.
To enter an Account
Code while placing an
outside call:
To enter an Account
Code any time while
on an outside call:
Account Codes
14
Page 21
You can use your extension like an alarm clock to remind you of
appointments and important meetings. Your phone has two types of
alarms:
●
Alarm 1 - which sounds only once at the preset time.
●
Alarm 2 - which sounds every day at the preset time.
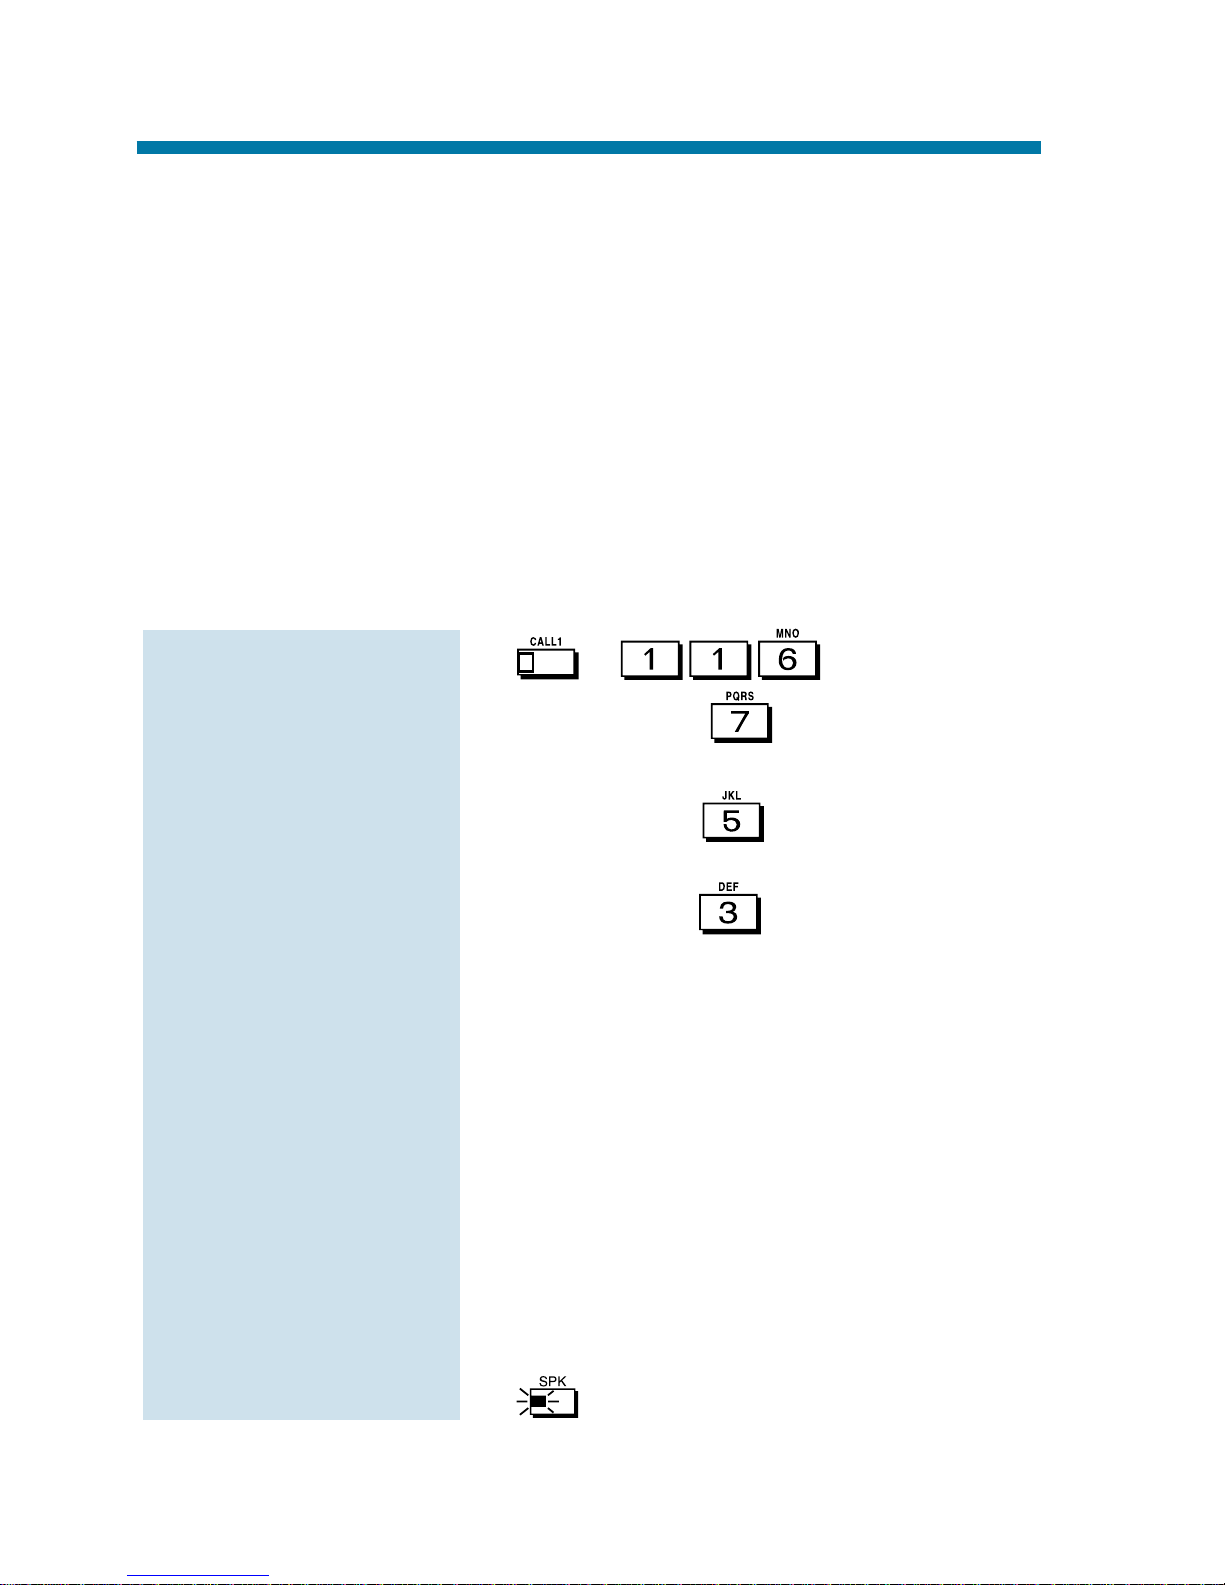
1. + + Alarm type (1
or 2).
2. Dial the alarm time (24-hour clock).
For example, for 1:15 PM dial 1315.
3. to hang up.
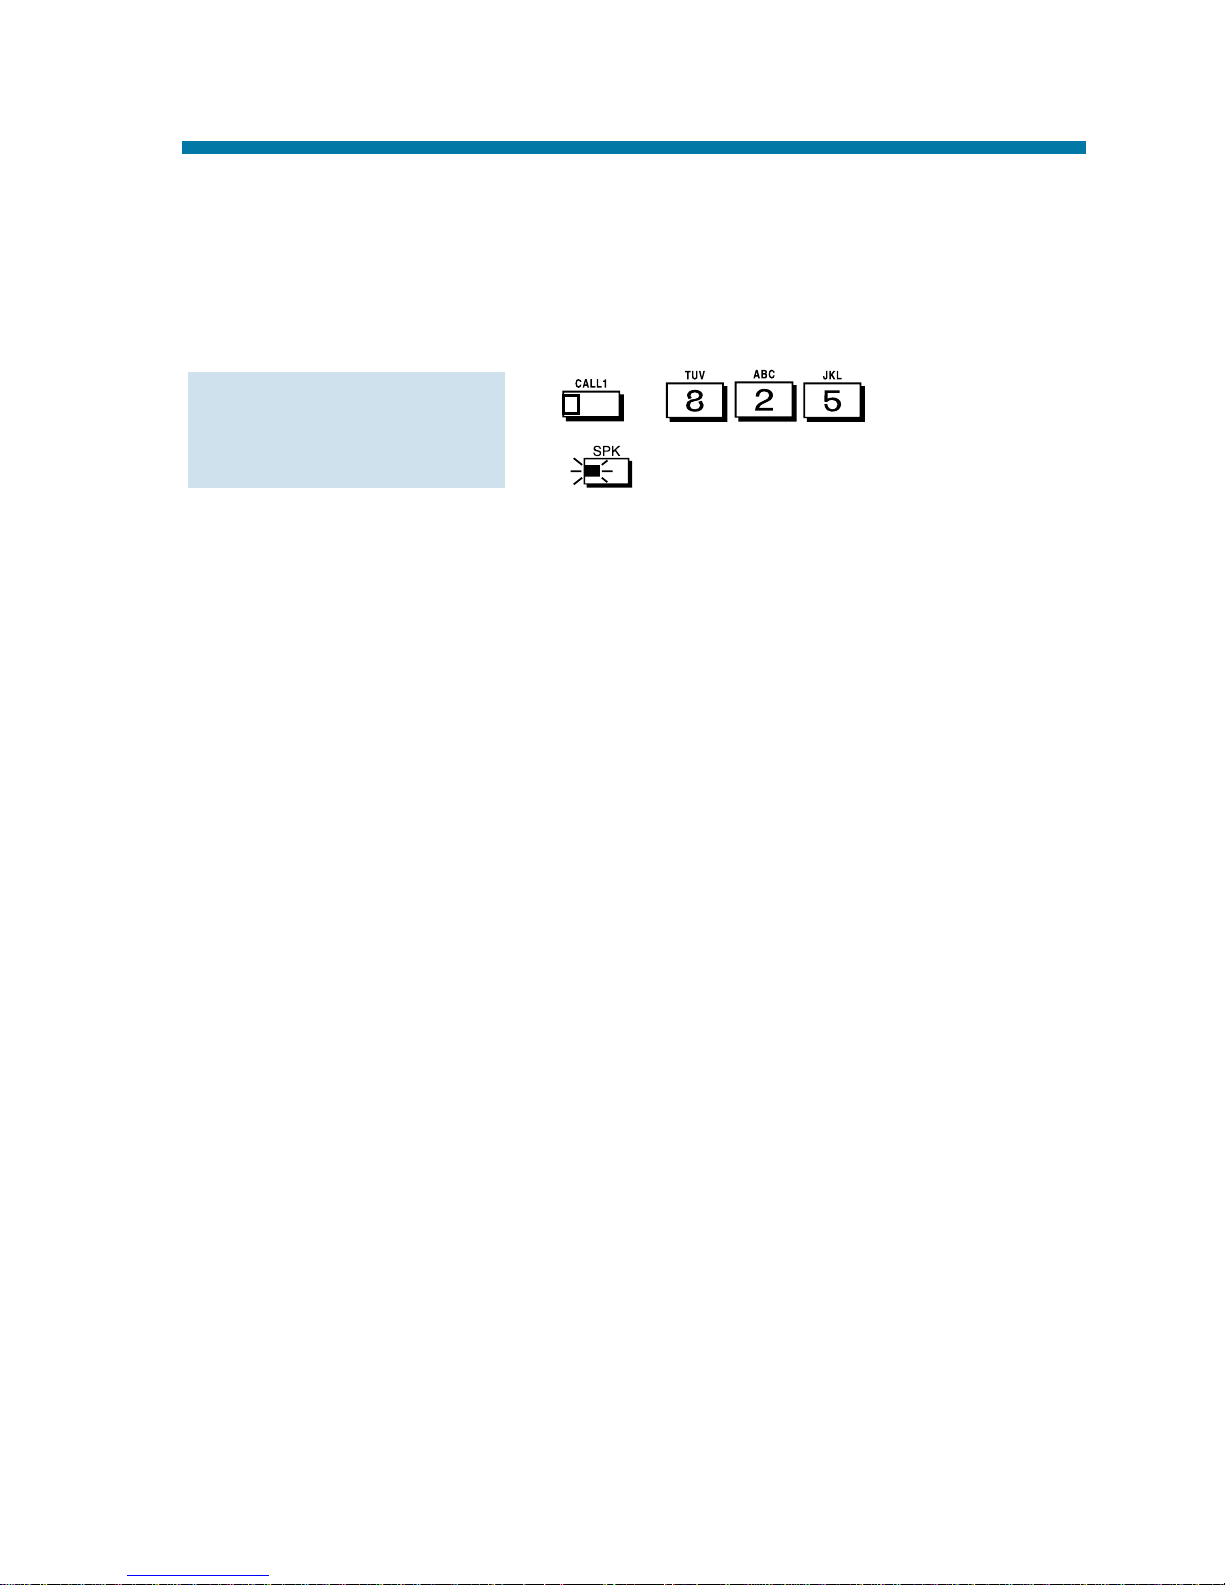
1.
1. + + Alarm type 1
or 2 + .
1. + + Alarm type 1
or 2.
2. + to hang
up.
To cancel an alarm:
To check the pro-
grammed alarm time:
To silence an alarm:
To set the alarm:
Alarm
15
Page 22
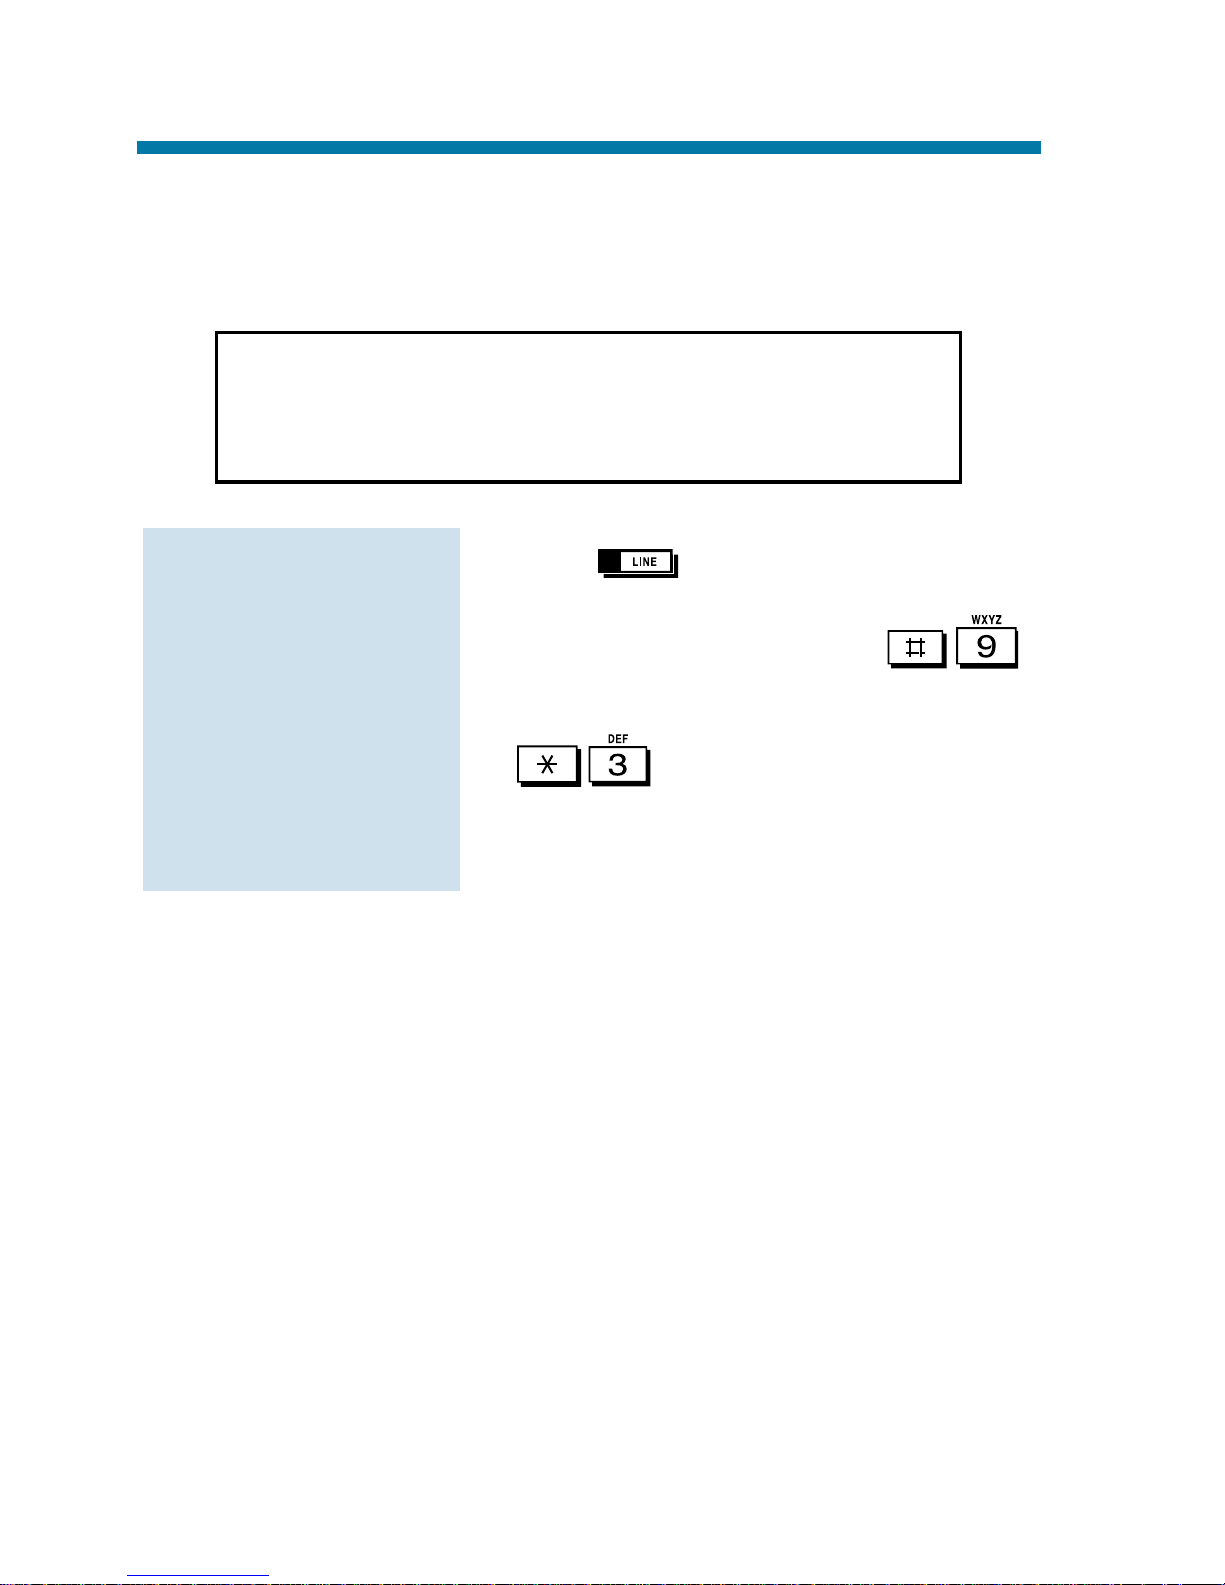
☞
This feature requires a Voice Announce Unit (VAU).
Automated Attendant automatically answers your system's outside
calls, plays a prerecorded greeting and then lets callers directly dial
you or your co-workers. This gives your system immediate answering
and routing of calls without an operator or dispatcher. The Automated
Attendant can:
●
Simultaneously answer up to six calls.
●
Route calls to an extension, Department Group or Voice Mail and
provide additional options if the extension or group is unavailable.
●
Give you the option of recording or modifying the Automated
Attendant greetings (see below).
1. + .
2. To record, dial .
OR
To listen, dial .
OR
To erase, dial .
3. Dial the VAU message number (01-16)
for the Automated Attendant greeting
you want to record, listen to or erase.
Your Communications Manager can
tell you which message to enter.
If recording, begin when you hear the
announcement, "Please start recording." When done, press # to check what
you recorded.
When listening to a message, press #
to hear the message again.
If erasing, you can cancel erasing by
pressing HOLD before hanging up.
4. to hang up.
To record, listen to or
erase an Automated
Attendant greeting:
Automated Attendant (VAU)
16
Page 23
Background Music (BGM) sends music from an FM receiver, tape
deck or CD player your company provides to the speaker in your telephone. This helps give you a pleasant working environment. The
Background Music plays whenever your phone is idle.
1. + .
2. to hang up.
To Turn BGM on or
off:
Background Music
17
Page 24
Barge In permits you to break into a co-worker's established call. Use
Barge In when you have to get a message through right away (such as
in an emergency). Barge In sets up a three-way call between you, your
co-worker and their caller.
Your system provides two Barge In modes: Monitor Mode and Speech
Mode. With Monitor Mode, you can listen in on another user's conversation but you cannot participate. With Speech Mode, you can listen
and join into the conversation. Check with your Communications
Manager to see which type of Barge In you have.
1. Call busy extension.
2. (Barge In).
To Barge In on a conversation in progress:
CAUTION
Unauthorized intrusion on calls using the Barge In feature
may be interpreted as an invasion of privacy.
Barge In
18
Page 25

Use Call Forwarding to redirect your calls to another extension. With
Call Forwarding, you're sure your calls are covered when you are
away from your work area. There are four types of Call Forwarding:
●
Call Forwarding when Busy or Not Answered
Calls forward when your extension is busy or not answered.
●
Call Forwarding Immediate
All calls forward immediately to the destination, and only the destination rings.
●
Call Forwarding when Not Answered
Calls forward when your extension is not answered.
●
Call Forwarding Immediate with Both Ringing
All calls forward immediately to the destination, and both the destination and your extension ring (not for Voice Mail).
●
Personal Answering Machine Emulation
Have your phone emulate an answering machine. Turn to page 125
for more on Voice Mail.
Call Forwarding will reroute calls ringing your extension, including
calls transferred from another extension. You must enable Call
Forwarding from your phone. To redirect your calls if you are at
another phone, use Call Forward Follow Me on page 22.
1. + .
OR
(Call Forward to Station).
2. Dial Call Forwarding condition:
1 = Personal Answering Machine
Emulation (then skip to step 4)
2 = Busy or not answered
4 = Immediate
6 = Not answered
7 = Immediate with simultaneous ring-
ing (not for Voice Mail)
0 = Cancel
To activate or cancel
Call Forwarding:
Call Forwarding
19
Page 26
3. Dial destination extension, Voice Mail
master number or press Voice Mail key.
You cannot forward to a Department
Group pilot number. Once you forward,
only the destination user can place an
Intercom call to you.
4. Dial Call Forwarding type:
2 = All calls
3 = Outside calls only
4 = Intercom calls only
5. to hang up (if you dialed
in step 1).
Your DND or Call Forwarding
(Station) Programmable Function Key
flashes when Call Forwarding is
activated.
To activate or cancel
Call Forwarding
(Cont’d):
Call Forwarding
20
Page 27
Use Off-Premise Call Forwarding to forward your calls to an off-site
location. Stay in touch when you're away from the office by forwarding to your cellular phone, home office, hotel or meeting room.
1. + .
OR
1. (Call Forward to Device).
2. + Dial line access code.
Line access codes are 9 (ARS/Trunk
Group Routing), 804 + Line Group (19, 01-99 or 001-128) or #9 + Line number (e.g., 05 or 005 for line 5).
3. Dial the outside number to which your
calls should be forwarded.
4. .
5. to hang up (if you dialed *4
in step 1).
Your DND or Call Forwarding
(Device) Programmable Function Key
flashes.
1. + .
OR
1. (Call Forward to Device).
2. + .
3. to hang up (if you dialed *4
in step 1).
Your DND or Call Forwarding
(Device) Programmable Function Key
stops flashing.
To cancel Call
Forwarding Off-
Premise
To activate Call
Forwarding Off-
Premise:
Call Forwarding Off-Premise
21
Page 28

While you are at a co-worker's desk, you can direct your calls to your
co-worker's extension. Use Call Forward Follow Me if you get detained
with your co-worker longer than expected. Instead of ringing your own
phone unanswered, your calls will ring you where you are. (To reroute
calls from your own extension, use Call Forwarding on page 19.)
1. + .
OR
1. (Call Forward to Station).
2. + Dial your own extension number
(i.e., the source).
3. Dial Call Forwarding type:
2 = All calls
3 = Outside calls only
4 = Intercom calls only
4. to hang up (if you dialed
in step 1).
Your Call Forwarding (Station)
Programmable Function Key flashes
when Call Forwarding is activated.
1. + .
OR
1. (Call Forward to Station).
2. .
3. to hang up (if you dialed
in step 1).
Your Call Forwarding (Station)
Programmable Function Key goes out.
To cancel Call Forward
Follow Me:
To activate Call
Forward Follow Me:
Call Forward Follow Me
22
Page 29

If you call an extension that is Call Forwarded or in Do Not Disturb,
use Call Forwarding/DND Override to talk to the extension user anyway. This is helpful, for example, if you have an important message or
emergency and you must get through.
1. Call the forwarded or DND extension.
2. (Override).
To override an
extension:
Call Forward/DND Override
23
Page 30

You can time your outside calls on your telephone display. You'll find
Call Timer indispensable if you must keep track of your time on the
phone. For incoming calls, the Call Timer begins as soon as you
answer the call. For outgoing calls, the Call Timer starts about 10 seconds after you dial the last digit.
1. Place or answer the outside call.
The Call Timer starts automatically.
To time your outside
calls:
Call Timer
24
Page 31
After you call a busy extension, use Call Waiting to wait in line (i.e.,
Camp On) without hanging up. When you Camp On, the system signals the busy user indicating that you are waiting. Your call goes
through when the busy extension becomes free.
Call Waiting also helps when you are on the phone because it lets you
know when additional calls are trying to get through. Call Waiting lets
your callers wait in line without being forgotten.
Note: When you call a busy attendant, your call will normally "stack
up" in queue behind other waiting callers.
1. Call the busy extension. You must hear
busy tone.
2. or (Camp On).
3. Wait without hanging up.
Your Camp On Programmable
Function Key lights while you wait.
If you hang up, the system converts
your Camp On to a Callback (see page
26).
To Camp On to a trunk, see the Trunk
Queuing feature on page 123.
1. Hang up.
If you skip step 2, the extension will
call you back when it becomes free.
2. + .
OR
(Camp On).
Your Camp On Programmable
Function Key goes out.
To cancel a Camp On
request:
To Camp On to a busy
extension:
Call Waiting/Camp On
25
Page 32
When you call a busy extension, you can leave a Callback request for
a return call. You do not have to repeatedly call the busy extension
back, hoping to find it idle. When you leave a Callback, the system
handles your request as follows:
●
When the busy extension becomes idle, the system rings you.
●
After you answer the Callback ring, the system then rings the for-
merly busy extension. (If that extension doesn't answer, the system
cancels the Callback.)
●
As soon as the other extension answers, the system sets up an
Intercom call between you and them.
If your phone has Automatic Callback, you answer the Callback ring
as soon as you lift the handset. If your phone doesn't have Automatic
Callback, you must press the ringing line appearance key to answer
the Callback ring.
1. Call a busy extension.
2. or (Callback).
3. Hang up.
4. Lift handset when busy extension calls
you back.
If you don't have Automatic Callback,
you'll have to press the ringing Line
Appearance key.
1. + .
OR
(Callback).
To cancel a Callback:
To place a Callback:
Callback
26
Page 33
Caller ID allows a display keyset to show an incoming caller ’s telephone number (up to 12 digits) and optional name. The Caller ID
information can be displayed either before or after answering a call.
Normally, the system provides the Caller ID post-answer display.
With the pre-answer display, you can preview the caller’s number
before picking up the ringing line. Your Communications Manager
can tell you which option you have. This information is stored in
Caller ID bins.
Display telephone users have the ability to check the identity of an
incoming call while they are currently busy on a call. The type of
information that displays will depend on the type of call being
received. Intercom calls will display station names, while incoming
trunks calls will display Caller ID, ANI or the name assigned to the
line. Depending on the system programming, this information can be
displayed either automatically or manually.
Caller ID will temporarily store 16 calls (this included abandoned or
unanswered calls). New calls replace the old calls when the maximum
number of calls is reached.
1. Press + .
If the Caller ID data includes the
name, you can scroll left and right by
pressing * and #.
2. Press to answer the call.
1. Do not lift the handset and press .
If the Caller ID data includes the
name, you can scroll left and right by
pressing * and #.
2. or press to answer the call.
To display the
name/number for
your incoming call
(
without
Automatic
Handsfree enabled):
To display the name/
number for your
incoming call (
with
Automatic Handsfree
on Incoming
Line/Loop Key calls):
Caller ID
27
Page 34
You can store the Caller ID data in the system’s Caller ID Table or in one of your One
Touch keys.
1. Press (Caller ID Edit).
2. T
o store a number in a One Touch key:
Dial (Personal) + Press +
Press One Touch key that will store the
Caller ID information + (Optional - if
name is not sent from telco) If you see
ENTER NAME, enter the name you
want to associate with the stored number.
T
o store a number in a Common
Abbreviated Dialing Bin:
Dial (Company) + Press +
Dial the bin number in which you want
to store the number (0-999) + (Optional if name is not sent from telco) If you see
ENTER NAME, enter the name you
want to associate with the stored number.
You cannot edit a name if it was sent
from the telco.
Press to toggle between upper
and lower case letters.
For information on entering names,
refer to the Name Storing feature.
When entering information into the
company Caller ID Table, if the table is
full, you will see a TABLE IS FULL
message after pressing (Company).
To Automatically Add
New Numbers to the
Caller ID Table:
Caller ID
28
Page 35
1. Press .
2. Dial or press
(Caller ID Edit).
3. Dial (New).
If you see TABLE IS FULL, you cannot add any more entries to the Caller
ID Table.
4. Enter the number you want to add to the
Caller ID Table.
For wild card entries, press FLASH.
This allows you to associate several
phone numbers with the same name.
For example, 926-540(FLASH) would
associate all numbers from 5400-5409
with the same name.
5. Press .
6. Enter the name to be assigned to the number.
Refer to the Name Storing feature for
help on entering a name.
7. Press .
8. Return to Step 3 to add another number
to the table or press to exit.
1. Press .
2. Dial or press
(Caller ID Edit).
3. Dial (Change).
To Manually Change
an Entry in the Caller
ID Table:
To Manually Add New
Entries to the Caller ID
Table:
Caller ID
29
Page 36

4. To find a name entry in the Table:
●
Dial .
●
Enter the name you want to change
and press .
The system finds the first name that
matches the letters you entered.
OR
To find a number entry in the Table:
●
Dial (No).
●
Dial the number you want to change
and press .
●
Re-enter the highlighted number and
press when you are done. You
return to Step 3.
You can quickly edit the name for the
selected number by pressing .
5. Press to exit.
1. Press .
2. Dial or press
(Caller ID Edit).
3. Dial (Delete).
4. T
o delete a number in the Table:
●
Dial .
To Manually Delete an
Entry in the Caller ID
Table:
To Manually Change
an Entry in the Caller
ID Table (Cont’d):
Caller ID
30
Page 37
●
Enter the name you want to delete
and press .
The system finds the first name that
matches the letters you entered. To
search for other names with the same
letters, press and .
If you see NO MATCH, the name
doesn’t exist.
●
To delete the name, press .
●
Dial to confirm the deletion or
dial to cancel. In either case, you
return to Step 3.
You can quickly edit the number for
the selected name by pressing CHECK.
OR
T
o delete a number in the Table:
●
Dial (No).
●
Dial the number you want to delete
and press .
●
When you find the number you want
to delete, press .
●
Dial to confirm the deletion or
dial to cancel. In either case,
you return to Step 3.
You can edit the name for the selected
number by pressing CHECK.
To Manually Delete an
Entry in the Caller ID
Table (Cont’d):
Caller ID
31
Page 38

1. Press .
2. Dial . If you missed any
calls, the displays shows MISSED
CALL C:2 E:3
The second row of your display
shows the Caller ID number you
missed. To see the name (if sent from
the telco), press CHECK.
If you missed more than one call,
press and to see the list.
3. To call the displayed number, dial .
OR
To erase the displayed number without
returning the call, dial .
4. Press to hang up.
1. While on a call with a second call ringing in, press and then press the
flashing .
The display indicates the caller infor-
mation.
2. To clear the display, either press CLEAR
or it will clear on it’s own.
To manually display
caller information for
a second call:
To check if any Caller
ID calls rang your
phone while you
were away from your
desk:
Caller ID
32
Page 39
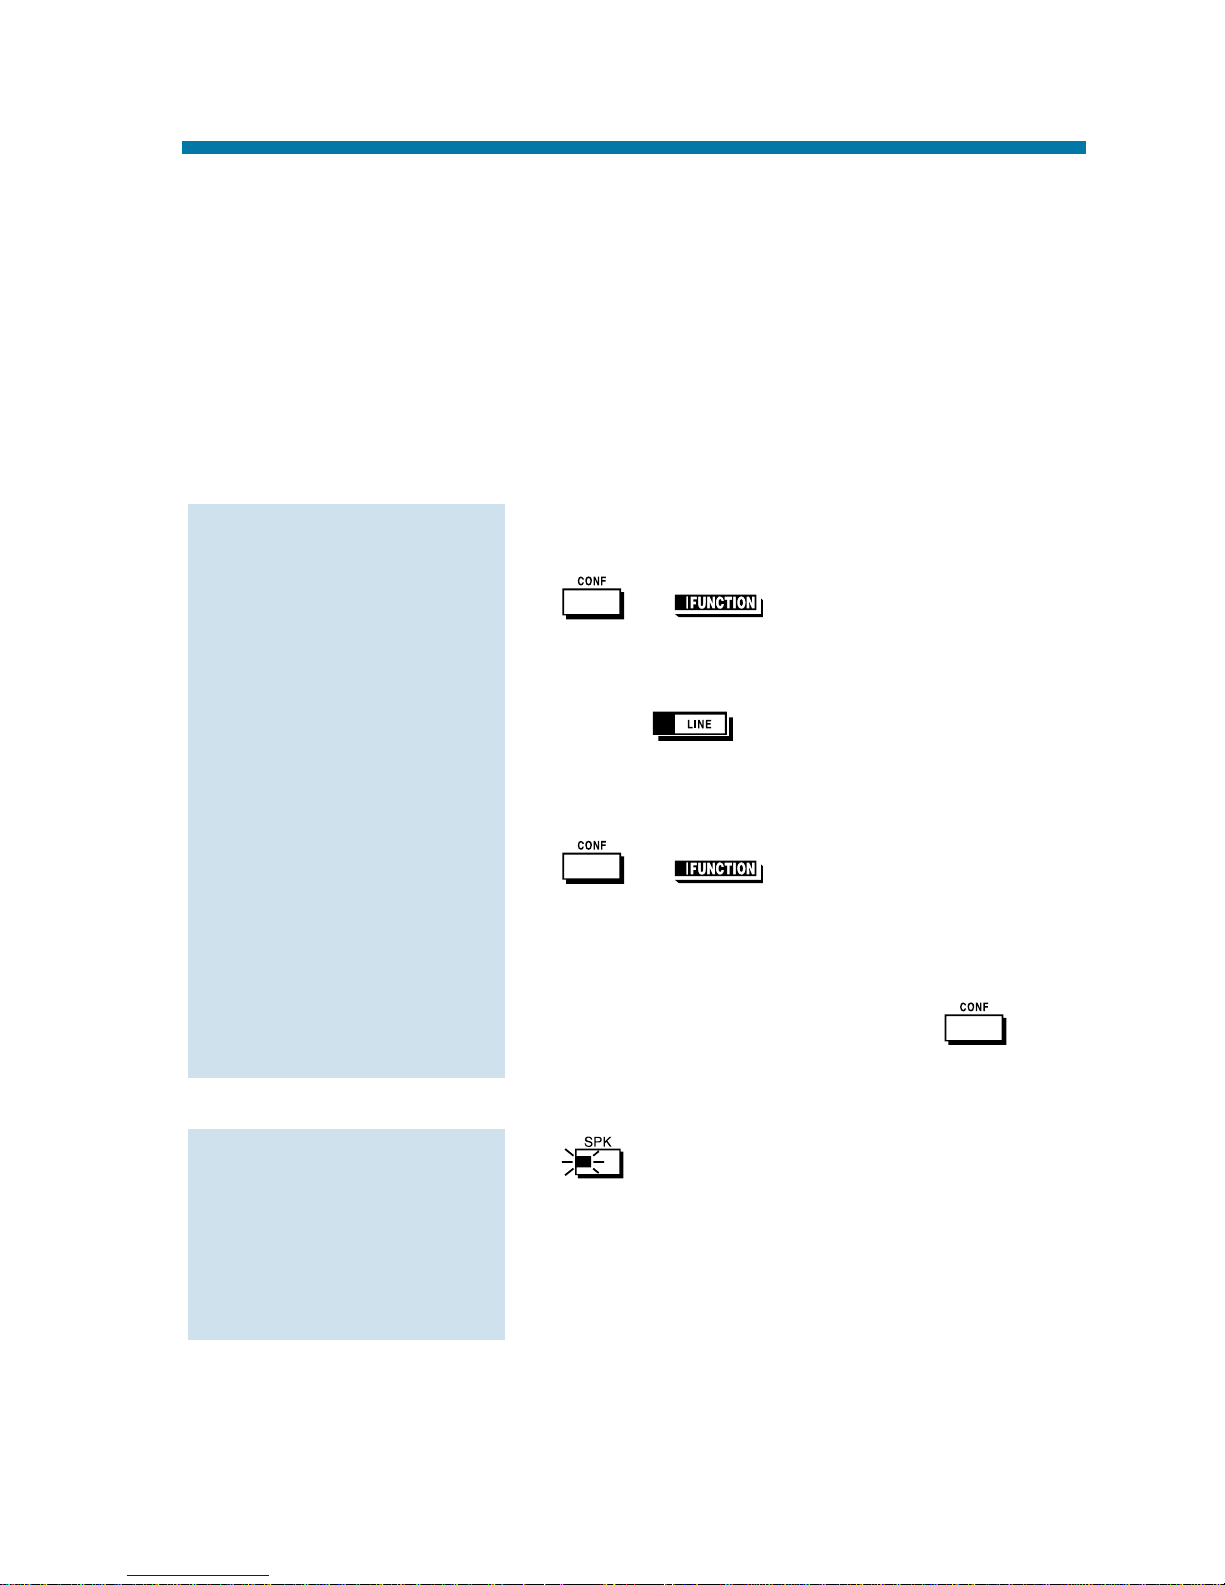
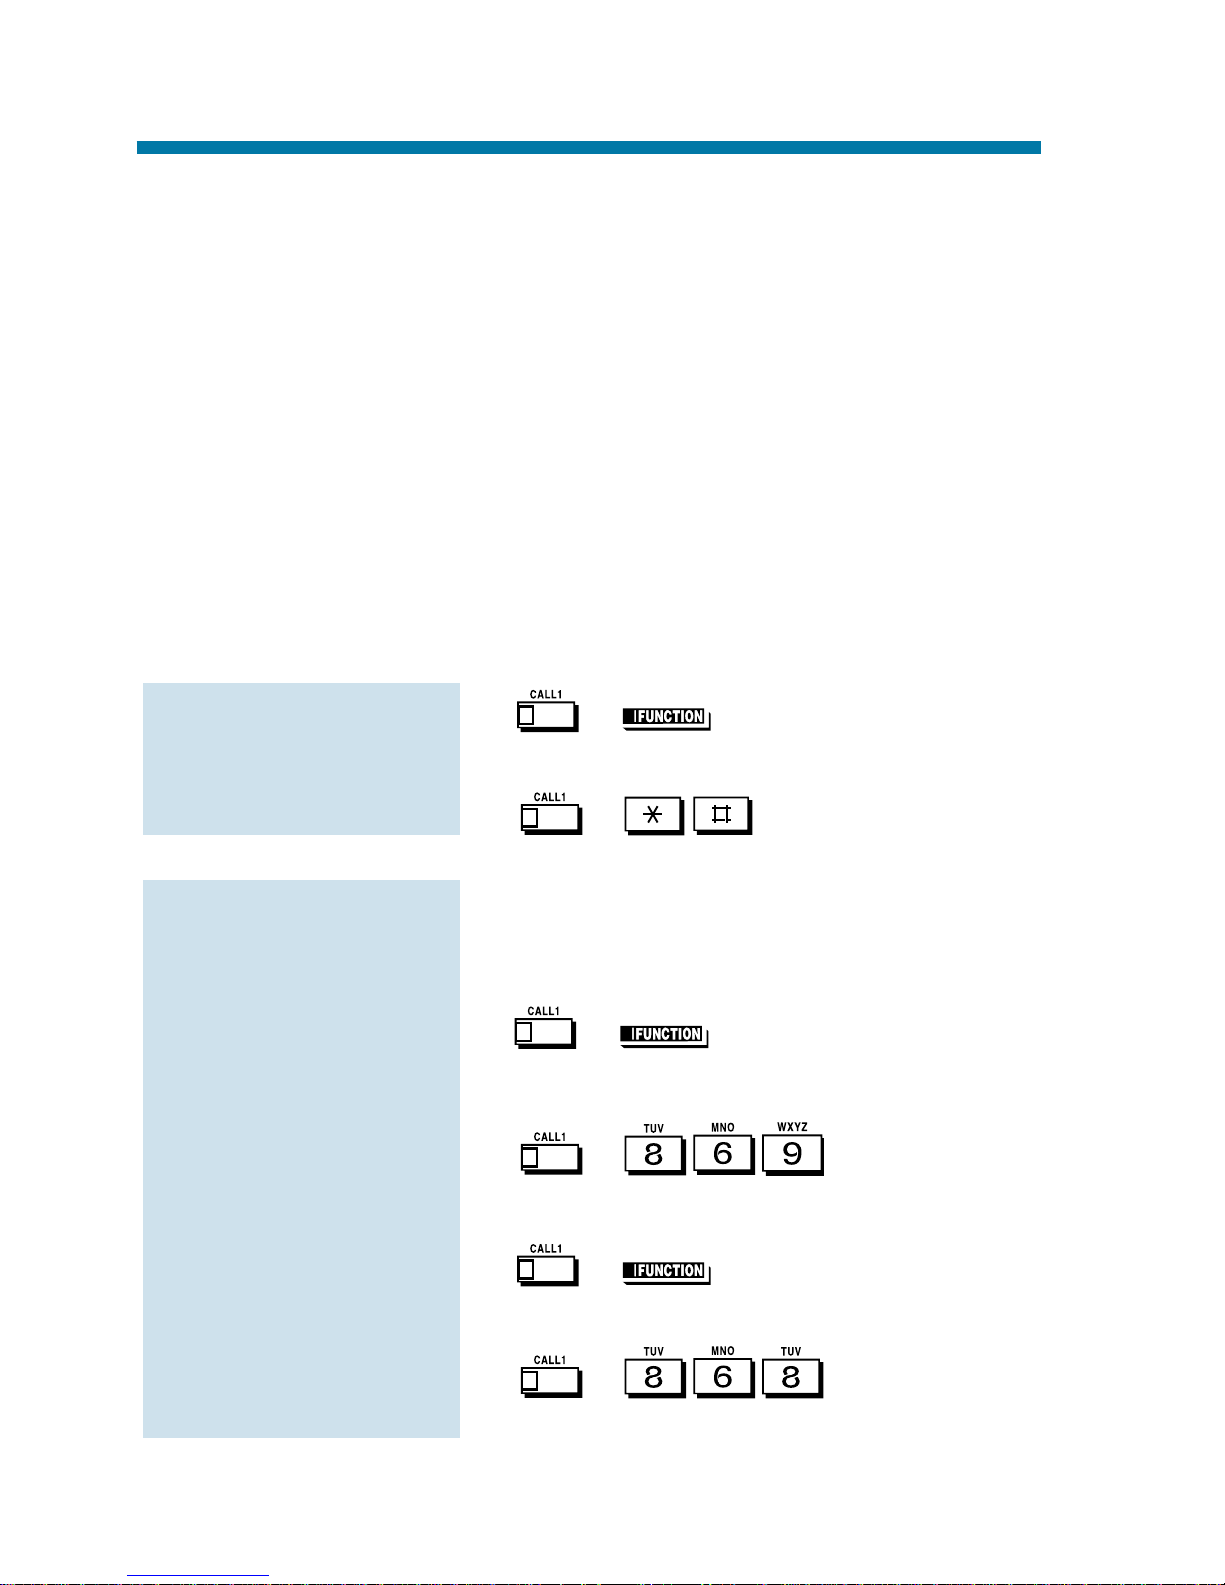
Conference lets you add additional inside and outside callers to your
conversation. With Conference, you can set up a multiple-party telephone meeting without leaving the office. The system allows either
four or eight parties maximum per Conference.
In addition to Conference, there are other ways to have a telephone meeting. See Voice Call Conference (page 34), Meet Me Conference (page
63), Meet Me Paging (page 65) and Tandem Trunking (page 115).
1. Place or answer call.
2. or (Conference).
3. Place or answer next call.
To access the outside call, either
press or dial a trunk access
code. See Outside Calls on pages 84
and 86 for more.
4. or (Conference).
You may be able to have up to 32
callers. Repeat this step to add more
parties.
5. After adding all parties, press
again to begin the Conference.
1. to hang up.
You can set up a Conference with two
outside callers and then drop out of the
call - leaving the callers talking in an
Unsupervised Conference. Refer to
Tandem Trunking on page 115 for more.
To exit a Conference
(without affecting the
other parties):
To set up a
Conference:
Conference
33
Page 40
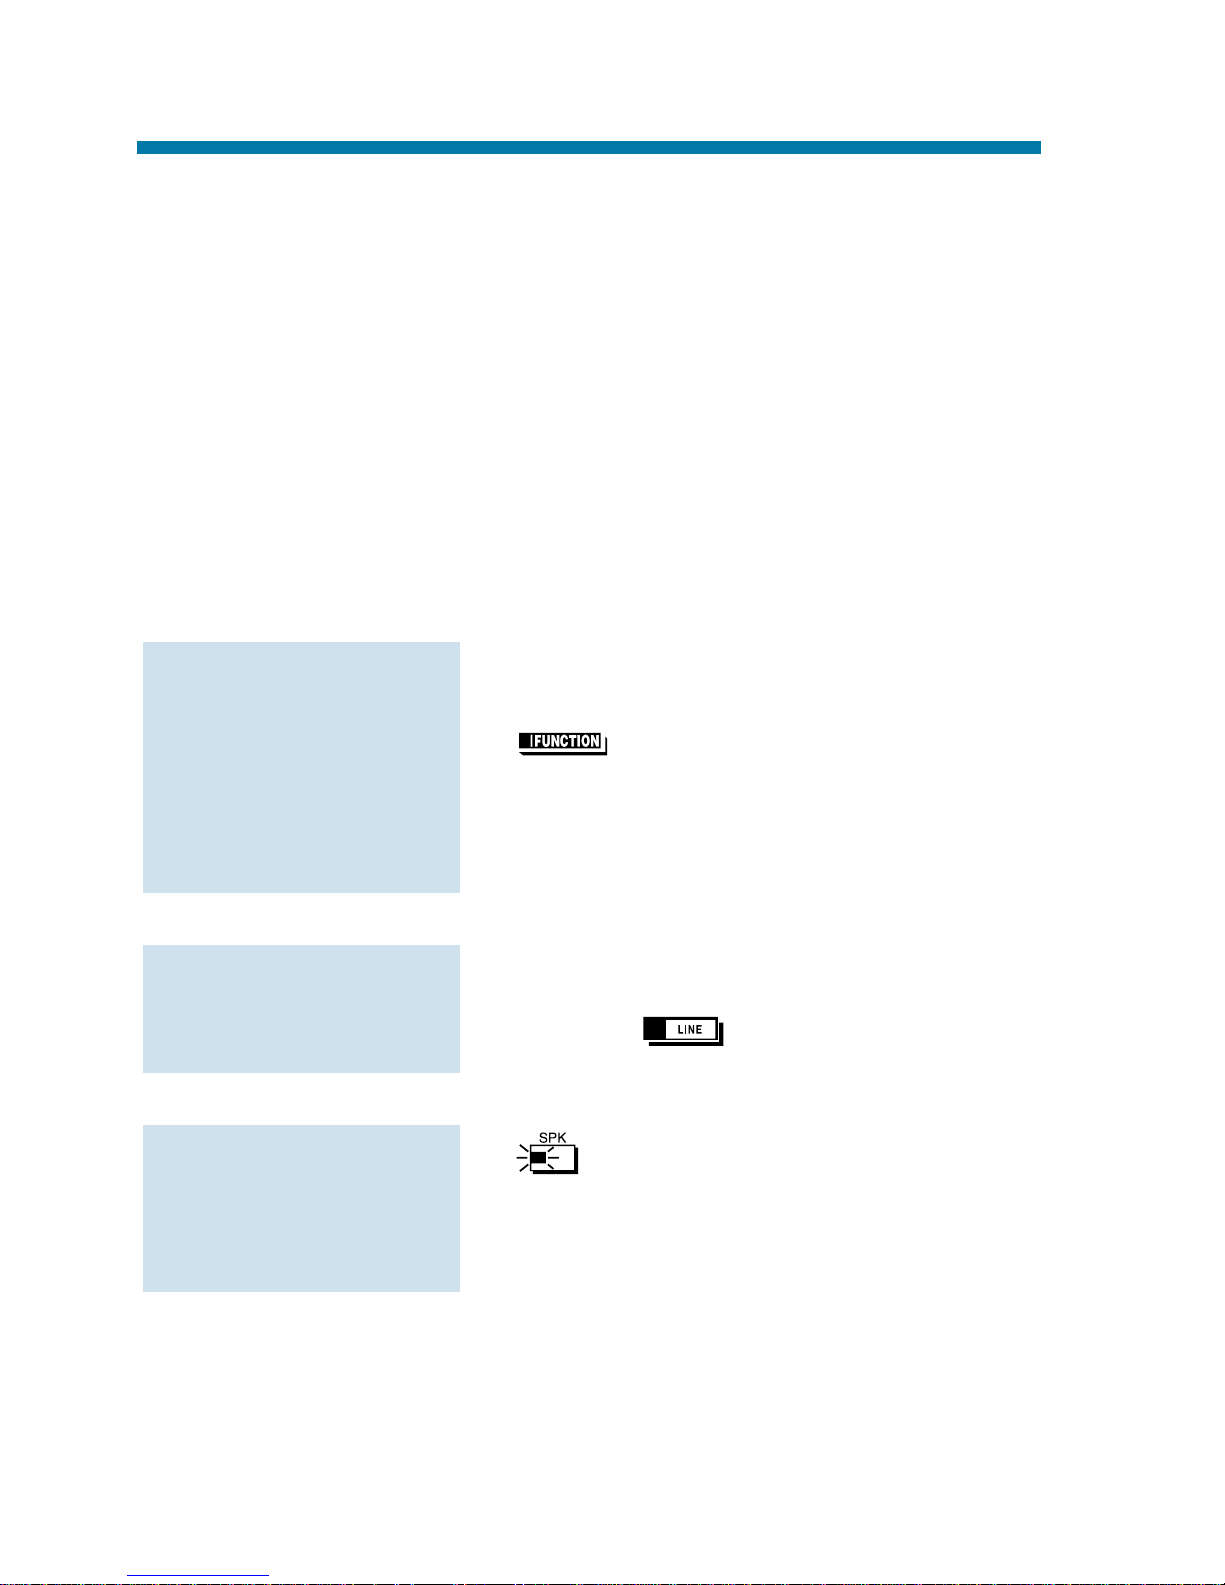
With Voice Call Conference, others in your work area can easily join
into your outside calls. To initiate a Voice Call Conference, press a
uniquely programmed Voice Call Conference key and tell your coworkers to join the call. The system releases the privacy on the line,
and other users can just press the line key to join in. The system allows
either four or eight parties maximum per Conference. Voice Call
Conference does not use the telephone system features to announce the
call. You just announce it "through the air" to your co-workers.
In addition to Voice Call Conference, there are other ways to have a telephone meeting. See Conference (page 33), Meet Me Conference (page
63), Meet Me Paging (page 65) and Tandem Trunking (page 115).
1. Place or answer trunk call.
2. (Voice Call Conference).
3. Announce Voice Call Conference.
Just tell your co-worker's about the
call. Do not use telephone system features to announce it.
1. After Conference request, press indicated
line key ( ).
1. to hang up.
To exit a Voice Call
Conference without
affecting the other
parties:
To join a Voice Call
Conference
(if invited):
To set up a Voice Call
Conference with a co-
worker in your imme-
diate work area:
Conference, Voice Call
34
Page 41
If you work closely with a group of co-workers, your
Communications Manager may have programmed you into a
Department Calling Group. Department Calling makes it easier for
others in your company to send calls to your group. This is because
your Department Calling Group has a dedicated pilot number. To get a
free group member, co-workers can just dial the pilot number instead
of the group member's extensions. If you don't want to receive
Department Calls, you can log out of your group. You can log back in
when you again want to receive calls.
Calls into your Department Group can route in two different ways:
Priority Routing and Circular Routing. With Priority Routing, incoming calls route to your group's highest priority extensions first.
Department Calling
35
Priority Routing
Call
Call
Call
920 - 200A
Page 42

With Circular Routing, each call rings a new extension.
1. + Department Group pilot number.
1. + + .
OR
(Department Group log out).
The key lights while you are logged out.
1. + + .
OR
1. (Department Group log out).
The key goes out when you log back in.
To return to your
Department Group:
To log out of your
Department Group:
To call a Department
Group:
Department Calling
36
Circular Routing
Call 1
Call 2
Call 3
92700 - 08
Call 4
Page 43

If you place an Intercom call to a busy Department Group member,
Department Step Calling allows you to quickly call another member in
the same group. You don't have to hang up and place another Intercom
call. You can also use Department Step Calling to cycle through the
members of a Department Group.
1. Place call to busy Department Group
member.
OR
Place call to Department Group pilot
number.
2. or (Step Call).
3. Repeat step 2 to call other Department
Group members.
To make a Step Call:
Department Step Calling
37
Page 44

Use Dial Number Preview to preview a number in your telephone's
display before you dial it out. This helps you avoid dialing errors. For
example, if you review the previewed number and find an error, you
can cancel the number and re-enter it correctly. Dial Number Preview
is available for both outside and Intercom calls.
1. Do not lift handset or press .
2. + Number you want to preview.
3. to dial out the displayed number. If
the displayed number is an outside num-
ber, it must contain a line access code.
OR
to cancel the number without dial-
ing it out.
OR
to dial out the displayed outside
number on the selected line.
If your previewed outside number has
a trunk access code (e.g., 9), you can
press instead.
The system will not
automatically
strip out a trunk access code when you
press a line key.
To use Dial Number
Preview to place a
call:
Dial Number Preview
38
Page 45

When you enable Dial Pad Confirmation Tone for your extension, you
hear a beep each time you press a dial pad key. This beep reminds you
that you have pressed a key. The confirmation tone is particularly
helpful for Intercom calls and calls on Dial Pulse lines. For these types
of calls, you don't hear tones echoed back to your handset or speaker
to confirm your dialing.
1. + .
You hear confirmation beeps.
2. to hang up.
To enable or disable
Dial Pad Confirmation
Tone:
Dial Pad Confirmation Tone
39
Page 46
Use Directed Call Pickup when you need to answer a call ringing
another extension without leaving your phone. This lets you easily
cover a co-worker's calls when they have to be away from their desk.
1. or .
2. .
3. Dial your co-worker's extension number.
To intercept calls ring-
ing a co-worker's
phone:
Directed Call Pickup
40
Page 47

If you have a Display or Super Display phone, Directory Dialing
allows you to select a co-worker or outside number from a list of
names, rather than dialing the phone number. There are four types of
Directory Dialing:
C - Company (Common) Abbreviated Dialing
D - Department (Group) Abbreviated Dialing
P - Personal Abbreviated Dialing (One-Touch Keys)
X - Co-worker’s extension
Directory Dialing follows any feature restrictions that your system may
have enabled. For example, if your extension cannot normally use
Common Abbreviated Dialing, Directory Dialing can’t access it either.
1. Do not press or .
2. or (Directory Dialing).
If you wait too long between your
selections, Directory Dialing automatically cancels.
3. Dial the type of Directory Dialing from
the table below:
If you dial 7 from a Super Display
keyset, your One-Touch Key names will
display. Pressing or
scrolls through the names in key number
order (not alphabetically).
4. Dial the first letter/number for the
name/number you want to call.
2 (C) = Company (Common
Abbreviated Dialing)
3 (D) = Department (Group)
Abbreviated Dialing
7 (P) = Personal Abbreviated
Dialing (One-Touch Keys)
9 (X) = Extensions
To use Directory
Dialing from a display
keyset:
Directory Dialing
41
Page 48
For example, dial 2 if the name
begins with A, B, C or 2.
If the name begins with Q or Z, dial 0.
5. Look at your phone’s display and dial the
digit for the letter/number selected in
step 4 above.
For example, if you dialed 2 in step
four, you’ll see: 1=A 2=B 3=C 4=2.
You’ll want to dial 1 to select the letter
A, 2 to select B and so on.
The first name/number that begins
with your selection displays.
If you see, “UNLISTED NAME,” there
is no name stored for your selection.
If you have a Super Display keyset,
the first 10 numbers that match your
selection will display. To see the next 10
matches, press [SCROLL]. To see the
previous 10 matches, press [->].
6. Press or to scroll
through all the names/numbers that begin
with that letter/number.
OR
or press , or to
place the selected call.
1. Press .
1. Press (Directory Dialing).
To review your
Directory Dialing
entries while on a call:
To cancel Directory
Dialing:
To use Directory
Dialing from a display
keyset (Cont’d):
Directory Dialing
42
Page 49

Do Not Disturb (DND) blocks incoming calls, Call Forwards and
Paging announcements to your extension. DND permits you to work
undisturbed at your desk without interruptions from your phone. When
you activate DND, incoming calls still flash your line keys. While in
DND, you may use your phone in the normal manner for placing and
processing calls.
There are four Do Not Disturb options:
1. Do not lift the handset.
2.
OR
+ .
If you wait more than 10 seconds
before going to step 3, your system
automatically enables option 3. If you
already have DND enabled, waiting
more than 10 seconds cancels it.
3. Dial the DND option code (0-4).
To activate or deacti-
vate Do Not Disturb:
Do Not Disturb Options
1 Blocks your outside calls
2 Blocks Paging, Intercom calls, Call
Forwards and transferred outside calls
3 Blocks all calls
4 Blocks Call Forwards
0 Cancels Do Not Disturb
Do Not Disturb
43
Page 50
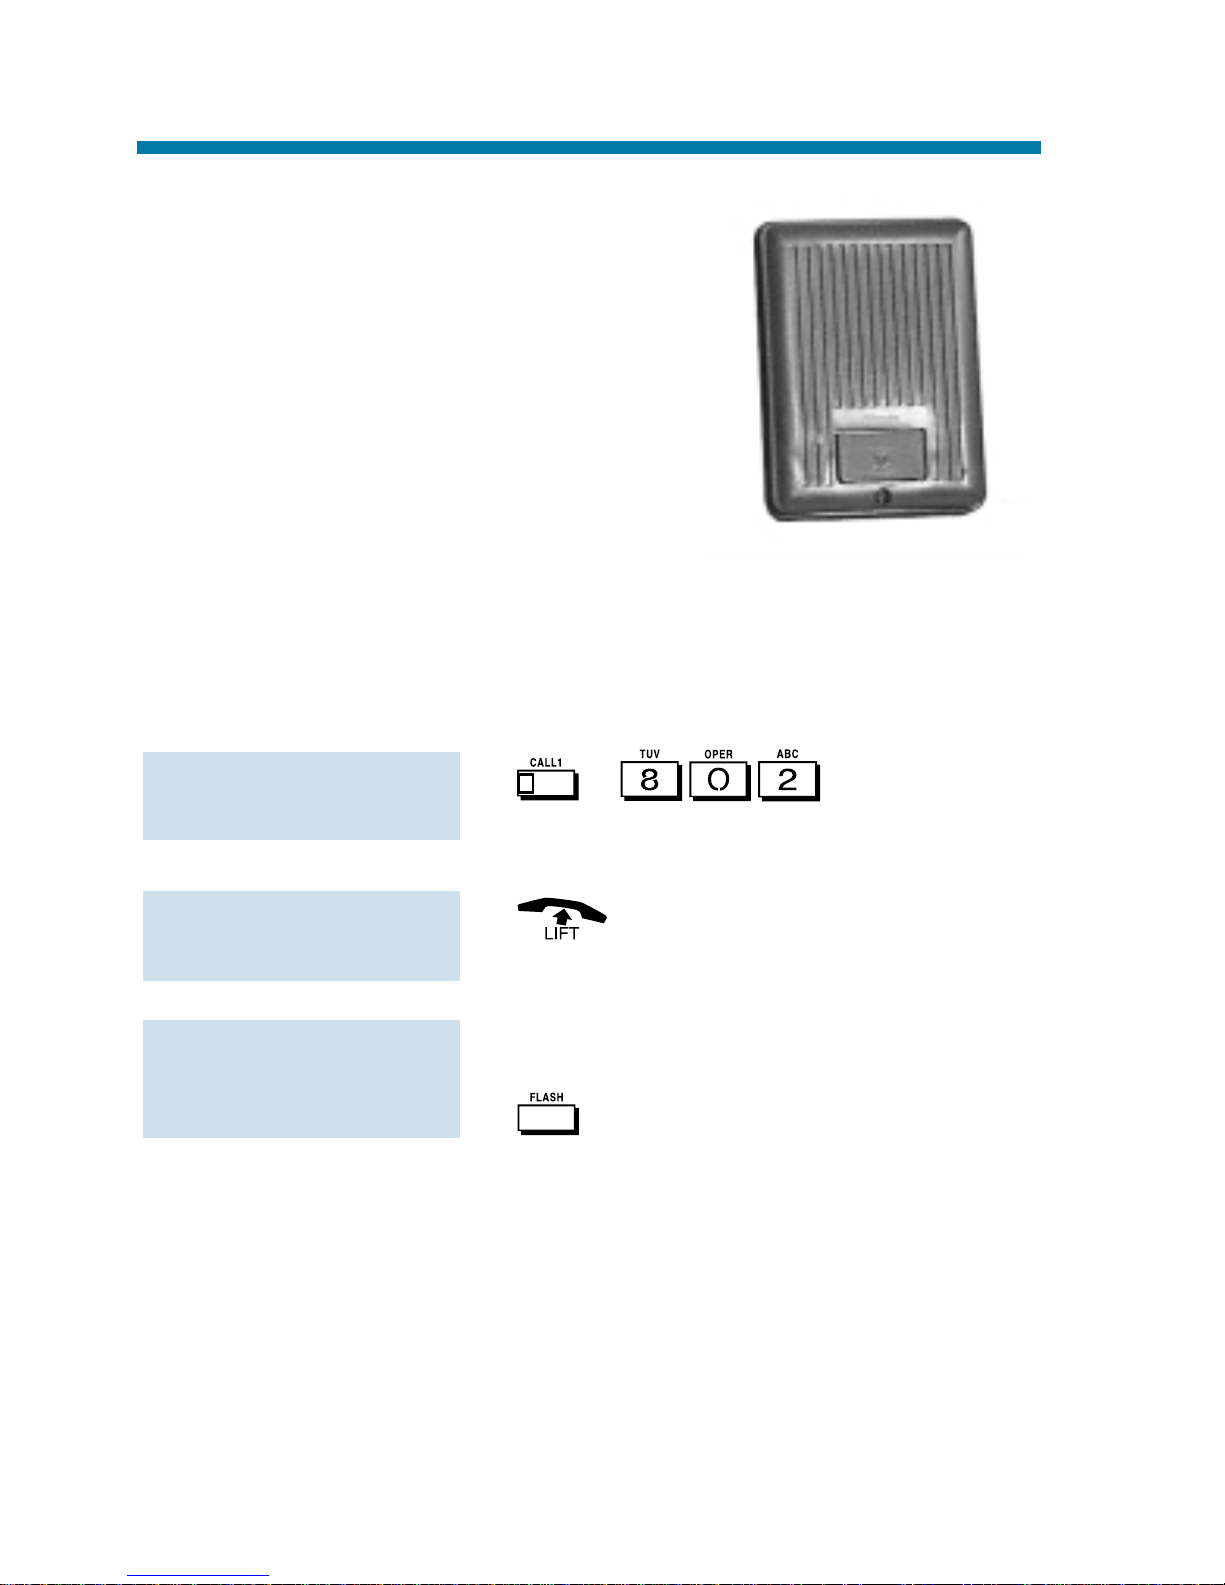
Your system may have Door Boxes. A Door
Box is a self-contained Intercom unit typically used to monitor entrance doors. A visitor at the door can press the Door Box call
button (like a door bell). The Door Box
then sends chimes to certain extensions. If
you receive Door Box chimes, you can just
lift the handset to answer them. You can
then talk to the visitor at the door.
Door Boxes come in handy at delivery
entrances. Your company doesn't have to have someone at the door to
monitor the entrance. You can just answer the Door Box instead. If the
door has an electric strike, you can even use your telephone to release
the door.
1. + + Door Box
number (1-8).
1.
1. While talking to the Door Box, press
.
To activate the Door
Box strike:
To answer a Door Box
chime:
To call a Door Box:
Door Box
44
Page 51

If you do a lot of call processing (like
an operator or dispatcher), you may
have either a 110-Button or 24-Button
Direct Station Selection (DSS)
Console. The DSS Console gives you
a Busy Lamp Field (BLF) and onebutton access to extensions, trunks
and certain system features. Use the
DSS Console to help you:
●
Call Extensions and Door Boxes
●
Place, answer and Transfer outside calls
●
Make Internal or External Pages
●
Switch the Night Service mode
●
Activate DSS Console Alternate Answer (i.e., redirect your calls to
another DSS Console)
Your DSS Console may also have keys stored with dialing codes or
Programmable Function Key operations. This gives your DSS
Console many of the features available on One-Touch and function
keys. Check with your Communications Manager to see if your console has these functions.
1. With the 110-button console, press
EXT.1 or EXT.2 to select the range.
On 28i/124i, EXT.2 selects outside lines.
2. Press DSS Console key.
If your call voice-announces, you can
make it ring by dialing 1. If you don't
have Handsfree, lift the handset to speak.
Extension BLF
If DSS key is . . .Extension is . . .
On Busy on a call
Off Idle
Flashing fast In DND
To call an extension
from your DSS
Console:
DSS Console
45
Page 52
1. Press DSS Console key assigned to outside line.
On 28i/124i, pressing EXT. 2 selects
the DSS keys for outside lines.
2. Dial outside telephone number.
If you don't have Handsfree, you
must lift the handset to speak.
1. Press flashing DSS Console key
assigned to outside line.
1. Press DOOR + DSS Console key for
Door Box you want to call (1-8).
If you don't have Handsfree, you
must lift the handset to talk to the Door
Box.
Door Box BLF
If DSS key is . . .Door Box is . . .
On Busy or ringing in
Off Idle
To call a Door Box
from your DSS
Console:
To answer an outside
call from your DSS
Console:
Outside Line BLF
If DSS key is . . .Outside line is . . .
On Busy on a call
Off Idle
Flashing slowly Ringing
To place an outside
call from your DSS
Console:
DSS Console
46
Page 53

1. Place or answer call.
If you are on an Intercom call, press
before going to the next step.
2. Press DSS Console key for extension
that will receive Transfer.
You cannot Transfer to an extension
that is busy or in DND.
3. (Optional) Announce call.
If the called party doesn't want the
call, press flashing to retrieve it.
4. to hang up.
1. Press PAGE (for External Paging) or
GROUP (for Internal Paging).
2. Press DSS Console Paging key.
DSS keys 1-8 are for External Paging
zones 1-8. DSS keys 1-64 are for
Internal Paging zones 1-64. (If the zone
is busy, try again later.)
If you don't have Handsfree, lift the
handset to make your announcement.
Paging BLF
If DSS key is . . . Zone is . . .
On Busy
Off Idle
To make a Page using
your DSS Console:
To Transfer a call
using your DSS
Console:
DSS Console
47
Page 54

1. Press Night Service key (NIGHT, DAY,
BREAK or NITE 2).
1. Press ALT.
You hear a short confirmation tone.
If you hear a long tone, you cannot
enable Alternate Answer. Another user
has already enabled your console as
their Alternate Answer destination.
Alternate Answer BLF
When the ALT Alternate Answer
key is . . . is . . .
On Enabled
Off Disabled
To activate DSS
Console Alternate
Answer:
Night Service BLF
If this key is lit . . . System in in the . . .
NIGHT Night Mode
DAY Day Mode
BREAK Rest Mode
NITE2 Midnight Mode
Switching the Night
Service mode from
your DSS Console:
DSS Console
48
Page 55

Flash allows you to access certain features of the telephone company
or PBX to which your phone system is connected. This lets you take
full advantage of whatever features the connected telephone company
or PBX offers. Flash accesses these features by momentarily interrupting the loop current on your outside line. This is much like briefly
pressing and then releasing the hookswitch on your telephone at home.
1.
To flash the outside
line you are on:
Flash
49
Page 56
Forced Trunk Disconnect enables you to disconnect (release) another
extension's active outside call if you need to use their line. You can
then place a call on the released line.
1. Press for the busy trunk.
OR
Dial trunk access code (e.g.,
+ trunk number).
2. .
You hear confirmation beeps as the
system disconnects the line. You can
now place a call on the free line.
To disconnect a busy
trunk:
C A U T I O N
Forced Trunk Disconnect abruptly terminates the active
call on the line. You should use this feature only in an
emergency and when no other lines are available.
Forced Trunk Disconnect
50
Page 57

☞
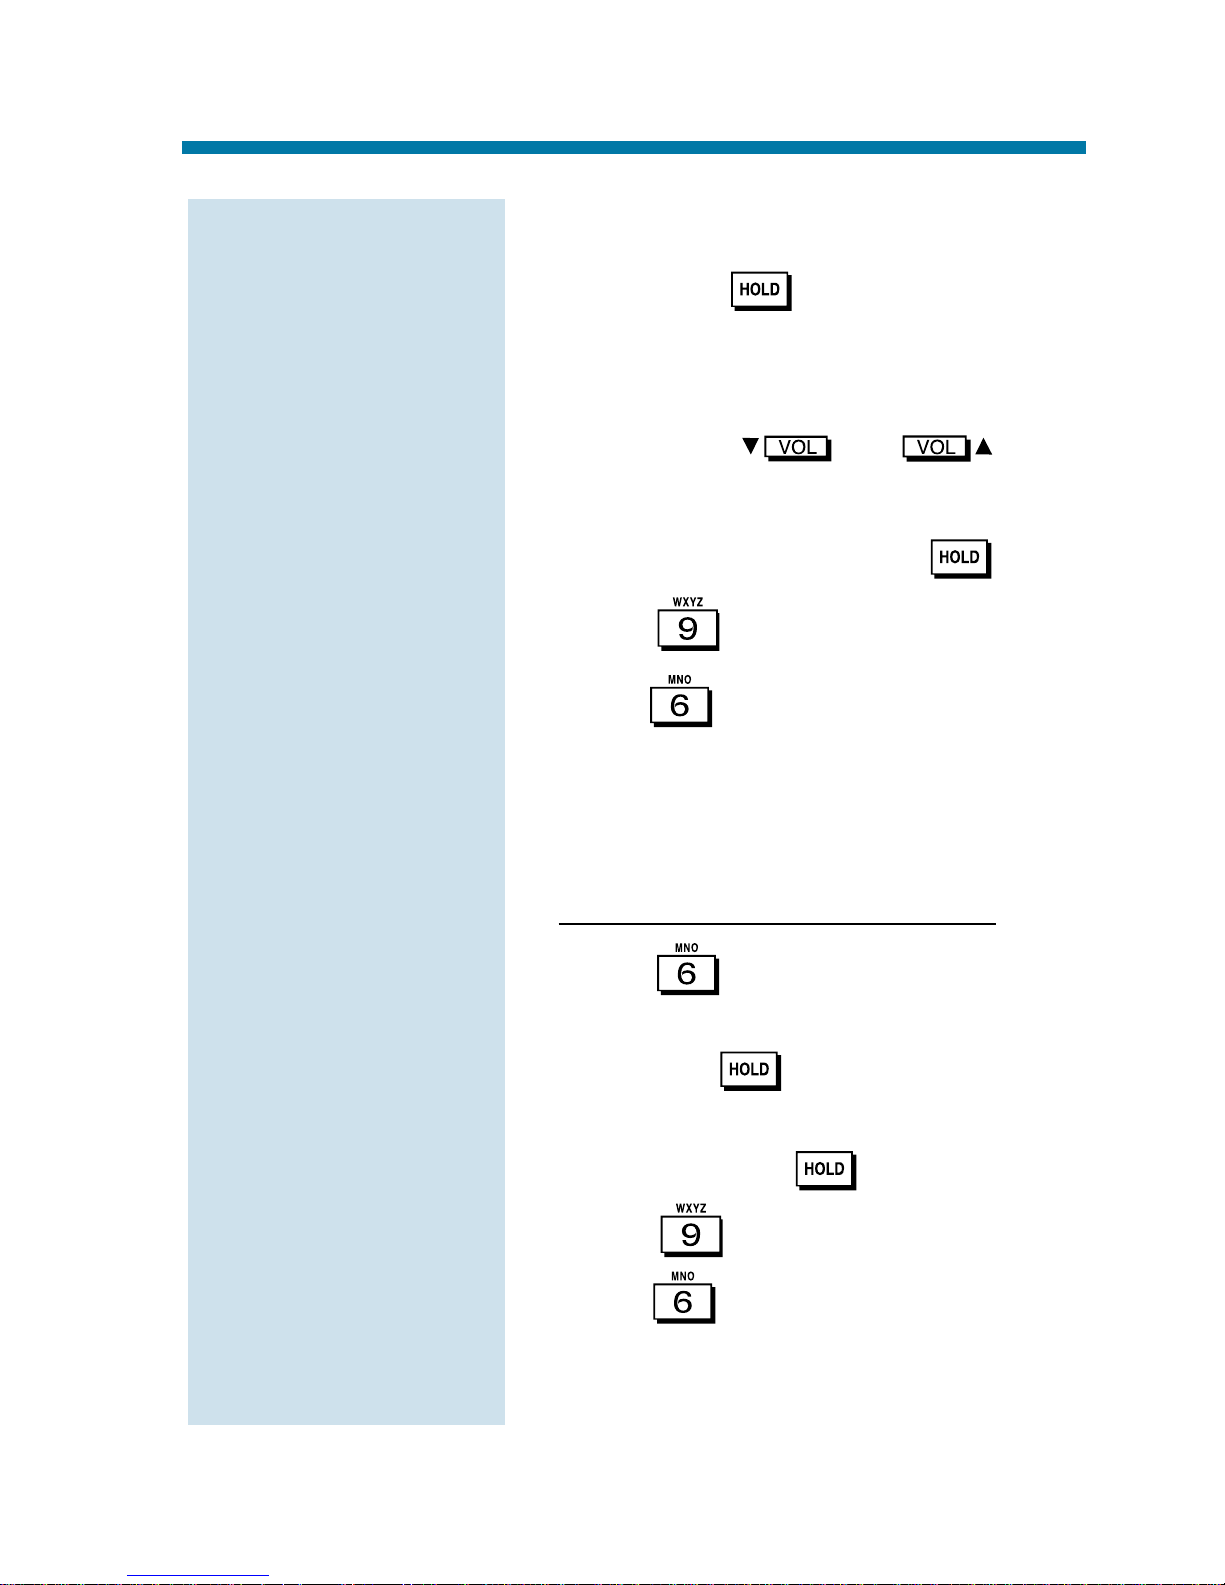
This feature requires a Voice Announce Unit (VAU).
A General Message is a prerecorded Voice Announce Unit (VAU)
message to which you and your co-worker's can listen. This message
typically contains important company information that all employees
should hear.
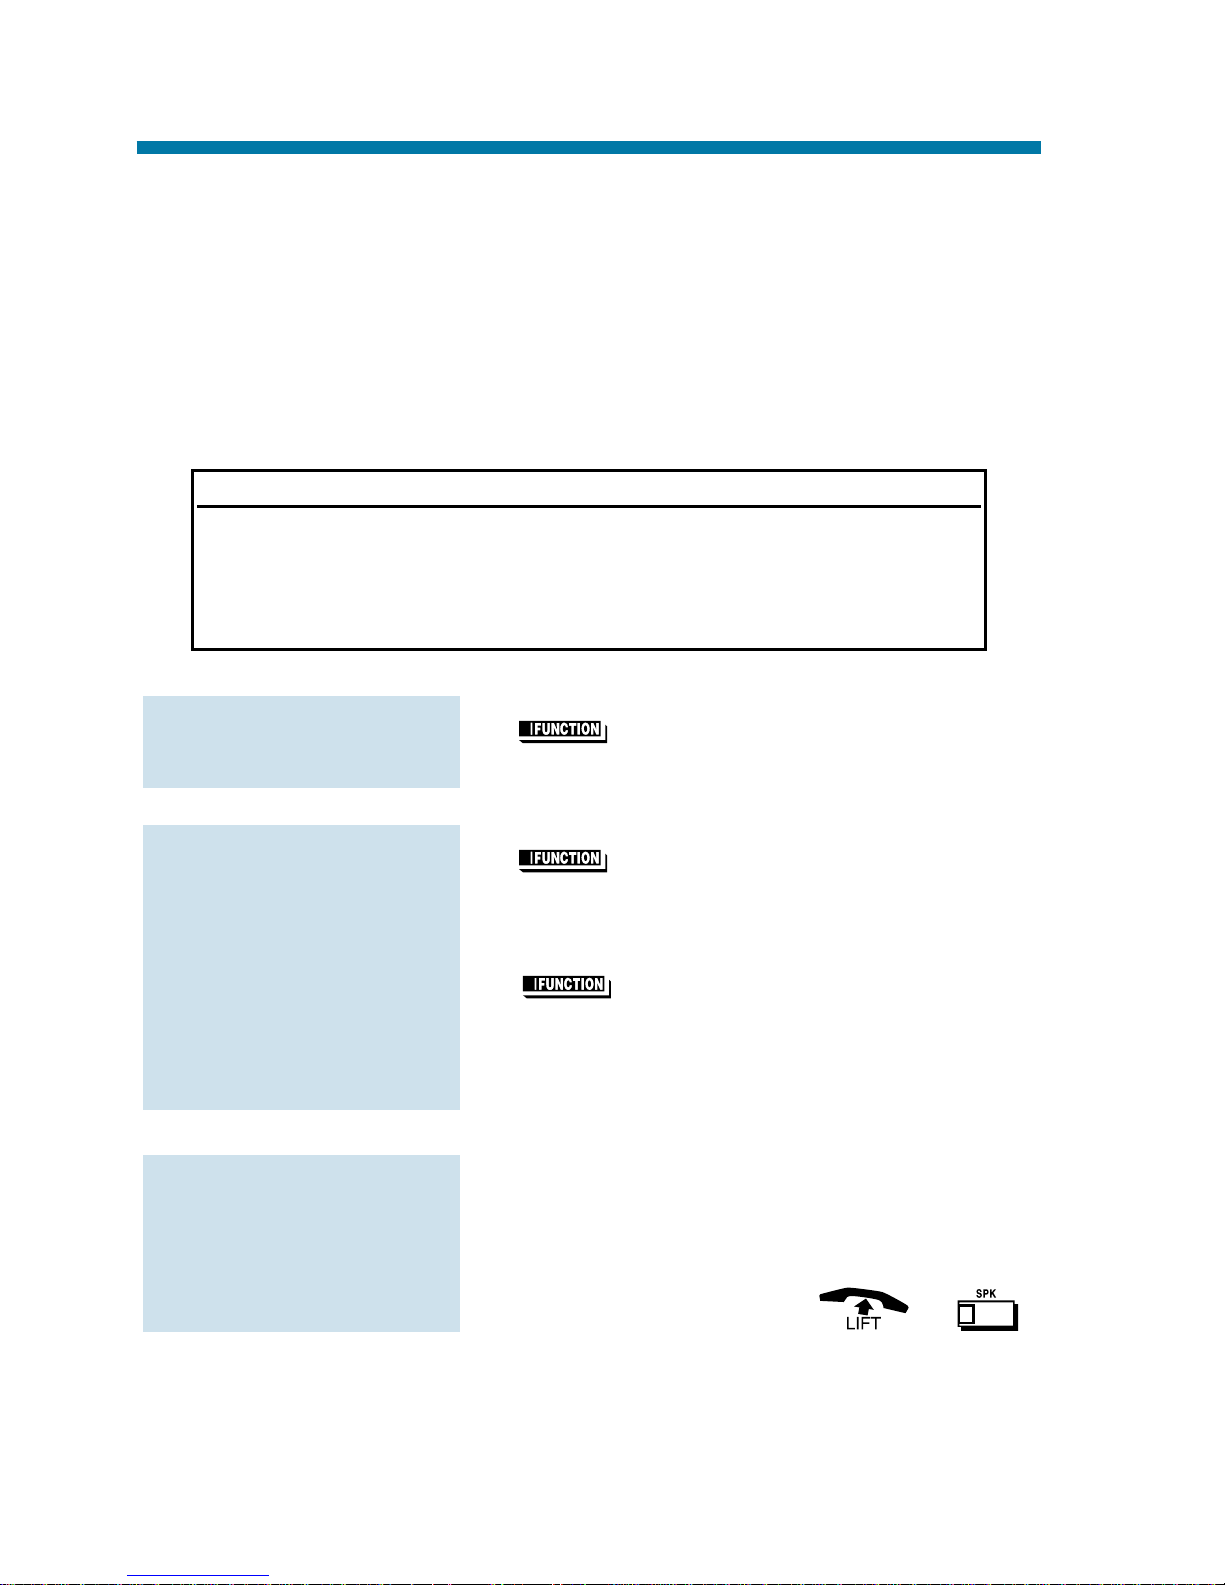
1. Do not lift the handset or press .
2.
1. + .
2. To record, dial .
OR
To listen, dial .
OR
To erase, dial .
If you dial 5 or 7, you can dial # to
hear the message again.
If you dial 3, you can press HOLD to
cancel before going to the next step.
3. to hang up.
MW flashes on each phone until the
user listens to the message.
To record, listen to or
erase your General
Message:
To listen to the
General Message:
General Message
51
Page 58
If you frequently work together with the same people, your extensions
may be in a Call Pickup Group. This allows you and your co-workers
to use Group Call Pickup to easily answer each other's ringing calls.
Group Call Pickup also helps if you frequently cover for co-workers
in another Pickup Group. When a call rings one of their phones, you
can intercept it even if you don't know their extension numbers.
With Group Call Pickup, you can intercept the following types of calls:
●
A call ringing an extension in your own Pickup Group.
●
A call ringing an extension in another Pickup Group when you
know the group number.
●
A call ringing an extension in another Pickup Group when you
don't know the group number.
1. + (Pickup).
OR
+ .
When you don't know the Pickup Group
Number
1. + (Pickup).
OR
+ .
When you know the Pickup Group number
1. + (Pickup).
OR
+ + Pickup
Group number (1-9 or 01-64).
To answer a call
ringing a phone in
another Pickup
Group:
To answer a call ring-
ing another phone in
your Pickup Group:
Group Call Pickup
52
Page 59
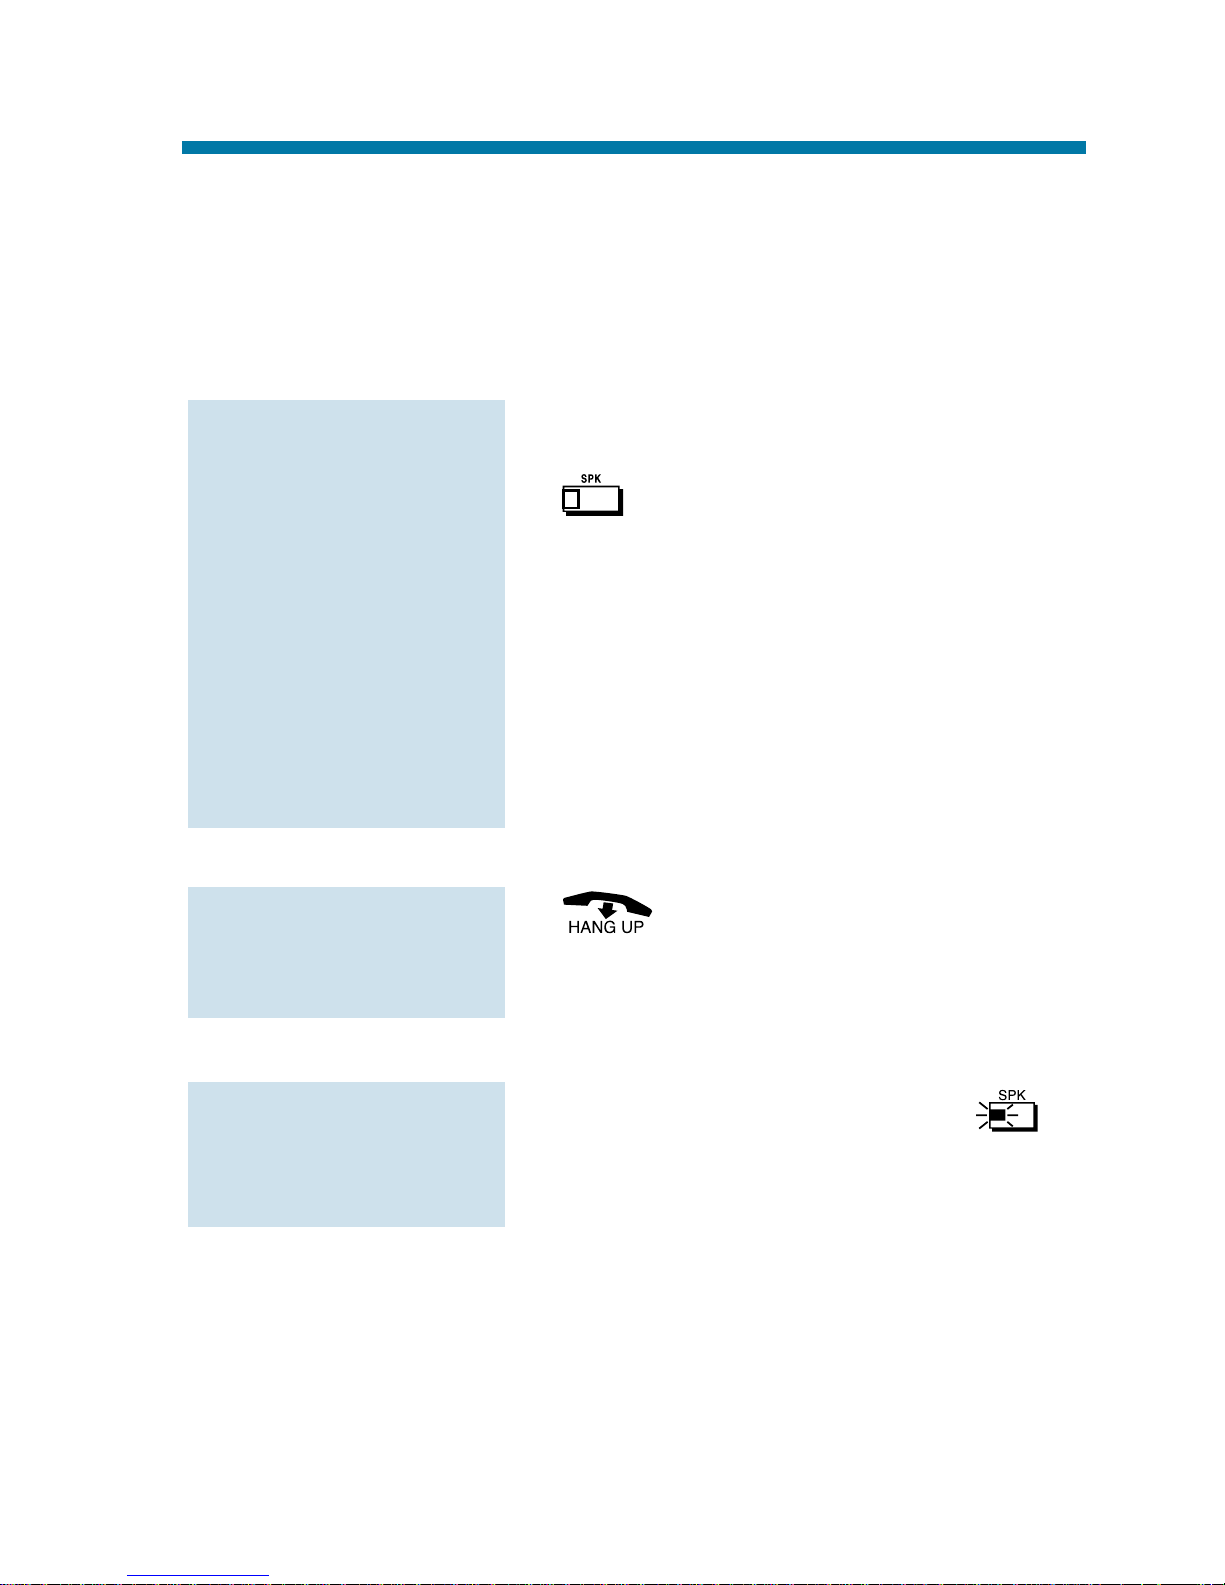
Use Group Listen when you want others in your office to listen in on
your call. While you talk on the handset, your caller's voice broadcasts
over your telephone's speaker. Group Listen automatically turns your
Handsfree microphone off so your caller cannot hear the conversation
in your office.
1. Place or answer call using the handset.
2. twice (but do not hang up).
SPK flashes slowly.
You can talk to the caller through
your handset. Your co-workers hear
your caller's voice over your phone's
speaker.
When you press SPK once, you turn
your Speakerphone on and your handset
off. The second press turns on Group
Listen.
1.
You must have a speakerphone for
Handsfree operation.
1. Do not hang up + Press flashing .
You can talk to your caller over your
handset. Your co-workers can no longer
hear your caller's voice.
To cancel Group
Listen (without hang-
ing up your call):
To talk Handsfree
after initiating Group
Listen:
To initiate Group
Listen:
Group Listen
53
Page 60

When it's inconvenient to hold the handset, you can use the speaker
and microphone in your telephone and talk Handsfree instead.
Handsfree is great when you don't have a free hand for the phone.
(For example, you may want to enter data at a computer terminal
while talking to a customer on the phone.)
There are three types of Handsfree operation:
1. or or .
2. Place call.
3. Speak toward phone when called party
answers.
1. and hang up the handset.
2. to hang up when you are done.
1.
To change a
Handsfree call into a
handset call:
To change a handset
call into a Handsfree
call:
To talk Handsfree:
Handsfree You can place and answer calls by pressing
SPK instead of using the handset. You must
have a Speakerphone to have Handsfree.
Check with your Communications Manager.
Automatic You can press a line or line appearance key
Handsfree without first lifting the handset or pressing
SPK. Your Communications Manager may
have enabled this option for you.
Monitor You can place a call without lifting the handset,
but you must lift the handset to speak. You
always have this option - regardless of the type
of phone you have or how your system is set up.
Handsfree and Monitor
54
Page 61

To get even more freedom and convenience than with Handsfree, purchase a Headset and connect it to your telephone. In addition to having your hands free for other work, you'll have privacy on a call that is
not available with Handsfree.
1. Unplug the telephone handset and plug
in the headset.
2. Press (Headset).
OR
+ .
You hear a confirmation beep. The
headset key lights when you
enable the headset mode.
You can still receive and respond to
voice-announced Intercom calls while in
the headset mode.
1. to make an outside call.
OR
to get Intercom dial tone.
OR
If on a call, to hang up.
1. Unplug the headset and plug in the handset.
2. (Headset).
OR
+ .
To disable the head-
set mode:
While you're in the
headset mode:
To enable the
headset mode:
Headset Operation
55
Page 62
Don't place your handset down on the desk when you need your caller
to wait, use Hold instead. Hold places your call in a temporary waiting
state until you can get back to it. While the call waits, you can process
calls or use other features. And don't worry if you forget about the call
and leave it on Hold too long - it will recall back to you.
Your telephone system provides four types of Hold (see the chart below).
Your Communications Manager can tell you which types you can use.
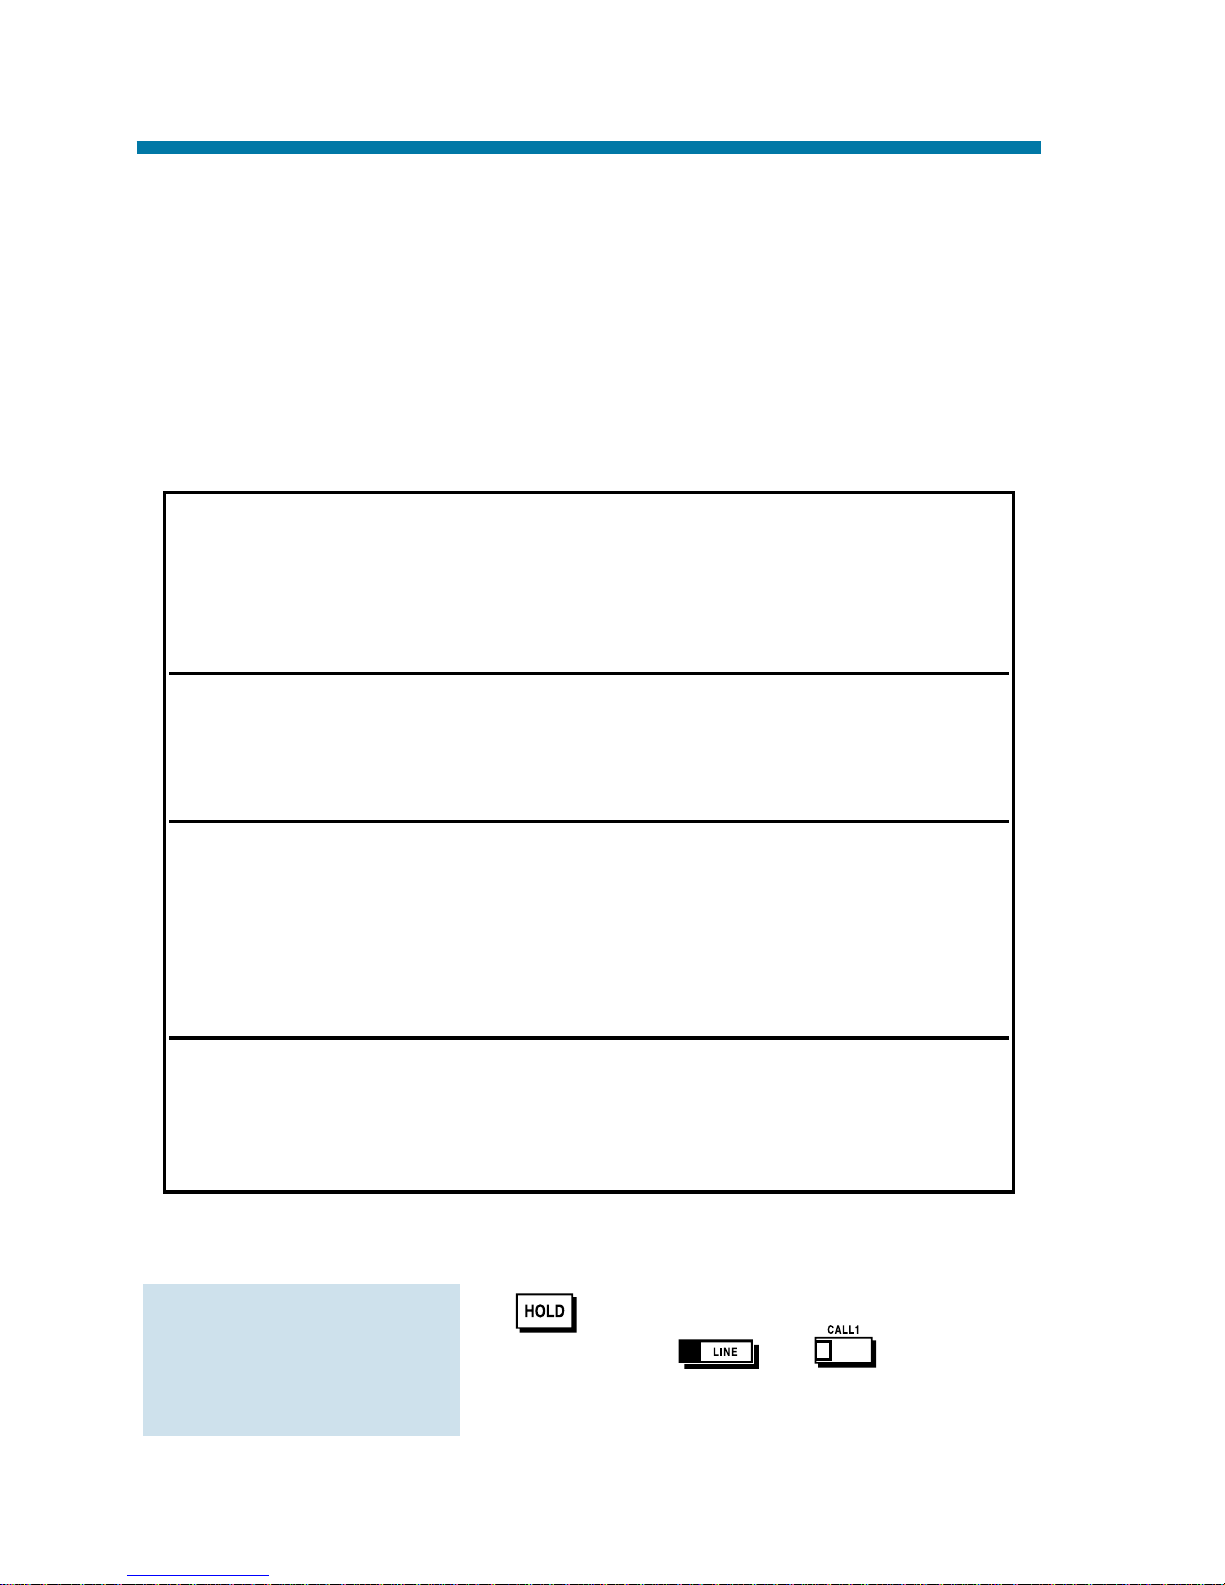
System Hold
1.
The or key flashes
slowly while on Hold; flashes fast when
recalling.
To place an outside
call on System Hold:
System Hold For your normal calls . . .
When you place an outside call on System Hold,
it flashes your line key and the line keys on your
co-worker's phones as well. Either you or another co-worker can pick up the call on Hold.
Exclusive For high priority calls . . .
Hold After you place an outside call on Exclusive Hold,
it flashes your line key but looks busy to your coworkers. Only you can pick up the call from Hold.
Group Hold Put calls on Hold for your Department Group . . .
If you are a member of a Department Calling
Group, you can use Group Hold. When you
place an outside call on Group Hold, only you
and the members of your Department Calling
Group can pick it up.
Intercom Hold While talking to a co-worker . . .
Intercom calls can also go on Hold. However,
the Intercom call on Hold stays on your phone.
Another extension user cannot pick it up.
Hold
56
Page 63
1. Pressing flashing .
Exclusive Hold
1. (Exclusive Hold).
The key flashes fast while on
Hold; flashes slowly when recalling.
1. Pressing flashing .
Group Hold
1. + + to hang
up.
1. + .
Intercom Hold
1. + to hang up.
1. + .
To pick up an
Intercom call from
Hold:
To place an Intercom
call on Hold:
To pick up a call on
Group Hold:
To place a call on
Hold so anyone in
your group can pick it
up:
To pick up an outside
call on Exclusive Hold:
To place an outside
call on Exclusive Hold:
To pick up an outside
call on System Hold:
Hold
57
Page 64
When you need one-button calling and Transfer to a co-worker, use
Hotline. You'll find Hotline to be a great convenience if there is someone in your company with whom you work closely (such as your business partner). You and your partner can call or Transfer calls to each
other just by pressing a single key.
Your Hotline key shows the status of your Partner's extension:
1. (Hotline).
Optionally lift the handset.
1. (Hotline) + Announce call and
hang up.
OR
(Hotline) + Hang up to have
your call wait at your Hotline partner
unannounced.
If unanswered, the call recalls to you.
1. If you hear two beeps, speak toward the
phone.
OR
If your telephone rings, or .
To answer a call from
your Hotline partner:
To Transfer your out-
side call to your
Hotline partner:
To place a call to your
Hotline partner:
When the key is . . . Your partner's phone is . . .
Off Idle
On Busy or ringing
Fast Flash In Do Not Disturb
Hotline
58
Page 65

Call a co-worker over the Intercom. Normally, you are not restricted
from placing an Intercom call to any other extension. However, if your
telephone system is shared by several businesses, you may not be able
to call the other business's extensions. Check with your
Communications Manager.
1. + Extension number.
You can optionally dial 0 for your
operator or *8 for your Voice Mailbox.
If the extension you call is busy or
doesn't answer, you can (without hanging up):
- Dial another extension.
- Dial 8 to leave a message in your
co-worker's mailbox.
For one-touch calling, see Hotline
(page 58), Call Coverage (page 71) or
One-Touch Keys (page 78) instead.
1. If you hear two beeps, speak toward the
phone.
Your telephone picks up your voice.
OR
If your telephone rings, .
Intercom calls you place may either ring or voice-announce at your
co-worker's extension. What happens depends on how your co-worker's extension is set up. You can, however, dial a code to change from
one method to the other.
The Intercom calls you receive can also either ring or voice-announce.
You decide the best way to answer your Intercom calls and then
enable the option you want.
To answer an
Intercom call:
To place an Intercom
call:
Intercom
59
Page 66
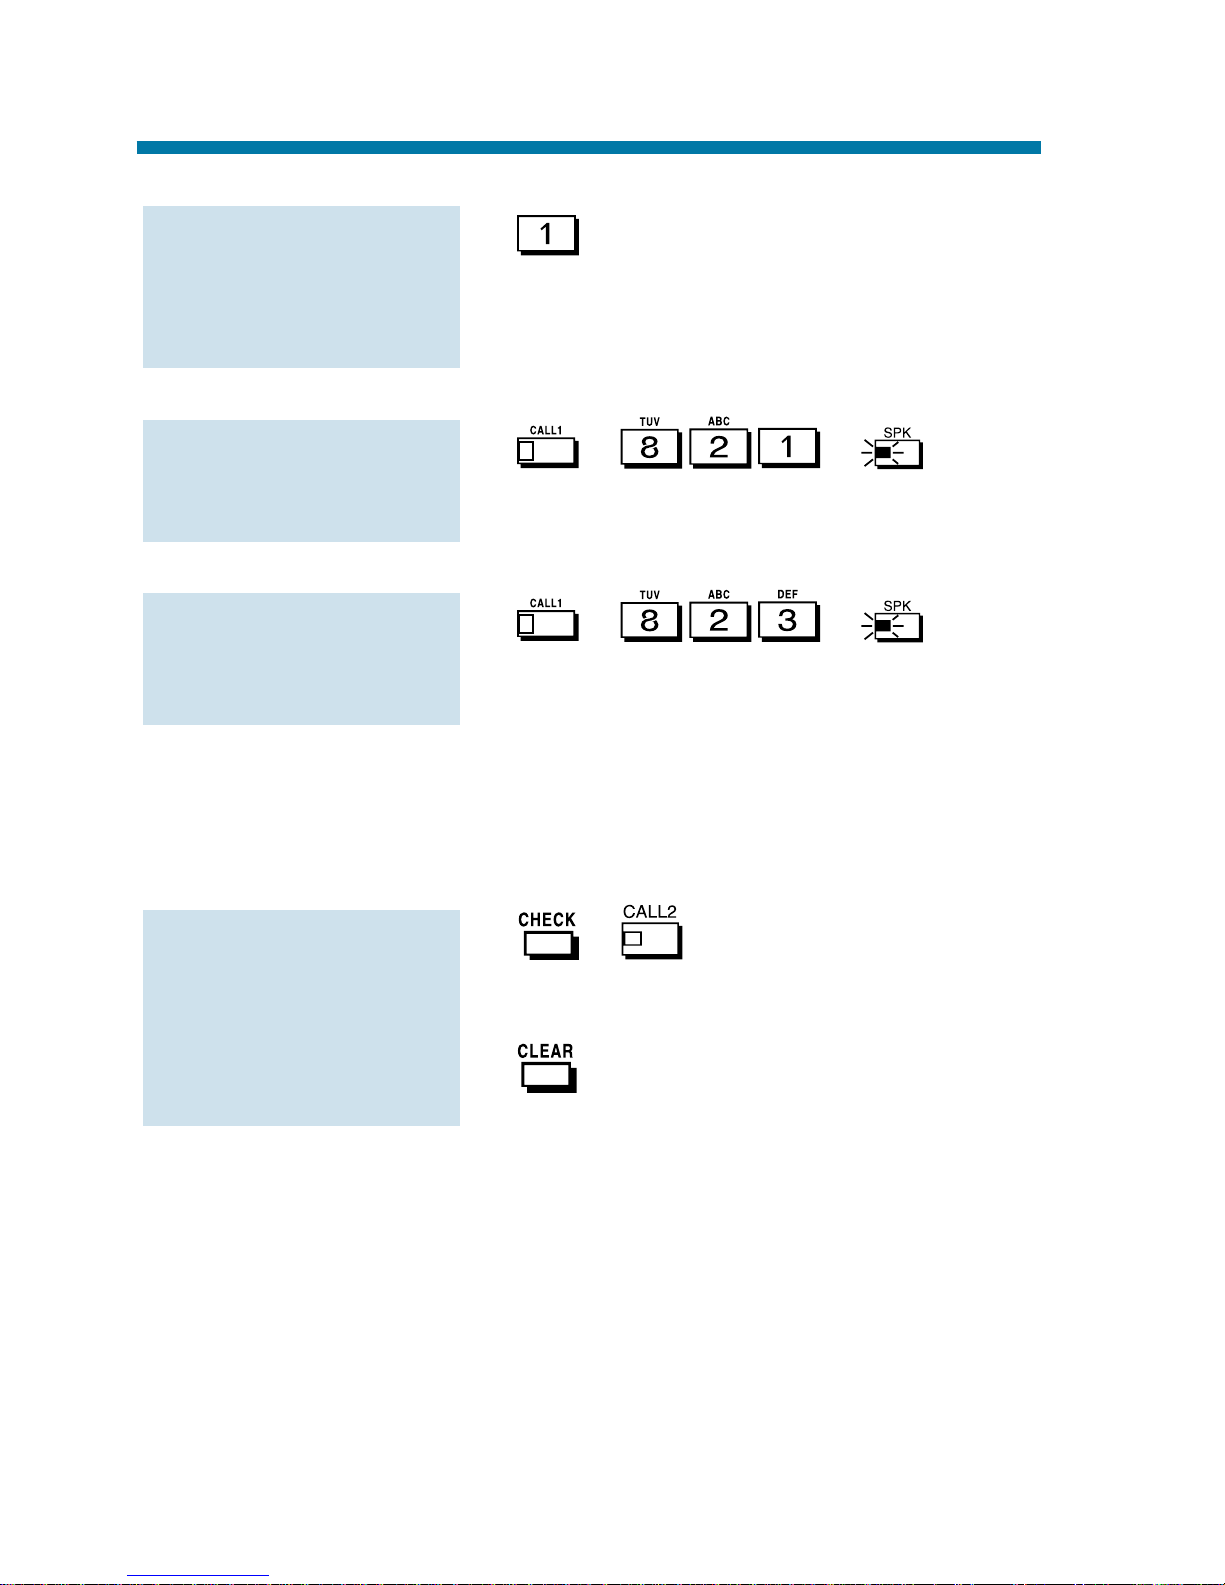
1.
If the call is ringing, this makes it
voice-announce. If the call voiceannounces, this makes it ring.
1. + + to hang
up.
1. + + to hang
up.
Intercom Abandoned Call Display
You can display a list of the Intercom calls placed to you while you
were away from your phone.
1. + .
Press CALL2 repeatedly until no
more calls display.
2. to return to the normal Time and
Date display.
To display the list of
Intercom calls you did
not answer:
To make your incom-
ing Intercom calls
ring:
To make your incom-
ing Intercom calls
voice-announce:
To change the mode
of an Intercom call
you placed:
Intercom
60
Page 67
Instead of dialing a busy or unanswered outside call again, quickly
redial it with Last Number Redial. Last Number Redial stores the last
outside call you placed in memory so you can easily recall it. The
stored number can be up to 24 digits long, using 0-9, # or *.
You can also quickly redial your last call using Repeat Redial (page
103) and Save Number Dialed (page 107).
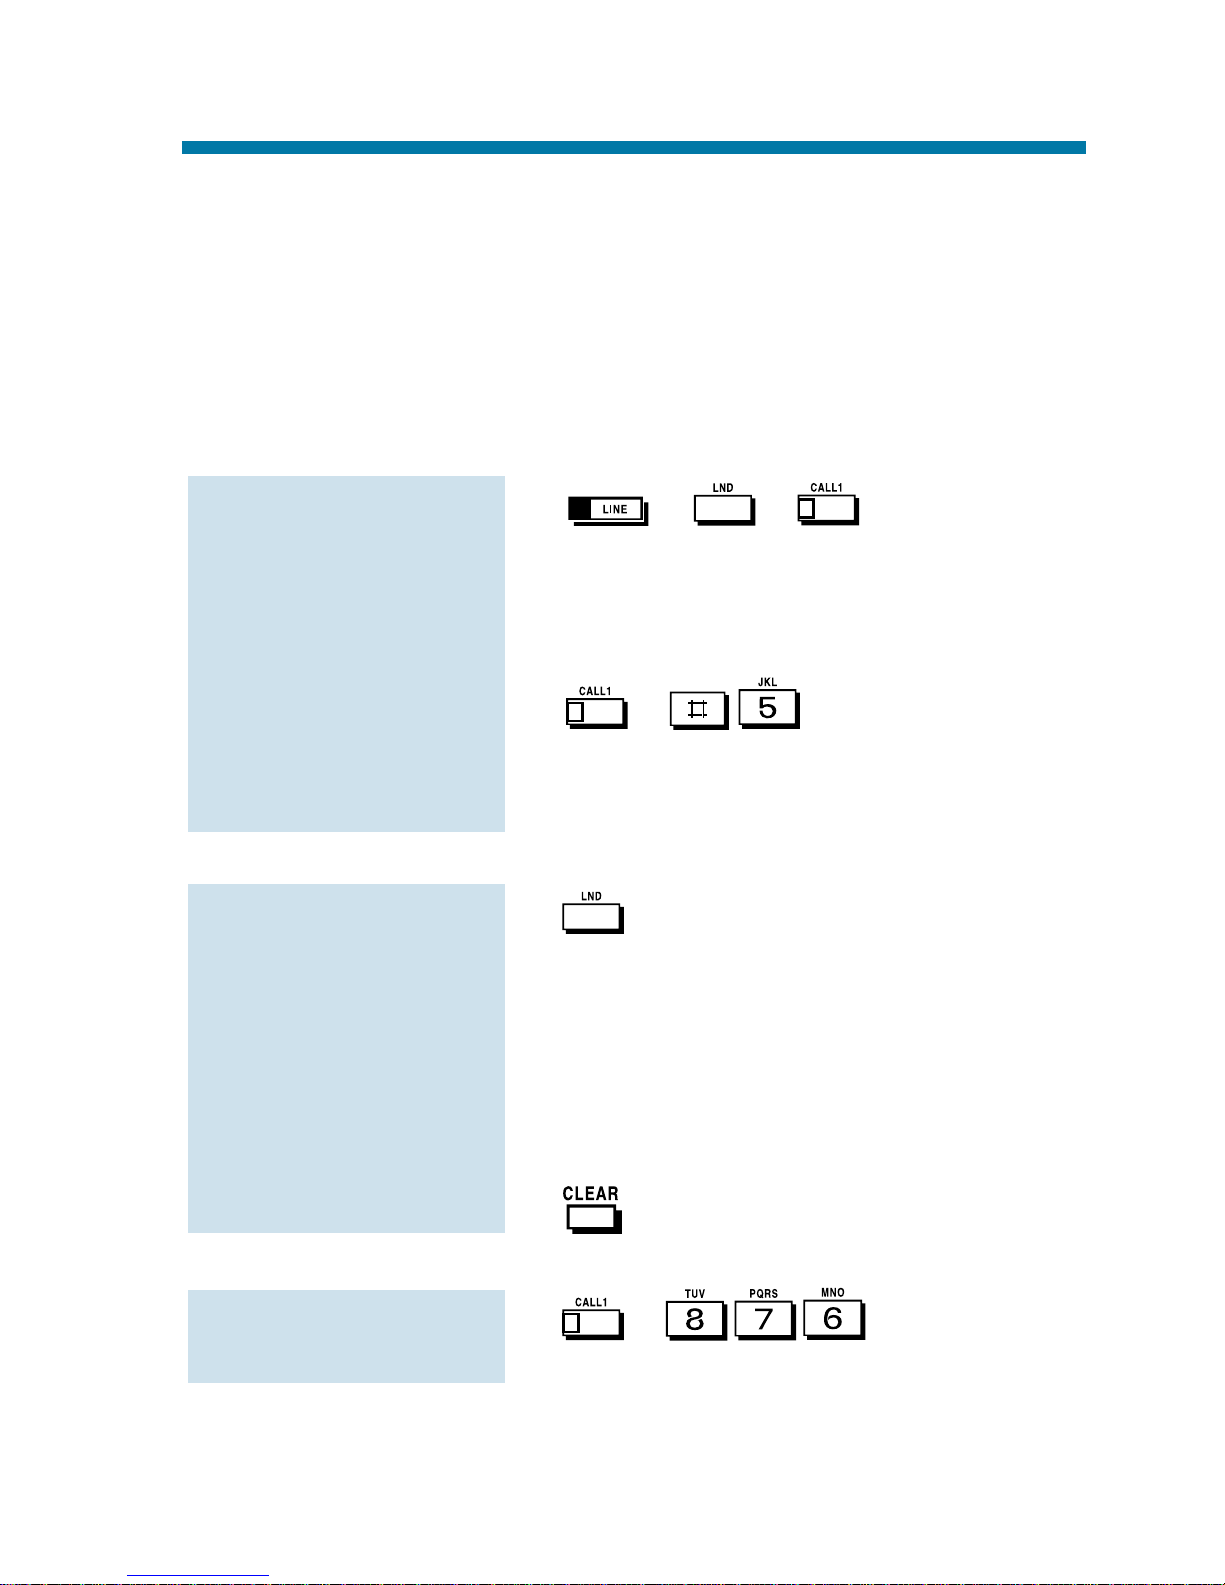
1. + + .
If you don't press a line key, the system automatically selects a trunk from
the same group as your original call.
OR
+ .
The system automatically selects a
trunk from the same group as your
original call.
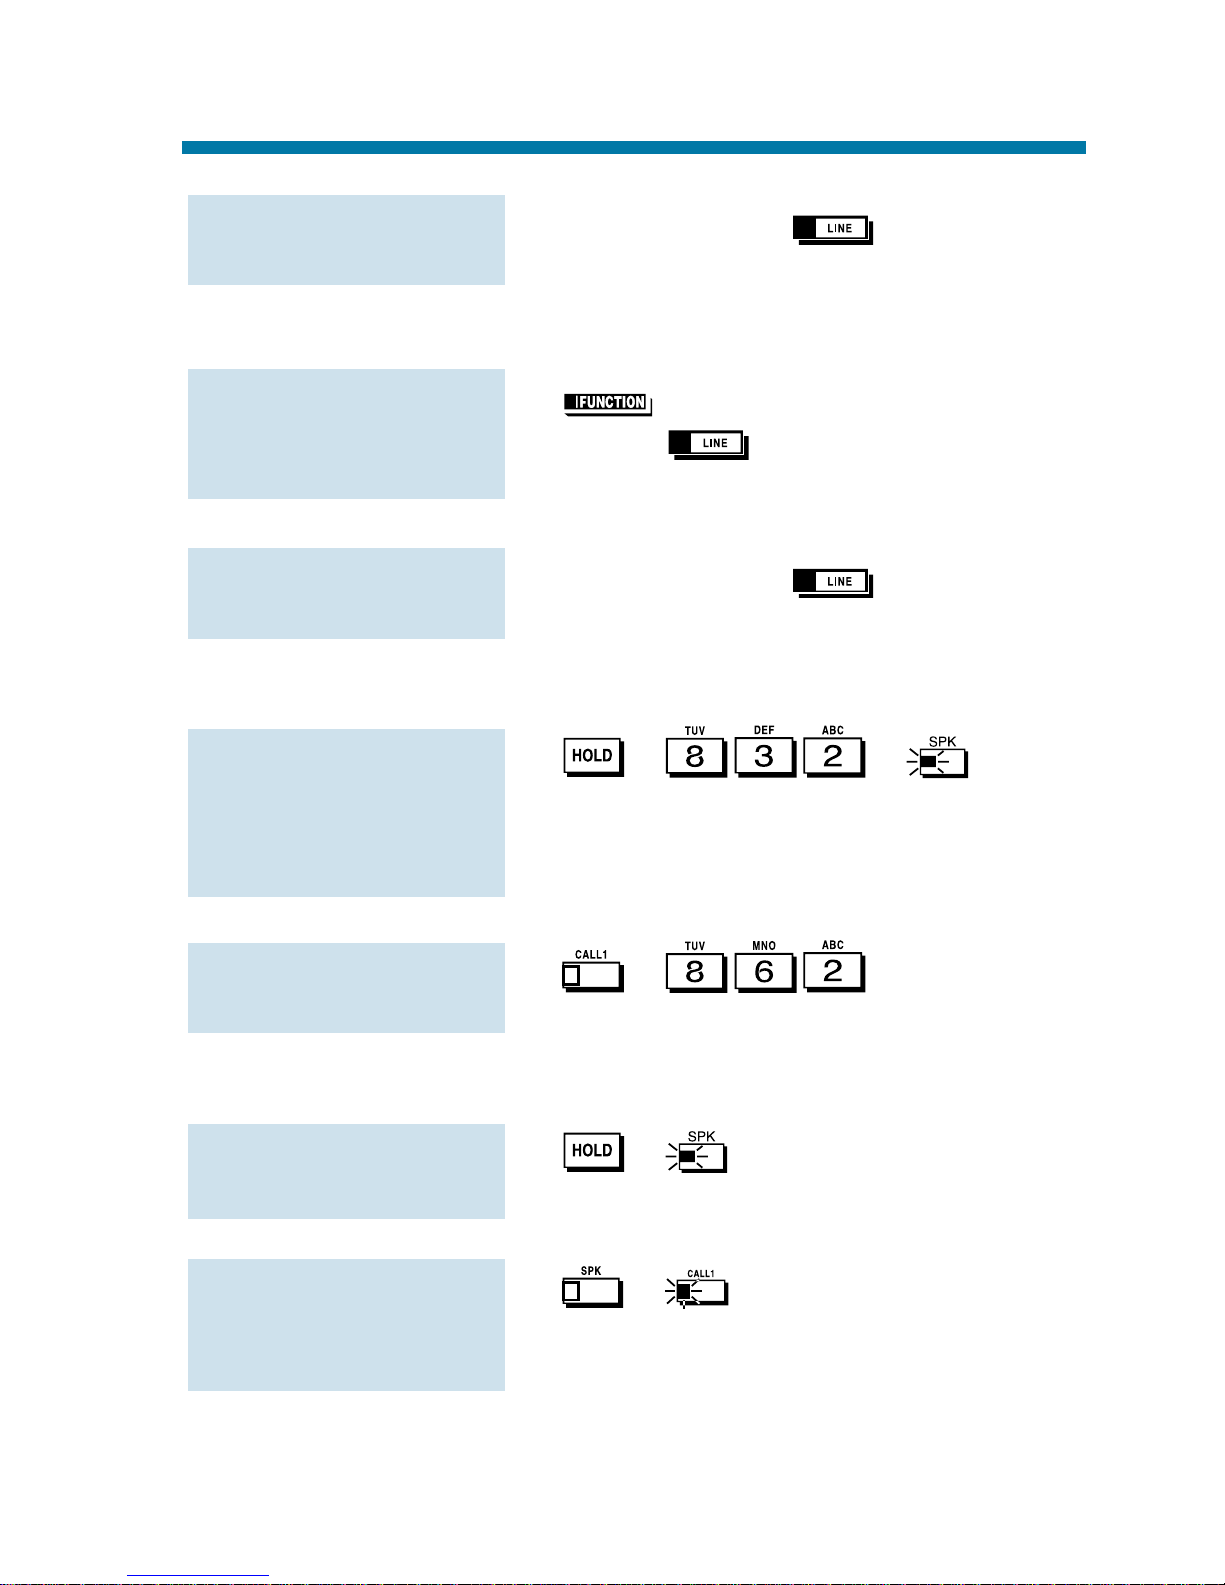
1.
The stored number displays for six
seconds. The stored number dials out if
you:
- Lift the handset
- Press an idle line key
- Press an idle CALL key, or
- Press SPK
2.
1. + .
To erase the stored
number:
To check the stored
number:
To redial your last
call:
Last Number Redial
61
Page 68

Line Preference determines how you place and answer calls. There
are two types of Line Preference: Incoming Line Preference and
Outgoing Line Preference. Ask your Communications Manager which
type you have.
Incoming Incoming Line Preference sets how you
Line answer calls. When a call rings your phone,
Preference lifting the handset answers either the ringing
call (Ringing Line Preference) or seizes an idle
line (Idle Line Preference). If you primarily
answer calls and seldom place calls, Ringing
Line Preference is for you. If you normally
place calls and seldom answer them, then Idle
Line Preference is for you.
Outgoing Outgoing Line Preference sets how you place
Line calls. With Outgoing Intercom Line
Preference Preference, you hear Intercom dial tone when
you lift the handset. With Outgoing Trunk Line
Preference, you get dial tone on an outside
line when you lift the handset. If you normally
call co-workers, use Outgoing Intercom Line
Preference. If you frequently call outside your
company, use Outgoing Trunk Line
Preference.
If you have Incoming Idle Line Preference,
Outgoing Line Preference also determines how
your phone works as a call rings.
Line Preference
62
Page 69
Use Meet Me Conference to have a telephone meeting which lets others join if they choose. After you announce the Meet Me Conference
over the Paging, a co-worker joins the meeting by dialing the Meet
Me Conference code. There are two types of Meet Me Conference:
Meet Me External Conference and Meet Me Internal Conference. With
Meet Me External Conference, announce the meeting with External
Paging. With Meet Me Internal Conference, announce the meeting
with Internal Paging. The system allows either four or eight parties
maximum per Meet Me Conference.
In addition to Meet Me Conference, there are other ways to have a
telephone meeting. See Conference (page 33), Voice Call Conference
(page 34), Meet Me Paging (page 65) and Tandem Trunking (page
115).
Meet Me External Conference
1. While on a call, press .
2. + External Paging zone
(1-8 or 0 for All Call).
OR
(External Paging).
You can optionally press CALL1 and
dial combined zones *10 to *18 instead.
See Paging on page 90 for more on
combined zones.
3. Announce the zone.
4. twice when co-worker answers
your page.
5. Repeat steps 1-4 for each co-worker you
want to add.
To make a Meet Me
External Conference:
Meet Me Conference
63
Page 70
1. + + External
Paging zone (1-8 or 0 for All Call).
You connect to the other parties.
Meet Me Internal Conference
1. While on a call, .
2. + Internal Paging zone
(0-9 or 00-64).
OR
(Internal Paging).
You can optionally press CALL1 and
dial combined zones *10 to *18 instead.
See Paging on page 90 for more on
combined zones.
3. Announce the call.
4. twice when co-worker answers
your page.
5. Repeat steps 1-4 for each co-worker you
want to add.
1. + (if your phone
is in the zone called).
OR
+ + Zone (0-9 or
00-64) (if your phone is not in the zone
called).
OR
(Internal Paging Zone Answer)
(if your phone is in the zone called).
To join a Meet Me
Internal Conference:
To make a Meet Me
Internal Conference:
To join a Meet Me
External Conference:
Meet Me Conference
64
Page 71
Need to talk to a co-worker and don't know where they are? Meet Me
Paging allows you to set up a private meeting on a Page zone. While
you meet on the zone, no one else can hear your conversation, join in
or make an announcement using that zone. There are two types of
Meet Me Paging: Meet Me External Paging and Meet Me Internal
Paging. With Meet Me External Paging, you hold the meeting on an
External Paging zone. With Meet Me Internal Paging, you hold the
meeting on an Internal Paging zone.
In addition to Meet Me Paging, there are other ways to have a telephone meeting. See Conference (page 33), Voice Call Conference
(page 34), Meet Me Conference (page 63) and Tandem Trunking
(page 115).
Meet Me External Paging
1. + + External
Paging zone (1-8 or 0 for All Call).
OR
(External Paging Zone).
2. Announce the zone.
You can optionally press CALL1 and
dial combined zones *10 to *18 instead.
See Paging on page 90 for more on
combined zones.
1. + + External
Paging zone (1-8 or 0 for All Call).
You connect to the other party.
To join a Meet Me
External Page:
To make a Meet Me
External Page:
Meet Me Paging
65
Page 72
Meet Me Internal Paging
1. + + Internal
Paging zone (0-9 or 00-64).
OR
(Internal Paging Zone).
You can optionally press CALL1 and
dial combined zones *10 to *18 instead.
See Paging on page 90 for more on
combined zones.
2. Announce the zone.
1. + (if your phone
is in the zone called).
OR
(Internal Paging Zone Answer)
(if your phone is in the zone called).
OR
+ (if your phone
is not in the zone called).
To join a Meet Me
Internal Page:
To make a Meet Me
Internal Page:
Meet Me Paging
66
Page 73

While on an outside call, use Memo Dial to jot a number down in
your phone's memory. Memo Dial is like a notepad. For example, if
you dial Directory Assistance and ask for a number, you can use
Memo Dial to remember it. You can then quickly call the stored
Memo Dial number after you hang up.
1. (Memo Dial) + Dial number you
want to store + (Memo Dial).
Continue with conversation.
2. to hang up when you are done.
1. Do not lift the handset + (Memo
Dial).
2.
The stored number dials out only if
you store a trunk access code before the
number.
OR
The stored number dials out.
1. Do not lift the handset + (Memo
Dial).
The stored number displays.
1. + (Memo Dial).
2. to hang up when you are done.
To erase the stored
Memo Dial number:
To check the stored
Memo Dial number:
To call a stored Memo
Dial number:
To store a number
while on a call:
Memo Dial
67
Page 74
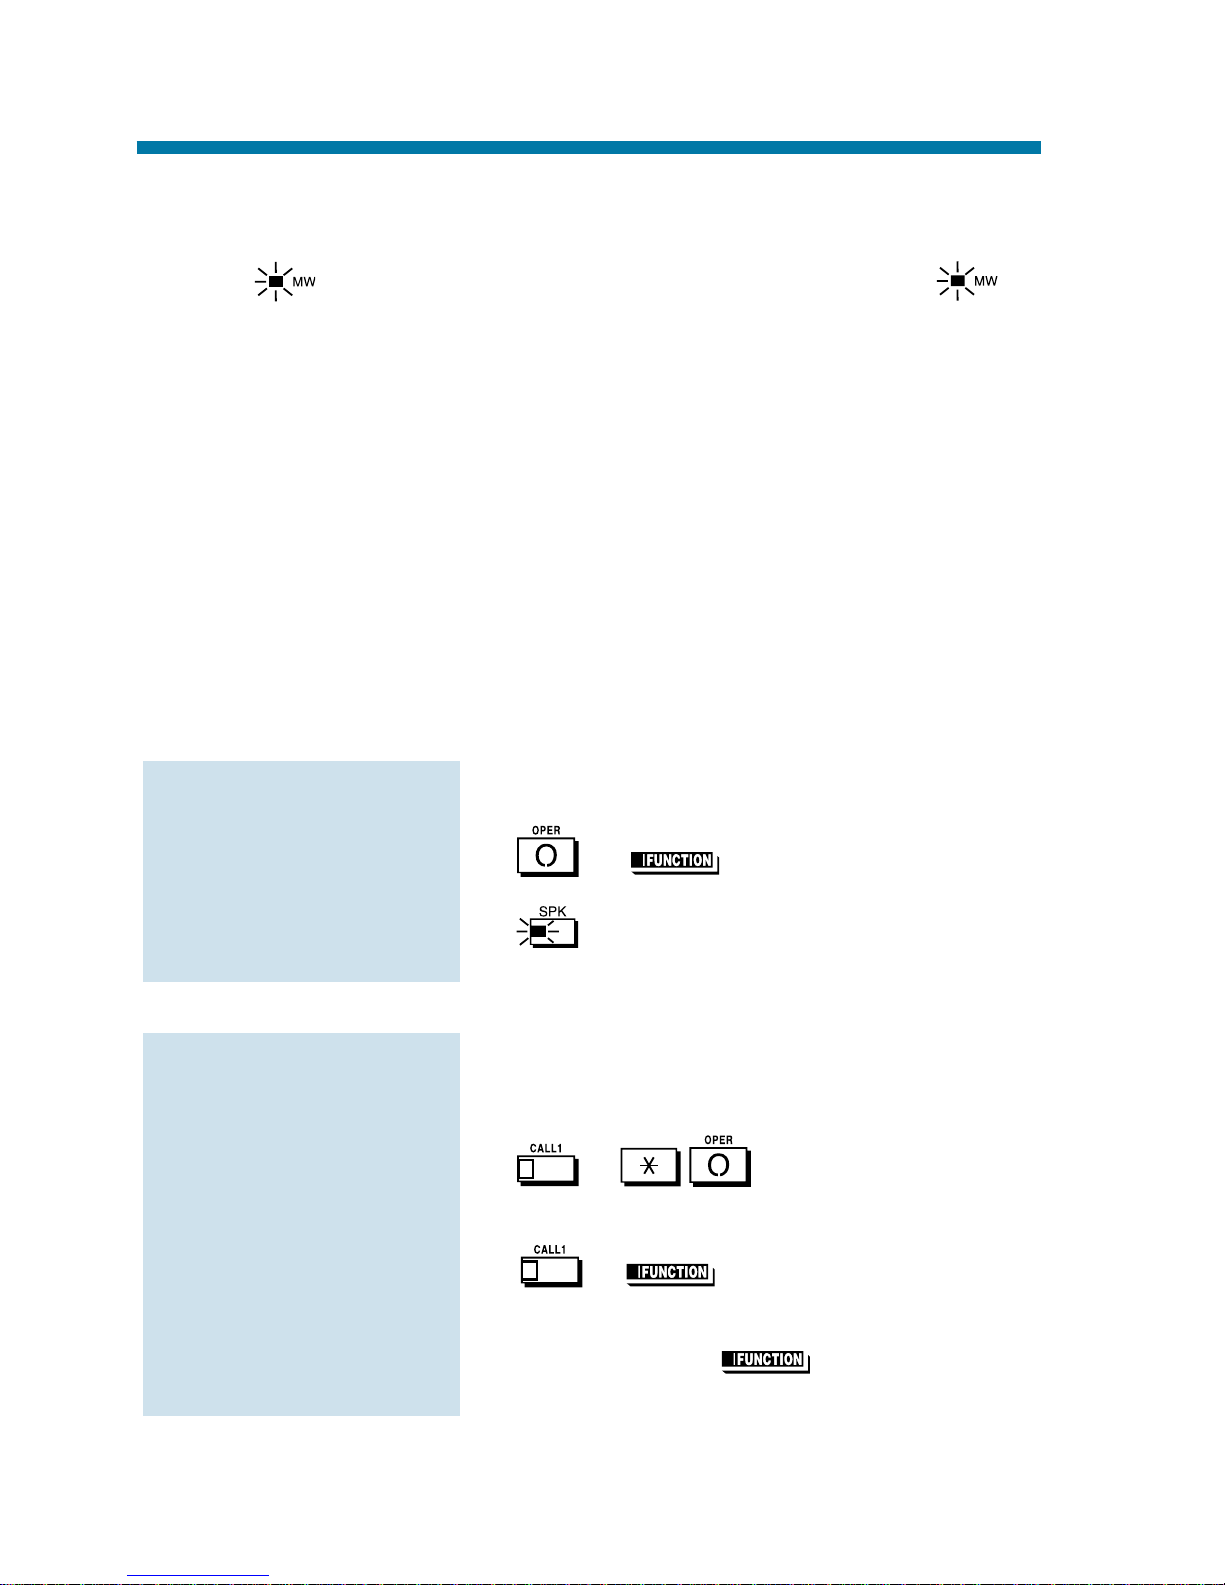
Don't keep recalling a busy or unanswered co-worker. Leave them a
Message Waiting request for a return call instead. The request is a
flashing lamp at the extension you call and a steadily lit
lamp on your phone. When your co-worker answers the Message
Waiting, they automatically call your extension. And if someone
leaves you a Message Waiting, you'll know you didn't miss their call.
In addition, Message Waiting lets you:
●
View and selectively answer messages left at your display extension.
●
Cancel messages left at your extension.
●
Cancel messages you left at other extensions.
You can leave messages at any number of extensions simultaneously.
Also, any number of co-workers can leave you a message at the same
time.
1. Call busy or unanswered extension.
2. or (Message Waiting).
3. to hang up.
Your MW lights.
When you have a Message Waiting, MW
flashes fast.
1. + .
OR
+ (Message Waiting).
If the called extension doesn't answer,
dial 0 or press (Message
Waiting) to leave them a message.
To answer a Message
Waiting:
To leave a Message
Waiting:
Message Waiting
68
Page 75
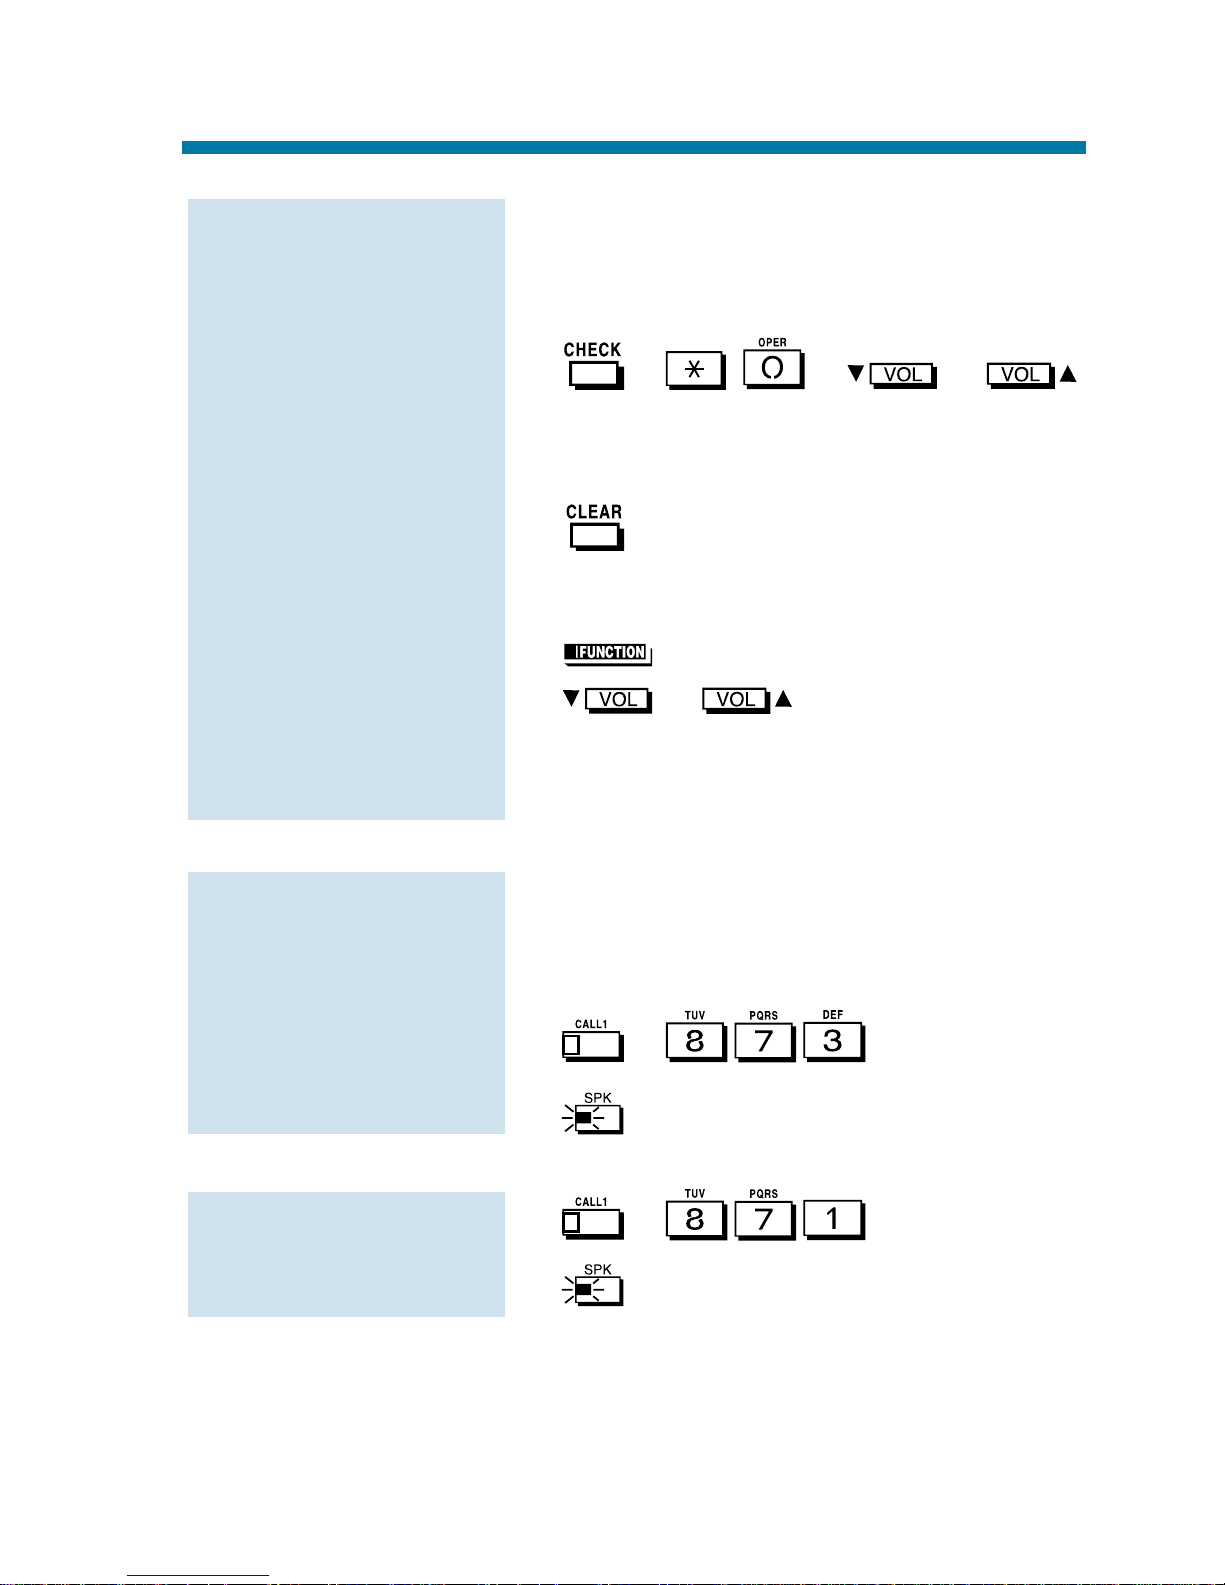
These are the messages co-workers left at
your extension. The messages left first
display first.
1. + + or
to scroll through your messages.
Press your Message Waiting key or
CALL1 to call the displayed extension.
2. to return to the Time and Date display.
OR
1. (Message Waiting).
2. or to scroll through your
messages.
Press your Message Waiting key or
CALL1 to call the displayed extension.
This includes messages you have left for
other extensions and messages other
extensions left for you.
1. + .
2. to hang up.
1. + + Extension.
2. to hang up.
To cancel messages
you left at an
extension:
To cancel all your
Messages Waiting:
To display/check your
Messages Waiting list:
Message Waiting
69
Page 76

Turn your telephone's Handsfree and handset microphone off when
you don't want your caller to hear your voice. When you turn your
Handsfree or handset microphone off, it stays off until you choose to
turn it back on.
1.
This turns your Handsfree micro-
phone off. You can press this key anytime while your phone is idle, busy on a
call or ringing.
OR
This turns your Handsfree micro-
phone back on.
1. (Microphone Cutoff).
You hear confirmation beeps. Your
mic is off when the key is lit.
You can press this key anytime while
on an outside call. For Intercom calls,
you can only press this key when the coworker you call lifts the handset or
presses to answer.
To turn your
Handsfree and hand-
set microphone off
and on:
To turn your
Handsfree micro-
phone off and on:
Microphone Cutoff
70
Page 77

Multiple Directory Numbers
Multiple Directory Numbers allow you to have more than one extension number. In addition to your "normal" extension number (e.g.,
320), you can have additional "virtual" extension numbers on Multiple
Directory Number function keys. For example, you can have virtual
extension number 600 for your sales calls. When a call routes to 600,
it goes to your Multiple Directory Number key assigned to virtual
extension 600. In this way, you can easily tell calls to your extension
from sales-specific calls. Check with your Communications Manager
to see if you have any Multiple Directory Number keys.
Call Coverage
Use a Multiple Directory Number key assigned to a co-worker's extension when you need Call Coverage for their calls. The Multiple
Directory Number key shows you when your co-worker is busy and
flashes slowly when they have an incoming call. You can even press
the key to intercept the incoming call.
You can have Multiple Directory Number keys for many different
extensions and virtual extensions. In addition, you and other co-workers can share the same Multiple Directory Number keys. For example,
everyone in your department could have a key for the sales virtual
extension. Your Multiple Directory Number keys can ring or not ring.
Your Communications Manager can tell you how your keys are set up.
1. Press flashing (Multiple
Directory Number).
1.
2. (Multiple Directory Number).
OR
Dial virtual extension number.
To place a call to a
Multiple Directory
Number:
To answer a call
ringing your Multiple
Directory Number/Call
Coverage key:
Multiple Directory Numbers/Call Coverage
71
Page 78

You can program a name for your extension. The name can be up to
10 digits long. When you call a co-worker that has a display telephone, they see your name instead of your extension number. Your coworker knows who's calling without having to look up your extension
number.
Use the following chart when entering or editing your name. When
using the One-Touch (DSS) keys, press the key once for the first character, twice for the second character, etc. For example, to enter a C,
press DSS1 three times.
Keys for Entering Names
Use this key . . . When you want to . . .
DSS1 Enter characters A-D. After selecting
your entry, press CHECK to have the
system accept it.
DSS2 Enter characters E-H. After selecting
your entry, press CHECK to have the
system accept it.
DSS3 Enter characters I-L. After selecting
your entry, press CHECK to have the
system accept it.
DSS4 Enter characters M-P. After selecting
your entry, press CHECK to have the
system accept it.
DSS5 Enter characters Q-T. After selecting
your entry, press CHECK to have the
system accept it.
DSS6 Enter characters U-Z. After selecting
your entry, press CHECK to have the
system accept it.
DSS7 Enter a hyphen (-). After selecting
your entry, press CHECK to have the
system accept it.
Name Storing
72
Page 79
1. + + Enter name
(see the chart above).
Your name can be up to 10 digits
long.
2. .
You hear confirmation beeps.
3. to hang up.
To program your
extension's name:
Keys for Entering Names
Use this key . . . When you want to . . .
DSS8 Enter a blank space. After selecting
your entry, press CHECK to have the
system accept it.
DSS9 Enter extended ASCII characters.
Press repeatedly to scroll through the
list. After selecting your entry, press
CHECK to have the system accept it.
DSS10 Enter punctuation marks. Press repeat-
edly to scroll through the list. After
selecting your entry, press CHECK to
have the system accept it.
CHECK Save text entry as part of the name
when you want to select it. You need
to press CHECK after selecting characters from One-Touch Keys 1-10.
You don't need to press CHECK after
dialing a dial pad digit (0-9, # and *).
CLEAR Clear the text entry if you want to start
over.
Dialpad digits 0-9, Enter number, # and * as part of the
# and *. name. You don't need to press CHECK
after entering these characters.
Name Storing
73
Page 80

You may be able to activate Night Service for your system. Used after
normal working hours, Night Service redirects your system's incoming
calls to where they should ring at night. For example, when most of
your co-workers have left for home, your system may redirect calls to
the security desk. When you activate Night Service, select one of eight
modes of operation:
●
Day Mode - normal working hours.
●
Night Mode - after hours (usually evening).
●
Midnight Mode - late at night to early in the morning.
●
Rest Mode - lunch and early evening (dinner time).
●
Day Mode 2 - normal working hours.
●
Night Mode 2 - after hours (usually evening).
●
Midnight Mode 2 - late at night to early in the morning.
●
Rest Mode 2 - lunch and early evening (dinner time).
There are two types of Night Service ringing for outside calls:
Assigned Night Answer (ANA) and Universal Night Answer (UNA).
With ANA, specific telephones are programmed to ring at night (like
the security desk in the example above). UNA causes incoming calls
to ring over the External Paging speakers. If your extension has a line
key for the call, just press the line key to pick up the UNA call. In
addition, you may be able to dial the Universal Answer Code to pick
up calls for which you don't have line keys.
Your system may switch Night Service modes automatically. Check
with your Communications Manager if this happens, and when the
switch-over occurs.
Night Service
74
Page 81
1. + + Night Service
Password.
The Night Service Password is normally 0000. Check with your
Communications Manager.
2. Dial the Night Service Mode: 0= Day
Mode, 1 = Night Mode, 2 = Midnight
Mode, 3 = Rest Mode, 4= Day 2 Mode,
5 = Night 2 Mode, 6 = Midnight 2
Mode, 7 = Rest 2 Mode
You hear confirmation beeps.
3. to hang up.
1. (Night Service).
You hear a beep and the key lights to
indicate the mode selected:
Day Mode Key
Night Mode Key
Midnight Mode Key
Rest Mode Key
Day 2 Mode Key
Night 2 Mode Key
Midnight 2 Mode Key
Rest 2 Mode Key
1. + .
You are connected to the call.
To use Universal
Answer to pick up a
UNA call:
To activate Night
Service using pro-
grammable keys:
To activate Night
Service by dialing
codes:
Night Service
75
Page 82

Trying to get in touch with a co-worker who is busy on a handset call?
Use Off Hook Signaling to let your co-worker know you're trying to get
through. The off hook signal you send to your co-worker is either ringing
or a voice announcement over their idle (second) line appearance.
Your phone system provides four Off Hook Signaling options (see
the chart below). Ask your Communications Manager which options
you have.
If the extension you call has Handsfree . . .
When your off hook signal voice-announces, your co-worker can
Automatic Calling a busy extension automatically
Signaling initiates Off Hook Signaling. You'll find this
option helpful if you are someone that must
quickly process calls (such as a receptionist or
operator).
Manual After reaching a busy extension, manual
Signaling signaling gives you the choice of using Off
Hook Signaling or activating another feature.
If you don't have Automatic Signaling, you
have Manual Signaling.
Selectable Off If your extension has Handsfree, you can have
Hook Signaling Off Hook Signaling ring your phone's second
Mode channel or voice announce - at your discretion.
There are four types of Off Hook Signaling
rings you can receive (ask your
Communications Manager):
- Muted off hook ringing
- Normal off hook ringing
- Two beeps over the speaker
- One beep in the handset
Called You extension may block Off Hook Signaling
Extension from other extensions. Use this option if you
Block don't like to be interrupted while on a call.
Off Hook Signaling
76
Page 83
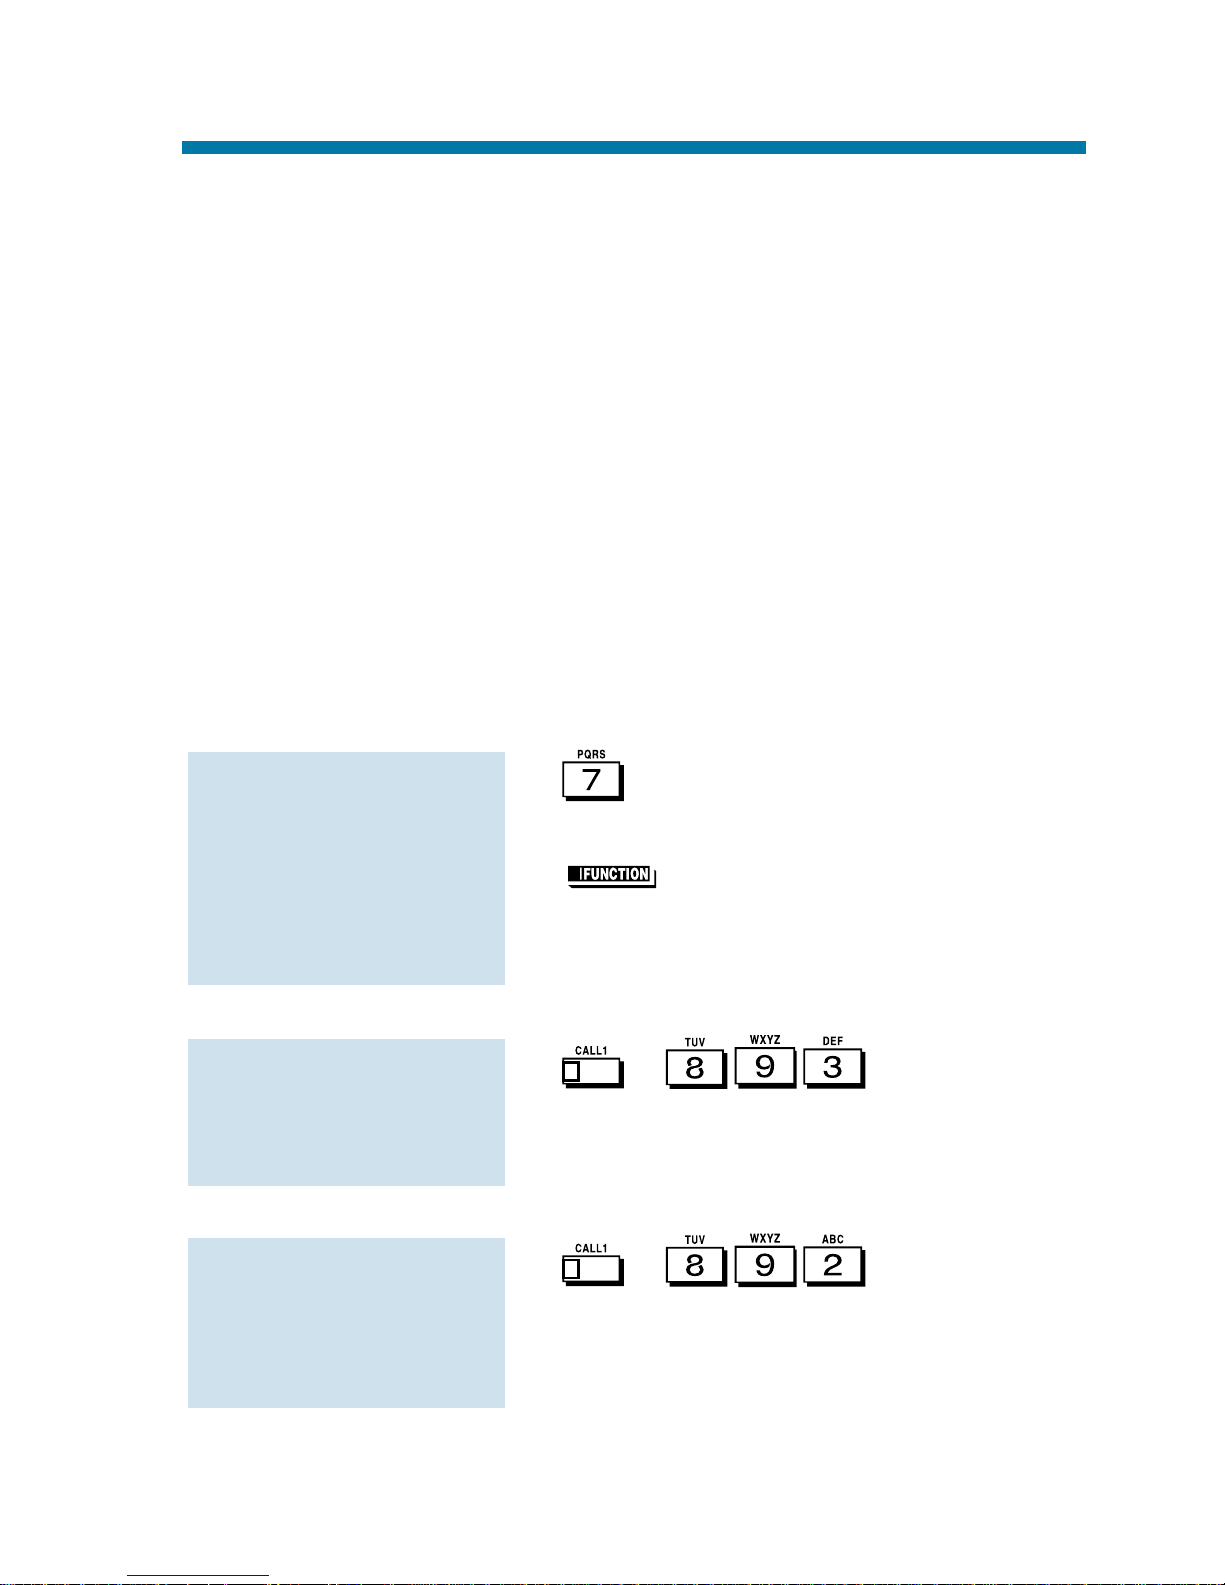
respond by just speaking toward their phone. Their telephone's
Handsfree microphone picks up their voice. Your co-worker's initial
call continues uninterrupted.
If the extension you call does not have Handsfree . . .
Your co-worker receives Off Hook Signaling ring. They must first
place their initial call on Hold before they can respond to you. They
cannot just speak toward their phone.
You can use other options when you are trying to get through. Use
Call Waiting (page 25) to wait in line without hanging up. Or, you can
leave a Callback request for a return call (page 26). If you want, send
your coworker a Message Waiting indication (page 68) or a Voice
Mail message (page 125). You may also be able to Voice Over (page
129) to your busy co-worker while they stay on their initial call.
1.
OR
(Off Hook Signaling).
If you hear ringback tone, dial 1 to
have your call voice-announce (and
visa-versa).
1. + .
To answer an Off Hook Signal at
your extension, you must first hang up
your current call or place it on Hold.
1. + .
If your extension has Handsfree, you
can answer an Off Hook Signal by just
speaking toward your phone.
To have Off Hook
Signals voice-
announce at your
extension:
To have Off Hook
Signals ring your
extension:
To send Off Hook
Signals to an
extension busy on a
handset call:
Off Hook Signaling
77
Page 84

Use your One-Touch Keys for one button access to co-workers, outside lines and selected system features. You'll find this a great time
saver when calling the clients and co-workers you talk to most often.
Instead of dialing the codes, just press the One-Touch Key.
Your One-Touch Keys give you:
●
Direct Station Selection - One button access to your co-worker's
extensions.
●
Personal Speed Dial (Outside Calling) - One button access to
outside lines, line groups and telephone numbers. (You can also
have Personal Speed Dial if your phone doesn't have One-Touch
Keys - see page 81).
●
Abbreviated Dialing - One button access to Common and Group
Abbreviated Dialing bins.
●
Feature Codes - One button access to Feature Codes (e.g., 2 for
Callback).
●
Chain Dialing - Linking two or more One-Touch Keys for lengthy
dialing scenarios.
One-Touch Calling is the first level of operation on the One-Touch
Keys. In other words, One-Touch Calling occurs when you just press
the One-Touch Key. There is a second level of One-Touch Key functions called One-Touch Serial Operation (page 82).You access these
functions by first pressing the One-Touch Serial Operations key.
1. + + you
want to program.
2. Dial extension number you want
assigned to that key + .
3. Optional for Display Phones: Enter a
name for the One-Touch key (see Name
Storing on page 72) + .
3. to hang up.
To program a One-
Touch Key for DSS
(extension) calling:
One-Touch Calling
78
Page 85

1. + + you
want to program.
2. for Trunk Group Access code.
OR
+ trunk number (01-192) for
a specific trunk.
OR
+ Trunk Group number
(e.g., 1) for a Trunk Group.
3. Dial the number you want to call + .
To enter a pause, press .
4. Optional for Display Phones: Enter a
name for the One-Touch key (see Name
Storing on page 72) + .
5. to hang up.
1. + + you
want to program.
2. for Common or
for Group Abbreviated Dialing.
3. Dial Abbreviated Dialing storage code
(e.g., 001) + .
4. Optional for Display Phones: Enter a
name for the One-Touch key (see Name
Storing on page 72) + .
5. to hang up.
To program a One-
Touch Key for
Abbreviated Dialing:
To program a One-
Touch Key for outside
calling (Personal
Speed Dial):
One-Touch Calling
79
Page 86
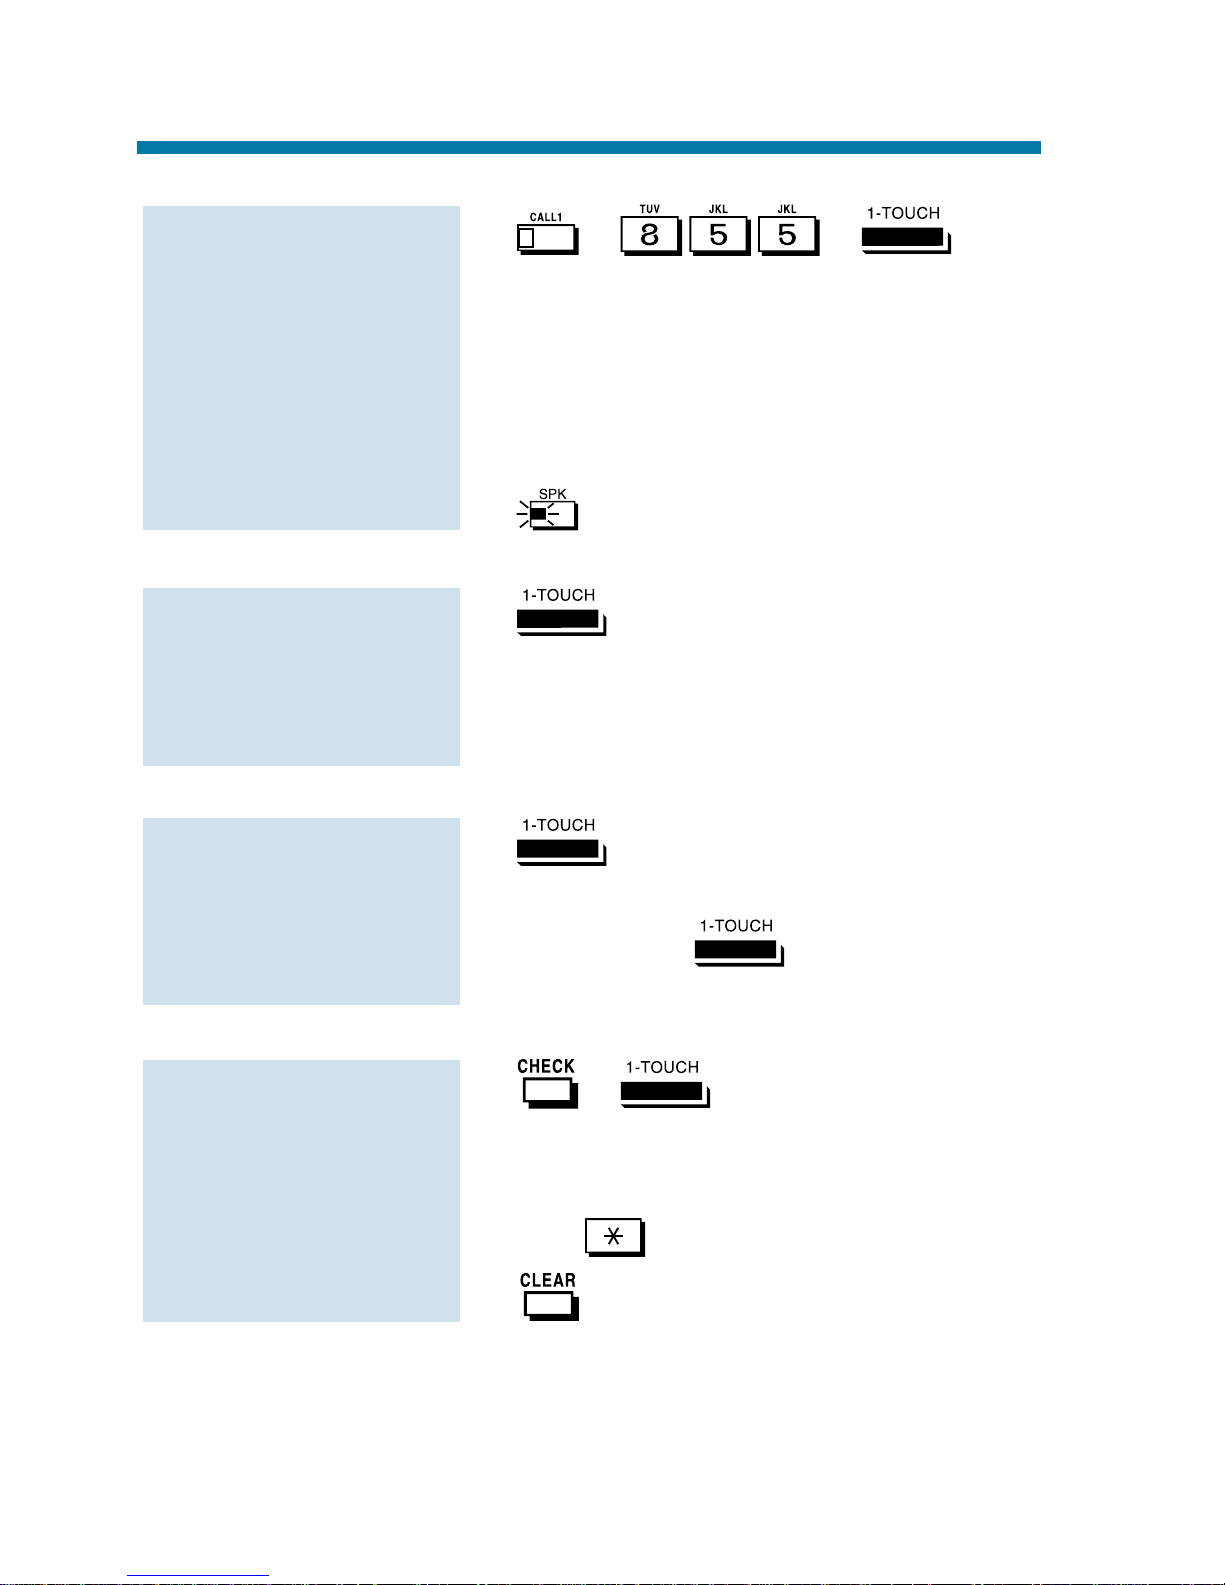
1. + + you
want to program.
2. Dial Feature Code you want to store.
For example, store 2 to make a callback key. Refer to the features in this
handbook for the appropriate Service
Codes.
3. to hang up.
1.
If you press a line key before pressing
a One-Touch Key for outside calling,
the system automatically removes any
stored trunk codes.
1.
Let the stored number dial out.
2. Press another .
The stored digits dial out.
1. + .
The stored function displays. Repeat
this step to check additional keys. If you
cannot see the entire number stored,
dial .
2. .
To check the function
of a One-Touch Key:
To chain the functions
of two One-Touch
Keys:
To use a One-Touch
Key:
To assign a Feature
Code to a One-Touch
Key:
One-Touch Calling
80
Page 87

Using Personal Speed Dial without One-Touch Keys
1. + .
2. Dial a Personal Speed Dial bin number
(1-9 or 0).
Bins 1-9 correspond to One-Touch
Keys 1-9. Bin 0 corresponds to key 10.
3. Dial outside number you want to call.
The bin should contain a trunk
access code: 9, #9 + Trunk number or
804 + Trunk Group number. To enter a
pause, press MIC.
4. to hang up.
1. + .
2. Dial a Personal Speed Dial bin number
(1-9 or 0).
The stored number dials out.
To dial a Personal
Speed Dial number if
your phone doesn't
have One-Touch Keys:
To program a Personal
Speed Dial number if
your phone doesn't
have One-Touch Keys:
One-Touch Calling
81
Page 88

Do you frequently dial a long sequence of codes and numbers for the
same operation? One-Touch Serial Operation can simplify your phone
by letting you store the entire sequence of steps under a One-Touch
Key. This includes dial pad digits, feature keys, function keys and
even other One-Touch Keys. For example, before you leave the office
at night you can have One-Touch Serial Operation:
●
Place the system in the Night Mode.
●
Call Forward your phone to Voice Mail.
●
Ring your home to let them know you are coming.
One-Touch Serial Operation is the second level of operation for OneTouch Keys. You must press the Serial Operations function key before
the One-Touch Key. The first level of operation is One-Touch Calling
(page 78). This occurs when you just press the One-Touch Key.
1. + + key
you want to program.
2. Enter the sequence of operations you
want to store (up to 24 entries).
You can store the following operations:
Feature Codes
0-9, # and *
(for pause)
To store a series of
operations in a One-
Touch Key:
One-Touch Serial Operation
82
Page 89
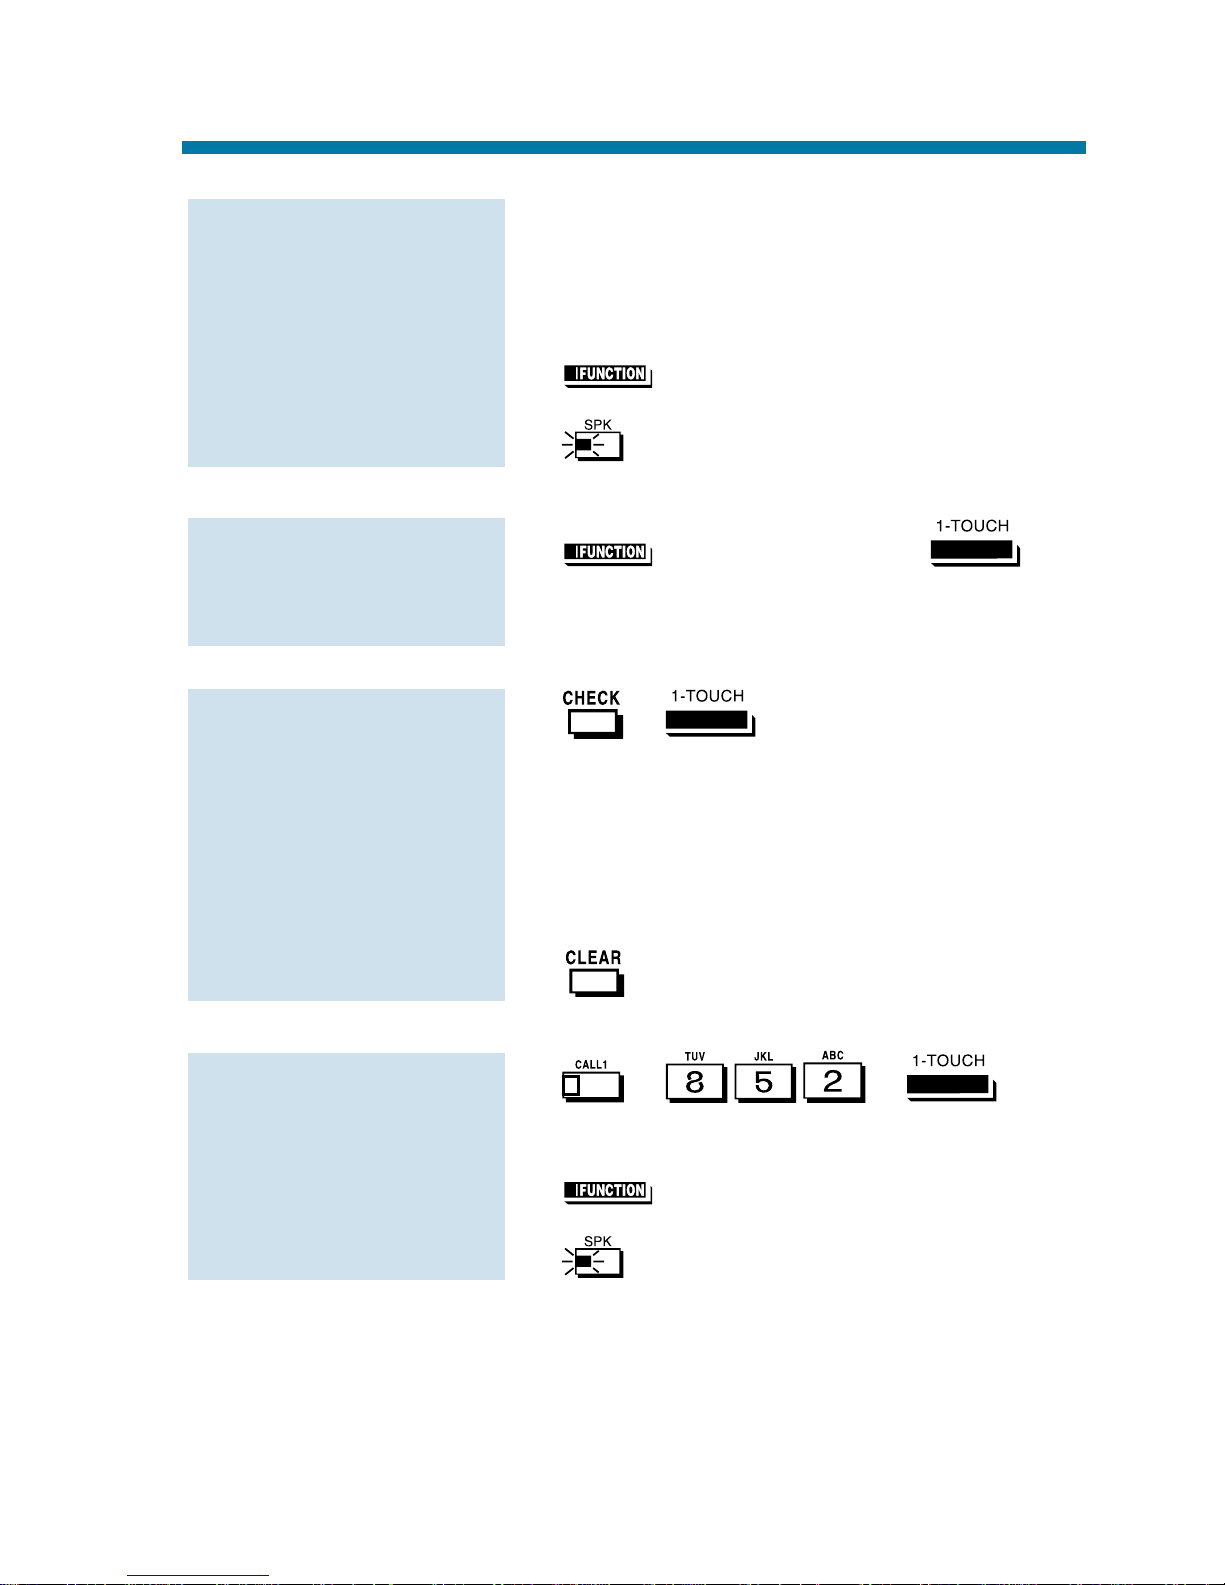
If you store a One-Touch Key as part
of a Serial Operation, the system stores
the first level (One-Touch) function.
3. (Serial Operations).
4. to hang up.
1. (Serial Operation) + .
1. + (twice).
The stored Serial Operation displays.
To check another key, press it twice
before going to step 2.
If the stored number does not fit in
the display, dial * to see the entire
number.
2.
1. + + you
want to clear.
2. (Serial Operations).
3. to hang up.
To clear a One-Touch
Serial Operation:
To check the stored
Serial Operation:
To dial using One-
Touch Serial
Operation:
To store a series of
operations in a One-
Touch Key:
One-Touch Serial Operation
83
Page 90
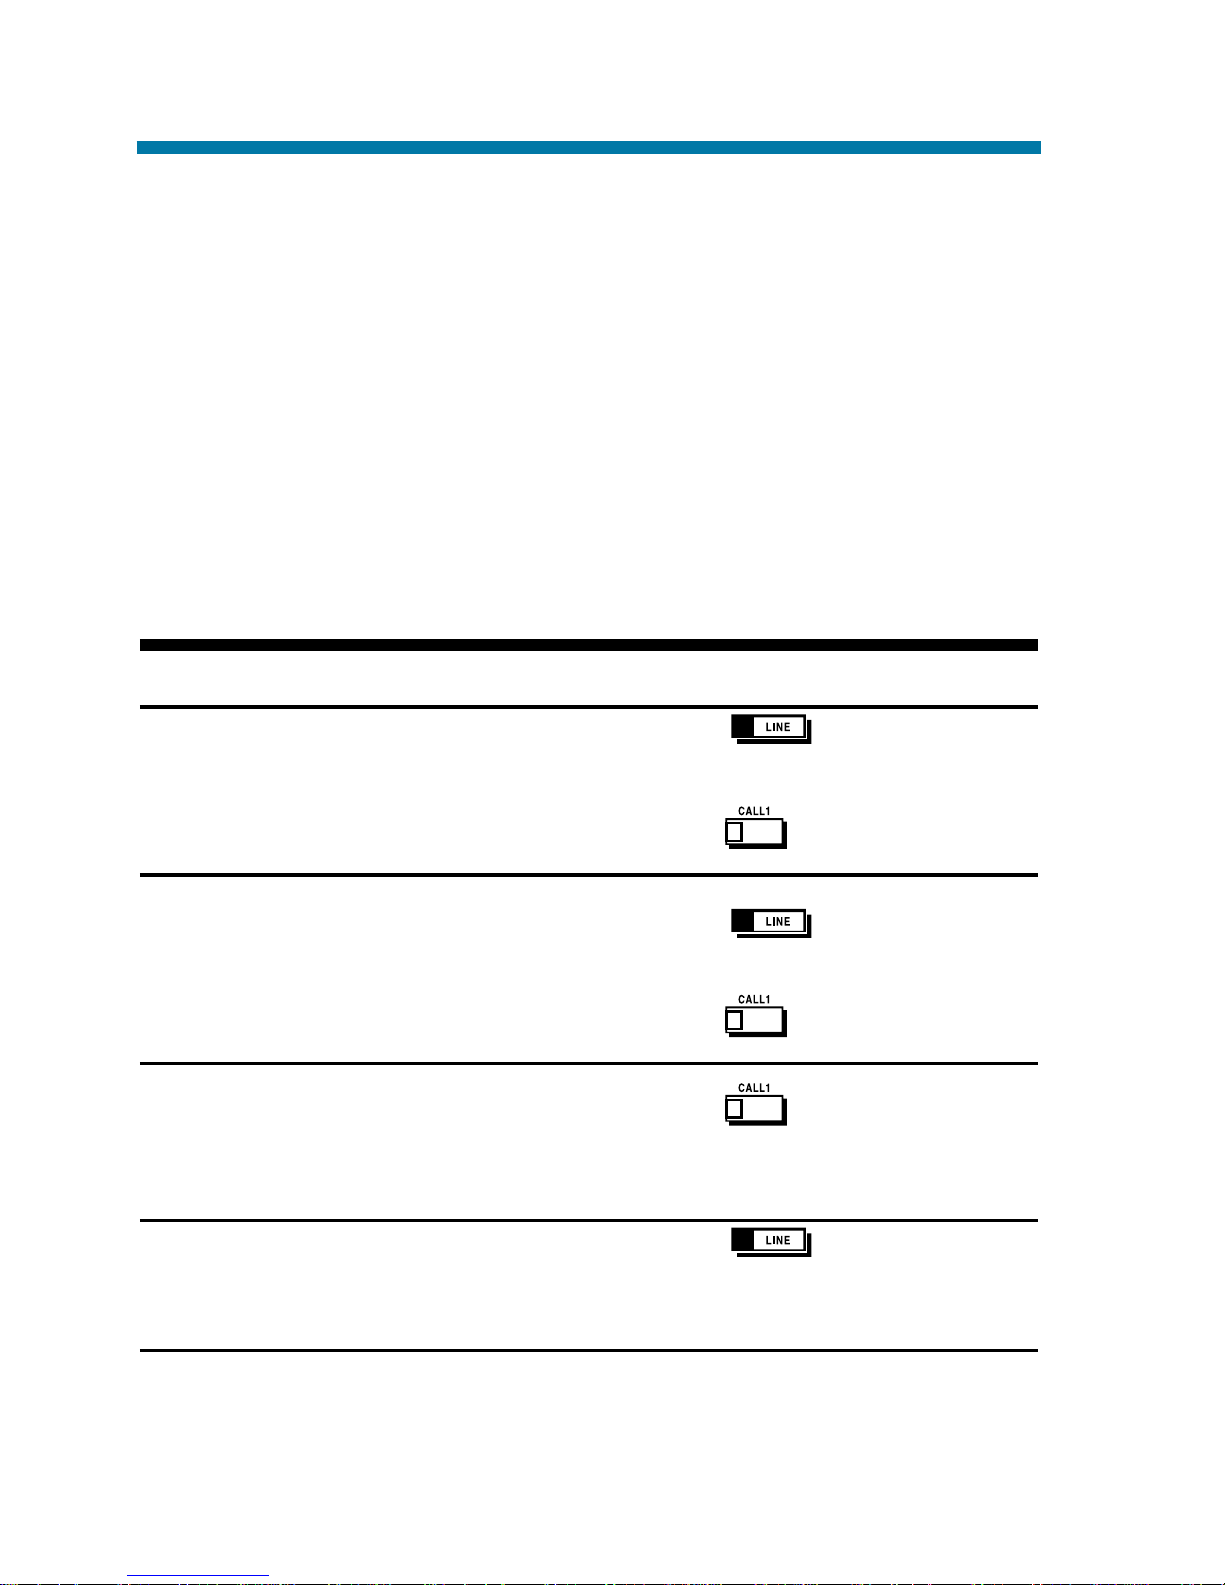
There are many types of outside calls that you can answer from your
phone. You can tell a lot about the call coming in by listening for ringing, watching your phone's keys and checking the display (if you have
one). Also use the chart below as a guide. Ask your Communications
Manager about the different types of calls you are expected to answer.
You may have line and loop keys on your phone. A line key is dedicated to a particular outside line. When you press the line key to
answer a call, you always get the same line. A loop key works just like
a line key, except that it is for any line in a preset line group. When
you press a loop key to answer a call, you get whichever line in the
group happens to be ringing.
For this type of call... You hear... And see...
Outside Call that rings Two quick rings - flashing slowly
your phone repeated (red)
(If you have a line
key for it) flashing slowly
Direct Inward Line
1
(If you have a line Two quick rings - flashing slowly
key for it) repeated (green)
flashing slowly
Outside call or DIL Two quick rings -
that rings your phone repeated flashing slowly
(If you don't have a
line key for it)
Outside call that just No Ringing flashing slowly
flashes a line key (red)
without ringing
Outside Calls, Answering
84
Page 91
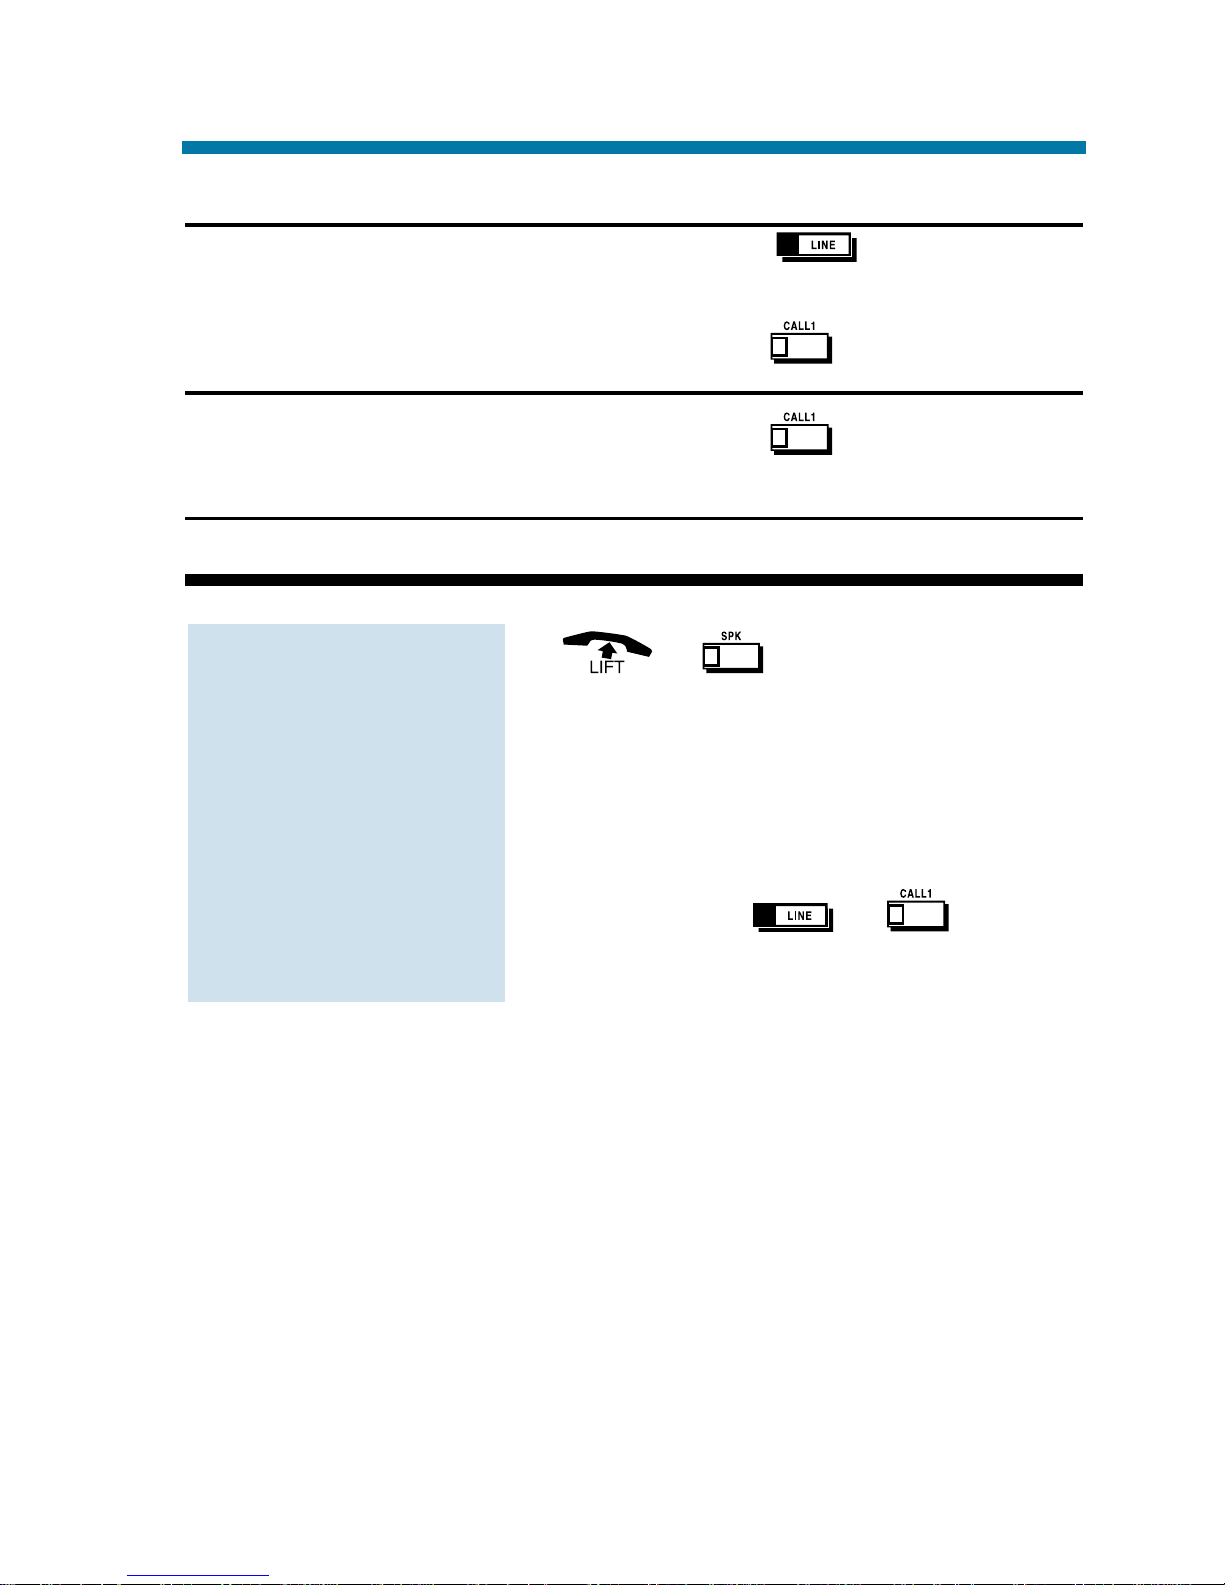
For this type of call... You hear... And see...
Transferred Call Two quick rings - flashing slowly
(If you have a line repeated (green)
key for it)
flashing fast
Transferred Call Two quick rings (If you don't have a repeated flashing fast
line key for it)
1
These calls initially ring only at your phone.
1. or .
Depending on how your phone is set
up, you may answer the call automatically. You phone's Line Preference
(page 62) determines what happens
when you lift the handset or press SPK
to answer a call.
2. Press flashing or .
You may be able to dial #0 at night to
pick up calls not ringing your phone.
To answer an outside
call:
Outside Calls, Answering
85
Page 92

Your phone offers you several ways to place outside calls. You can:
●
Press a line key for one-button access to a specific line.
●
Press a loop key for one-button access to the first available line in
a line group.
●
Dial a code to select a specific line.
●
Dial a code to select the first available line in a line group.
●
Dial 9 to use Trunk Group Routing or Automatic Route Selection
(ARS).
The method you use depends on how your system and your phone are
set up. For example, if you should use only ARS for outgoing calls,
don't press line keys or dial up lines and line groups. On the other
hand, if your office is set up like a "key system", you and your coworkers will have line keys for the same outside lines. Your
Communications Manager can tell you which methods you should use
for placing outside calls.
1. .
You may have to press SPK or lift the
handset before pressing the line key.
The line key lights (green).
2. Listen for dial tone.
3. Dial number.
1. + + Line number (01-
192).
2. Dial number.
Check with your Communications
Manager to see which lines you can use.
1. + + Line group
number.
To dial a code to
select a line group:
To dial a code to
select a specific line:
To place an outside
call using a line key:
Outside Calls, Placing
86
Page 93

Your line group numbers are 1-9, 0199 or 001-128. Ask your Communications
Manager.
2. Dial number.
1. + .
The system automatically routes your
call using ARS or Trunk Group Routing
- whichever is installed.
Converting from Pulse to Tone Dialing
If your company is in a Dial Pulse area, you may need to change the
dialing mode of your phone to tone (DTMF) after you place your initial call. This allows you to use dial-up services like electronic banking or a client's Voice Mail.
1. Place outside call normally.
Your call dials out as Dial Pulse.
2. .
The next digits you dial go out as
DTMF.
Instead of dialing #, the system may
automatically convert to DTMF 10 seconds after you dial the last digit of your
outside call.
Are You Behind a PBX?
Your telephone system may be connected to a Private Branch
Exchange (PBX) rather than to the telephone company's lines. This
means that when you get dial tone on an outside line, you are really
getting dial tone from the PBX. This may affect the way you place
outside calls. For example:
●
After you press a line key, you may have to dial an additional
access code (e.g., 9) before you can dial your outside number.
To change your dial-
ing mode to DTMF:
To use Trunk Group
Routing or ARS:
To dial a code to a
select line group
(Cont’d)
Outside Calls, Placing
87
Page 94

●
The PBX may restrict you from placing certain types of calls.
●
If you use Automatic Route Selection, your telephone system may
automatically insert whatever codes the PBX requires. For example, when you dial 9 926 5400 for an outside call, your system may
send 9 9 926 5400 to the PBX.
●
You may be able to Transfer to and Conference with other systems
connected to the same PBX.
Ask your Communication's Manager if you are behind a PBX.
You May Have a Private Line
A Private Line is simply a line on your phone that nobody else in the
system can use. Only you can place and answer calls on your Private
Line. Your Communications Manager can tell you if you have a
Private Line.
If You Hear a Warning Tone
While on an outside call, you may hear occasional beeps through your
speaker or handset. These tones remind you that you have been on the
call a long time.
How Prime Line Works
If you have Prime Line, you can place or answer a call on a specific
line just by lifting the handset. With Outgoing Prime Line Preference,
you get dial tone on your Prime Line when you lift the handset. This
happens even if another call is ringing in. If you usually need to place
calls, Outgoing Prime Line Preference may help you.
With Incoming Prime Line Preference, lifting the handset answers a
ringing call. If you want easy answering of incoming calls, Incoming
Prime Line Preference may be for you.
If Prime Line sounds helpful to you, your Communications Manager
may be able to set it up.
Outside Calls, Placing
88
Page 95
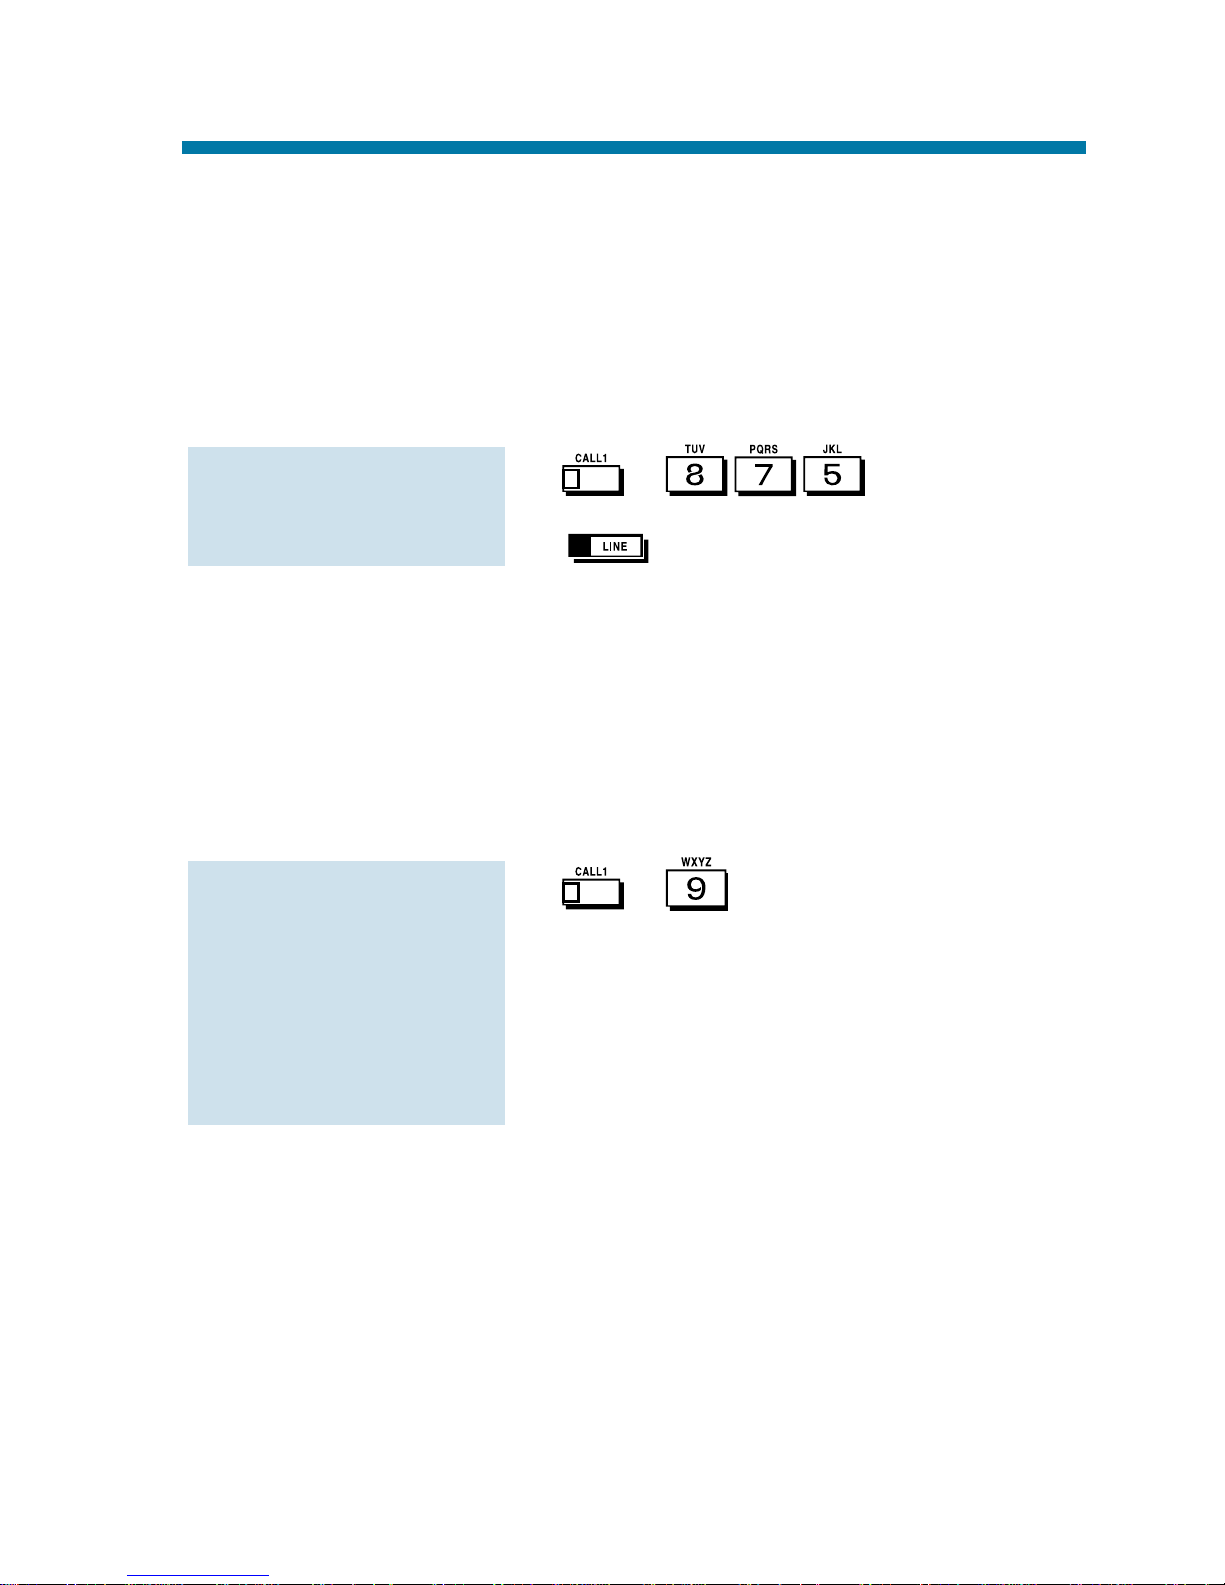
Did Your Call Go Through?
If you dial certain calls and you find that they do not go through, ask
your Communications Manager the following questions:
●
Is my telephone Toll Restricted? If it is, what numbers am I prevented from dialing?
●
Can I override Toll Restriction? If so, what is my override code?
1. + + Password.
2. + Dial number without restriction.
●
Do I need to enter Account Codes (page 14) for outside calls?
●
Does my telephone use Automatic Route Selection? If it does, are
there any numbers that I cannot dial?
●
If my phone uses Automatic Route Selection, will I ever be
requested to enter an Authorization Code before the call can go
through? If so, what are my Authorization Codes?
1. + .
You hear ARS dial tone.
2. Dial the outside telephone number.
You hear a second ARS dial tone.
3. Enter the ARS Authorization Code.
Ask your Communications Manager
for your ARS Authorization Codes.
If you need to enter
an ARS Authorization
Code:
If you need to over-
ride Toll Restriction:
Outside Calls, Placing
89
Page 96

Internal Paging
Need to locate a co-worker or make an announcement? Use Internal
Paging. Your system can have All Call Internal Paging and, depending
on your system, up to 64 zones of Internal Paging. When you make an
All Call Paging announcement, your voice broadcasts to all extensions
set to receive All Call Paging. When you make a Zone Paging
announcement, your voice broadcasts to all the idle extensions in the
zone you called.
1. (Internal Paging).
OR
+ + Zone.
Internal Paging zones are 0-9 or 0064 (0 and 00 are All Call Internal
Paging).
2. Make announcement + to hang up.
External Paging
If you have your own external speaker system installed, you may be
able to use it for External Paging. This is particularly helpful in large
or noisy areas where the Internal Paging speakers in the telephones are
not loud enough. Your system can have All Call External Paging and
up to 8 zones of External Zone Paging.
1. (External Paging).
OR
+ + Zone.
External Paging zones are 0-8, where
0 is All Call External Paging.
2. Make announcement + to hang up.
To make an External
Page:
To make an Internal
Page:
Paging
90
Page 97

Combined Paging
Use Combined Paging when you want to simultaneously Page into an
internal and corresponding external zone. For example, you can Page
your company's warehouse and outside loading dock at the same time.
Combined Paging is available for Paging zones 1-8 and All Call.
1. + + Combined Paging
zone.
OR
(All Call External Page).
Combined Paging zones are 1-8 (for
internal/external zones 1-8) or 0 (for
internal/external All Call).
2. Make Announcement.
3. to hang up.
To make a Combined
Page:
Paging
91
Page 98

Have a call for a co-worker and can't find them? Put their call in a
waiting state called Park so they can pick it up. After you Park the
call, Page the co-worker you want to receive the call and hang up.
When your co-worker hears the Page, they dial the orbit or press a
Park key to pick up the call.
There are two types of Park: System and Personal. Use System Park
when you want to have the call wait in a system orbit. (There can be up
to 64 system orbits, depending on your system) Personal Park allows
you to Park a call at your extension so a co-worker can pick it up.
1. Do not hang up.
2. (Park).
OR
+ + Park Orbit.
Park Orbits are 1-64. If you hear
busy, the orbit is busy. Try another
orbit.
3. Page your co-worker to pick up the call.
4. to hang up.
If not picked up, the call will recall to
you.
You can only pick up a call parked by a
member of your own Park group.
1. + (Park).
OR
+ + Park Orbit.
To pick up a parked
call from a system
orbit:
To Park a call in a
system orbit:
Park
92
Page 99
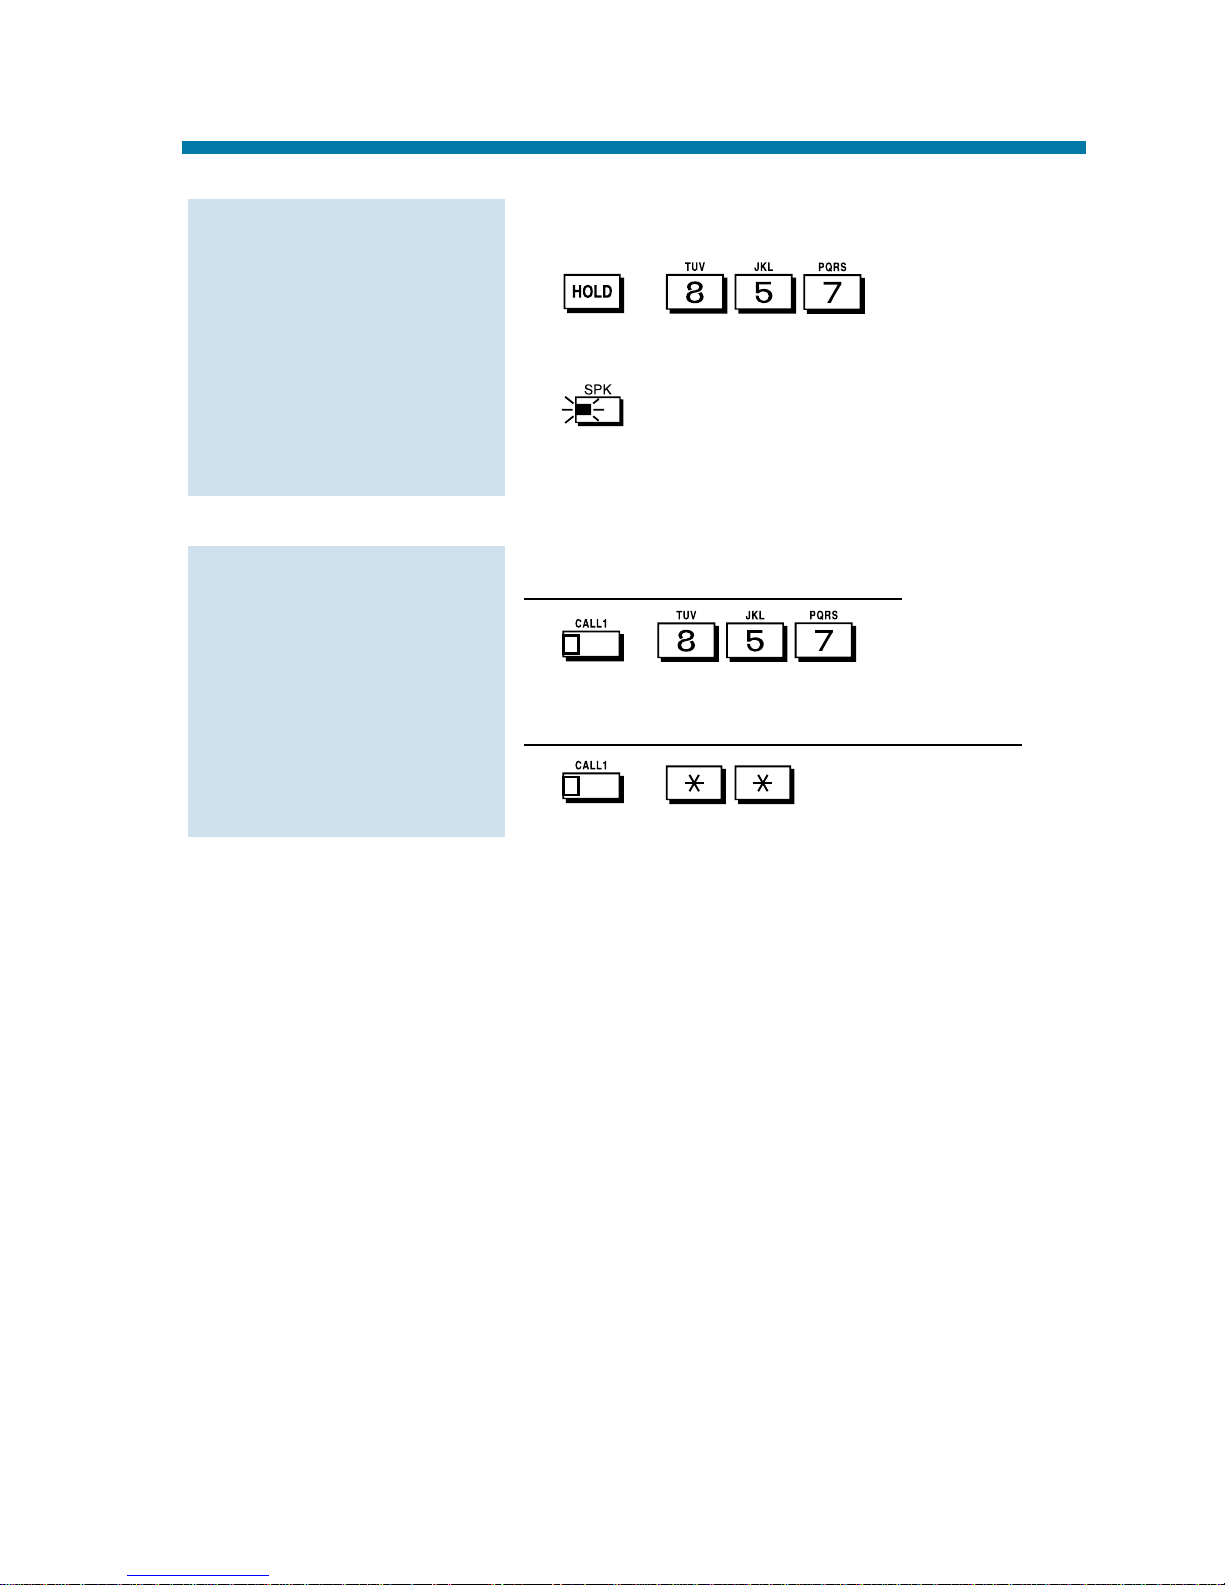
1. Do not hang up.
2. + .
3. Page your co-worker to pick up the call.
4. to hang up.
If not picked up, the call will recall
to you.
If parked at your
extension:
1. + .
OR
If parked at a co-worker's extension:
1. + + Co-worker's
extension.
To pick up a call
parked at an extension (yours or a co-
worker's):
To Park a call at your
extension:
Park
93
Page 100

☞
This feature requires a Voice Announce Unit (VAU).
When you are away from your phone, Park and Page can let you know
when you have a call waiting to be answered. To enable Park and
Page, you record a Personal Greeting along with an additional Paging
announcement. Your callers hear your Personal Greeting and automatically wait at your phone. The system then broadcasts your prerecorded
Paging announcement. You can go to any co-worker's phone and pick
up your waiting call.
For example, you could record a Personal Greeting that says, "Hello. I
am away from my phone right now but please hold on while I am
automatically paged." Your Paging announcement could say, "(your
name), you have a call waiting on your line." Your caller hears your
Personal Greeting - and you hear the Paging broadcast.
1. + .
OR
1. (Call Forward to Device).
2. + When you hear, "Please start
recording", record your Personal
Greeting.
If you already have Park and Page or
Personal Greeting set up, you can dial:
7 to re-record
5 to listen (then # to listen again)
3 to erase (then optionally HOLD to
cancel the erase)
3. .
4. When you hear, "Please start recording",
record your Page.
To have the system
Page you when you
have a call:
Park and Page (VAU)
94
 Loading...