

Page 1

Universal Carrier UC7
Operator’s Manual
Minolta Corporation, 101 Williams Drive, Ramsey, NJ 07446-1293, USA
Page 2

Introduction
This instruction manual explains the operation of the Minolta Universal Carrier UC7.
Read it carefully before using the equipment to ensure proper usage.
The UC7 is designed for use with Minolta reader-printers and scanners.
Specifications
Product name: Minolta Universal Carrier UC7
Microforms: 16mm Open Reels
35mm Open Reels
Fiche
Aperture Cards
3M Type Cartridge (with optional Adapter Kit)
Film Loading: Manual
Film Scanning: Manual vertical adjustment
Motorized slow medium and fast horizontal control
Scanning Speed: 0 to 10 feet per second
Retrieval: Motorized: Push button control
Image Rotation: 360º by prism rotation
Dimensions: 20” (W) x 12.5” (D) x 5” (H)
550mm x 320mm x 130mm
Weight: 15.5lbs (7.15kg.)
Power Source: DC voltage (from reader-printer or scanner)
Power Consumption: 24W max.
Accessories: Quick Load Take up Reel (included)
Options: 3M Type Cartridge Adapter Kit
Control Box with Variable Speed Control
2
Page 3

Parts Identification
Upper and
lower glass
flats
Supply spindle
16 – 35mm
adjustable guide
rollers
Slow
Scan
Take up
spindle
Fast forwardFast rewind
Installation
When preparing the reader-printer for use with the UC7, use the operator’s manual for
the specific reader-printer or scanner you are working on. Remove any carrier and lens
according to the operator’s manual.
• Turn off the main on/off switch and unplug the line cord from the wall outlet.
• Remove the reader-printer lens and set aside.
• Remove any other carrier that may be on the reader-printer by following the
instructions in the respective carrier’s operator’s manual.
3
Page 4

Fig. 1
Important:
Direction of receiver plate
• Position receiver plate according to Fig.1. Slide carrier on to the receiver plate
from the right side of the reader-printer. Make sure the carrier is pulled to its
outermost end stop as Fig. 2 shows and the motor mount is on the left of lens
holder.
Important:
Left motor mount has to
be on left of the lens
holder when sliding carrier
onto receiver plate
• Pull carrier forward without lifting the cover glass. Insert the appropriate lens.
• Attach the cord from the carrier to the interface PWB on the side of the reader-
printer. Fig.3
Fig.2
Base plate has to be all
the way to right and back
Pull top plate all the way
to the front and to the left
• You are ready to load film.
4
Page 5

Fig.3
Film loading
Plug to interface PWB
Film
16mm setup 35mm setup
• Set up guide rollers for either, 16 or 35mm.
• Place full spool of film on left spindle. Always feed the film from the top of the
spool.
• Pull Carrier forward until cover glass is fully open.
• Feed film under left guide roller, cover glass and right guide roller to the right take
up reel.
• Slide film into the take up reel Fig. 4.
5
Page 6

Fig.4
For fine adjustment use the center buttons ( < or > )
For scanning use the 2 outer gray buttons ( << or >> )
Important:
For fast forward and fast rewind ( <<< or >>> ) the carrier has to be pulled all the
way forward so the cover glass is open all the way.
6
Page 7

Operating Fiche
Take hold of the handle of the carrier and pull forward as far as it will go. This will cause
the upper glass to swing open.
Slide Fiche onto the lower glass.
COM Fiche: SOURCE Document Fiche:
Place Fiche face down with its cut Place the Fiche face down with its title
out positioned on the right front. positioned in the rear.
7
Page 8
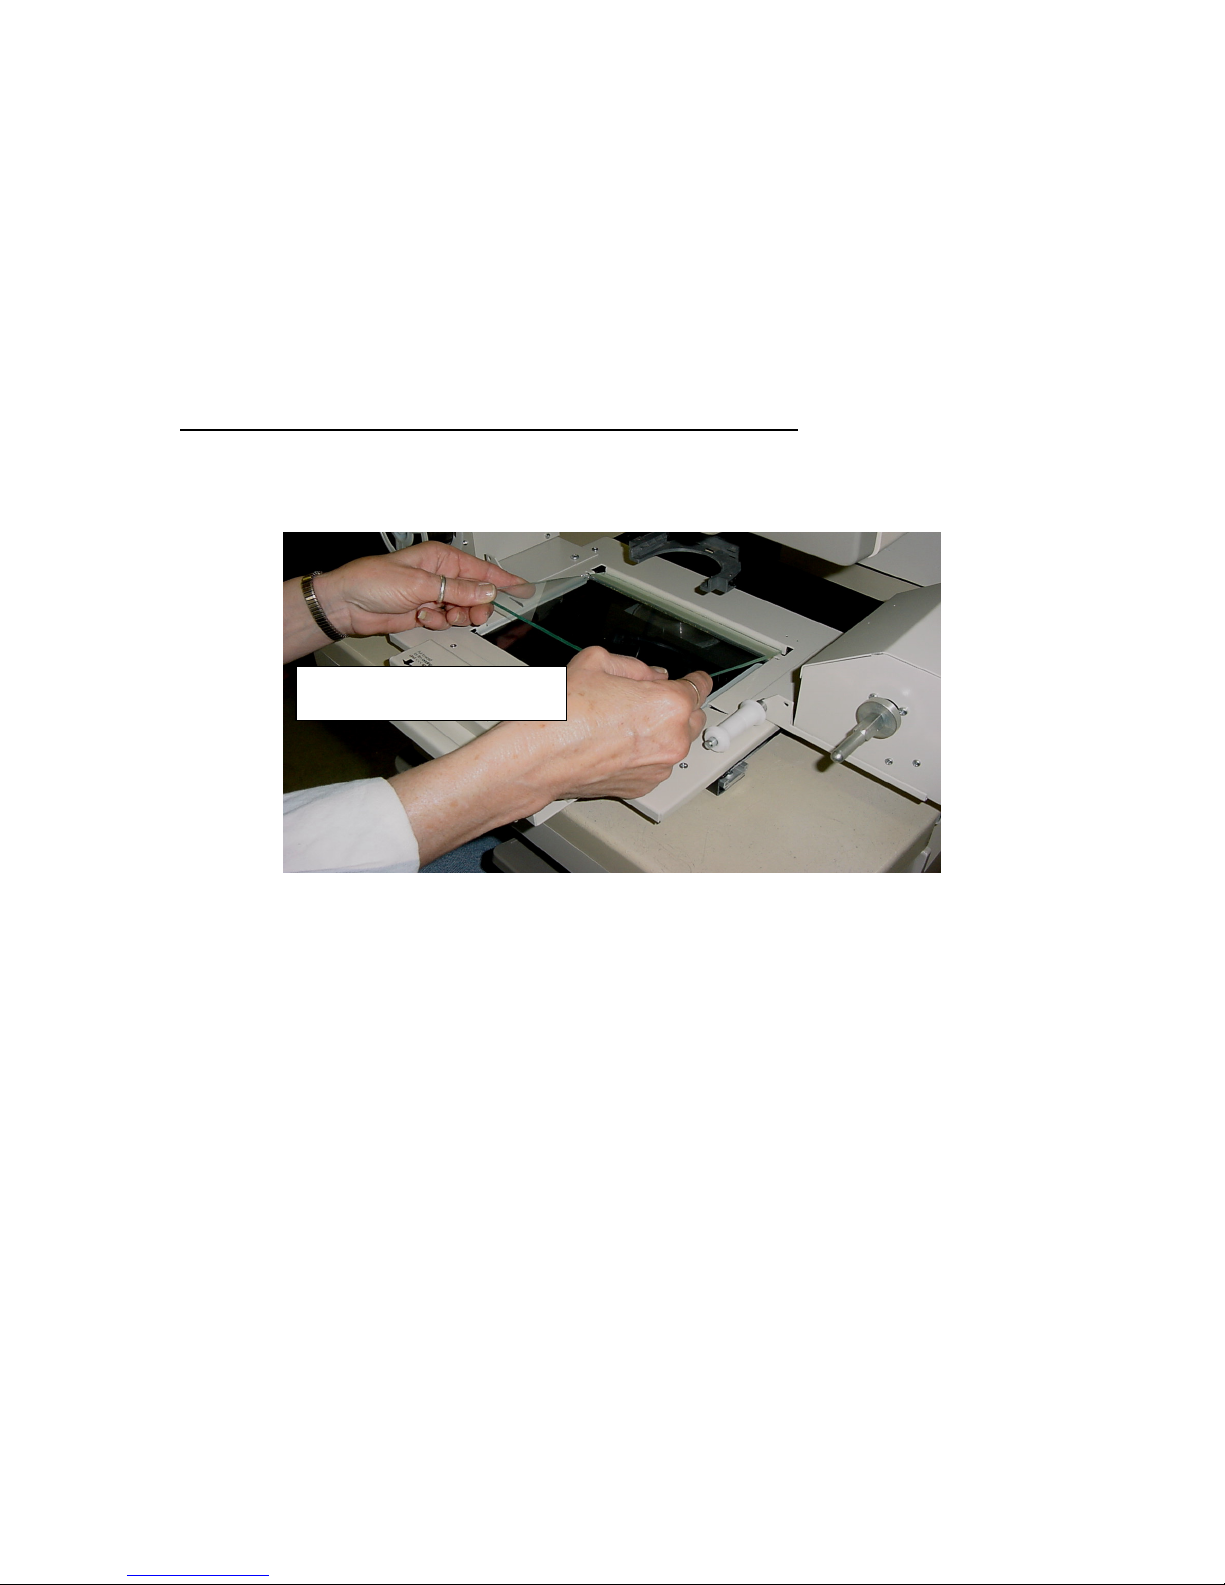
Maintenance
The upper and the lower glass flats must be cleaned regularly for optimum performance.
Remove lens from the reader-printer and set aside. Now the cover glass may be easily
removed by lifting it out of the frame. It helps to pull the carrier halfway to the front for
glass removal. Fig. 8.
Always be sure glass is completely dry before loading film!
Lift glass out of carrier
8
 Loading...