

Miele KWT 1602 Vi, KWT 1612 Vi Operating instructions
Operating and installation instructions
Wine conditioning unit
To avoid the risk of accidents or damage to the appliance
it is essential to read these instructions before it is installed
and used for the first time.
M.-Nr. 09 761 250en - GB, HK

Contents
Description of the appliance.........................................4
Caring for the environment..........................................6
Warning and Safety instructions .....................................7
How to save energy ...............................................14
Switching on and off ..............................................15
Switching on .....................................................15
Operation ........................................................15
Switching off .....................................................17
Further settings ...................................................17
Switching off for longer periods of time .................................18
The ideal temperature and humidity level .............................19
Temperature .....................................................19
Setting the temperature .............................................19
Isolator plates for thermal separation ..................................21
Selecting Fahrenheit or Celsius for the temperature .......................21
Temperature display ...............................................22
Humidity level ....................................................23
Air filtering with active charcoal filters ..................................24
Temperature and door alarm .......................................25
Storing wine bottles...............................................27
Bottle presenter ...................................................28
Maximum capacity.................................................28
Display lighting ...................................................29
Defrosting .......................................................30
Cleaning and care ................................................31
Before cleaning ...................................................31
Cleaning the interior and accessories ..................................31
Ventilation gaps ...................................................32
Door seal ........................................................32
Active charcoal filter ...............................................32
Problem solving guide ............................................33
Noises .........................................................36
After Sales / Guarantee ............................................37
Guarantee .....................................................37
2

Contents
Note for test institutes.............................................38
Electrical connection..............................................39
Installation advice ................................................40
Location .........................................................40
Climate range ....................................................40
Floor ............................................................42
Door hinging .....................................................42
Adjoining furniture/units .............................................42
Ventilation .......................................................42
Side-by-side installation.............................................43
To limit the opening angle of the door ..................................44
Appliance door dimensions (opening angle 90°) .........................45
Appliance door dimensions (opening angle 115°) ........................45
Building-in dimensions ...........................................46
Installation ......................................................48
Tools and accessories required ......................................48
Weight of the door front .............................................49
Building into a peninsular run ........................................49
Building-in at the end of a run of units..................................49
Aligning the building-in niche ........................................50
Checking the building-in niche .......................................50
Before installation .................................................50
Preparing the niche ................................................51
Installation accessories ..........................................51
Anti-tipping mechanism ..........................................52
An alternative anti-tipping mechanism ..............................54
Placing the appliance in the niche ....................................55
Aligning the appliance..............................................56
Securing the appliance in the niche ...................................57
Preparing the furniture front..........................................59
Securing and aligning the furniture door ................................61
Securing the covers................................................62
Fitting the plinth facing .............................................63
Fitting the door trim ................................................64
Fitting the air separator .............................................65
Addresses.......................................................67
3
Description of the appliance
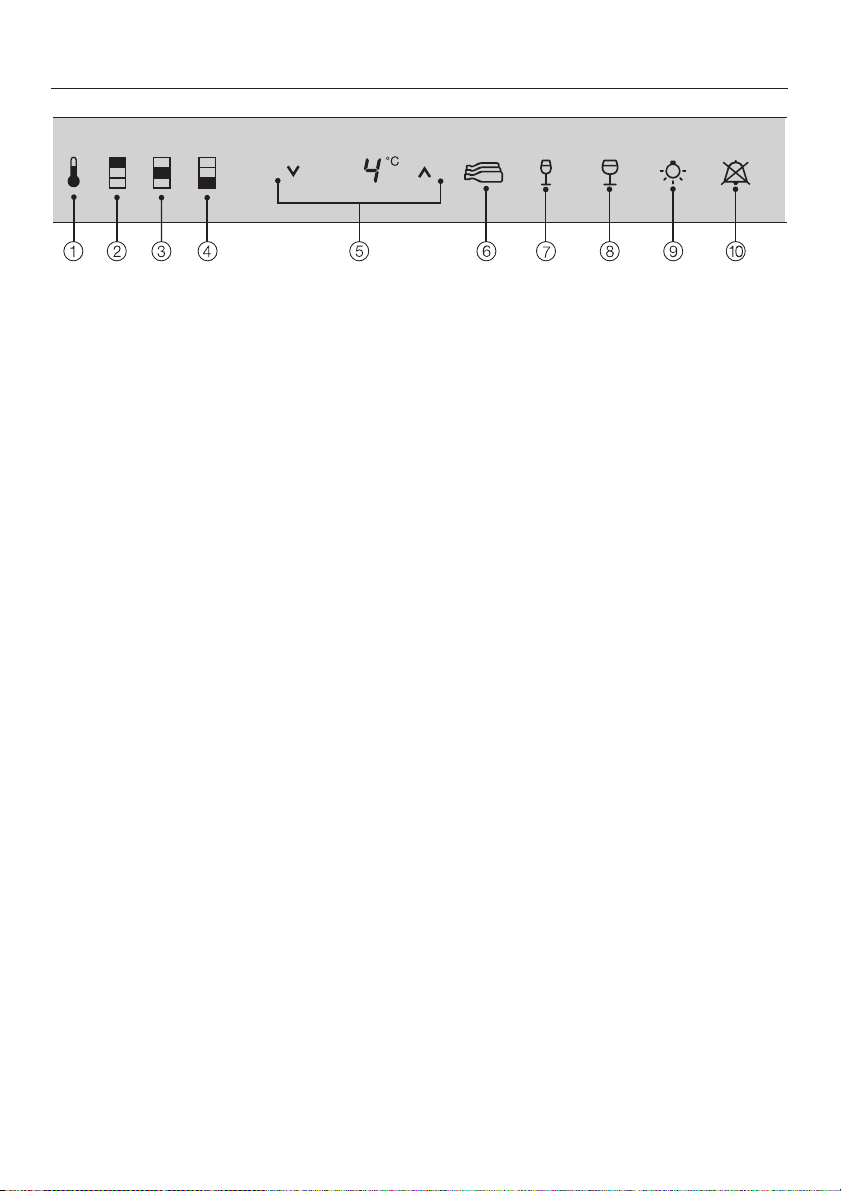
a Access sensor
b Sensor to select the upper
temperature zone
c Sensor to select the middle
temperature zone
d Sensor to select the lower
temperature zone
e Sensor to set the temperature
(X for colder; Y for warmer)
and
to set the lighting duration
(X for shorter; Y for longer)
f Sensor to select the temperature for
storing wine for a longer period
g Sensor to select the optimum storage
temperature for white wine
h Sensor to select the optimum storage
temperature for red wine
i On/Off sensor for the display lighting
j Sensor for switching off the
temperature or door alarm
(only visible when the temperature or
door alarm is sounding)
4
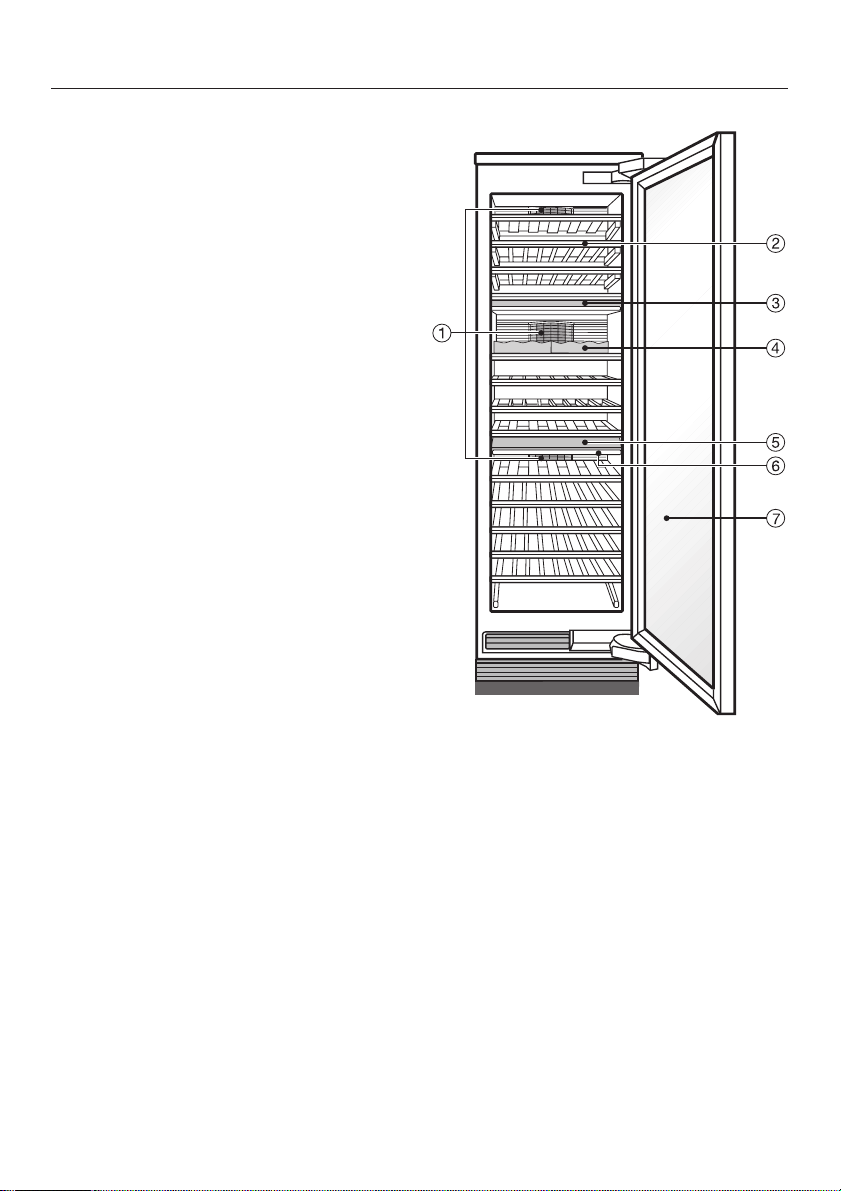
a Vents/Active charcoal filters
b Wooden shelves
c Isolator plate for thermal separation
of the upper and middle temperature
zones
d Bottle presenter
e Control panel/Isolator plate for
thermal separation of the middle and
lower temperature zones
f Rocker switch for switching the
whole appliance on and off
g Glass door with UV filter
Description of the appliance
5

Caring for the environment
Disposal of the packing
material
The packaging is designed to protect
the appliance from damage during
transportation. The packaging materials
used are selected from materials which
are environmentally friendly for disposal
and should be recycled.
Recycling the packaging reduces the
use of raw materials in the
manufacturing process and also
reduces the amount of waste in landfill
sites.
Disposal of your old appliance
Electrical and electronic appliances
often contain valuable materials. They
also contain materials which, if handled
or disposed of incorrectly, could be
potentially hazardous to human health
and to the environment. They are,
however, essential for the correct
functioning of your appliance. Please
do not therefore dispose of it with your
household waste.
Please dispose of it at your local
community waste collection / recycling
centre or contact your dealer for
advice. Ensure that it presents no
danger to children while being stored
for disposal.
Take care not to damage the pipework
at the back of it before or during
transportation to an authorised
collection depot.
In this way, refrigerant in the pipework
and oil in the compressor will be
contained, and will not leak out into the
environment.
6
Warning and Safety instructions
This appliance complies with all statutory safety requirements.
Inappropriate use can, however, lead to personal injury and
damage to property.
To avoid the risk of accidents and damage to the appliance,
please read these instructions carefully before installation and
before using it for the first time. They contain important
information on installation, safety, use and maintenance.
Miele cannot be held liable for damage caused by
non-compliance with these Warning and Safety instructions.
Keep these instructions in a safe place and ensure that new users
are familiar with the content. Pass them on to any future owner.
,
Warning!
This appliance is very heavy and can tip forwards when the door
is open. Keep the appliance door shut until the appliance has
been built in and secured in its building-in niche in accordance
with these operating and installation instructions.
,
Warning!
If installed at altitudes above 2500 m, there is a risk of the glazing
in the door breaking.
Shards of glass are very sharp and can cause severe injury if not
handled with care.
7

Warning and Safety instructions
Correct application
The appliance is intended for use in domestic households and
~
similar working and residential environments. It is not intended for
outdoor use.
This appliance is intended for domestic use only for storing wine.
~
Any other usage is not supported by the manufacturer and could be
dangerous.
The appliance is not suitable for storing and keeping cool
~
medicines, blood plasma, laboratory preparations or other such
materials or products. Incorrect use of the appliance for such
purposes can cause deterioration of the items stored. The appliance
is not suitable for use in areas where there is a risk of explosion.
Miele cannot be held liable for damage resulting from incorrect or
improper use or operation.
The appliance can only be used by people with reduced
~
physical, sensory or mental capabilities, or lack of experience and
knowledge, if they are supervised whilst using it, or have been
shown how to use it in a safe way and recognise and understand the
consequences of incorrect operation.
8

Warning and Safety instructions
Safety with children
Children under 8 years of age must be kept away from the
~
appliance unless they are constantly supervised.
Children 8 years and older may only use the appliance
~
unsupervised if they have been shown how to use it in a safe way
and recognise and understand the consequences of incorrect
operation.
Children must not be allowed to clean or maintain the appliance
~
unsupervised.
Please supervise children in the vicinity of the appliance and do
~
not let them play with it.
The door hinges can cause injury. Keep children well away at all
~
times.
Danger of suffocation. Packaging, e.g. plastic wrappings, must
~
be kept out of the reach of babies and children. Whilst playing,
children could become entangled in packaging or pull it over their
head and suffocate.
Technical safety
The coolant system is tested for leaks. The appliance complies
~
with statutory safety requirements and the appropriate EU
guidelines.
9
Warning and Safety instructions
This appliance contains the coolant Isobutane (R600a), a natural
~
gas which is environmentally friendly. Although it is flammable, it
does not damage the ozone layer and does not increase the
greenhouse effect.
The use of this coolant has, however, led to a slight increase in the
noise level of the appliance. In addition to the noise of the
compressor, you might be able to hear the coolant flowing around
the system. This is unavoidable, and does not have any adverse
effect on the performance of the appliance.
Care must be taken during the transportation and installation of the
appliance that no parts of the cooling system are damaged.
Splashes of coolant can injure the eyes.
In the event of any damage:
– avoid any open flames or anything which creates a spark,
–
disconnect the appliance from the electricity supply,
–
ventilate the room where the appliance is located for several
minutes, and
–
call the Service Department for advice.
The more coolant there is in an appliance, the larger the room it
~
should be installed in. In the event of a leakage, if the appliance is in
a small room, there is the danger of combustible gases building up.
For every8gofcoolant at least 1 m
amount of coolant in the appliance is stated on the data plate inside
the appliance.
10
3
of room space is required. The

Warning and Safety instructions
To avoid the risk of damage to the appliance, make sure that the
~
connection data (fuse rating, frequency and voltage) on the data
plate corresponds to the household supply.
Check that this is the case before connecting the appliance. Consult
a qualified electrician if in any doubt.
The electrical safety of this appliance can only be guaranteed
~
when it is correctly earthed. It is essential that this standard safety
requirement is met. If in any doubt, please have the electrical
installation tested by a qualified electrician.
If the electrical connection cable is faulty it must only be replaced
~
by a Miele authorised service technician to protect the user from
danger.
Do not connect the appliance to the mains electrical supply by an
~
extension lead or a multi-socket adapter. These are a fire hazard
and do not guarantee the required safety of the appliance.
Do not use in a damp or wet environment (e.g. garage or utility
~
room). Moisture could reach live components or the electrical
connection and cause a short circuit.
This appliance must not be used in a non-stationary location (e.g.
~
on a ship).
A damaged appliance can be dangerous. Check the appliance
~
for visible signs of damage. Do not use a damaged appliance.
For safety reasons, this appliance may only be used when it has
~
been fully installed.
11

Warning and Safety instructions
The appliance must be disconnected from the mains electricity
~
supply during installation, maintenance and repair work. Ensure that
power is not supplied to the appliance until after it has been
installed or until after any maintenance or repair work has been
carried out.
While the appliance is under guarantee, repairs should only be
~
undertaken by a Miele authorised service technician. Otherwise the
guarantee is invalidated.
The manufacturer can only guarantee the safety of the appliance
~
when original Miele replacement parts are used. Faulty components
must only be replaced by genuine Miele original spare parts.
Correct use
The appliance is designed for use within certain climate ranges
~
(ambient temperatures), and should not be used outside this range.
The climate range of the appliance is stated on the data plate inside
the appliance. Installing it in a room with too low an ambient
temperature, e.g. a garage, will lead to the compressor switching off
for longer periods so that the appliance cannot maintain the
required temperature.
Do not cover or block the air vents as this could impair the
~
efficiency of the appliance, increase the electricity consumption and
could cause damage to the components.
Do not store explosive materials in the appliance or any products
~
containing propellants (e.g. spray cans). Electrical components
could cause flammable vapours to ignite. Danger of fire and
explosion.
12

Warning and Safety instructions
Do not operate any electrical equipment inside the appliance.
~
Danger of sparking and explosion.
Only use genuine original Miele accessories with this appliance.
~
Using spare parts or accessories from other manufacturers will
invalidate the guarantee, and Miele cannot accept liability.
Cleaning and care
Do not use any oils or grease on the door seal, as these will
~
cause the seal to deteriorate and become porous with time.
Do not use a steam cleaning appliance to clean or defrost this
~
appliance. Steam could reach electrical components and cause a
short circuit.
Disposal of your old appliance
Before disposing of an old appliance, first make the door latch or
~
lock unusable.
This way you will prevent children from accidentally locking
themselves in and endangering their lives.
Be careful not to damage any part of the pipework whilst awaiting
~
disposal, e.g. by
–
puncturing the refrigerant channels in the evaporator,
–
bending any pipework,
–
scratching the surface coating.
Splashes of coolant can injure the eyes.
13

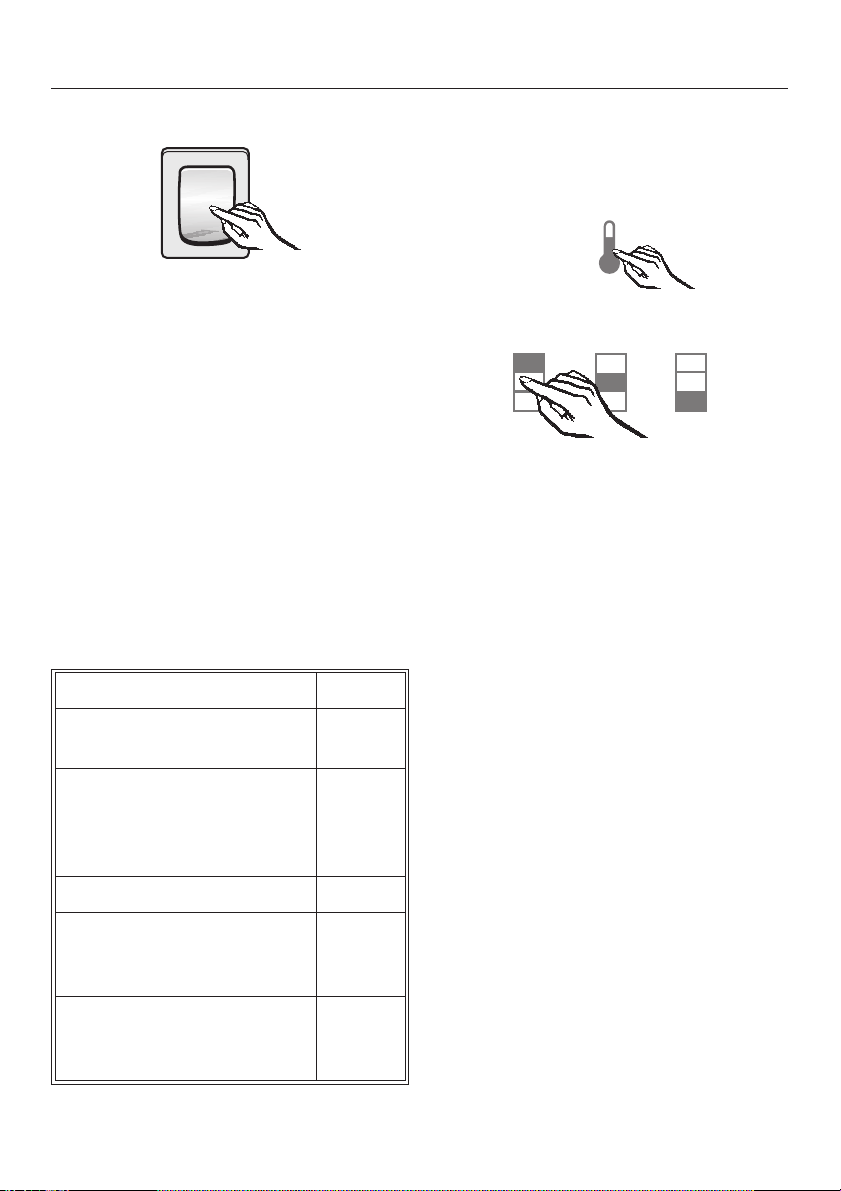
How to save energy
Normal energy
consumption
Installation site In a ventilated room. In an enclosed, unventilated
Protected from direct
sunlight.
Not near to a heat source
(radiator, oven).
Where the ideal ambient room
temperature is approx. 20°C.
Ventilation gaps uncovered
and dusted regularly.
Compressor and metal grille
(heat exchanger) dusted at
least once a year.
Temperature
setting
Use Wooden shelves arranged
10 to 12 °C The lower or higher the
as they were when the
appliance was delivered.
Increased energy
consumption
room.
In direct sunlight.
Near to a heat source
(radiator, oven).
Where there is a high
ambient room temperature.
Ventilation gaps covered or
dusty.
Dust build-up on the
compressor and metal grille
(heat exchanger).
temperature set, the higher
the energy consumption.
14
Only open the door when
necessary and for as short a
time as possible.
Store wine bottles in an
organised way.
Do not over-fill the appliance
to allow air to circulate.
Frequent opening of the
door for long periods will
cause a loss of coldness.
The appliance works harder
to cool down and the
compressor runs for longer
periods.
Before using for the first time
Clean the inside of the appliance and
^
the accessories with lukewarm water
and a little washing-up liquid, and
then dry with a soft cloth.
Switching on and off
Please note: switching the appliance
off with the rocker switch does not
disconnect the appliance from the
mains.
Important:
To ensure the correct functioning of
the appliance, let it stand for
approx. 8 hours if it has been
transported on its side to its final
location before connecting it to the
mains.
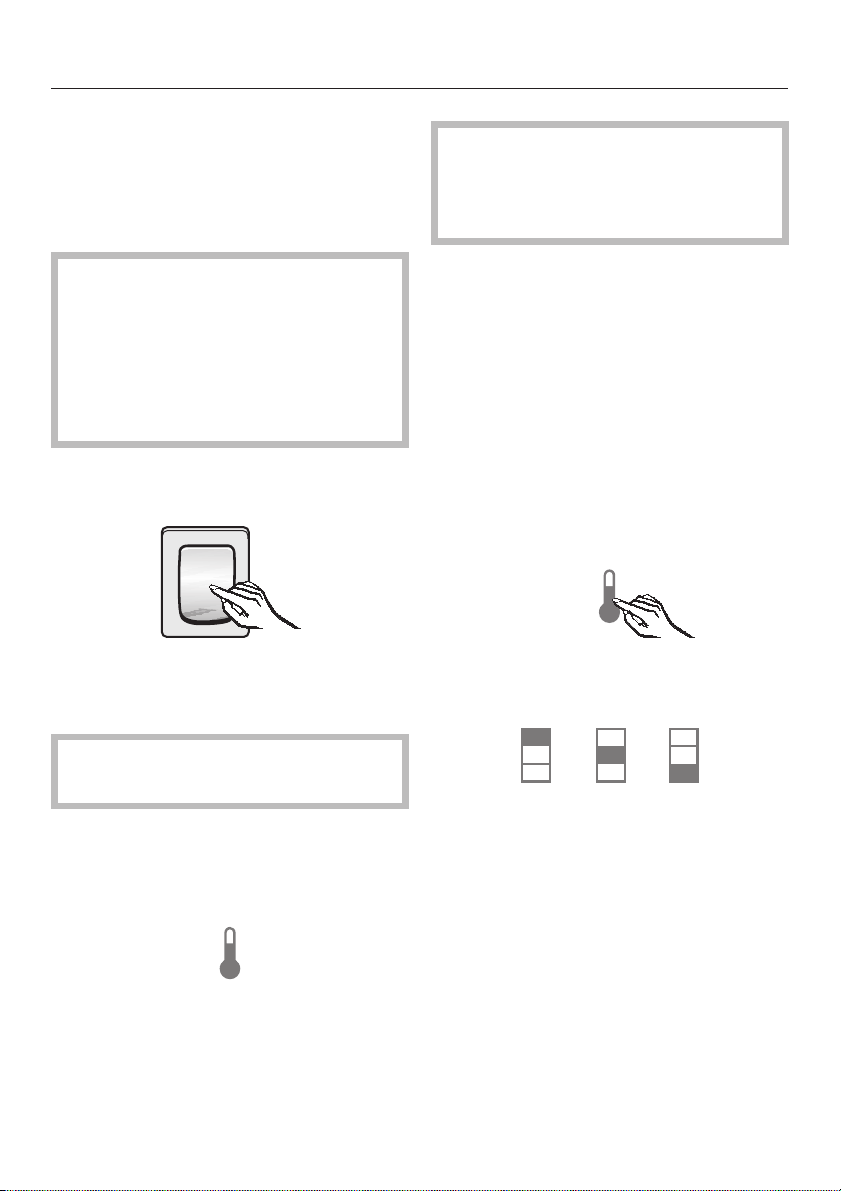
Switching on
^ Open the door.
^ Press the rocker switch on the
right-hand side underneath the
control panel.
This switches all of the zones in the
appliance on or off together.
The appliance will start to cool, and the
interior lighting will come on when the
door is opened.
Operation
A light touch of the finger on the
sensors is all that is required to operate
this appliance.
Please note:
A sensor that is available for
–
selection is always highlighted in
white.
– A sensor that has been selected is
always highlighted in yellow.
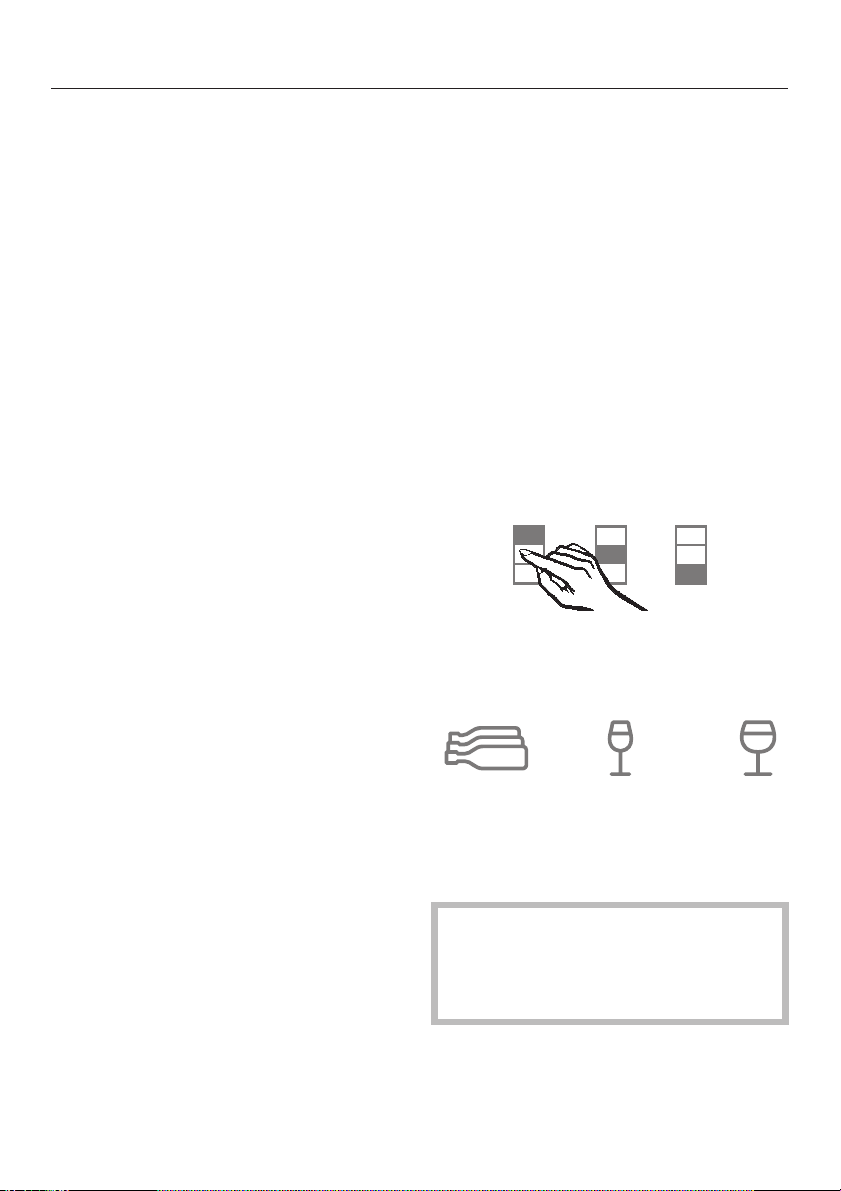
^ Touch the access sensor so that it is
highlighted in yellow.
The sensors for the three zones will now
appear in the control panel: the upper,
middle and lower wine-conditioning
zones.
The access sensor in the control panel
will also light up.
15
Switching on and off
The zones are set ex-works for the
following types of storage:
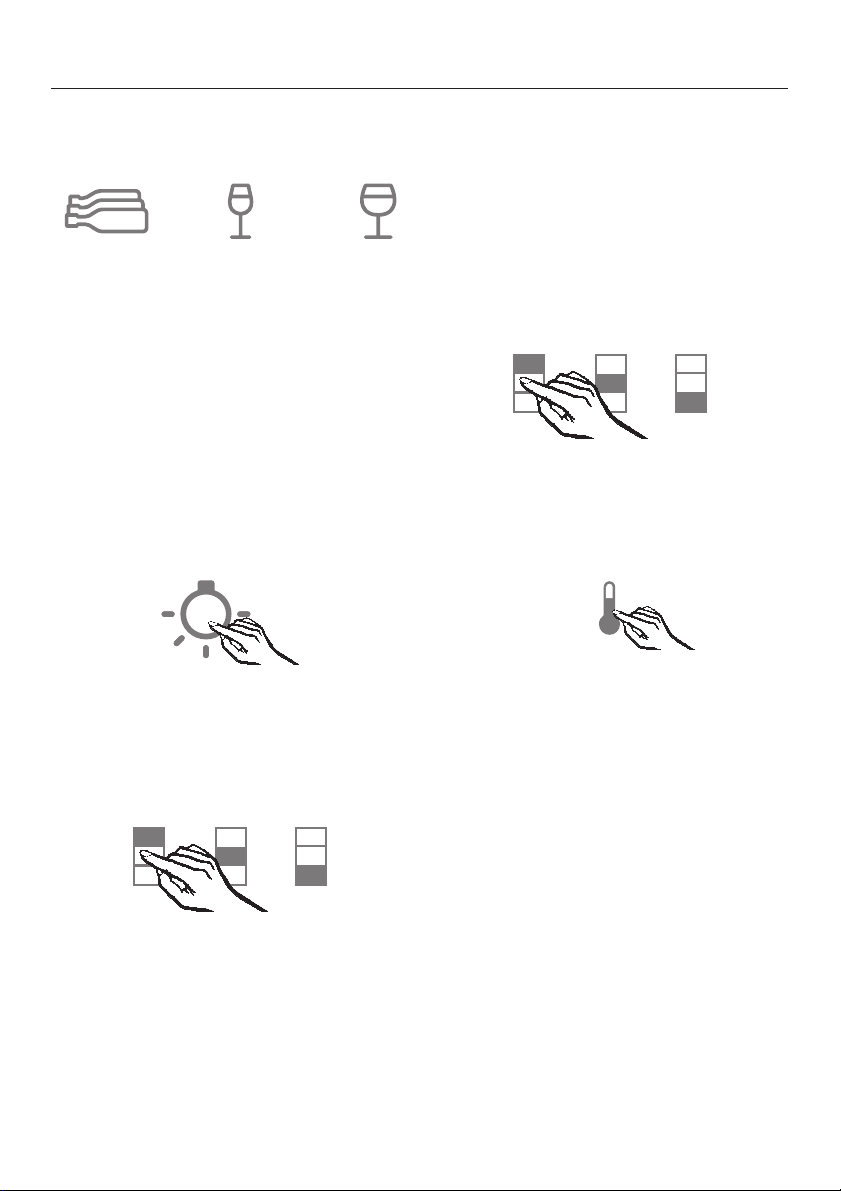
Lower zone:
–
for storing wine for a longer period of
time (left-hand symbol)
Middle zone:
–
for storing white wine (middle
symbol)
Upper zone:
–
for storing red wine (right-hand
symbol)
To switch the display lighting on or off,
^ touch the sensor for the display
lighting.
To select settings for your appliance
(e.g. to set the temperature, etc),
A sensor that has been selected is
highlighted in yellow. You can now
set the temperature, or
–
set the humidity level for the zone
–
you have selected.
Please refer to the relevant section for
more information.
To deselect a zone,
touch the sensor of the selected zone
^
again so that it is highlighted in white,
or select a different sensor.
To finish selecting settings,
^ touch the access sensor so that it is
highlighted in white.
Your last selected settings will now be
saved to memory.
If you do not touch the access sensor,
the electronics for accessing the
settings will switch off after a period.
^
touch the sensor for the particular
zone where you would like to select
the settings.
16
Switching on and off
Switching off
Press the rocker switch.
^
The cooling system and the interior
lighting are now switched off.
Further settings
You can select further settings in
settings mode and then select certain
appliance functions and adjust their
settings. The settings for the different
functions are described in more detail
in the relevant section of these
instructions.
Overview of functions that can be
selected in settings mode:
Function Symbol
To enter or leave settings
mode
To select the
temperature unit
(see "The ideal temperature
and humidity level")
;
†
Switching the sensor tone on/off
The tone which sounds each time a
sensor is touched can be deactivated.
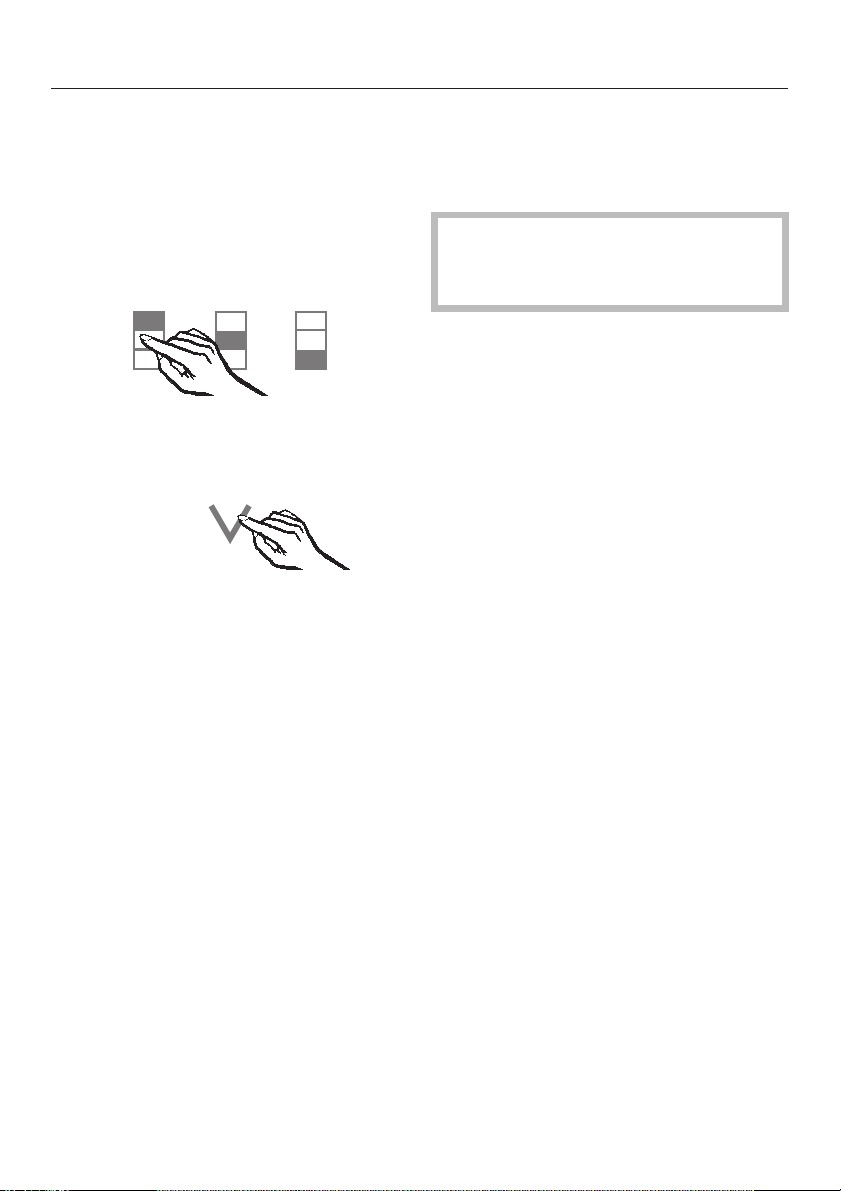
Touch the access sensor so that it is
^
highlighted in yellow.
^ Touch the sensor for one of the zones
(it does not matter which) so that it is
highlighted in yellow.
^ Take note of the position of the X
sensor (but do not touch it!).
^ Touch the access sensor until it is
highlighted in white and all of the
other sensors are no longer lit up.
^ Place your finger in the position of the
X sensor, and leave it there.
^
At the same time, briefly touch the
access sensor (without moving your
finger from the X sensor).
No function allocated ;
To switch the sensor tone
on/off (see "Switching on
and off")
To set the humidity level
(see "The ideal temperature
and humidity level")
=
§
17
Switching on and off
Leave your finger on the X sensor for
^
another 4 seconds until c and the Y
sensor also appear in the display.
Now touch the X sensor repeatedly
^
until b appears in the display.
Touch the access sensor again.
^
By touching the X sensor, you can
^
now select whether the sensor tone is
switched on or off:
= 0: Sensor tone switched off
= 1: Sensor tone switched on
= –: Return to menu
^ After selecting a new setting, touch
the access sensor to confirm your
choice.
^ Touch the X sensor repeatedly until ;
appears in the display.
Switching off for longer
periods of time
If the appliance is not going to be used
for a longer period of time, e.g. whilst
on holiday:
switch the appliance off,
^
disconnect it from the mains,
^
clean the appliance out and
^
leave the door ajar to air the
^
appliance.
If, during a long absence, the
appliance is switched off but not
cleaned out and the door is left shut,
there is a danger of mould and odours
building up inside the appliance.
^
Touch the access sensor.
You have now left settings mode.
The door alarm is automatically
disabled when the appliance is in
settings mode. As soon as the door
is closed, the door alarm is
activated again.
18
The ideal temperature and humidity level
Wine keeps on maturing depending on
the surrounding conditions. The length
of time for which wine can be kept in
good condition will therefore depend
not only on the temperature but also on
the air quality.
The wine conditioning unit, with its
constant ideal temperature, increased
air humidity and odour-free
atmosphere, offers the perfect
conditions for storing your wine.
Temperature
Wine can be stored at a temperature
between 5°C and 18°C. If you wish to
store red and white wines together,
select a temperature between 10 and
12°C. Most white wines are palatable at
this temperature. It is best to take red
wine out of the appliance about two
hours before drinking. Open the wine to
allow it to breathe and to develop its
aroma. After two hours, red wine will be
at the correct temperature for drinking.
Setting the temperature
The zones are set ex-works for the
following types of storage:
Upper zone:
–
for storing red wine (16 °C)
Middle zone:
–
for storing white wine (10 °C)
Lower zone:
–
for storing wine for a longer period of
time (11 °C)
You can adjust the zones to your
requirements, for example if you wish to
store white wine in the upper zone.
Simply set the relevant temperature
specification as follows:
^ Touch the sensor for the zone you
wish to change so that it is
highlighted in yellow.
A storage temperature of over 22°C
causes wine to mature too quickly.
Wine should not be stored below 5°C
for a long period of time as it will not
mature fully at this low temperature.
Fluctuations in temperature put wine
under stress and interrupt the maturing
process. It is therefore very important to
maintain a constant temperature.
^
Then touch the sensor for the type of
storage you wish to select (long-term,
white wine or red wine storage) so
that it is highlighted in yellow.
Although you can use the lower
zone for white wine if you wish, it is
not possible to select the white wine
symbol for the lower zone.
19
The ideal temperature and humidity level
It is possible to set the exact
temperature individually in each zone.
The zones are set up ex works to store
red wine, white wine and for long-term
storage.
The settings can be altered to your
requirements.
Touch the sensor for the zone you
^
wish to change so that it is
highlighted in yellow.
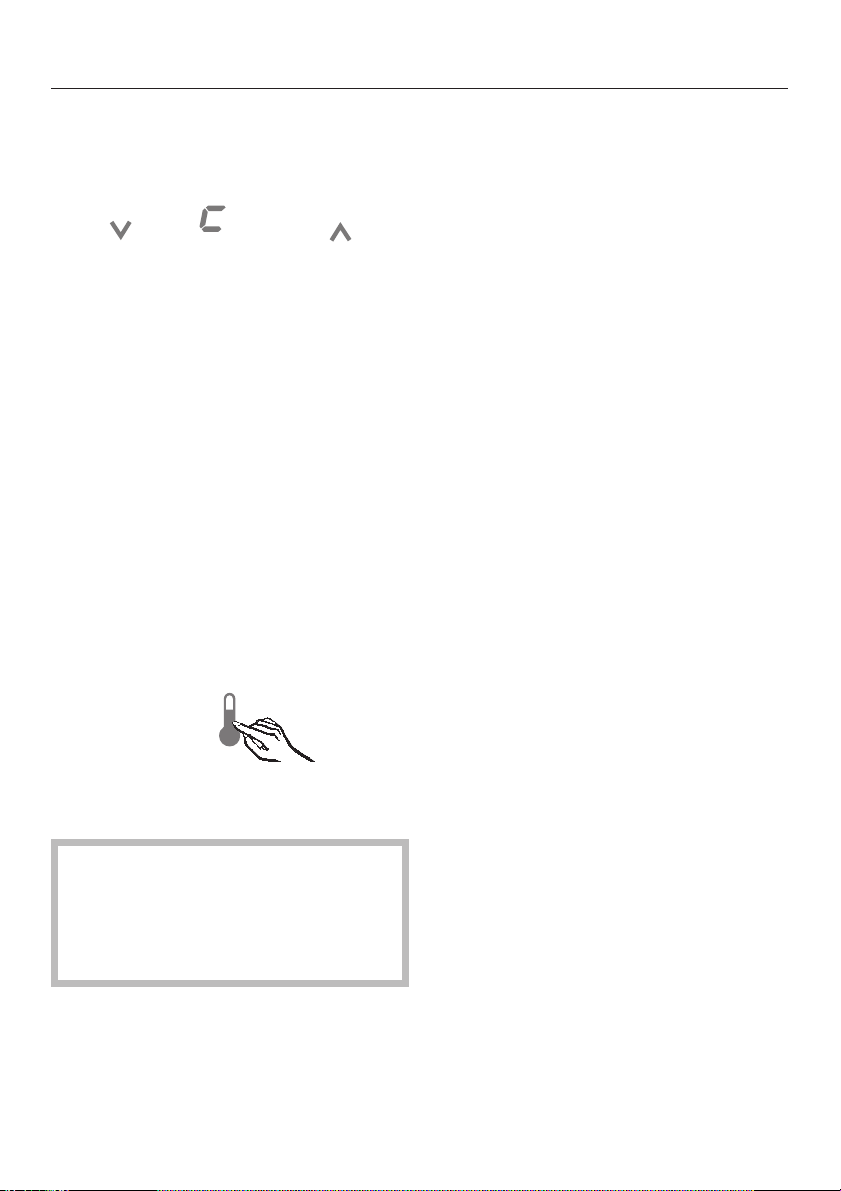
^ The temperature inside the appliance
can be selected by touching the
arrow sensors on either side of the
temperature display.
If the highest or lowest temperature that
it is possible to set is reached, the X or
Y sensor will disappear from the
display.
The temperature display in the
control panel always shows the
required temperature.
Once you have altered the temperature,
check the temperature after a few
hours. It will take this long for the
appliance to reach the temperature. If,
after this time, the temperature is still
too high or too low, you will need to
adjust it again.
Temperature ranges for each of the
zones
– Upper zone:
5°Cto18°C
– Middle zone:
5°Cto18°C
The temperature set at the factory for
the zone concerned is highlighted in
yellow.
By touching the
X sensor: the temperature will get
colder
Y sensor: the temperature will get
warmer.
–
Touching the sensor once:
adjusts the temperature shown in
1 °C steps.
–
Keeping your finger on the sensor:
changes the temperature
continuously.
20
– Lower zone:
8°Cto18°C
The ideal temperature and humidity level
Isolator plates for thermal
separation
The appliance has two fixed isolator
plates which divide the cabinet into
three different temperature zones. This
enables you to store three different
types of wine at the same time, e.g. red
wine, white wine and Champagne.
Setting the correct temperature is
important to the taste of the wine.
The following temperatures are
recommended for the different types of
wine:
Red wine: 14 °C to 18 °C
Rosé wine: 10 °C to 12 °C
White wine: 8 °C to 12 °C
Sparkling white
wines:
Champagne: 5 °C to 7 °C
7°Cto9°C
Selecting Fahrenheit or
Celsius for the temperature
The temperature can be displayed in
degrees Celsius or degrees Fahrenheit.
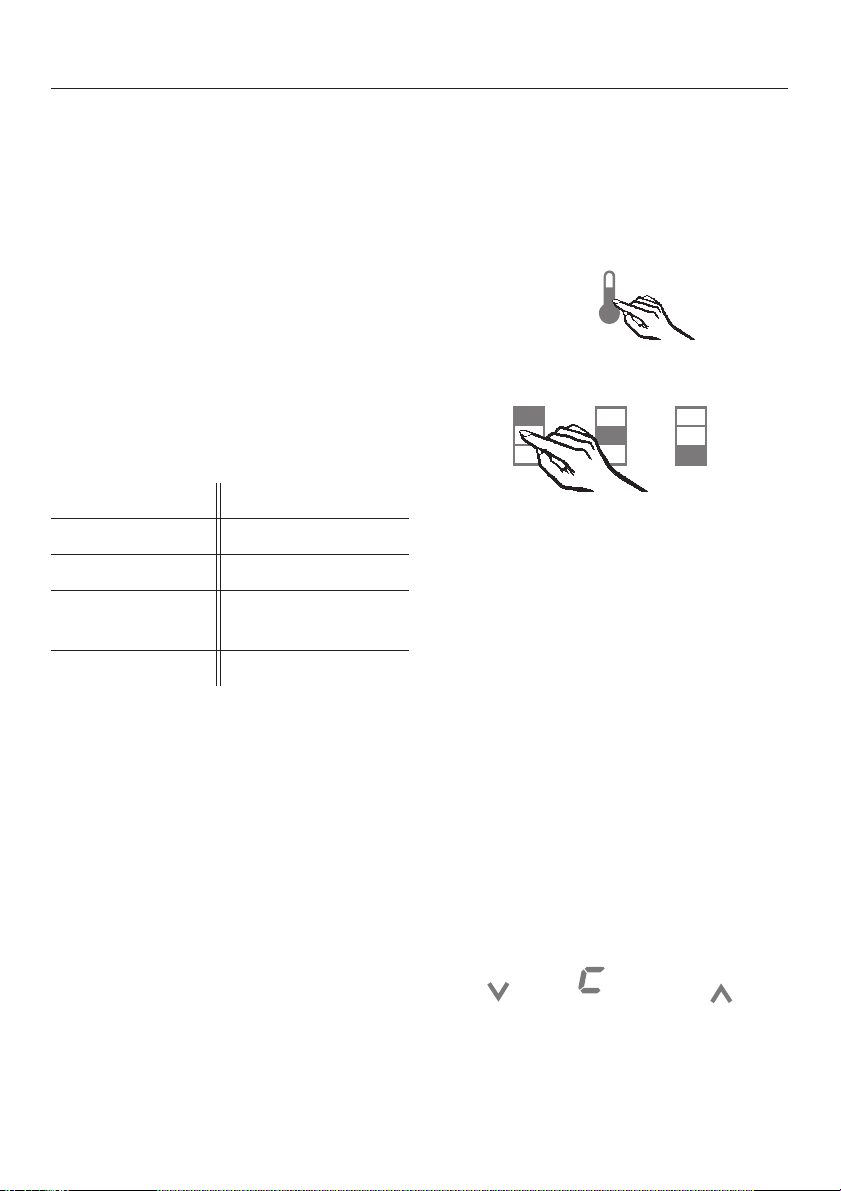
Touch the access sensor so that it is
^
highlighted in yellow.
^ Touch the sensor for one of the zones
(it does not matter which) so that it is
highlighted in yellow.
^ Take note of the position of the X
sensor (but do not touch it!).
^ Touch the access sensor until it is
highlighted in white and all of the
other sensors are no longer lit up.
^
Place your finger in the position of the
X sensor, and leave it there.
^
At the same time, briefly touch the
access sensor (without letting go of
the X sensor).
^
Leave your finger on the X sensor for
another 4 seconds until c and the Y
sensor also appear in the display.
^
Now touch the X sensor repeatedly
until † appears in the display.
^
Touch the access sensor again.
21
 Loading...