

Page 1
Installation Instructions
ESW4802Vi en-CA
Installation, repair and maintenance work should be performed by a
Miele authorized service technician in accordance with national and
local safety regulations and the provided installation instructions.
Page 2
Installation
Miele appliances can be installed flush or proud. Discuss
your installation requirements with your architect, designer
and installer.
Check that the base of the warming drawer is clean and
level. Only then will it function properly.
When inserting the appliance, wear work gloves to avoid
injuries.
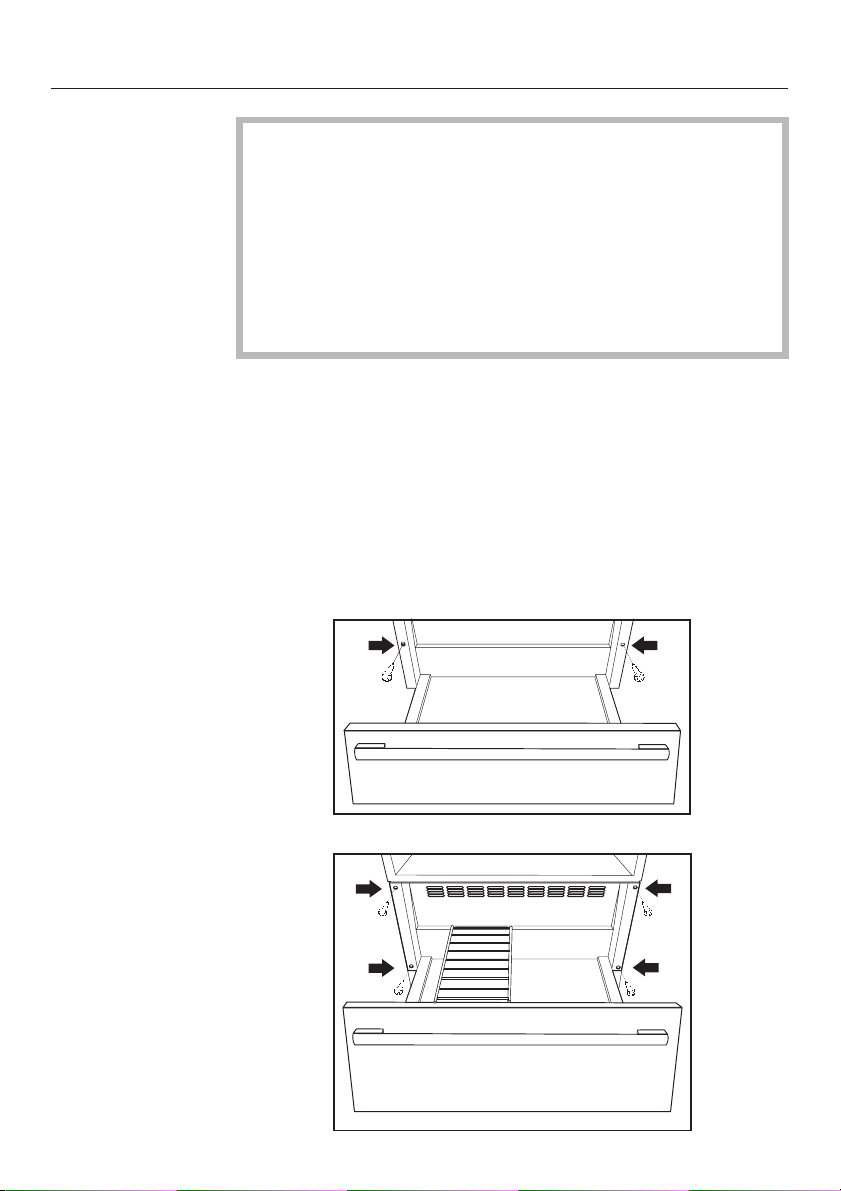
Push the appliance into the cabinetry, and align.
^
Open the drawer and fix the appliance with the supplied
^
screws at the side panels of the cabinet (see appropriate
illustration).
^ ESW 4082-14 / ESW 4088-14
Install the combination appliance regarding the manual
supplied with that machine.
ESW 4082-14 / ESW 4088-14
ESW 47x2 / ESW 48x2
31
Page 3
Installation
Aligning the appliance front
After installation it may be necessary to align the appliance
front and/or the gap between the appliances/furniture front
above.
Remove the screws from the left and right sides of the
drawer front.
Carefully lift the control panel out of the drawer. Be careful
not to pull or damage the power cord.
ESW 4082-14 / ESW 4088-14
32
ESW 47x2 / ESW 48x2
Miele appliances can be installed flush or proud. Discuss your installation
requirements with you architect, designer and installer.
Page 4

Installation
Loosen the 2 screws b on the inside of the drawer front.
^
Align the front.
^
Tighten the screws on the inside of the drawer front.
^
Replace the control panel, use caution with the power cord.
^
Replace the screws on the left and right sides of the drawer
^
front.
ESW 4082-14 / ESW 4088-14
ESW 47x2 / ESW 48x2
33
Page 5

Installation
Integrated installations
Custom made front panels can be installed with models
ESW 4702 FB and ESW 4802 FB.
The custom panel must be at least3/8" (10 mm) thick and
made of heat resistant material 140 °F (60 °C). The front
panel, including handle, must not exceed 11 lb (5 kg) in
weight.
Install a handle to the custom front panel using
^
countersunk screws.
Remove the screws from the left and right sides of the
^
drawer front and carefully lift the control panel out of the
drawer (see chapter "Aligning the appliance front")> Be
careful not to pull or damage the power cord.
^ Remove the two screws on the inner side of the drawer and
remove the panel from the appliance front.
34
^
Pre-drill the custom front panel (see illustration).
C 3/8" (10 mm), t = 3/8" (10 mm)
Page 6

Installation
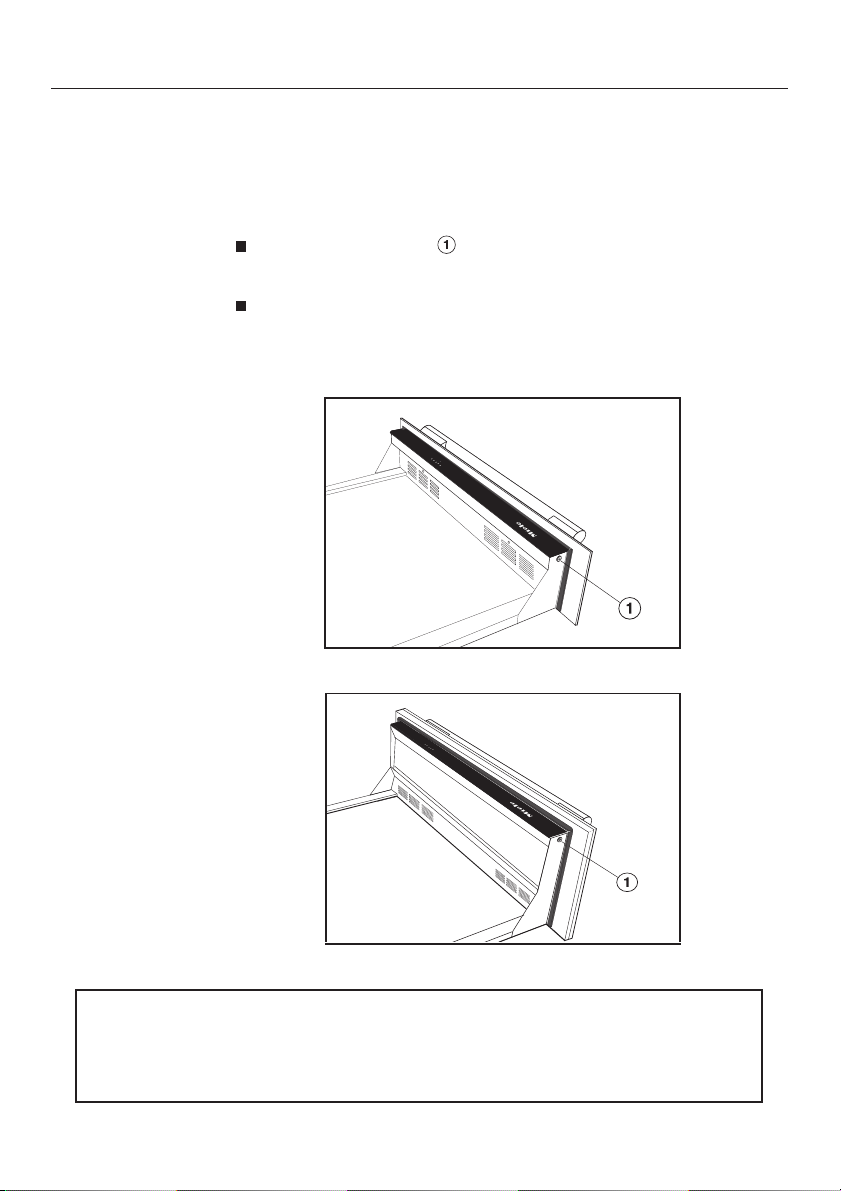
Remove the cable tie from the panel.
^
Screw the removed panel to the custom panel (see
^
illustration).
^ Hook the panel into the bottom. Make sure the seal is
seated correctly.
^
Replace and slightly tighten the screws on the inside of the
drawer front.
^
Align the front.
^
Tighten the screws on the inside of the drawer front.
^
Replace the control panel, use caution with the power cord.
^
Replace and tighten the screws on to the left and right side
of the drawer front.
35
Page 7

Electrical connection
CAUTION: Before servicing,
,
disconnect the power supply by
either removing the fuse, shutting off
the power main or manually
"tripping" the circuit breaker.
Power supply
This appliance is equipped witha5ft
(1.5 m) long power cord with a
three-prong grounding plug ready for
connection to a 120 V, 15 A, 60 Hz
power supply.
Installation work and repairs should
only be performed by a qualified
technician in accordance with all
applicable codes and standards.
Repairs and service by unqualified
persons could be dangerous.
Before connecting the appliance to
the power supply, make sure that
the voltage and frequency listed on
the data plate correspond with the
household electrical supply. This
data must correspond to prevent
machine damage. Consult an
electrician if in doubt.
When another appliance is installed
in combination with the warming
drawer to the same circuit, operating
both appliances at the same time
may cause an overload. If in doubt
consult a qualified electrician.
Further installation details are on the
wiring diagram.
36
Page 8

Alteration rights reserved / 1009
For the most updated manual see the Miele web site.
M.-Nr. 07 342 380 / 04
 Loading...