

Mercedes-Benz COMAND 2.0 Retrofit for a MY2001 C-Class
A guide to installing COMAND in your W203 C-Class
The following are some basic instructions on how to retrofit a COMAND 2.0 head unit into a 2001 C-320.
These instructions should be similar for all of the new W203 series (although I am not responsible if they
aren’t). These instructions will not be the same for the new face lifted 2004/5 models as those use an
entirely different COMAND head unit. Use this pub only for advice if you are installing on anything but a
MY2001 “C” or other model Mercedes.
The obvious disclaimers … don’t do this unless you are comfortable working on your vehicle. My W203 is
an early 2001 US version with a VIN number under 800. I take no responsibility for the accuracy or
compatibility of this document with your vehicle. You can make a huge and costly mess of your vehicle if
you don’t have the proper tools or experience. If you are unsure of anything it is probably better left for
someone with more experience to do it for you. Steve Krabbenborg at http://www.mbenznl.com
all the time and is way more experienced & knowledgeable than I will ever be. Contact him if you want it
done right … as opposed to your local MB dealership that will probably do it wrong, if at all!
The retrofit is pretty straightforward on a new “C”. It should only take about three hours max, if you are
good (like Steve), under two. For reference, my “C” has the Bose audio option, CD changer, and integrated
V60i cell phone. I created a PDF copy of the Mercedes WIS (Workshop Integrated System) and Service
Bulletins I used for the retrofit specific to the W203 that is available on my information website at
http://home.earthlink.net/~phdwebsite/
print the file from there. There are two additional links on that web page with a lot of good information I
used for my retrofit. Read (and understand) all the information completely before starting the retrofit. I
refer to connectors and such in this publication that you won’t understand until you read the WIS and other
information from the linked webpages.
Tools required:
Torx T20 bit/driver
Wire cutters/strippers
Molex (or whatever else you want to use) crimping tool
Screwdrivers and a ratchet with assorted metric sockets … a powered screwdriver will save time
Some hard plastic/nylon wedges and picks for removing snap in panels/covers (shown in the WIS)
. Just click on the COMAND 2.0 Install link and download or
does this
Parts required:
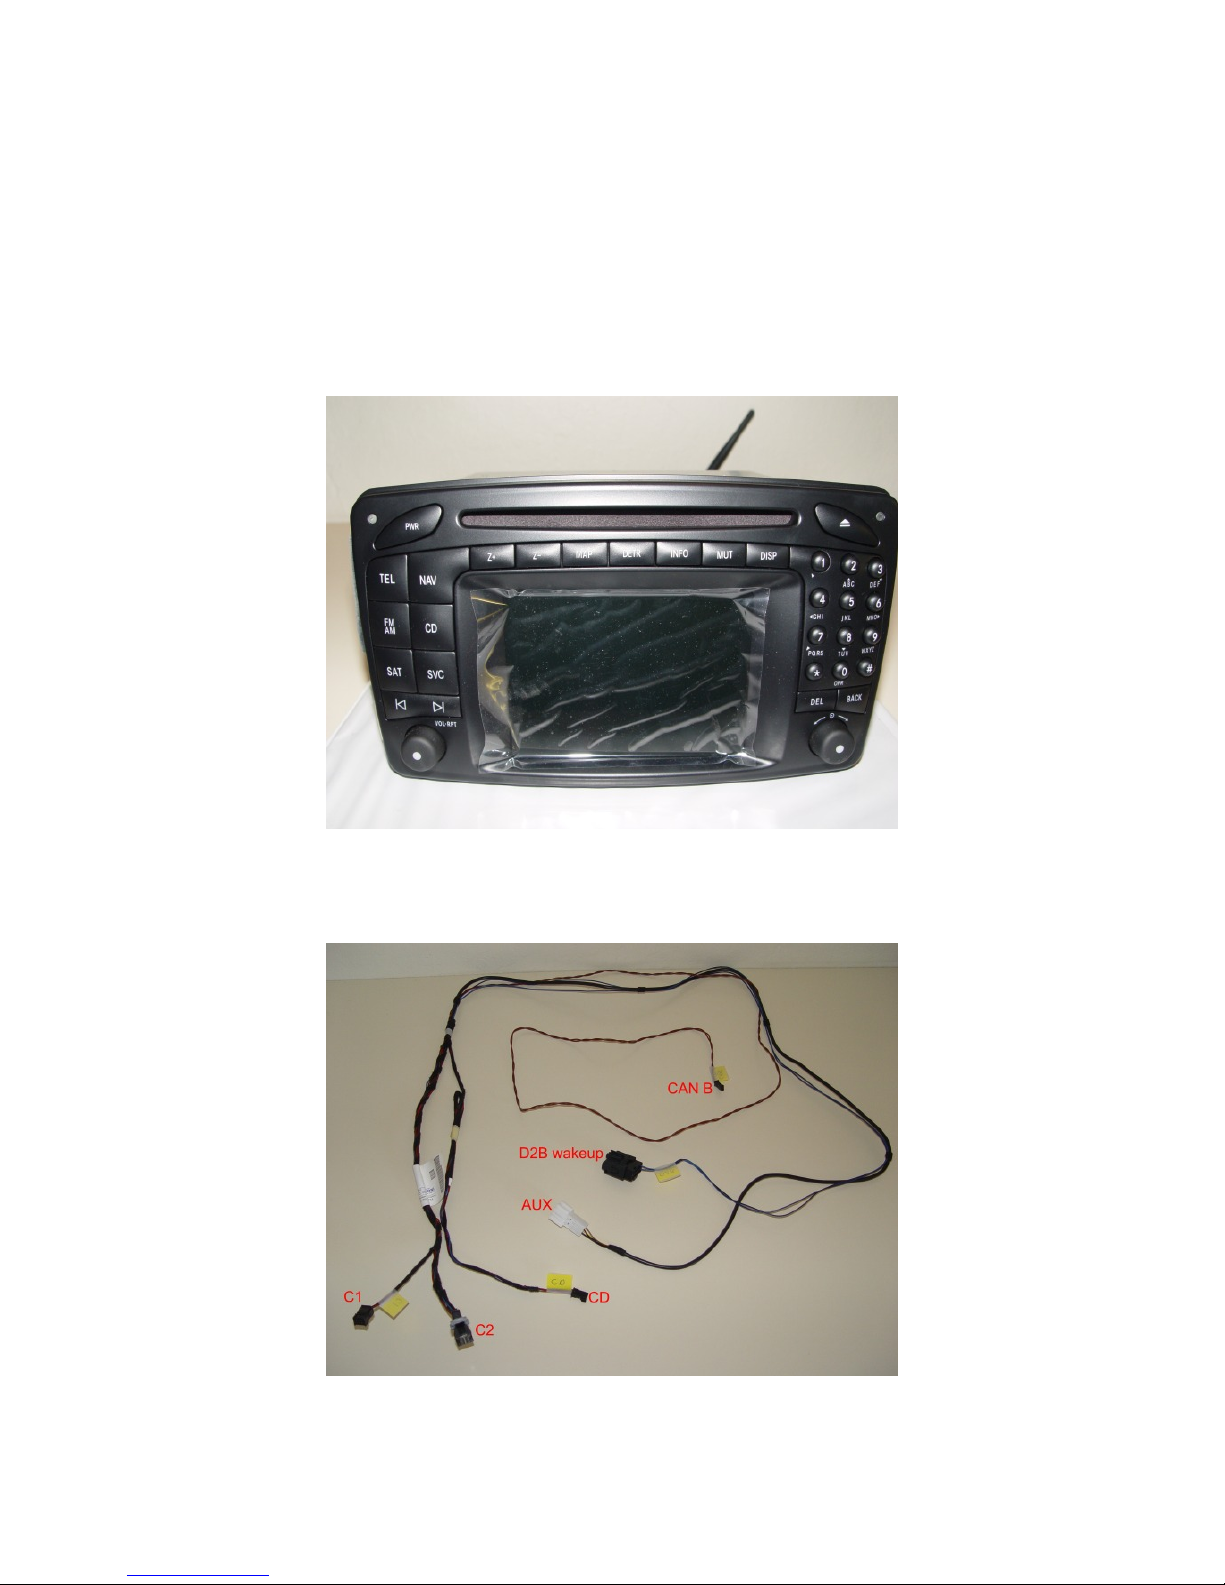
COMAND 2.0 unit specific to your vehicle. I used part number A203 827 4842. This is a 2004 US spec
unit that includes the SAT button for the Satellite radio option now available in some 2004 models. I have
not hooked this up or know much about it. I will report back when I know more. Please note the first three
numbers correspond to my model (203). Make sure you buy a COMAND unit that is specific for your
vehicle if you are doing this in something other than a “C”. The different model numbers (usually) have a
different navigation gyroscope angle adapter depending upon how the unit sits in the dash. The W209
CLK units are the same as W203’s. There is info on both of the independent install/retrofit links on my
website about part numbers. You can usually find COMAND units on eBay but be cautious about what
you buy there. This is a picture of the head unit I used:
I purchased a COMAND adapter harness for my “C” and cut that up to do the install. This probably wasn’t
necessary but made the install easier for me as I didn’t have to locate/find the C1 and C2 connector/shell
pieces that plug into the back of the COMAND unit. The part number for the harness is A203 540
0909 which sells for about $45. This is what the harness looks like:
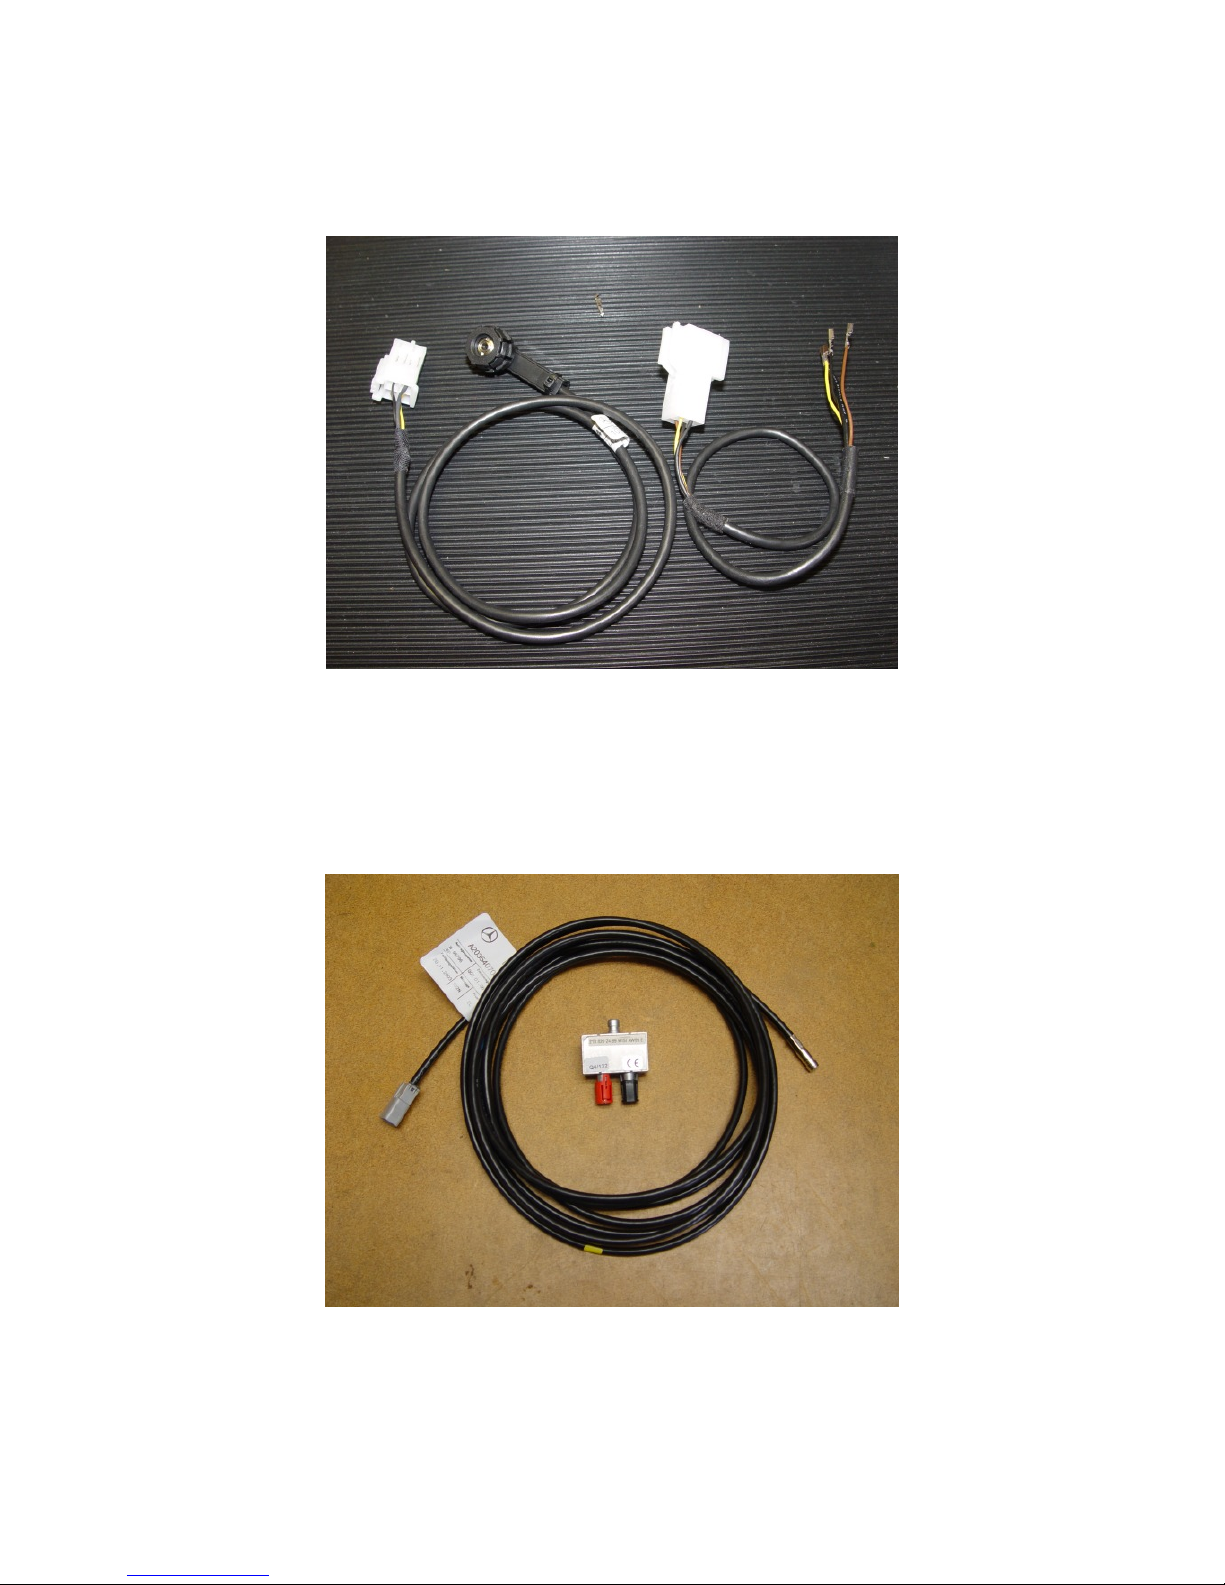
I also purchased the AUX input harness that allows you to connect an external audio device to the head
unit, like and iPod or cassette player (since the COMAND unit does not have one). The part number for
that is A203 540 6107. Below is a picture of it (left) with the shortened mating connector harness (right)
ready to put back into C2.
I also purchased the GPS antenna coax cable and a GPS splitter to tie into the existing GPS antenna that is
attached to the upper right side of the rear window. I have seen that other folks (including Steve) add an
additional antenna under the dash when doing COMAND installs but I wanted to make my install as
“stock” as possible. Intuitively the rear antenna should work a little better as the line of site around the
vehicle is better … plus the parts are cheaper than buying a GPS antenna, although more work to install.
The splitter and coax cable may already be installed in later ’01 and beyond models, but mine was not. The
part number for the GPS antenna cable is A203 540 7006 and the part number for the GPS antenna splitter
is A210 820 2489. They look like this:
I also purchased some C2 connector pins so I could shorten the AUX harness that came with the adapter
harness. The part number is A008 545 5526 and you need at least four of them assuming you do the install
as I did, at least five more if you don’t use and modify an adapter harness. Buy lots, they are cheap!!
I am not going to spend time describing how to remove the pieces from your vehicle necessary to do this
retrofit. The WIS (on my website) from Mercedes is pretty specific. If you can’t follow them you probably
shouldn’t be doing this yourself. The only part of the WIS that was inaccurate was the removal of the
center air vent in the dash … that was the worst part of the install for me!!!!
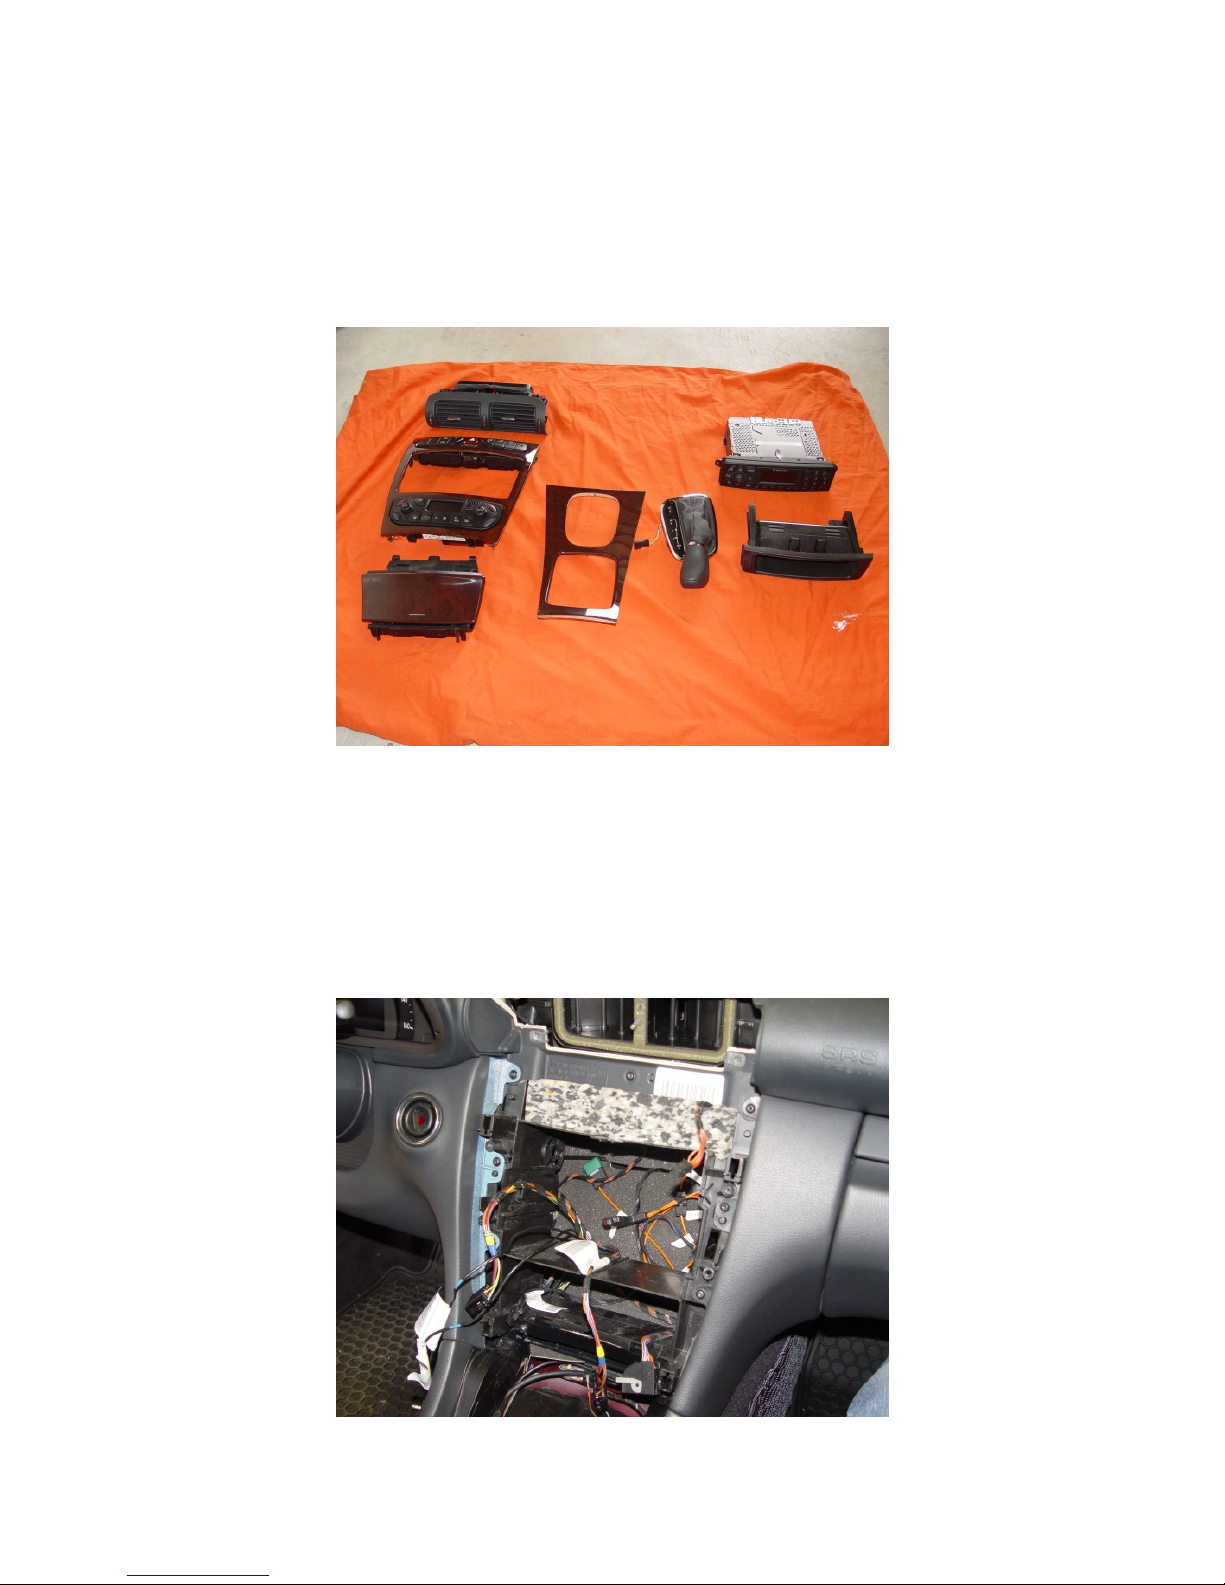
This is a picture of all of the stuff you are going to remove. The shifter trim plate and knob, shifter cover
wood trim panel, ashtray, center air vent, center console trim assembly, under radio storage tray, and head
unit all come out.
If you follow the WIS you can’t go wrong but removing the center air vent took me about 20 minutes. The
tabs you use to pivot the vents farther up and down to get to the screws and release tabs are easy to figure
out. If you are pivoting the vents up you pull the lower tabs right, the upper tabs right to pivot the vent
down. You remove the two Torx screws on the bottom of the vent opening as shown in the WIS by
pivoting both vents up. When you pivot the vents down there are four plastic tabs that need to be released
on the vent, not two as described in the WIS. The other two are near the center and you should release
those (with your plastic wedge … or at least something softer than a screwdriver) first while keeping light
pressure on the vent assembly to pull it straight out. You then pull down the outer ratcheting tabs and the
entire vent assembly pulls out!! Easy once you know how (sigh). This is what your center console will
look like (fun huh?).

The two antenna connectors, one fiber optic connector, one power/etc connector (A), and one signal/CD
connector (C) are removed from the existing head unit when you pull it out. If you don’t have the Bose
audio system there will be speaker wires in the “B” connector, otherwise that connector is empty as on
mine. With the exception of the “C” connector all of those are going to plug back in to the COMAND unit,
as is. The “C” connector needs to be modified. You can see the difference in the back of the head units in
these two pictures.
Audio 30 Alpine (US-Spec) head unit
COMAND 2.0 head unit

I cut the existing “C” connector off but left about 2 inches of wire on that connector. The reason I did that
was to allow me to add an additional connector to that piece and the new harness adapter so I could
reinstall my Audio 30 unit if need be. You don’t have to do this and can route those five wires directly to
the C1 and C2 connectors using the pins listed previously. Below is a picture of the connector before I cut
it off.
And here is what it looks like after adding the additional connector (6 pin Molex … again not necessary …
me just being weird)
The wires removed from the “C” Audio 30 connector go to the C1 and C2 COMAND connectors as
follows:
C pin 1 --- goes to --- C2 pin 9 (brn/red CAN B high)
C pin 2 --- goes to --- C2 pin 8 (brn CAN B low)
C pin 4 --- goes to --- C2 pin 10 (blu/blk D2B wake-up)
C pin 5 --- goes to --- C1 pin 6 (red/blk CD changer +)
C pin 6 --- goes to --- C1 pin 5 (brn CD changer -)

Note: The wire colors may be different for different models/years but the pin info should be the
same.
I cut the C1 and C2 connectors off of the adapter harness I bought leaving about 6 inches of wire to connect
to the mating Molex adapter connector I added to the original harness. I also removed the AUX input
harness/pins that were already in C2 and shortened the AUX harness because it was way longer than it
needed to be. The pin-out info for that is included in the WIS/Service Bulletin on my website. This is what
the modified adapter harness looks like before installation in the vehicle:
And after installation:
Now for the GPS antenna connection …. Again, these steps are not necessary if you install an additional
GPS antenna under the dash as Steve (MBenzNL) and others do. Or, the GPS antenna connector
(rectangular gray, HRS type) may already be located behind the radio, although it was not on mine.
To install and route the GPS antenna coax to the COMAND head unit you need to remove the right side Cpillar panel, right side front and rear door sill trim plates, and the glove box side access panel. You will
also need to remove the two screws on the access panel below the glove box for cable routing and you

should free up the door moulding from the body to allow you to route the cable down the rear seat and up
the lower “A” pillar plate. Refer to the WIS for removal instructions.
You will be installing the Splitter and one end of the GPS antenna coax to this plate located on the right Cpillar. There are two antenna connections there already. The GPS antenna was the lower one on my
vehicle (red arrow but you should trace the cable back to the antenna first to verify which one is which.
Install the GPS Splitter on the antenna coax mounting plate (there are two holes for it already … blue
arrows) by just snapping it in place:
Disconnect the GPS connector and plug the antenna lead to the bare connector, then connect the part you
just removed (TeleAid coax, red band near connector) to the red connector. The GPS antenna coax mounts
to the black connector and when you are done everything should look similar to this:

You then lay in the GPS antenna coax along with the rest of the wire bundles already there down the fender
well, through the rear and front door sill openings, up the A-pillar, and then under the glove box to the
center console opening. Here is a picture of the rear door sill opening:
And the front door sill opening:

If you are going to install the AUX port in the glove box now is the time to do so. There is a knockout port
on the right side of the glove box opening like pictured below:
Remove it and install the AUX connector (refer to the “G” class install WIS) which will look like this
installed in the glove box:
I then routed the AUX cable under the glove box with the GPS coax and into the center console opening.
Make all the connections to the back of the COMAND unit and test to make sure everything works before
buttoning up all the stuff you removed. Everything is reinstalled in the reverse order they were removed.
Make sure you follow the WIS to reinstall the center air vent assembly.

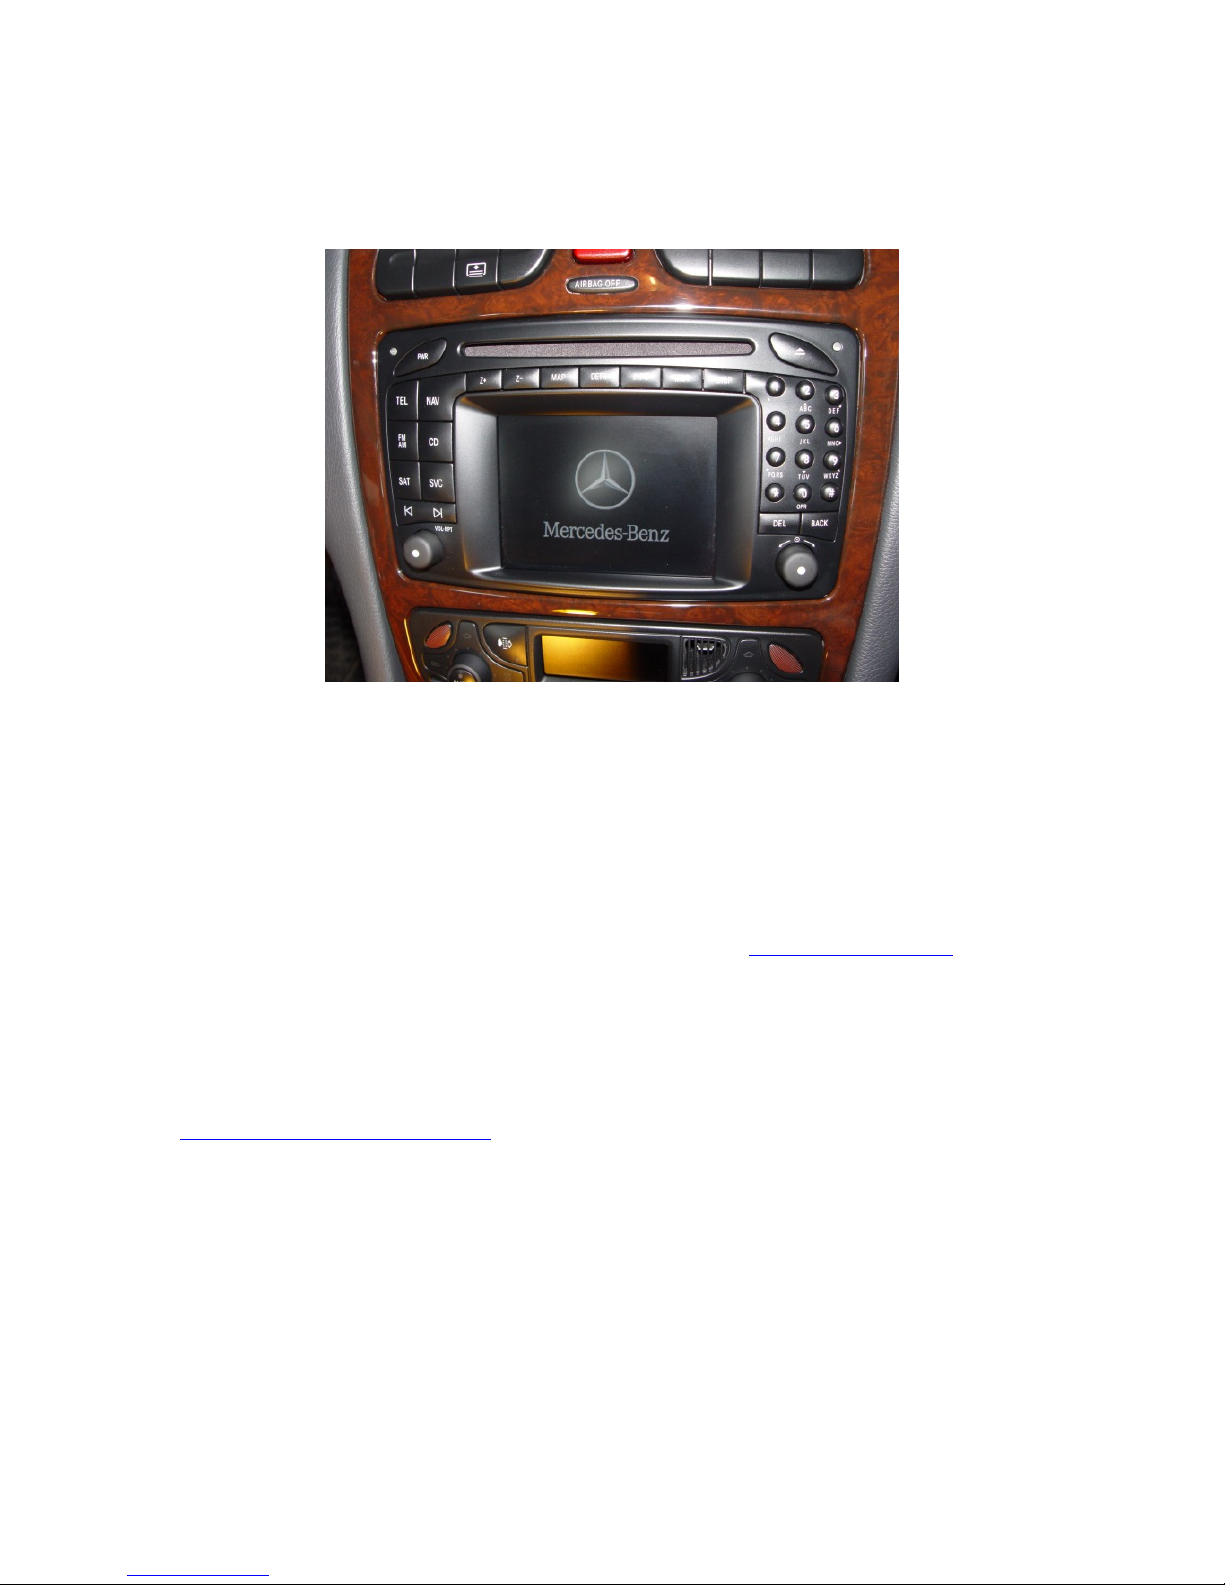
Everything should work from the start. I tested my phone, CD changer, radio, AUX, and NAV from the
COMMAND panel and steering wheel buttons. You need to go into the NAV screen and enter in your tire
size on the calibration screen and your country and time zone in the settings display. The vehicle will
require version coding at your local dealership and to make TeleAid display properly on the COMAND
display and the instrument cluster display work during navigation. When you are done you will have
something that looks like this. I am getting 4 satellites here in this picture (you only need three for 2D
tracking). This car is in the garage of a two story house so I am impressed … my ML gets none in the
garage!!
Enjoy and please feel free to send me questions and/or corrections.
Paul
 Loading...