

Page 1

quick start guide
the drum machine for Mac OS X
iDrum
Page 2
English
Quick Start Guide » 3
Welcome
Thank you for purchasing iDrum, the Drum Machine for Mac OS X. iDrum was born out of a
deep love for vintage and modern-day drum machines, and was designed from the ground
up to capture the same feel. The result is an indispensable, easy-to-use tool that is also a lot
of fun to play.
This Getting Started Guide will help you get started quickly and easily. Despite its power, iDrum is
simple to use. We strongly encourage you to read the “Installation” section and the appropriate
“Using iDrum” section for your host application (GarageBand, Logic, Digital Performer, or Pro
Tools) before you use the program for the first time.
Enjoy!
The iDrum Team
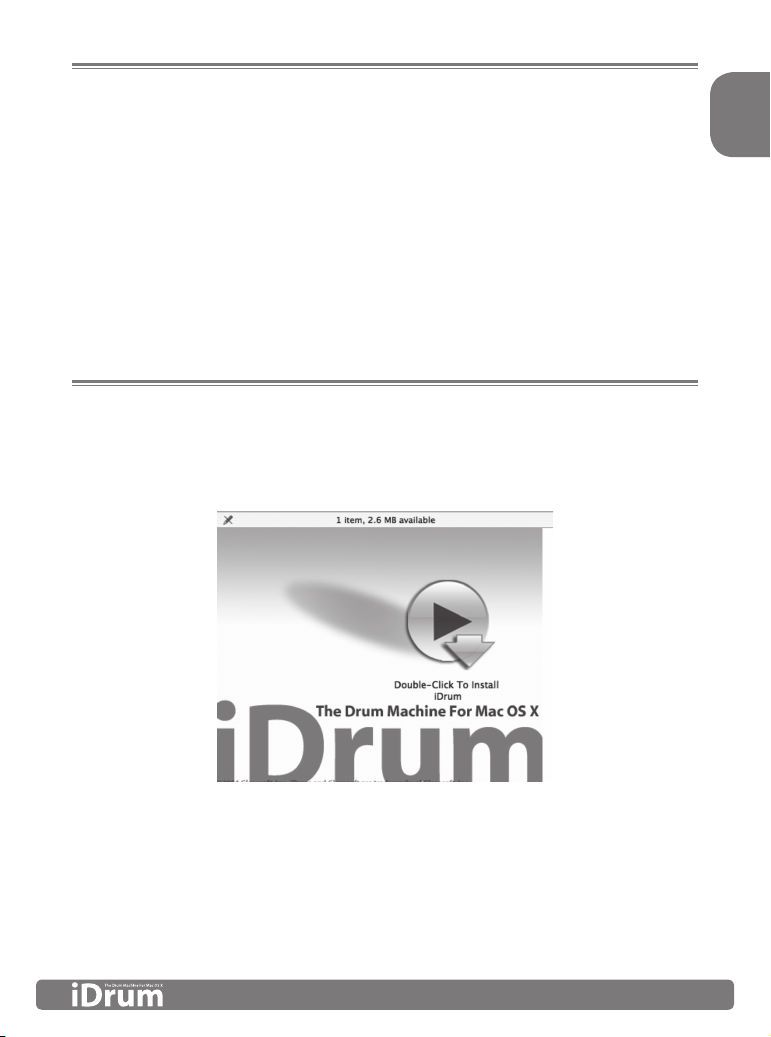
Installation
Place the iDrum CD-ROM in your Mac’s CD Drive and double-click on the iDrum installer icon
found on the iDrum CD-ROM.
Page 3
4 » Quick Start Guide
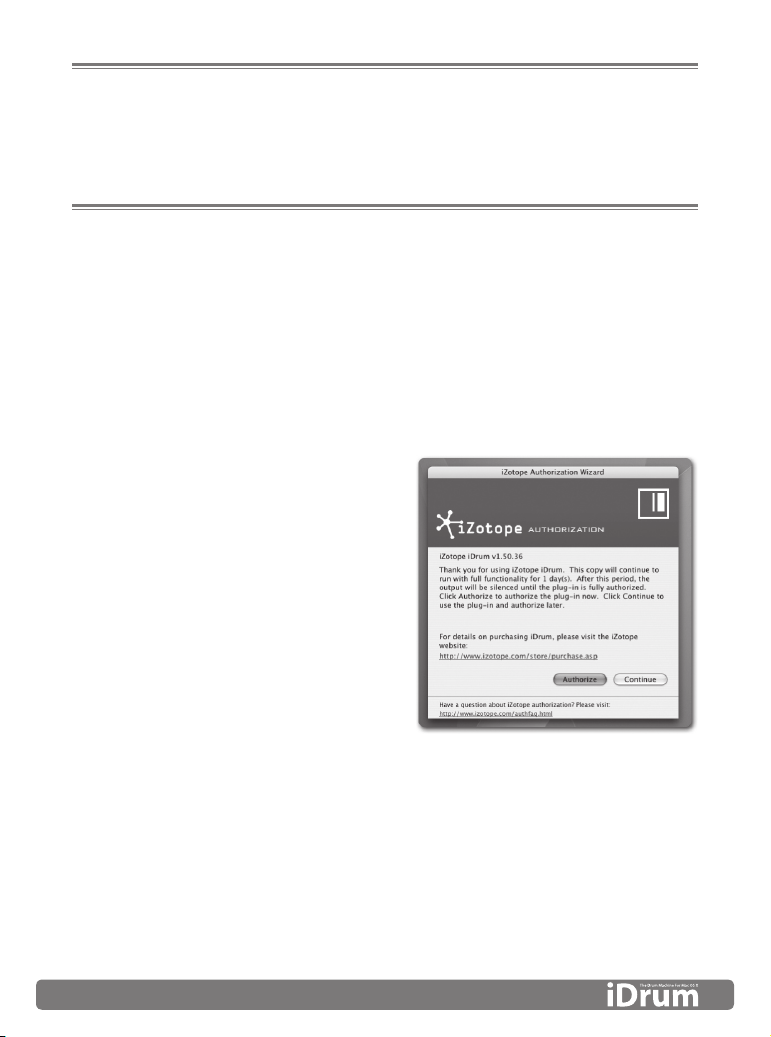
Authorization
iDrum must be authorized after installing. While there is a 10 day period in which iDrum will run
without restriction before requiring authorization, we encourage you to authorize it as soon as
possible. Authorization helps us provide the highest level of support to our customers.
Challenge/Response
Internet Authorization
1. Click the link in “Step 1”.
2. On the web site, enter your serial number, user name, and password, or follow the
instructions to register and create a new account.
3. Copy the resulting Response.
4. Paste the Response into the box in “Step 2” and click “Next” to complete authorization.
Manual Authorization
1. On the computer you want to authorize,
write the challenge in “Step 1”.
2. On a computer with internet access, visit
http://www.izotope.com/activate.html.
3. Enter your serial number, user name, and
password, or follow the instructions to
register and create a new account.
4. Select the product you want to authorize
by clicking “authorize with challenge/
response”.
5. Enter the Challenge you wrote down and
click “Submit”.
6. Type the resulting Response into the box
in “Step 2” and click “Next” to complete authorization.
Page 4
English
Quick Start Guide » 5
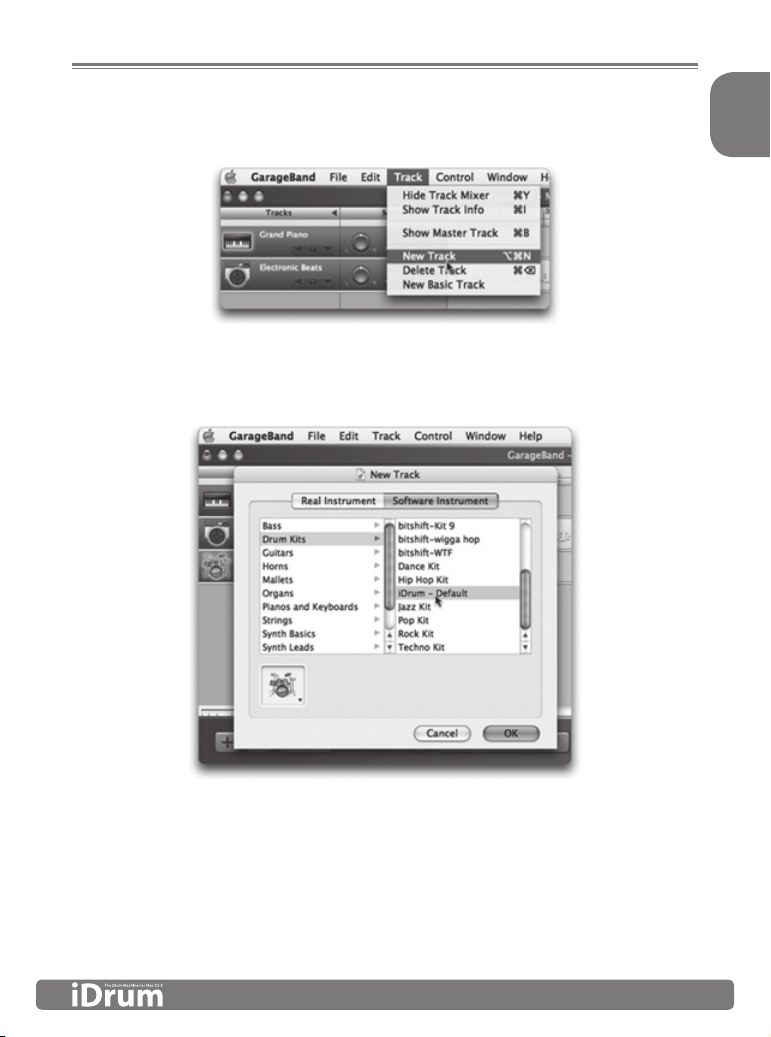
Using iDrum in GarageBand
1. Create a new track using GarageBand’s “New Track” menu item.
2. In the New Track dialog, make sure the Software Instrument tab is selected. Then select
“iDrum – Default” in the “Drum Kits” section and press “OK.”
Page 5

6 » Quick Start Guide
3. Double-click on the track (or click on the “Info” button) to bring up the Track Info window.
Click on the “Details” disclosure triangle to display the track details.
4. Click on the “Edit” button (it looks like a pencil) next to the Generator pop-up buttons to
open iDrum’s musician interface.
Page 6

English
Quick Start Guide » 7
5. Push GarageBand’s “Play” button and iDrum will start syncing to your song, playing its
default pattern. Start experimenting by pushing buttons, or check out “Loading iDrum
Files” or “Trying Different Sounds” in this guide for more on what you can do with iDrum.
Using iDrum in Logic
1. Select an Audio Instrument object. Click-hold on the instrument slot and select iDrum
from the iZotope sub-menu.
2. Logic automatically opens iDrum’s musician interface, and you’re ready to make
some beats.
Page 7

8 » Quick Start Guide
Using iDrum in Digital Performer
1. From Digital Performer’s “Project” menu, choose “Add Track,” “Instrument Track” and then
“iZotope: iDrum (stereo).”
2. Digital Performer will create a new Instrument Track with iDrum inserted in the first slot
and open iDrum’s musician interface.
Page 8

English
Quick Start Guide » 9
Using iDrum in Pro Tools
1. In Pro Tools, add an instrument track.
2. In the “inserts” section, select iDrum from the instruments menu.
Slave To Host
Whenever you are running iDrum in a host application like
GarageBand, Logic or Digital Performer, you’ll probably want to
have “Slave To Host” engaged. Slave To Host makes iDrum sync
to the host’s tempo and transport, and keeps iDrum’s song mode
position in sync with the host’s song position.
The iDrum Menu
Since plug-ins do not have the ability to show menus in the Mac OS
Menu Bar, most of iDrum’s functionality is accessed via a contextual
menu. This is the primary means of accessing iDrum’s extensive
online help.
To access the menu, hold down the “Control” key and click
anywhere in iDrum’s window. Musicians using a two- or threebutton mouse can simply right-click. Alternatively, you can click on
the menu button in the upper-left hand corner of iDrum’s window
to display the menu.
NOTE: In Digital Performer 4.1.2, you must use the menu button, as
contextual menu clicks (control-click or right-click) do not work.
Some of the Menu items may be disabled depending on whether
a channel is selected or if there is iDrum data in the Mac OS
clipboard.
Page 9

10 » Quick Start Guide
Loading iDrum Files
Unlike manufacturers of hardware drum machines, we had no constraints on the number of
samples and patterns we could include with iDrum. There are approximately 200 iDrum fi les
installed by default—each with several patterns—and over 500 drum samples!
Here’s how to get started with the included fi les. Remember that unlike standard audio loops
iDrum fi les are completely fl exible—you can change sounds, parts, tempo, effects, anything!
Start experimenting with some of the included patterns and you’ll be creating your own beats
in no time.
To load an iDrum fi le:
1. Bring up the iDrum menu by control-clicking (or right-clicking) anywhere in iDrum’s
window, or by clicking on the menu button in the upper left-hand corner of iDrum’s
window.
NOTE: The factory iDrum fi les are located in /Library/Application Support/iDrum/Kits.
2. Select ‘Open...’ from iDrum’s menu.
3. A standard Mac OS X “Load File” dialog appears. Find the iDrum fi le you want to load
and press the “Open” button. iDrum will load the specifi ed fi le. Please be aware that
this will erase any currently loaded pattern and song data, so be sure to save your work
before loading a new fi le.
Exploring the Step Programmer
If you’re new to step-oriented drum machines, you might be wondering what the row of sixteen
buttons to the right of each channel is. By default, each of these buttons represents a 16th note
in a single bar of 4/4 time. So a ‘four-on-the-fl oor’ kick pattern would look like this:
In iDrum jargon, this is called a “Part.” You edit a part by clicking on a step to toggle it on or
off. When a step is active, it appears lit up. An inactive step appears grayed out. When a step
is inactive, that step will not sound regardless of any other settings for the part. When a step is
active, you can change the volume of the step by clicking on the step, holding down the mouse
button, and dragging up or down. A step with its volume at zero has the same effect as an
inactive step: no sample is triggered for that step.
Page 10

English
Quick Start Guide » 11
Since each step can have its own volume, you can create great groove dynamics. For example,
a syncopated “off” beat hi-hat pattern might look like this:
Trying Different Sounds
There are various ways to change a channel’s sample to another audio fi le on your hard drive.
You can step through all the fi les in a folder quickly, jump directly to a fi le in a given folder, or
specify a new fi le to load via a fi le dialog.
Stepping Through Samples
Click on the “stepper” control to the left of the
channel’s fi le name. This will load the next fi le located
in the same folder as the current sample’s fi le. This
feature is extremely useful for quickly previewing all
the sounds in a given folder in context with the rest
of your pattern.
Jumping Directly to a Sample
You can jump straight to any audio fi le in the current
sample’s folder by click-holding on the fi le name
and selecting the fi le you want to load in the pop-up
menu that appears.
Using a File Dialog To Load a New Sample
If you want to replace the current sample with one
that isn’t in the same folder, click on the “Load File”
button to the left of the stepper control. Select the
fi le you want to load in the fi le dialog.
Page 11

12 » Quick Start Guide
Moving On...
This Getting Started guide has barely scratched the surface of what is possible with iDrum. You
can export your patterns and songs as AIFF audio files and MIDI files, mangle the sound of each
channel beyond recognition, get funky with the swing feature, and more.
Remember that help on all these features is only a click away when you’re using iDrum. Just
bring up the iDrum menu and select “Help.” (Okay, that’s two clicks.) You can also read iDrum’s
Help at any time by launching the Mac OS X Help Viewer and selecting “iDrum” from the
“Library” menu.
Once again, thank you for purchasing iDrum.
Have fun making music!
Support
If you have further questions about iDrum, please be sure to consult iDrum’s online help. These
extensive resources will often provide the solution to your problem. We also recommend that
you visit the iDrum FAQ on iZotope’s web site: http://www.izotope.com. The FAQ is updated
regularly with answers to common questions. Finally, if you are still having difficulty, please
contact M-Audio’s technical support department using the following contact information:
Phone: 626-633-9055
Fax: 626-633-9060
Online: http://www.m-audio.com/tech
Mail: M-Audio Technical Support, 5795 Martin Rd., Irwindale, CA 91706-6211, USA
Page 12

< Additional Sound Design: Adrian Clarida, Ned Bouhalassa www.nedfx.com
< Additional Skins: Adam Fothergill at Strange Flavour www.strangeflavour.com,
Cris ‘atariboy’ Pearson www.atariboy.com
www.m-audio.com www.Izotope.com
iDrum
the drum machine for Mac OS X
© 2006, iZotope, Inc. iDrum and iZotope are trademarks of iZotope, Inc. GarageBand and
QuickTime are trademarks of Apple Computer, Inc. registered in the U.S. and other countries.
Other product and company names mentioned herein may be trademarks of their respective
companies. Product specifications are subject to change without notice. This material is
provided for information purposes only; iZotope, Inc. assumes no liability related to its use.
All Rights Reserved.
060518_IDRUM_QS_EN02
 Loading...