

Page 1
Studiophile
AV 20
TM
English
User Guide
Page 2

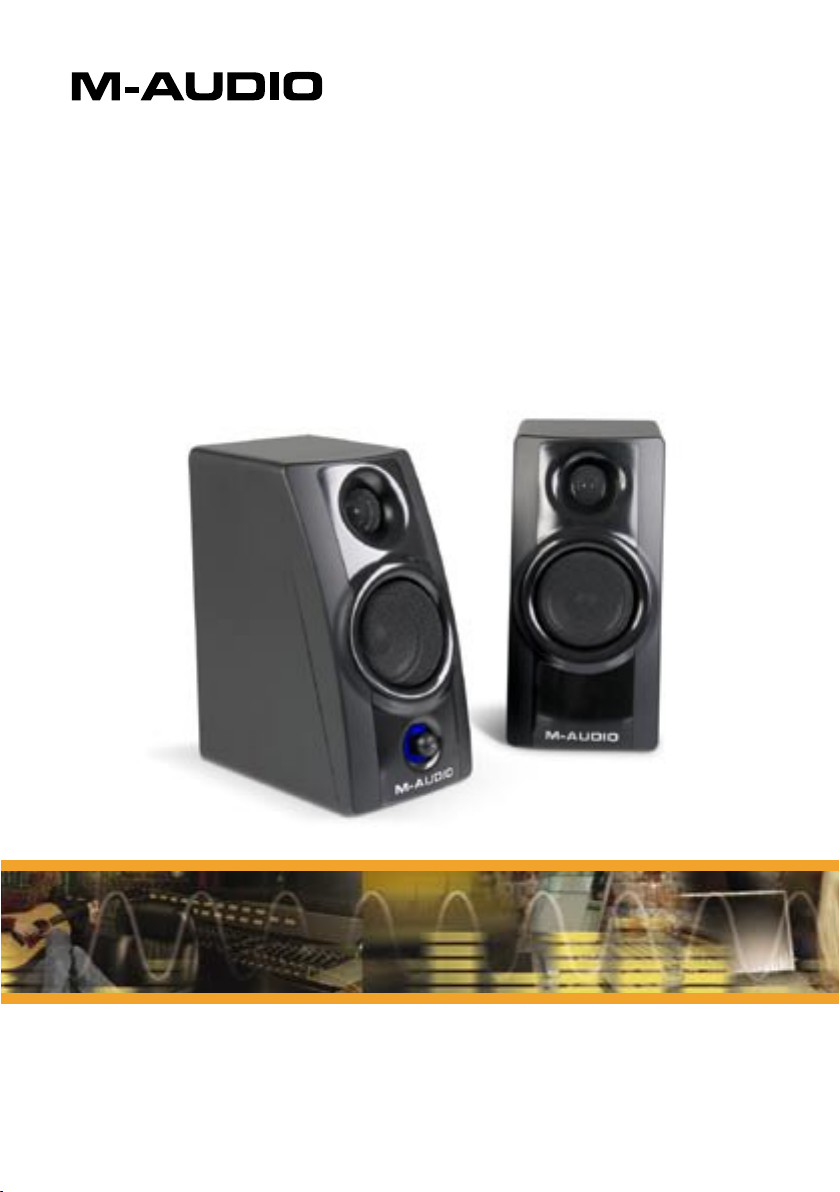
Studiophile AV 20 User Guide | 1
Introduction
1
hank you for choosing the Studiophile AV 20 professional desktop multimedia audio
T
monitors. Top recording engineers and producers in studios around the world use M-Audio
monitors. Now, with the Studiophile AV 20 monitors, you can enjoy the same professional standard
of audio quality right on your desktop.
The Studiophile AV 20 has been designed and tested by veteran audio engineers to meet your
needs in a desktop audio monitoring environment. Custom-tuned cabinets, optimized speaker
design, and advanced crossover technology deliver the best sound you can get in monitors this
size. Complete with magnetic shielding for desktop use, Studiophile AV 20 delivers great audio
experiences from your music and multimedia applications. The Studiophile AV 20 monitor is selfpowered, directly accepting a line-level signal from a variety of sources.
What’s in the Box?
EnglishFrançaisDeutschEspañolItaliano
Your Studiophile AV 20 box contains:
< Two Studiophile AV 20 speakers (Left and Right)
Left : built-in amp and power supply; volume control; main RCA stereo input,
and right channel signal output on the back
Right: audio connection from left speaker on back
< One 1/8” stereo mini-to-RCA audio cable for use with the main inputs
< 2-conductor standard (keyed) power cable
< Tinned bare wire audio cable to send right channel audio to the right speaker
(transparent color)
< Acoustic/traction pads for speakers
< Owner’s manual
2
日本語
Page 3

2 | Studiophile AV 20 User Guide
2
3
1
4 4
Studiophile AV 20 Features
3
1. Woofer
The woofer unit is 2” in diameter and is
magnetically shielded to protect your
computer video monitor from interference. It
includes a high-temperature voice coil and 2”
polypropylene treated paper cone. The woofer
delivers balanced mid- and low-frequency
response.
2. Tweeter
By employing a specially developed 1” Mylar
diaphragm with protective magnetic shielding,
the tweeter can deliver an extremely natural
response. It minimizes resonance by adapting a
unique internal damping technology.
3. Bass Reflex Port
The hole in the rear panel is a bass reflex port.
It is designed to discharge very low frequency
signals and enhance the overall bass response.
4. Enclosure
Along with the other components, the
Studiophile AV 20’s enclosure plays an
important role. In order to provide more stable
performance, we used a special mediumdensity fiberboard ( MDF) and unique interior
reinforcement designed to absorb vibration and
impact generated under extreme conditions.
Additionally, our innovative speaker monitor
cabinet includes carefully placed acoustic
material that makes the Studiophile AV 20
sound much bigger than it is—resulting in a
smooth, natural bass response.
5. Network & Power
Amplifiers
The power amplifiers and crossover network, for
the Studiophile AV 20 are specially designed for
this woofer and tweeter. The network distributes
low-, mid-, and high-frequency audio signals
to the proper components in order to minimize
distortion and to achieve a balanced sound.
Page 4

Studiophile AV 20 User Guide | 3
Installation
4
or optimal performance of the Studiophile AV 20, please read the following directions
F
carefully before installation.
Precautions
Connections : Your Studiophile AV 20 monitors have a single pair of RCA inputs for use with a
multitude of devices. Use the provided cable to connect your soundcard’s 1/8” line output to the
RCA inputs on your left speaker’s back panel. If your soundcard or alternative audio playback
device is equipped with a different type of output connector (e.g. RCA outputs on M-Audio
Delta Audiophile 24/96), then you will need to purchase an adapter or a cable with male RCA
connectors on one end, and the connector that matches your playback device on the other end.
Correct Power Operation: Since the Studiophile AV 20 contains amplifiers, it must be
connected to a power outlet using the detachable AC cable that is provided. Before connecting
power, please make sure that the On/Off switch on the back of the Studiophile AV 20 is set to the
off position.
WARNING! - Use of improper voltage may result in hazardous conditions and/or damage to
speaker components not covered by speaker warranty. Please make sure the voltage is set
appropriately by checking the the position of the red “AC Select” switch on the back before
powering on your speakers.
EnglishFrançaisDeutschEspañolItaliano
Acoustic/Traction Pads
In order to minimize vibrations and maximize physical stability, we
recommend you use the provided acoustic /traction pads on the
bottoms of the Studiophile AV 20 monitors.
Speaker Wire Connections
Use the transparent tinned bare wire cable included in the Studiophile
AV 20 package to connect the Left and Right speakers via the red
/black spring-clip terminals on the back of each speaker.
Connecting to a Computer Sound Card
or Other Audio Output Device
Before connecting the Studiophile AV 20 monitors, make sure the
power from the computer or other output device has been turned off
and the Studiophile AV 20 system is also turned off.
Connect the RCA input jacks to the corresponding output connectors
of a computer sound card, portable music player, etc.
1
2
1
2
日本語
Page 5

4 | Studiophile AV 20 User Guide
Left Monitor Right Monito
r
Placing the Studiophile AV 20
5
he way you position your speakers can greatly affect the way they sound. It is important to
T
place your new reference monitors so that their tweeters are pointed directly towards your
ears. Ordinary monitor speakers usually need to be elevated to ensure that their tweeters are level
with the listener’s ears. However, thanks to AV 20’s unique curved front panel design, the ideal
angle between tweeters and ears is achieved by simply placing them directly on the surface of your
desk.
1. The two monitors and the listener should
align to form an equilateral triangle.
2. Place the monitors so that the tweeters
point directly towards your ears.
Page 6

Studiophile AV 20 User Guide | 5
Left Speaker
Right Speaker
Po
wer Amp
Vo
lume
RCA
Input
Left
RC
A
Input
Right
Crossover
Crossover
2.8K
Hz
2.8K
Hz
1" HF Driver
2" LF Driver
1" HF Driver
2" LF Driver
Your Studiophile AV 20 Warranty
6
Warranty Terms
M-Audio warrants products to be free from defects in materials and workmanship, under normal use
and provided that the product is owned by the original, registered user.
Visit www.m-audio.com/warranty for terms and limitations applying to your specific product.
Warranty Registration
Immediately registering your new M-Audio product entitles you to full warranty coverage and
helps M-Audio develop and manufacture the finest quality products available. Register online at
www.m-audio.com /register to receive FREE product updates and for the chance to win M-Audio
giveaways.
Appendices
EnglishFrançaisDeutschEspañolItaliano
Appendix A - Block Diagram
7
日本語
Page 7

6 | Studiophile AV 20 User Guide
Appendix B - Technical Specifications
Type: Two-way desktop reference monitor
LF Driver: 2” composite paper/fiberglass cone woofer, magnetically shielded
HF Driver: 1” ferro-fluid cooled, Mylar balanced-dome tweeter
Frequenc y
Response:
Crossover
Frequenc y:
RMS SPL: 90dB @1 meter
S/N Ratio: >80dB typical A-weighted
Input
Connec tor:
Polarity: Positive signal at + input produces outward low-frequency cone displacement
Dynamic
Power:
Input
Impedanc e:
Input
Sensitivity :
Protec tion : RF interference, output current limiting, over temperature, turn on/off transient,
Indicator: Blue power LED ring around volume knob on front panel
Power
Requirements :
Cabinet : Vinyl-laminated MDF
Dimensions: 7.8”(H ) x 3.9”(W) x 6.16”(D)
Weight: 4.6kg
120Hz-20KHz ±3 dB
2.8 kHz
Left and right RCA Line input
10 watts into 4 ohms per channel, Class-D amplifier
10K ohms unbalanced
100mV pink noise input produces 84dBA output SPL at one meter with
volume control at maxmium
subsonic filter
Factory programmed for either 100-120V~50/60Hz, 220-240V~50/60Hz
Specifications subject to change without notice
© 2006 Avid Technology, Inc. All rights reserved. Product features, specifications, system
requirements and availability are subject to change without notice. Avid, M-Audio and Studiophile
AV 20 are either trademarks or registered trademarks of Avid Technology, Inc. All other trademarks
contained herein are the property of their respective owners.
Page 8

M-Audio USA
012907_AV20_UG_EN01
5795 Martin Rd., Irwindale, CA 91706
Technical Support
web: www.m-audio.com/tech
tel (pro products):
tel (consumer products): (626) 633-9066
fax (shipping): (626) 633-9032
(626) 633-9055
Sales
e-mail: sales@m-audio.com
tel: 1-866-657-6434
fax:
Web
M-Audio U.K.
Floor 6, Gresham House, 53 Clarenden Road, Watford
WD17 1LA, United Kingdom
(626) 633-9070
www.m-audio.com
Technical Support
e-mail: support@maudio.co.uk
tel:(Mac support):
tel: (PC support): +44 (0)1309 671301
+44 (0)1765 650072
Sales
tel: +44 (0)1923 204010
fax: +44 (0)1923 204039
Web
M-Audio France
Floor 6, Gresham House, 53 Clarenden Road, Watford
WD17 1LA, United Kingdom
www.maudio.co.uk
Renseignements Commerciaux
tel : 0 810 001 105
e-mail : info@m-audio.fr
Assistance Technique
PC : 0 0820 000 731
MAC :
0 0820 391 191
Assistance Technique
e-mail : support@m-audio.fr
fax : +33 (0)01 72 72 90 52
Site Web
mac@m-audio.fr
www.m-audio.fr
M-Audio Germany
Kuhallmand 34, D-74613 Ohringen, Germany
Technical Support
e-mail: support@m-audio.de
tel:
fax: +49 (0)7941 98 70070
+49 (0)7941 - 9870030
Sales
e-mail: info@m-audio.de
tel: +49 (0)7941 98 7000
fax: +49 (0)7941 98 70070
Web
M-Audio Canada
1400 St-Jean Baptiste Ave. #150, Quebec City,
Quebec G2E 5B7, Canada
www.m-audio.de
Technical Support
email: techcanada@m-audio.com
phone: (418) 872-0444
fax: (418) 872-0034
Sales
e-mail: infocanada@m-audio.com
phone:
fax:
Web
(866) 872-0444
(418) 872-0034
www.m-audio.ca
 Loading...