

Page 1
Adobe
®
EchoSign® Integration For
Microsoft SharePoint
Version 1.0
Last Updated: May 15, 2012
®
Copyrights © Adobe Systems Incorporated. All rights reserved.
Page 2

Adobe EchoSign Integration For SharePoint Installation Guide
Table of Contents
Overview .................................................................................................................................................. 3
System Requirements .......................................................................................................................... 3
Installing Adobe EchoSign For SharePoint ................................................................................... 3
Configuring Adobe EchoSign For SharePoint .............................................................................. 7
Testing Installation ............................................................................................................................ 10
Managing Access To EchoSign Solution Within SharePoint ................................................. 12
Copyrights © Adobe Systems Incorporated. All rights reserved.
2
Page 3
Adobe EchoSign Integration For SharePoint Installation Guide
Overview
The Adobe EchoSign integration for Microsoft SharePoint provides an integrated solution for creating, sending,
tracking and managing electronic signatures. The integration is available for Microsoft SharePoint 2010 and works
with both hosted and on-premise instances of SharePoint. The solution is developed as a plugin for Microsoft
SharePoint and provides:
• Ability to add Adobe EchoSign as a SharePoint web part, which can be used by SharePoint users for
sending and tracking documents for signature
• Send any document from a SharePoint document library for signature
• Ability to send documents to a single recipient or sending to a batch of recipients using SharePoint lists
and mapping data from SharePoint lists into documents when the documents get sent for signature
• Adding electronic signature as an activity within SharePoint workflows to automate the process of
documents being sent for signature based on events within SharePoint
• Archival of all signed agreements within SharePoint
System Requirements
The solution can only be installed and configured by a Microsoft SharePoint administrator; you will also need
administrative privileges on the SharePoint server to install the solution. Please consult SharePoint documentation
and your organization’s SharePoint administrator for additional systems permissions that may be required to
install SharePoint plugins. To configure the solution you also need to be an account administrator on the Adobe
EchoSign and have access to your EchoSign account API Key. System requirements below encompass both the
server and client components required to successfully install and run Adobe EchoSign for SharePoint.
• Microsoft SharePoint hosted or on-premise
• Internet Explorer 8+
Installing Adobe EchoSign For SharePoint
The following describe the steps for installing and configuring the integration.
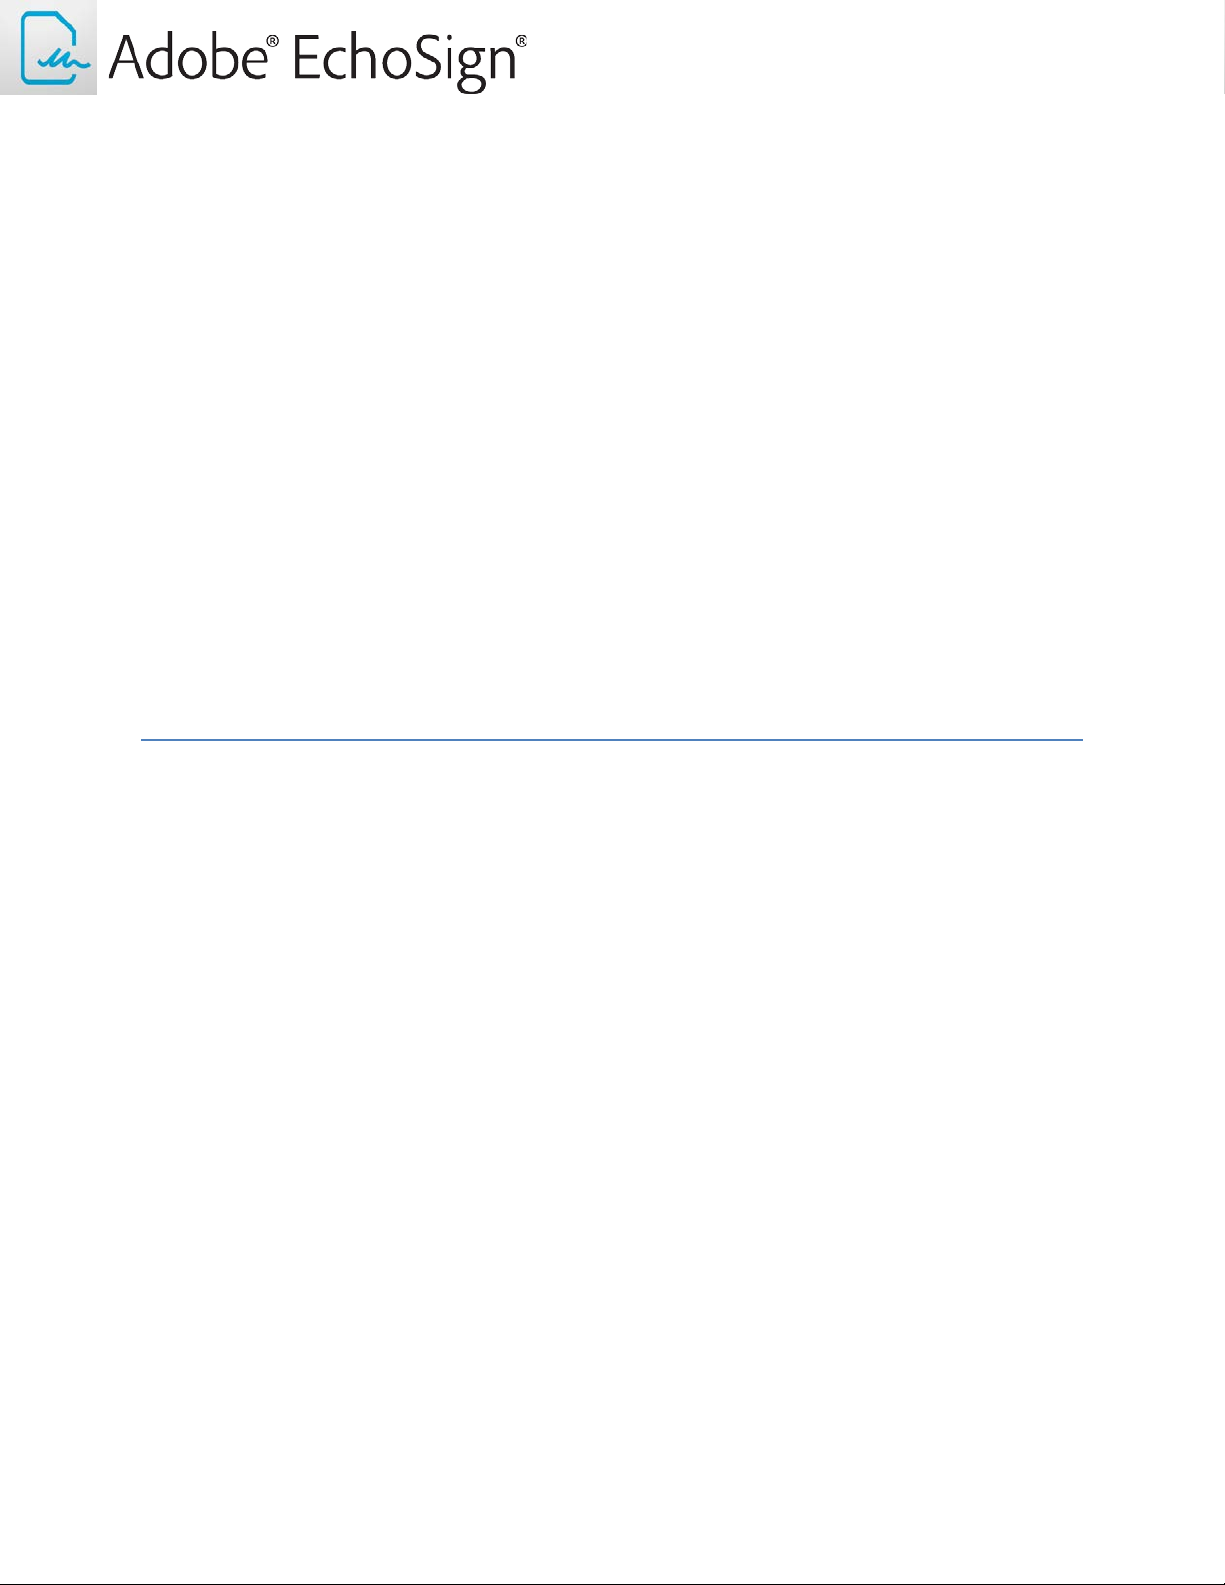
1. Download the Adobe EchoSign Integration for SharePoint package onto your SharePoint Server. Unzip the
package into a temporary directory on the server.
2. Double click on the “Setup.exe’ file to step through the installation process.
Copyrights © Adobe Systems Incorporated. All rights reserved.
3
Page 4
Adobe EchoSign Integration For SharePoint Installation Guide
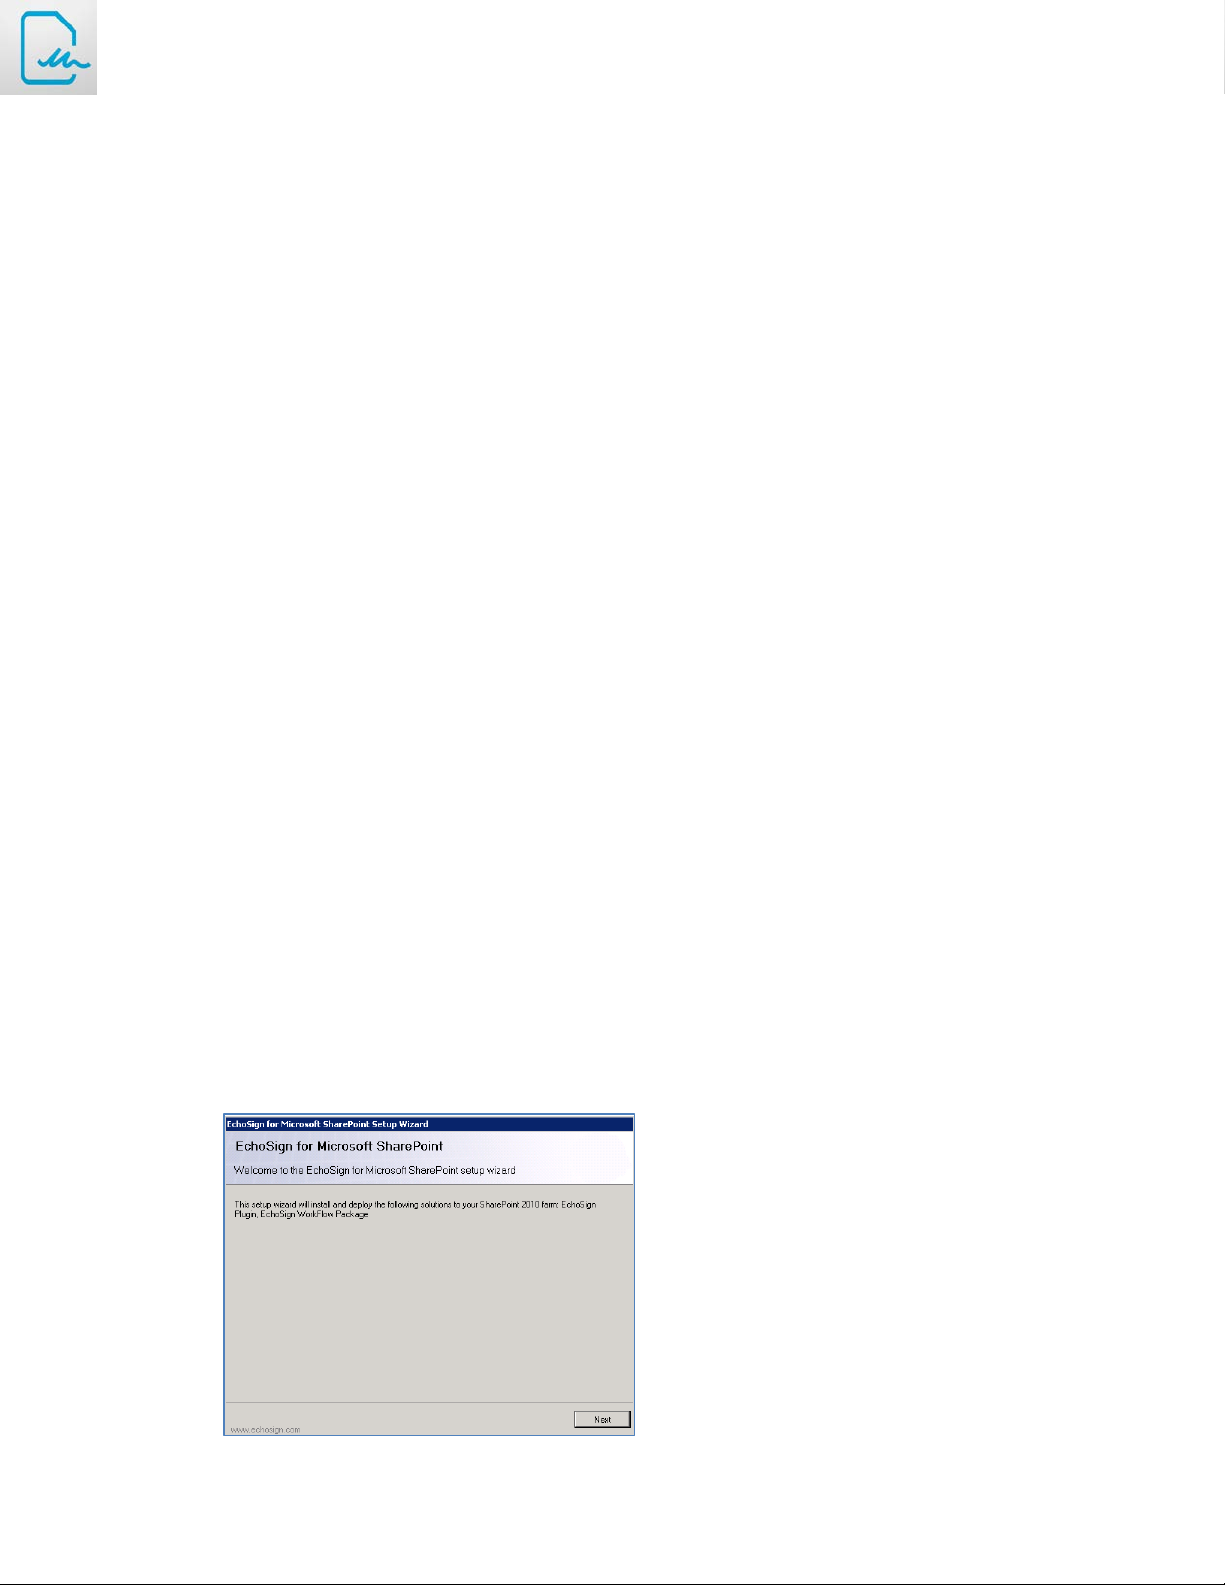
3. Click Next. The installer will go through a check to ensure that Adobe EchoSign for SharePoint can be
installed on your server. If all the checks pass successfully and the solution can be installed on the
SharePoint instance, click the Next button.
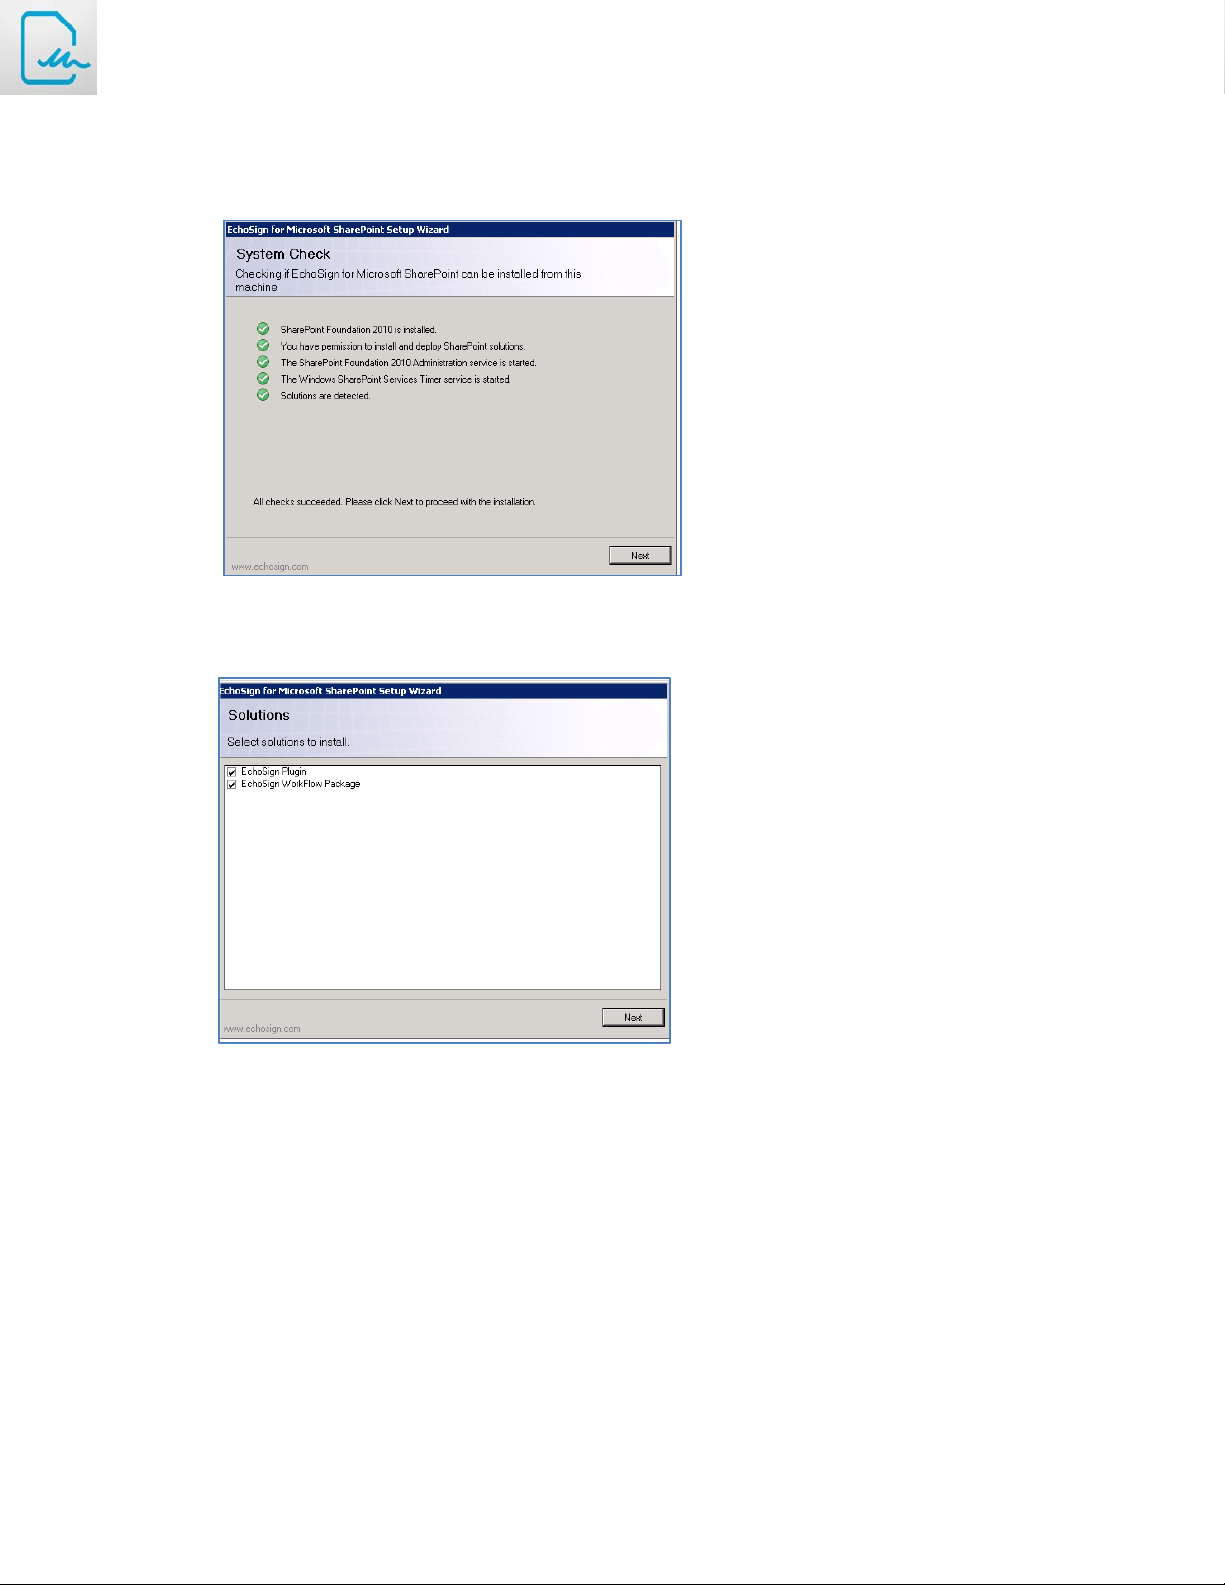
4. Select the solutions that you want to install. The EchoSign Plugin is required to include add the integration
into SharePoint. If you are using SharePoint workflows for automating business processes within your
organization, you can also optionally install the EchoSign Workflow Package to expose electronic signature
as a Workflow Activity. Select the solutions that you would like to install and click Next.
5. The solution installer goes through a validation process to ensure that the solution has not already been
installed on the particular instance. If you have already installed the solution previously on this particular
SharePoint server, the installer will allow reinstalling or upgrading the previously installed solution. Once
Copyrights © Adobe Systems Incorporated. All rights reserved.
4
Page 5

Adobe EchoSign Integration For SharePoint Installation Guide
the validation is complete click Next.
6. Select the web-application/site collections on which you would like to install the solution. Please check
with your SharePoint administrator the exact site details in case you have multiple sites for your
SharePoint server. Check the site(s) on which to install the solution and click Next.
7. The installer will now serially install the solutions that you have selected to install on your SharePoint
server. Once the solution is successfully installed. If you have selected to install more than one solution
click Next.
Copyrights © Adobe Systems Incorporated. All rights reserved.
5
Page 6

Adobe EchoSign Integration For SharePoint Installation Guide
8. The installer will go will go through the steps of installing the second solution – the EchoSIgn Workflow
Plugin. Once the installer validates the solution, click Next.
9. Go through the steps once again of selecting the appropriate SharePoint Server and install the solution.
Once the solution is successfully installed click Next.
10.
Copyrights © Adobe Systems Incorporated. All rights reserved.
6
Page 7

Adobe EchoSign Integration For SharePoint Installation Guide
11. Click Close after the solutions have been successfully installed.
12. The EchoSign solution for SharePoint has been successful installed on your SharePoint server. You can
delete the unpackaged installer files from your server directory. The next step of the configuration
happens through the web-browser.
Configuring Adobe EchoSign For SharePoint
In order to complete the configuration of the SharePoint integration, you will need to add EchoSign as a web part
into your SharePoint instance. Please consult SharePoint documentation for details about configuring a web-part.
1. Login to your SharePoint instance.
2. Create a new Site Adobe EchoSign For SharePoint or edit an existing site where you want to expose
EchoSign e-signature integration.
3. Edit the page. (Click 'Page' then 'Edit Page' in the ribbon, or click 'Site Actions' then 'Edit Page'.)
4. The page opens in edit mode showing the web part zones defined for the page. Click on the Insert tab in
the toolbar ribbon to allow adding web-parts to the page.
5. Select the ‘Adobe EchoSign For SharePoint’ web-part from the ‘Custom’ category in the ‘Categories’
column.
6. Click 'Add' to add the web part to the page.
Copyrights © Adobe Systems Incorporated. All rights reserved.
7
Page 8

Adobe EchoSign Integration For SharePoint Installation Guide
7. Once the part is added, the page will refresh and the EchoSign for SharePoint web part will be displayed.
Click on the gear on the top-right side of the web part to enter the necessary information for completing
the configuration for the integration.
8. Set the values for the Account Settings Company Name and License Key to the ones provided to you with
the solution.
9. Set the value of the Adobe EchoSign API Key, to the API Key for your EchoSign account. To get the API Key
for your account, login to the EchoSign service and go to Account Setting | EchoSign API.
If API access hasn’t been enabled for your EchoSign account, you will need to Enable API Access first
before getting an API key.
Copyrights © Adobe Systems Incorporated. All rights reserved.
8
Page 9

Adobe EchoSign Integration For SharePoint Installation Guide
10. Once you have set the EchoSign API into setting. Click on the “Validate Key” button. If your solution is
configured correctly and the EchoSign API Key is correct, you will get a message letting you know that the
API Key is Valid.
11. Next click on Personal Settings, enter your email address in the Login/Email field. This email address is the
one associated with your EchoSign account and will be used when sending documents out for signature.
Click the validate button to ensure that this is a valid email address associated with your account. Each
user of the SharePoint integration will also need to configure his/her personal email address in the
solution settings.
Copyrights © Adobe Systems Incorporated. All rights reserved.
9
Page 10

Adobe EchoSign Integration For SharePoint Installation Guide
12. Next click on ‘Document Storage’. Select a folder within SharePoint that the EchoSign solution should use
for storing all signed documents and associated e-signature audit trails.
13. You can also optionally configure the contact source that the EchoSign Integration with SharePoint can
use when searching for recipients to send documents for signature. Click on ‘Contact Source’ and select
one or more SharePoint lists as contact sources.
14. Now the configuration is complete. Save and Close the page.
Testing Installation
After installing the solution, it is recommended that the administrators test the solution before making the
solution widely available to other SharePoint users. To test the solution go to the site containing the EchoSign
webpart.
Copyrights © Adobe Systems Incorporated. All rights reserved.
10
Page 11

Adobe EchoSign Integration For SharePoint Installation Guide
1. Click on “New Agreement” button alternatively you can also select a specific document from the
SharePoint document library and click ‘Send For Signature’.
2. Add one or more recipients who need to sign this document. Recipients can be added from existing
SharePoint list. Add one or more documents by selecting from the SharePoint Document Library. If you
have started from a document library, the document will be automatically added, additional documents
can be included before the document is sent for signature.
3. Select any additional optional attributes and send the document for signature.
Copyrights © Adobe Systems Incorporated. All rights reserved.
11
Page 12

Adobe EchoSign Integration For SharePoint Installation Guide
4. Send the document for signature.
5. Once the document has been sent for signature, it will be listed in the Agreement List with the status of
“Sent”. The recipient will get an email with request to sign the document.
6. Once the recipient signs the document, the status of the agreement will be updated in the Agreement List
and the agreement will be marked as “Signed”. The Agreement will also be updated to include the signed
copy of the agreement (PDF) and a complete audit report for the transaction.
7. Clicking on the ‘Refresh’ button will refresh the list of agreements between SharePoint and EchoSign. For
a single entry in the list item, clicking on the ‘Synchronize’ button synchronizes all the changes that have
happened to the Agreement on EchoSign back to SharePoint. Once the agreement has been signed, the
signed copy of the agreement and the audit trail for the agreement is stored within SharePoint. The
solution deployment is now complete and the solution can be made available to other SharePoint users.
Managing Access To EchoSign Solution Within SharePoint
Once the solution has been configured, it can be made accessible to other users within SharePoint. The
EchoSign solution creates two custom groups within SharePoint called ‘EchoSign Administrators’ and
‘EchoSign Members’.
Copyrights © Adobe Systems Incorporated. All rights reserved.
12
Page 13

Adobe EchoSign Integration For SharePoint Installation Guide
Members of the ‘EchoSign Administrators’ group are able to see all the lists created by the plugin and
can change and update the plugin configuration. Members of the ‘EchoSign Members’ can use the
plugin for sending documents for signature. Add additional members from the organization into the
groups as necessary.
Copyrights © Adobe Systems Incorporated. All rights reserved.
13
 Loading...