

Page 1
QUICK INSTALLATION GUIDE
Dual-Band Wireless-N
Gaming Adapter
Model: WGA600N
Package Contents
Dual-Band Wireless-N Gaming Adapter
•
CD-ROM with User Guide and Setup Wizard
•
Quick Installation
•
2 ft Network Cable
•
Power Adapter
•
Page 2

Federal Communication Commission Interference Statement
This equipment has been tested and found to comply with the limits for a Class B digital device,
pursuant to Part 15 of the FCC Rules. These limits are designed to provide reasonable
protection against harmful interference in a residential installation. Th is e quipment generates,
uses and can radiate radio frequency energy and, if not installed and used in accordance with
the instructions, may cause harmful interfe rence to radio communications. However, there is no
guarantee that interference will not occur in a particular installation. If this equipment does
cause harmful interference to radio or television reception, which can be determined by turning
the equipment off and on, the user is encouraged to try to correct the interference by one of the
following measures:
- Reorient or relocate the receiving antenna.
- Increase the separation between the equipment and receiver.
- Connect the equipment into an outlet on a circuit different from that to which the receiver is
connected.
- Consult the dealer or an experienced radio/TV technician for help.
FCC Caution: Any changes or modifications not expressly approved by the party responsible for
compliance could void the user's authority to operate this equipment.
For operation within 5.15 ~ 5.25GHz frequency range, it is restricted to indoor environment.
This device complies with Part 15 of the FCC Rules. Operation is subject to the following two
conditions: (1) This device may not cause harmful interference, and (2) this device must accept
any interference received, including interference that may cause undesired operation.
IMPORTANT NOTE:
Radiation Exposure Statement:
This equipment complies with FCC radiation exposure limits set forth for an uncontrolled
environment. This equipment should be installed and operated with minimum distance 20cm
between the radiator & your body.
This transmitter must not be co-located or operating in conjunction with any other antenna or
transmitter.
The availability of some specific channels and/or operational frequency bands are country
dependent and are firmware programmed at the factory to match the intended destination. The
firmware setting is not accessible by the end user.
WGA600N with PIFA antenna and max. antenna gain is 2.37dBi in 2.4G and 1dBi in 5G.
Industry Canada statement
This device complies with RSS-210 of the Industry Canada Rules. Operation is subject to the
following two conditions: (1) This device may not cause harmful interference, and (2) this device
must accept any interference received, including interference that ma y cause undesired
operation.
Règlement d’Industry Canada
Les conditions de fonctionnement sont sujettes à deux conditions:
1) Ce périphérique ne doit pas causer d’interférence et.
2) Ce périphérique doit accepter toute interférence, y compris les interférences pouvant
perturber le bon fonctionnement de ce périphérique.
IMPORTANT NOTE:
IC Radiation Exposure Statement:
This equipment complies with IC radiation exposure limits set forth for an uncontrolled
environment. This equipment should be installed and operated with minimum distance 20cm
between the radiator and your body.
Industry Canada Interference Statement
The device for the band 5150-5250 MHz is only for indoor usage to reduce potential for harmful
interference to co-channel mobile satellite systems;
The maximum antenna gain 1 dBi permitted (for devices in the bands 5250-5350 MHz and
5470-5725 MHz) to comply with the e.i.r.p. limit; and
The maximum antenna gain 1 dBi permitted (for devices in the band 5725-5825 MHz) to comply
with the e.i.r.p. limits specified for point-to-point and non point-to-point operation as appropriate,
as stated in section A9.2(3).
In addition, users should also be cautioned to take note that high-power radars are allocated as
primary users (meaning they have priority) of the bands 5250-5350 MHz and 5650-5850 MHz
and these radars could cause interference and/or damage to LE-LAN devices.
Note: The WGA600N has disable the 5600-5650M band by S/W to a void 5600-5650M band
for IC certification.
Page 3

Table of Contents
Installation . . . . . . . . . . . . . . . . . . . . . . . . . . . . . . . . . . . . . . . . . . . . . . . . . 2
Wi-Fi Protected Setup . . . . . . . . . . . . . . . . . . . . . . . . . . . . . . . . . . . . . . . 6
Manual Configuration . . . . . . . . . . . . . . . . . . . . . . . . . . . . . . . . . . . . . . .9
Online Resources
Website addresses in this document are listed without http:// in front of the
address because most current web browsers do not require it. If you use an
older web browser, you may have to add http:// in front of the web address.
Resource Website
Linksys www.linksys.com
Linksys Europe www.linksys.eu
Linksys International www.linksys.com/international
Glossary www.linksys.com/glossary
Network Security www.linksys.com/security
1
Page 4
Linksys Setup Wizard
Start Setup
Linksys Setup Wizard
Start Setup
Installation1�
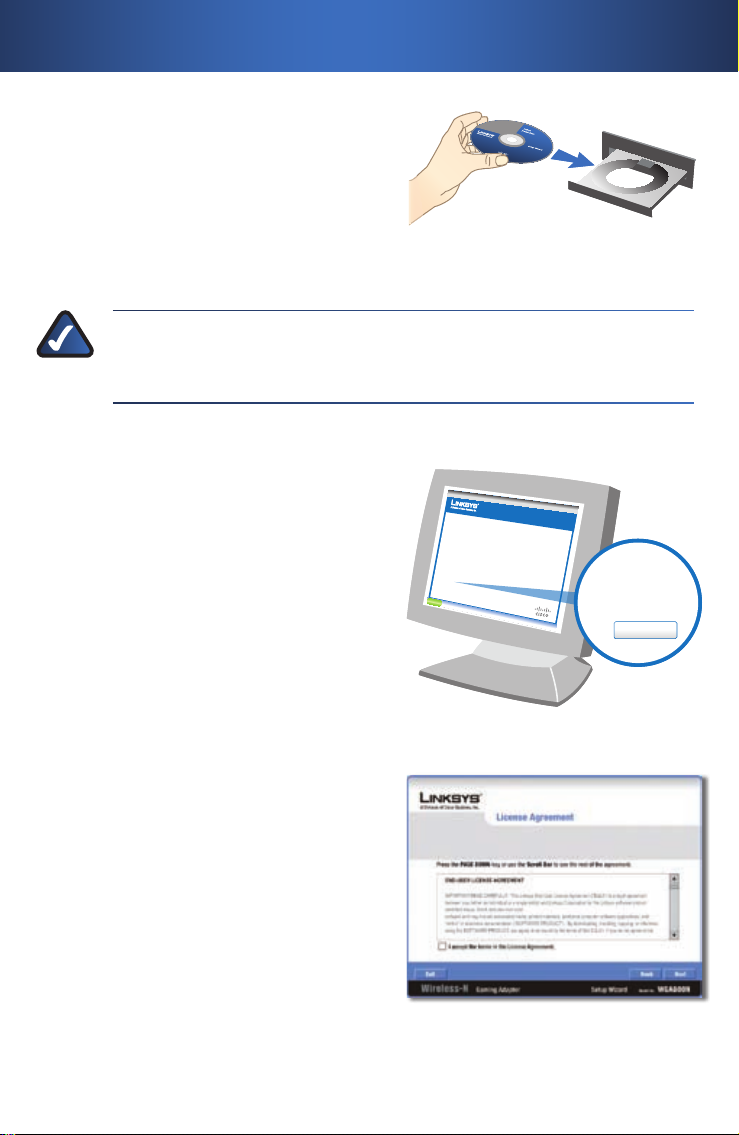
Insert the Setup Wizard CD into
A.
your CD-ROM drive.
NOTE: Windows or other personal firewalls may ask for
permission to run the software or program. You will need to allow
the software to run in order to continue.
The Welcome screen appears on
B.
your monitor.
Click the Click Here to Start
button.
Insert the CD-ROMInsert the CD-ROM
Click Here to Start
Click Here to Start
Read the License Agreement,
C.
and click Next to continue the
installation.
2
License AgreementLicense Agreement
Page 5
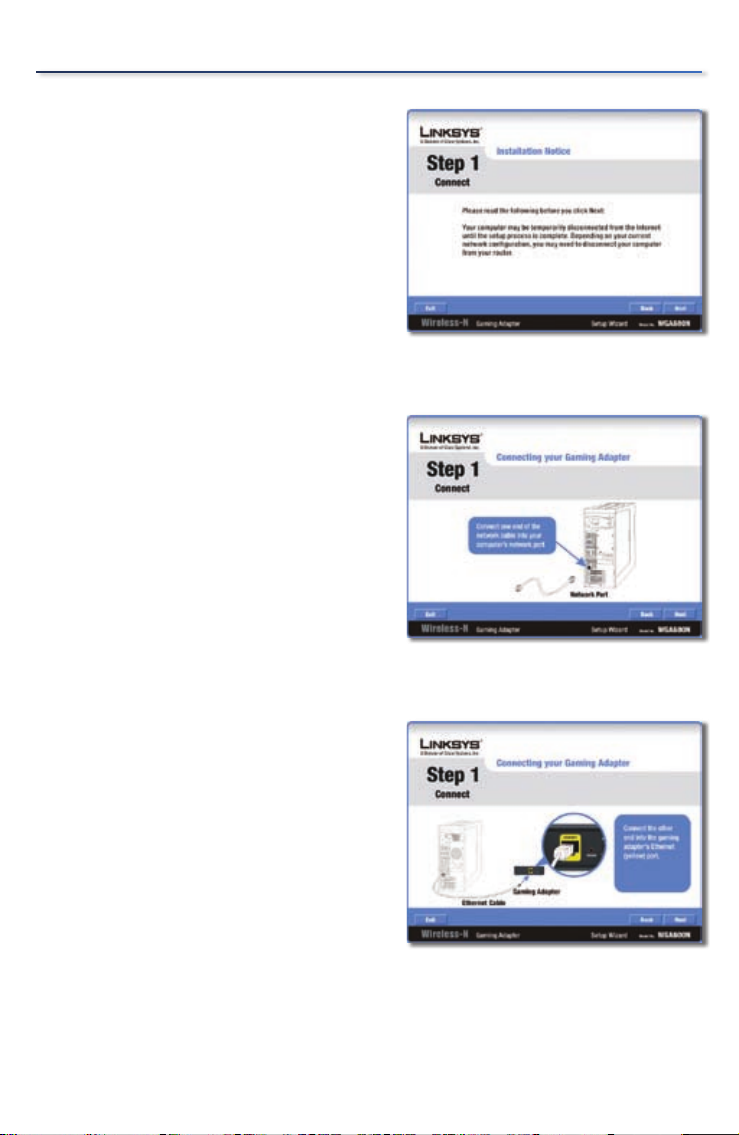
The Installation Notice screen will
D.
appear.
This message is to let you know that
your computer may be temporarily
disconnected from the Internet. Be
sure to read the entire message and
then click Next.
Connect one end of the provided
E.
network cable into your computer’s
network port and click Next.
Installation
Installation NoticeInstallation Notice
Connecting the Network CableConnecting the Network Cable
Connect the other end of the
F.
provided network cable into the
Gaming Adapter’s Ethernet (yellow)
port and click Next.
Connect the Gaming AdapterConnect the Gaming Adapter
3
Page 6

Installation
Plug the power adapter into the
G.
Gaming Adapter’s power port.
Plug the other end of the power
adapter into an electrical outlet.
Click Next to continue.
Verify that the Power and Ethernet
H.
LEDs are lit. If not, follow the
on-screen instructions, otherwise
click Next to continue.
Connect the PowerConnect the Power
Verify the LEDsVerify the LEDs
Enter a new password for the
I.
Gaming Adapter and enter it again
in the Re-enter Password field.
Click Next to continue.
4
Enter a New PasswordEnter a New Password
Page 7

If you have the Wi-Fi Protected
J.
Setup feature on your router, click
the Use Wi-Fi Protected Setup
button and proceed to section 2,
Wi-Fi Protected Setup.
If your router does not have the
Wi-Fi Protected Setup feature or
you want to configure your wireless
settings manually, click Skip and
proceed to section 3, Manual
Configuration.
Installation
Select Setup MethodSelect Setup Method
5
Page 8
Wi-Fi Protected Setup2�
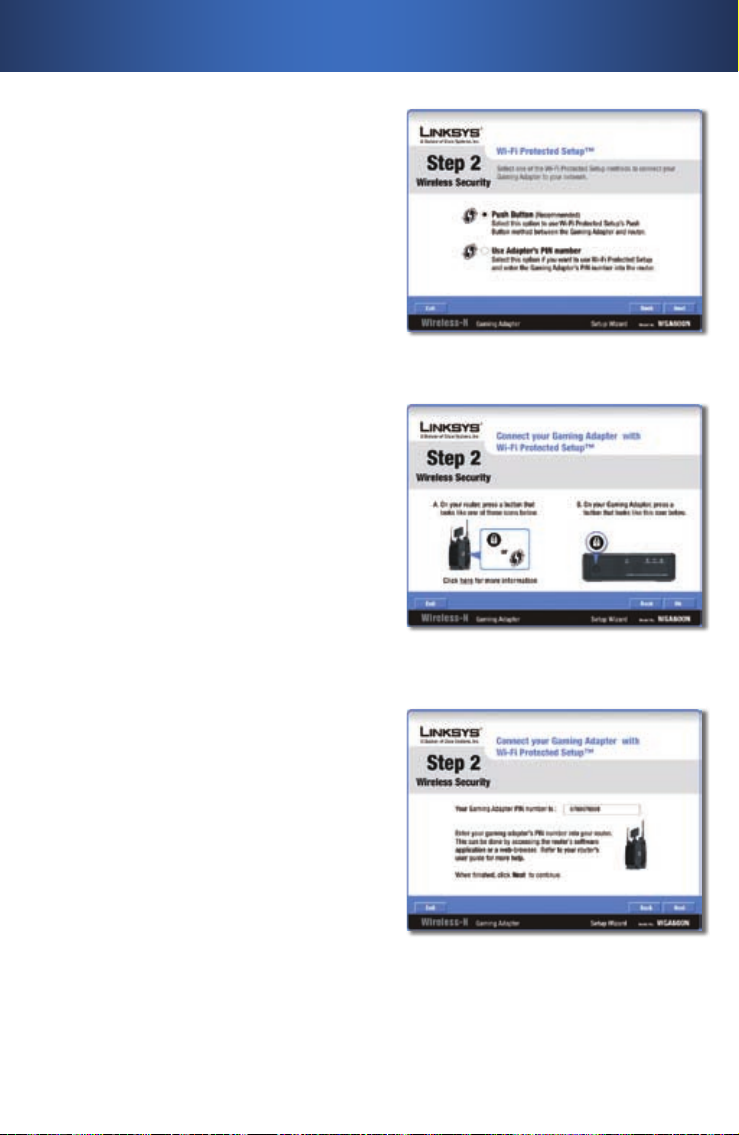
Select one of the Wi-Fi Protected
A.
Setup methods to connect the
Gaming Adapter to your network.
Push Button If you selected Push
Button in step A, you will see a
screen with instructions. Follow
the instructions and press the Ok
button when finished.
Wi-Fi Protected Setup Method SelectionWi-Fi Protected Setup Method Selection
Use Adapter’s PIN number If you
selected Use Adapter’s PIN number
in step A, you will be provided with
your Gaming Adapter’s PIN number.
You must enter the PIN number
into your router. Refer to your
router’s user guide for details. When
finished, click Next to continue.
6
Push Button Method DetailsPush Button Method Details
Enter the Gaming Adapter’s PINEnter the Gaming Adapter’s PIN
Page 9

A screen will appear informing
B.
you that the Gaming Adapter is
connecting to the network.
You will see a message regarding
the success of the connection.
If the connection fails, follow the
on-screen instructions to resolve
the problem.
If the connection is successful, you
will see the Link Status screen with
the wireless network name. Click
Next to continue.
Connecting to Network
Connecting to Network
Connected to Network
Connected to Network
Wi-Fi Protected Setup
Unplug the Ethernet cable from
C.
your computer and plug it into your
gaming console’s Ethernet port.
Click Next to continue.
Connect Gaming ConsoleConnect Gaming Console
7
Page 10

Wi-Fi Protected Setup
If your computer was initially
D.
connected to a router, make sure
you reconnect it.
Click Next to continue.
The Congratulations screen will
E.
appear. Click Finish to and the
installation is complete.
Reconnect ComputerReconnect Computer
CongratulationsCongratulations
8
Page 11

Manual Configuration3�
On the Available Wireless Networks
A.
screen, the available networks
are listed in the table. Select your
network, and then click Connect.
If your network does not use
wireless security, proceed to the
“Wireless Security Disabled” section.
If your network uses wireless
security, proceed to the Wireless
Security Enabled” section.
Wireless Security Disabled
Click Continue Anyway and go to
1.
step B.
Available Wireless NetworksAvailable Wireless Networks
Wireless Security Enabled
If your network has wireless security, you will see one of these wireless security
screens. Follow the instructions for the screen you see.
WPA/WPA2-Personal Key Needed for Connection
Enter the Passphrase (also called
1.
a pre-shared key) of your wireless
network. It must have 8-63
characters.
Click Connect and go to step B.
2.
WPA2-Personal Key Needed for ConnectionWPA2-Personal Key Needed for Connection
9
Page 12

Manual Configuration
WEP Key or Passphrase Needed for Connection
Enter the Passphrase or WEP Key.
1.
Passphrase The Passphrase is
case-sensitive and must have 16 or
fewer alphanumeric characters.
WEP Key For 64-bit encryption,
enter 10 hexadecimal characters
(“0” to “9” and “A” to “F”). For 128-bit
encryption, enter 26 hexadecimal
characters.
Click Connect and go to step B.
2.
A screen will appear informing
B.
you that the Gaming Adapter is
connecting to the network.
You will see a message regarding
the success of the connection.
If the connection fails, follow the
on-screen instructions to resolve
the problem.
If the connection is successful, you
will see the Link Status screen with
the wireless network name. Click
Next to continue.
WEP Key or Passphrase NeededWEP Key or Passphrase Needed
Connecting to Network
Connecting to Network
Connected to Network
Connected to Network
10
Page 13

Unplug the Ethernet cable from
C.
your computer and plug it into your
gaming console’s Ethernet port.
Click Next to continue.
If your computer was initially
D.
connected to a router, make sure
you reconnect it.
Click Next to continue.
Manual Configuration
Connect Gaming ConsoleConnect Gaming Console
Reconnect ComputerReconnect Computer
The Congratulations screen will
E.
appear. Click Finish to and the
installation is complete.
CongratulationsCongratulations
11
Page 14

Notes
12
7112010NC-RR
Page 15

Page 16

For additional information or troubleshooting help, refer to the User Guide on the CD-ROM.
Additional support is also available by phone or online.
24-Hour Technical Support
800-326-7114
Website
http://www.linksys.com
Support
http://www.linksys.com/support
Linksys is a registered trademark or trademark of Cisco Systems, Inc. and/or its affiliates in the U.S.
and certain other countries. Copyright © 2007 Cisco Systems, Inc. All rights reserved. Other brands
and product names are trademarks or registered trademarks of their respective holders.
RMA (Return Merchandise Authorization)
http://www.linksys.com/warranty
FTP Site
ftp://ftp.linksys.com
Sales Information
800-546-5797 (800-LINKSYS)
www.linksys.com
 Loading...