

LinkSys USB100TX Quick installation
This sheet will guide you through the basic steps needed to install the
Product Name onto your network. If you have any problems during
installation, refer to the Troubleshooting section of the User Guide.
After installing the EtherFast 10/100 USB Network Adapter,
follow the instructions below to install the adapter’s software
into your Windows Millennium computer.
1. If you haven’t already, start up your computer.
2. Windows Millennium will automatically detect the pres-
ence of the LINKSYS USB Adapter hardware in your computer.
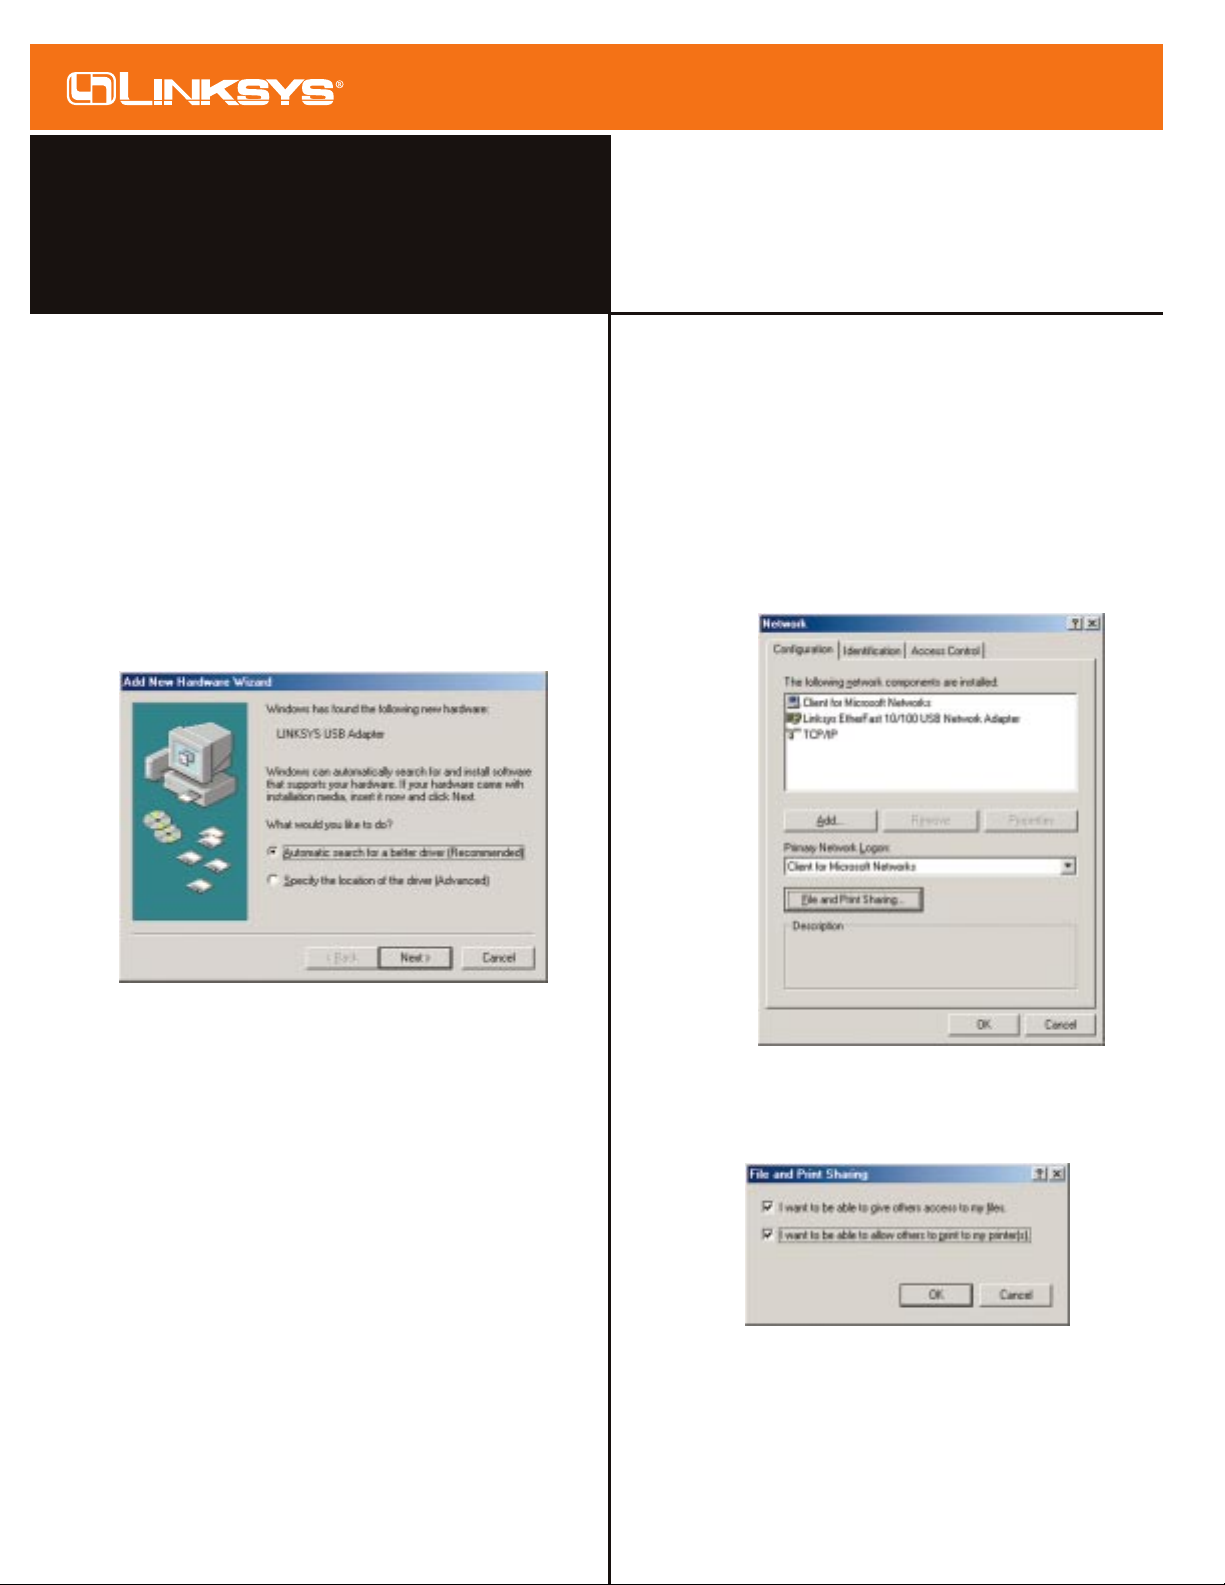
3. Slide the Linksys Driver Disk into your floppy drive and
select "Automatic search for a better driver
(Recommended).” Click Next.
4. A window will open saying that Windows is now ready to
install the Linksys EtherFast 10/100 USB Network Adapter
driver. Click Next.
5. Windows will finish installing the software onto your PC.
Click Finish.
6. When asked if you want to restart your PC, remove the
Driver Disk and click Yes.
7. Once you are back at the Windows Millennium desktop,
click on your taskbar's Start button, then Settings, then
Control Panel, then double-click the Network icon.
8. The Network window will appear. Click on the
Configuration tab. A window similar to the one below will
appear. There may be other components listed in addition to
the ones shown below (for example, a Dial-up Adapter),
which is normal.
• Client for Microsoft Networks
• Linksys EtherFast 10/100 USB Network Adapter
• TCP/IP
9. Click the File and Print Sharing button. The File and Print
Sharing window will appear.
Model No.:USB100TX
10/100 USB Network Adapter
EtherFast
®
Quick Installation
Making Connectivity Easier
™
For Windows Millennium
10. If you'd like others to be able to access the files on your
PC's hard drive, select I want to be able to give others
access to my files. If you'd like to share your printer with
other users on the network, select I want to be able to
allow others to print to my printer.
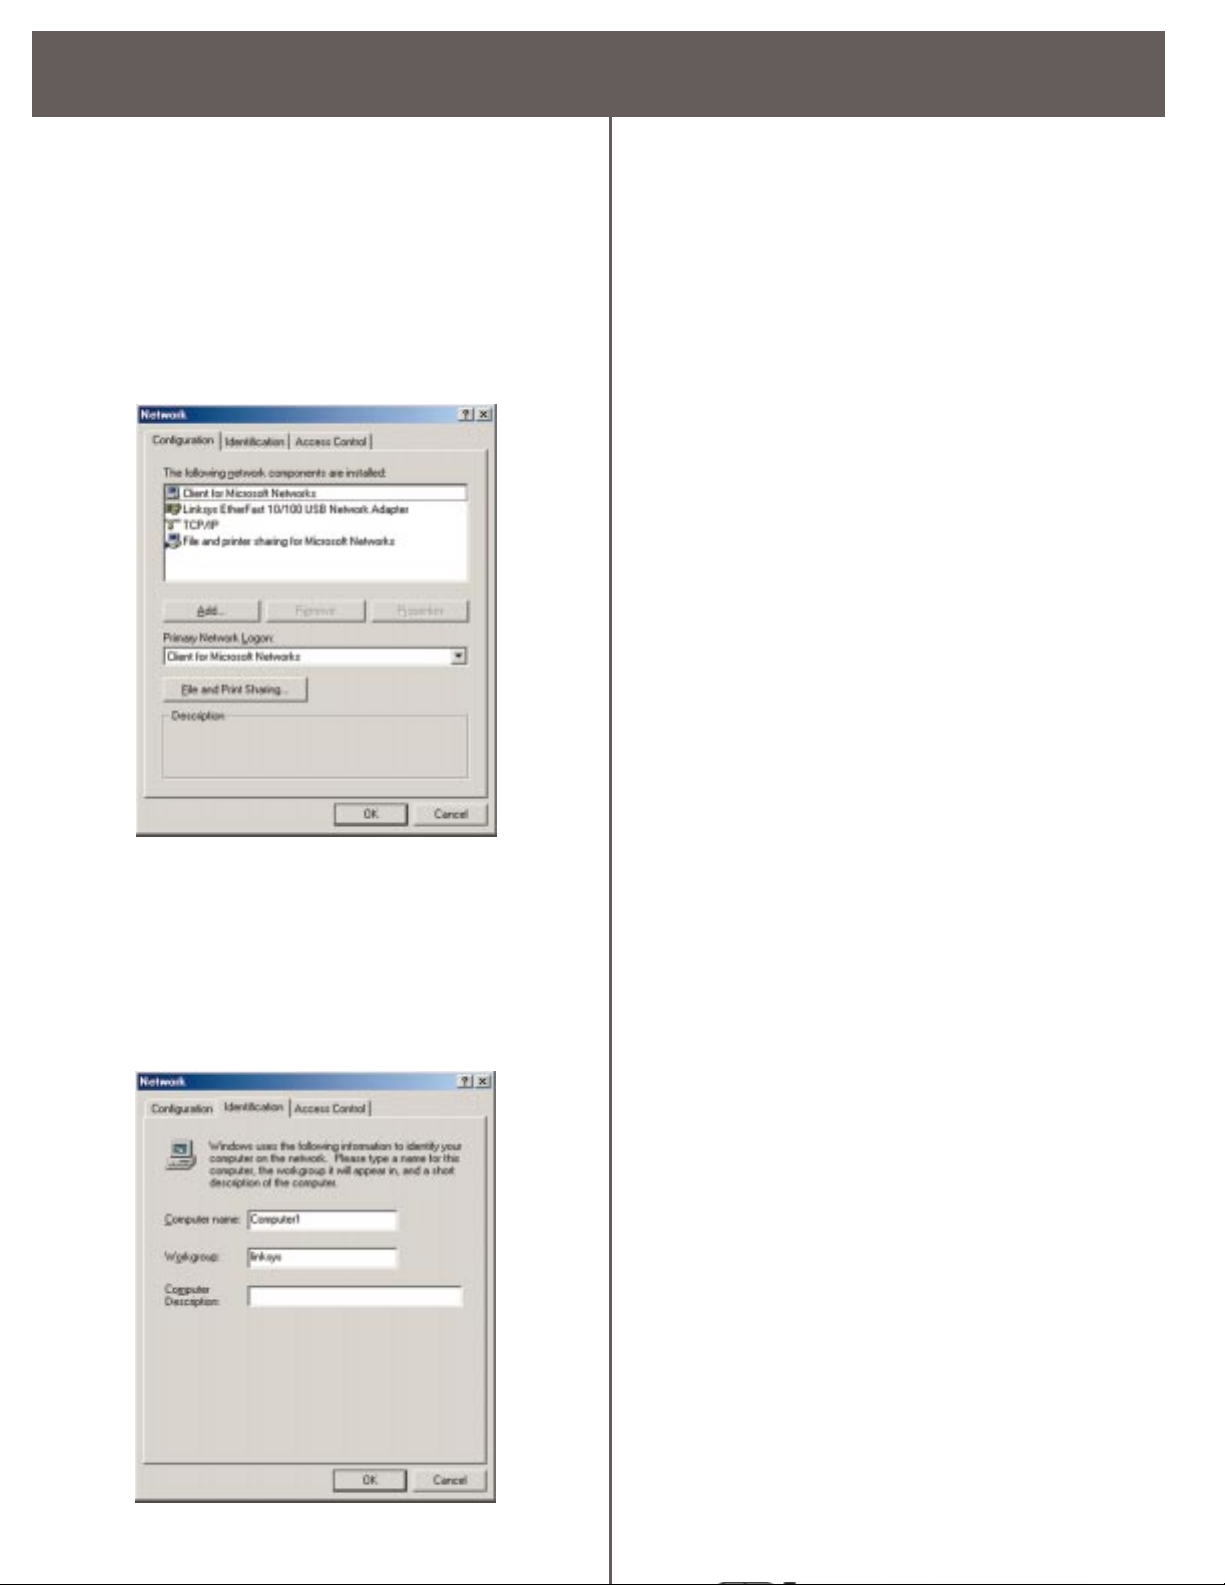
11. Click the OK button. File and Printer Sharing for
Microsoft Networks should now appear in the list of
installed components.
12. After ensuring that all of the listed network components are
installed on your system, in the Primary Network Logon
box select Client for Microsoft Networks.
13. Click on the Identification tab. Type the name of your
computer in the Computer Name box. Choose a name that
is unique from the other computer names on the network.
14. Type the name of your workgroup in the Workgroup box.
The Workgroup name should be the same Workgroup Name
in use by all of the other PCs on the network. Do NOT click
OK when you are done.
15. Enter a description of your computer in the Computer
Description box. This box is optional, and can be left blank.
File and Printer Sharing
In order for your computer to be visible on the network, you
need to set up File and Printer Sharing. Refer to the User
Guide for more information on sharing drives and printers.
When you are finished, restart your PC, log into your network, double-click on the Network Neighborhood icon.
You should be able to see the other computers on your network.
Installation is complete.
Troubleshooting
For basic troubleshooting, refer to the Troubleshooting sec-
tion of the User Guide.
 Loading...