

LG DLG5988 Service Manual
11 DISASSEMBLY INSTRUCTIONS
and repair the unit only after pulling out power plug from the outlet.
1. Remove 3 screws on the plate upper.
2. Push the top plate
3. Open the top plate
29

1. Remove 2 screw on the control panel frame.
2. Disconnect the connectors.
3. Pull the control panel assembly.
4.Remove 9 screws on the PWB(PCB) assembly, display.
5.Remove 4 screws on the PWB(PCB) assembly, main.
6.Disassemble the control panel assembly.
30
1.Open the top plate.
2.Open the control panel assembly.
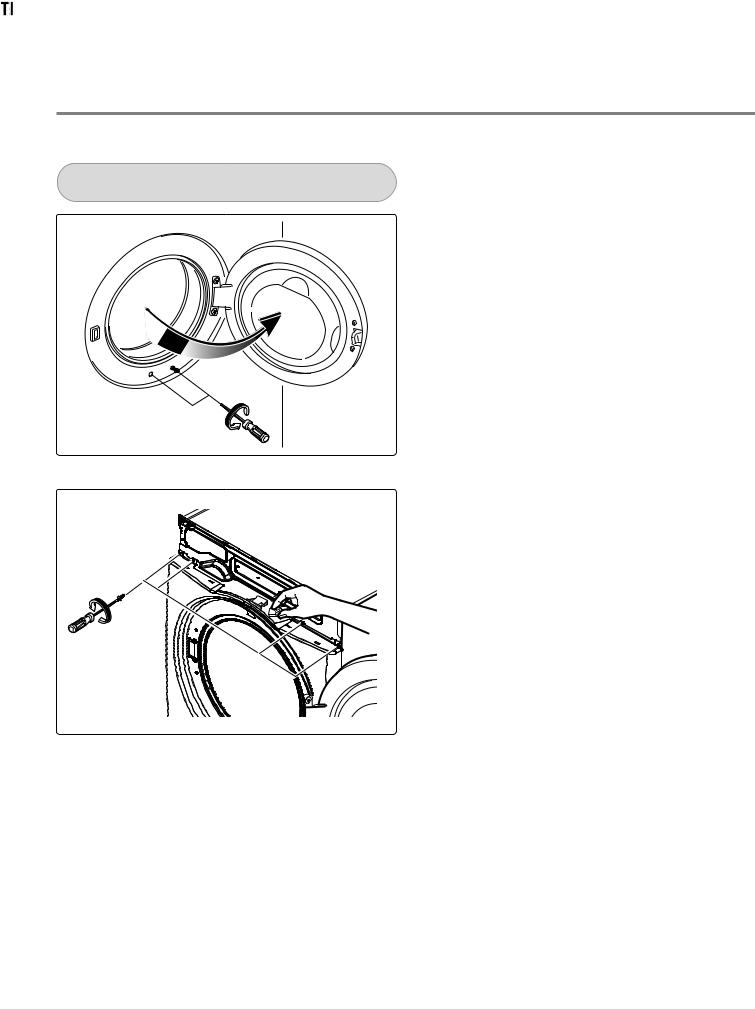
3.Open the door assembly.
4.Remove 2 screws.
5.Remove 4 screws from upper side.
6.Disconnect the harness of door switch.
31
 Loading...