

LAVAZZA Colibri Installation And Use Manual
Installation and Use
BLUEPOD TECHNICAL SERVICE Tel: 1800 800 255 Email: technical@bluepod.com.au
Copyright Bluepod Coffee Co Pty Ltd Page 1 of 8
LB3202 Colibri DATE OF ISSUE: 27/01/2011
NFORMATION NO: 007
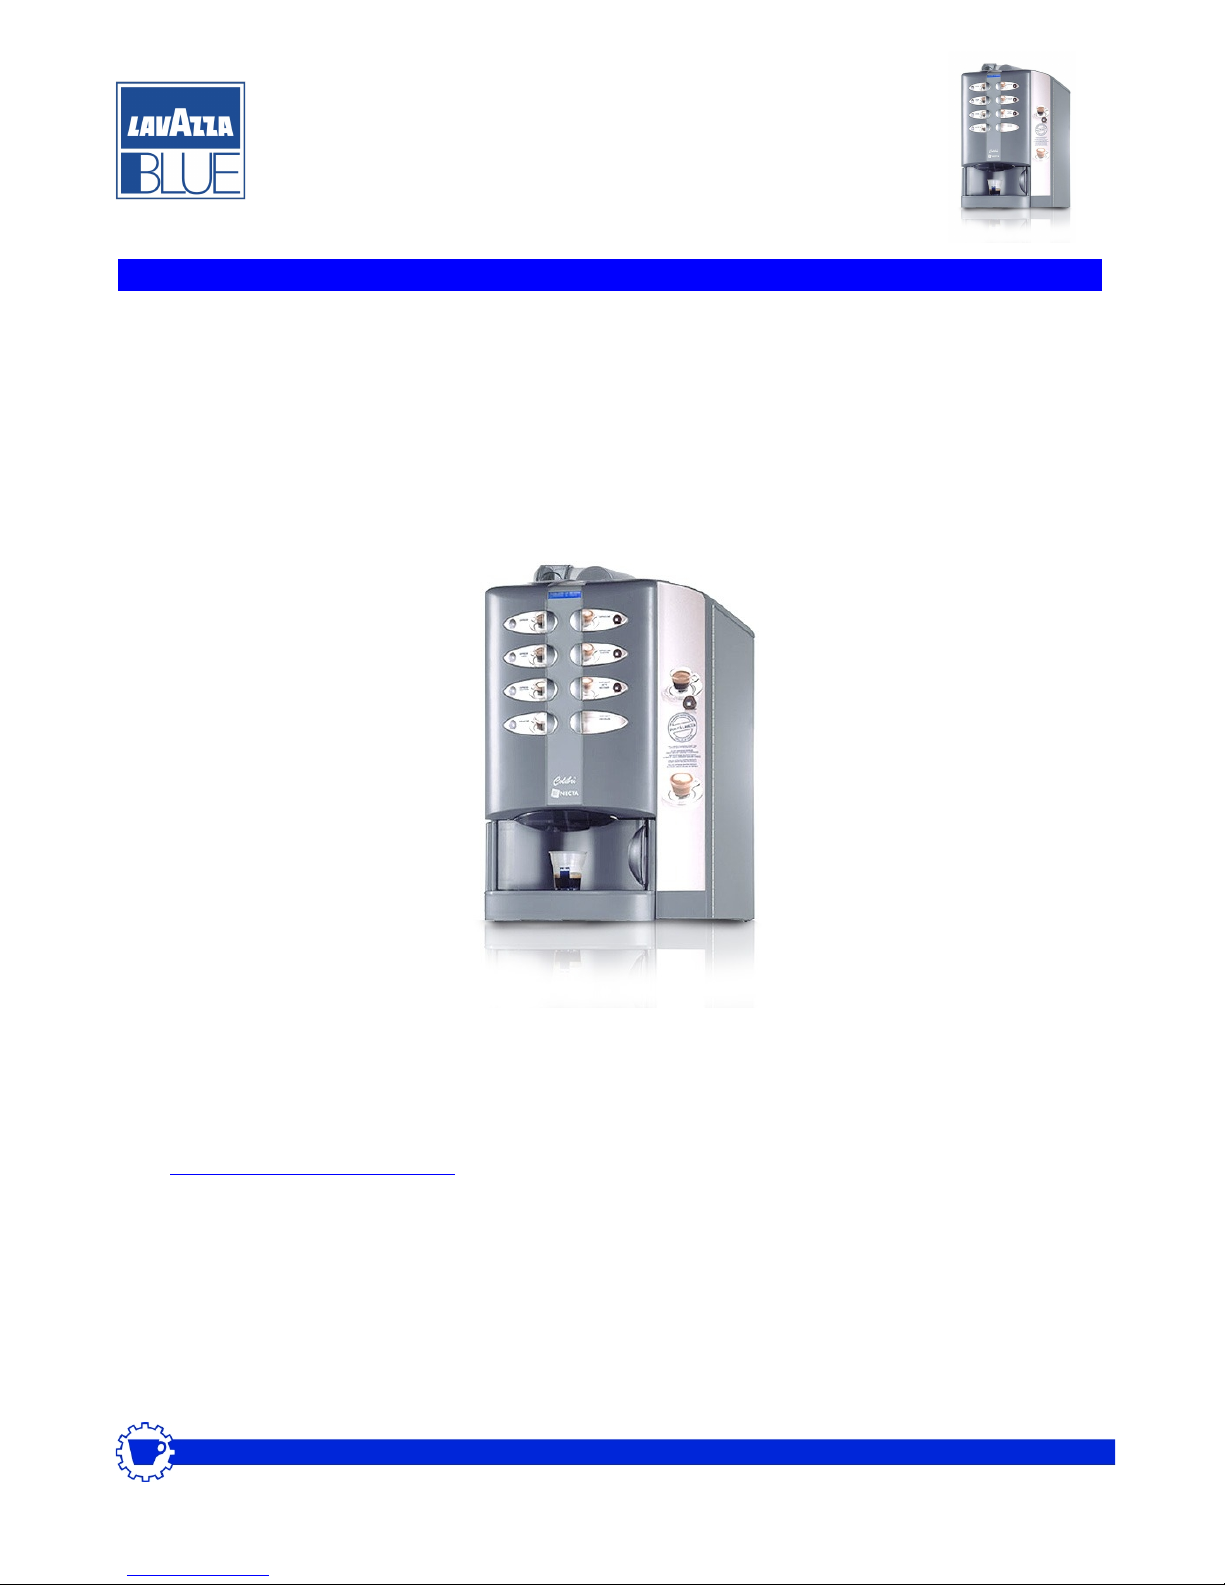
Manual Benchtop Lavazza Colibri
Congratulations on choosing to drink great coffee using the unique Lavazza pod vending system.
The machine is simple to use. Follow the steps listed here and your organization will enjoy great
tasting coffee every day.
If you need assistance at any point, please call 1 800 800 255 or visit our self help troubleshooter
at www.bluepod.com.au/support
Before proceeding, please note the machine should NOT be powered up until instructed.
The boiler may be damaged and require a replacement machine sent out.
Installation and Use
BLUEPOD TECHNICAL SERVICE Tel: 1800 800 255 Email: technical@bluepod.com.au
Copyright Bluepod Coffee Co Pty Ltd Page 2 of 8
LB3202 Colibri DATE OF ISSUE: 27/01/2011
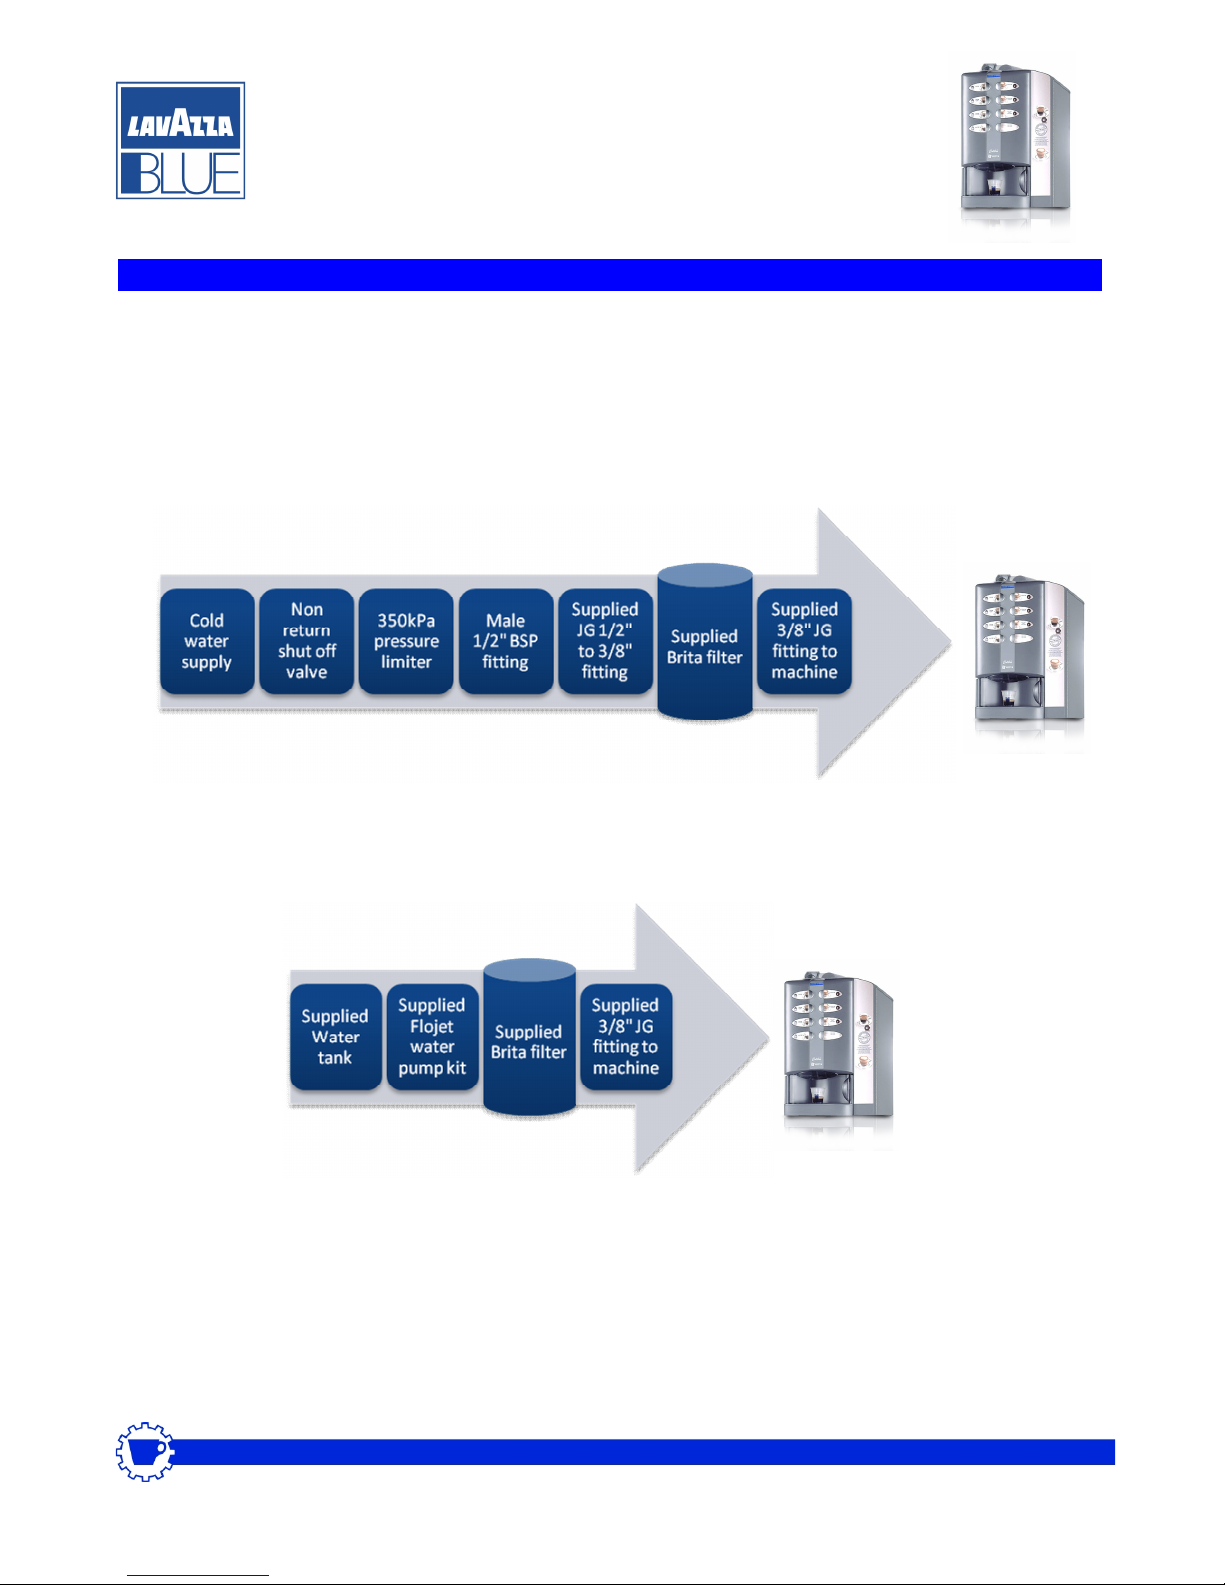
Each customer is aware before delivery of requirements for plumbing and power. There are 2
plumbing configurations, mains fill and tanked supply:
Mains
Tanked
Locate all parts for your configuration as listed above. Connections between these components are
to be made using the blue John Guest water line included. 2m is supplied, cut to length as needed.
The 3/8” to 3/4” female fitting for the rear water connection to the machine will be packed in the
white envelope inside the machine or in the small grey drawer on the lower right inside of the machine. All other JG fittings are mounted ready for use.
Installation and Use
BLUEPOD TECHNICAL SERVICE Tel: 1800 800 255 Email: technical@bluepod.com.au
Copyright Bluepod Coffee Co Pty Ltd Page 3 of 8
LB3202 Colibri DATE OF ISSUE: 27/01/2011
1. Plan the installation. In particular, the Brita filter (A) supplied must be used regardless
of mains or tank fill.
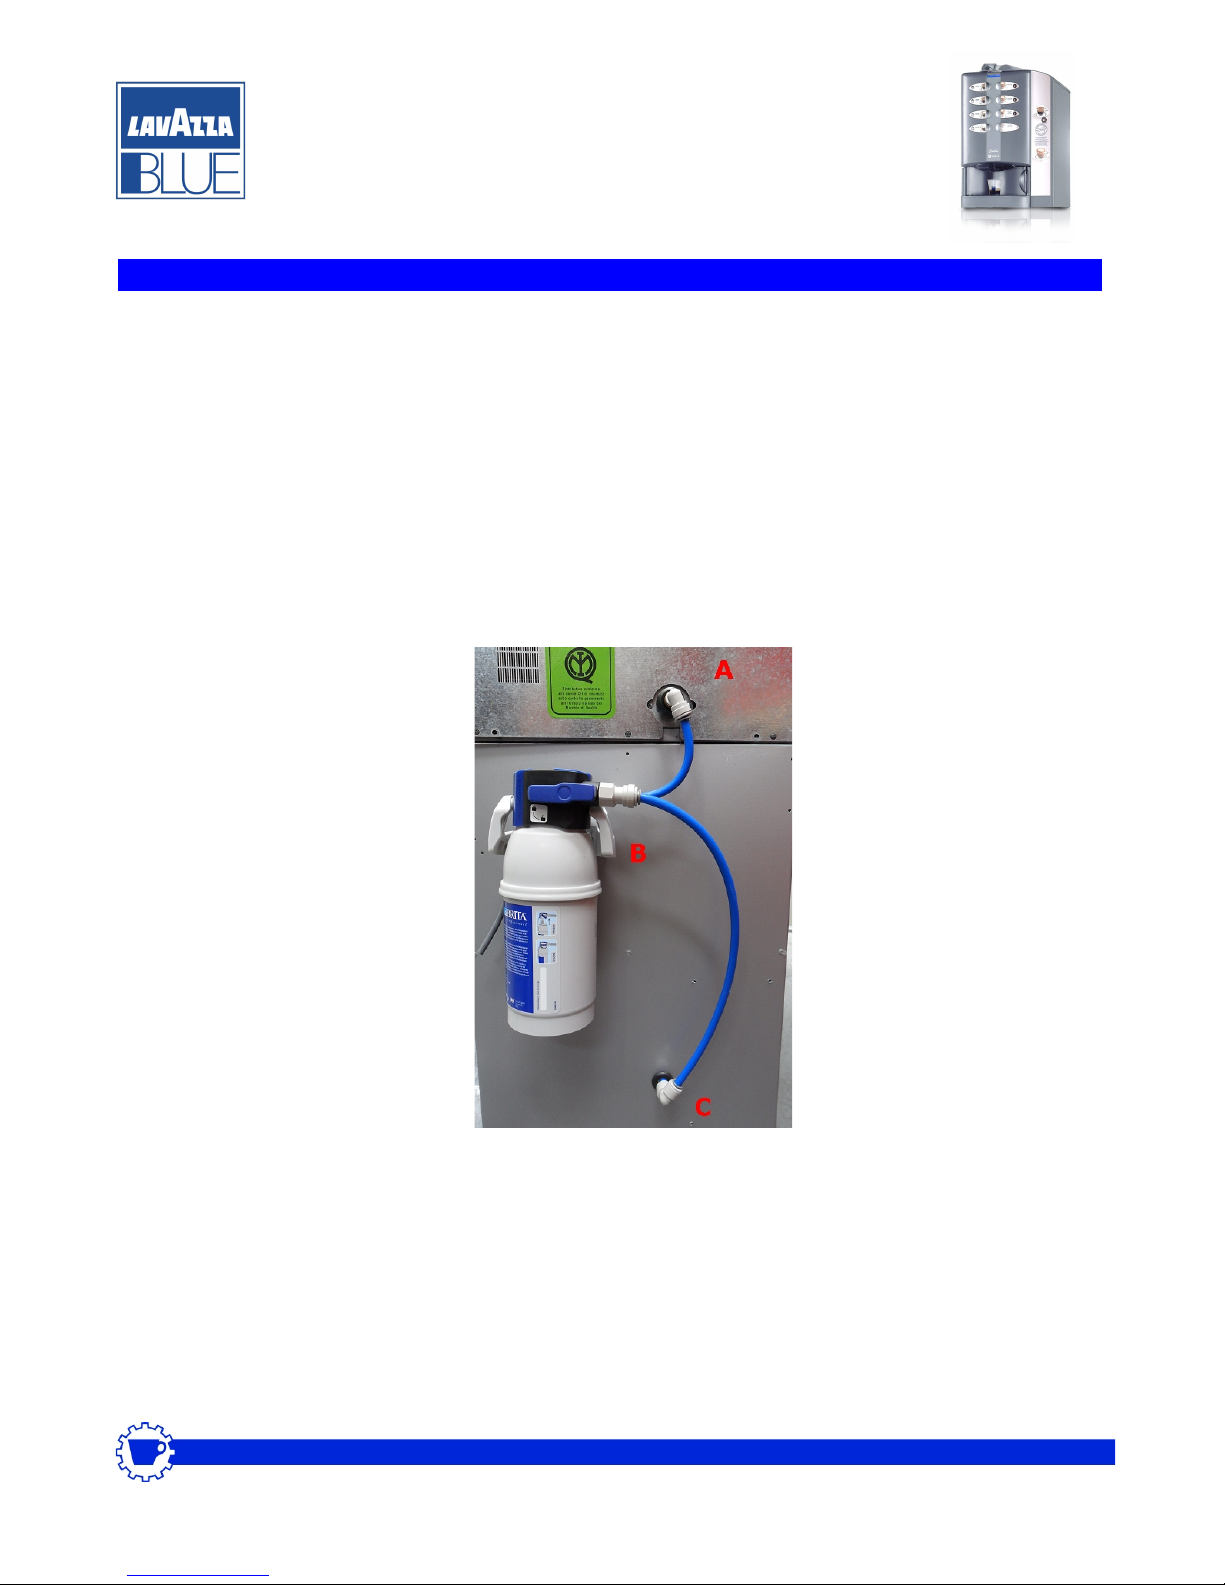
2. It must be located between the mains water/Flojet pump outlet and the rear machine
water inlet. If your machine has a metal base cabinet, provision is built in for mounting
the filter via 2 screws prefitted.
For example, the following shows a Brita filter unit (B) installed between the Flojet outlet (C) and coffee machine inlet (A):
If your machine is not fitted with a base cabinet, the filter must be located in a suitable
place such as below the counter or a nearby cupboard. It can be mounted in any orientation.
 Loading...