

Page 1
WS-7038U
Wireless 433 MHz
Miniature Rain Monitor
Instruction Manual
Page 2

TABLE OF CONTENTS
Topic Page
Inventory of Contents/ Additional Equipment 3
Quick Set-Up Guide 3
Detailed Set-Up Guide
Battery Installation 4
Program Mode
Function Buttons 5
Time Setting 5
Date Setting 5
Weekday Setting 6
Rain Alarm Setting 6
Resetting Total Rain Amount 6
Features & Operations
Bar Graph 7
Numerical Representation of the Bar Graph 8
Manual Reset of Rain Multiplicator 8
Complete Resetting of Precipitation Data 9
Reception Requirements 9
Icons 9
Mounting 10-11
Maintenance & Care 11
Troubleshooting 12
Specifications 13
Warranty Information 14-16
2
Page 3

INVENTORY OF CONTENTS
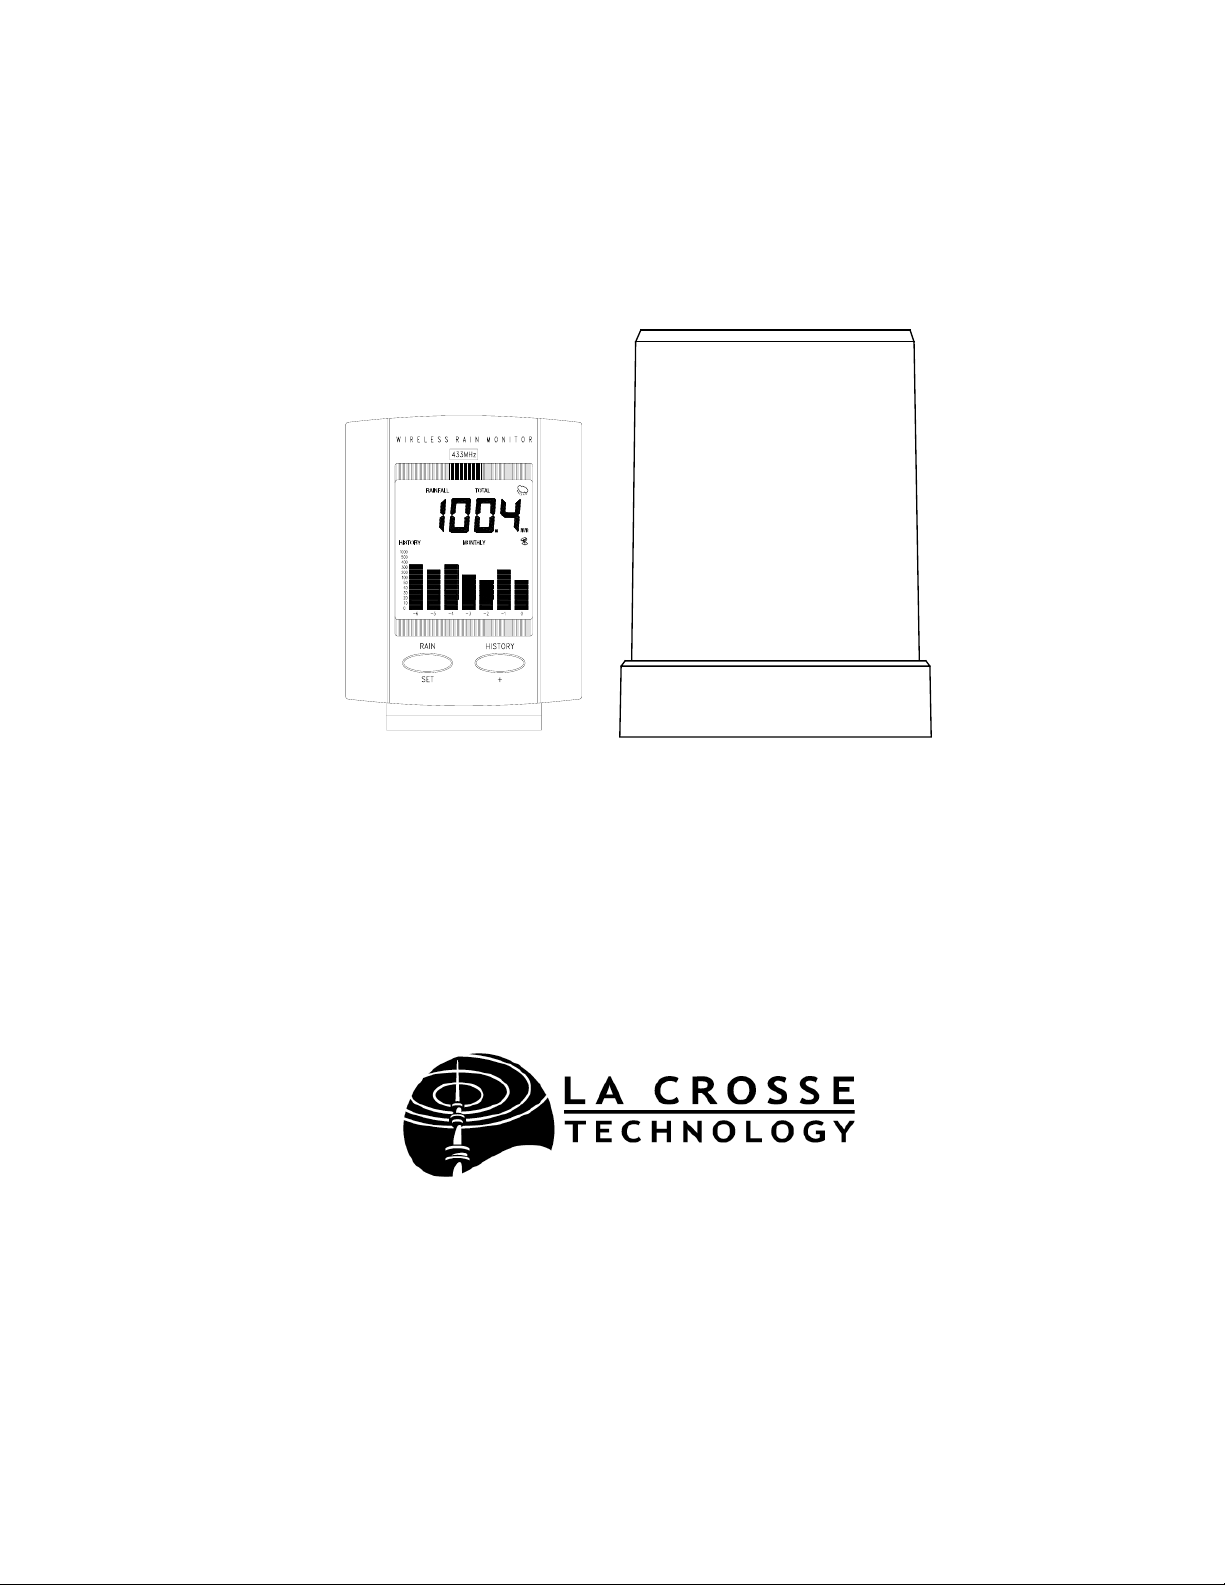
1) WS-7038U—Wireless Rain Monitor with table stand. (Figure 1).
2) TX5U—Wireless Rainfall Transmitter: includes a base, rainfall collector,
and two mounting screws. (Figure 2).
3) Instruction manual and warranty card.
Figure 1
Function
Buttons
ADDITIONAL EQUIPMENT (not included)
1) Two fresh 1.5V AAA batteries.
2) Two fresh 1.5V AA batteries.
3) Flathead screwdriver.
QUICK SET-UP GUIDE
1) Insert two AA batteries into the Rainfall Transmitter.
2) Insert two AAA batteries into the Rain Monitor.
3) Program settings.
4) Wait 15 minutes, or until the Rain Monitor has received signals from the
Rainfall Transmitter.
5) Mount the units, ensuring they are sending and receiving signals.
Figure 2
3
Page 4
DETAILED SET-UP GUIDE
I) BATTERY INSTALLATION
Note:
Batteries will fit tightly. To avoid start-up problems make sure that the
batteries do not spring free.
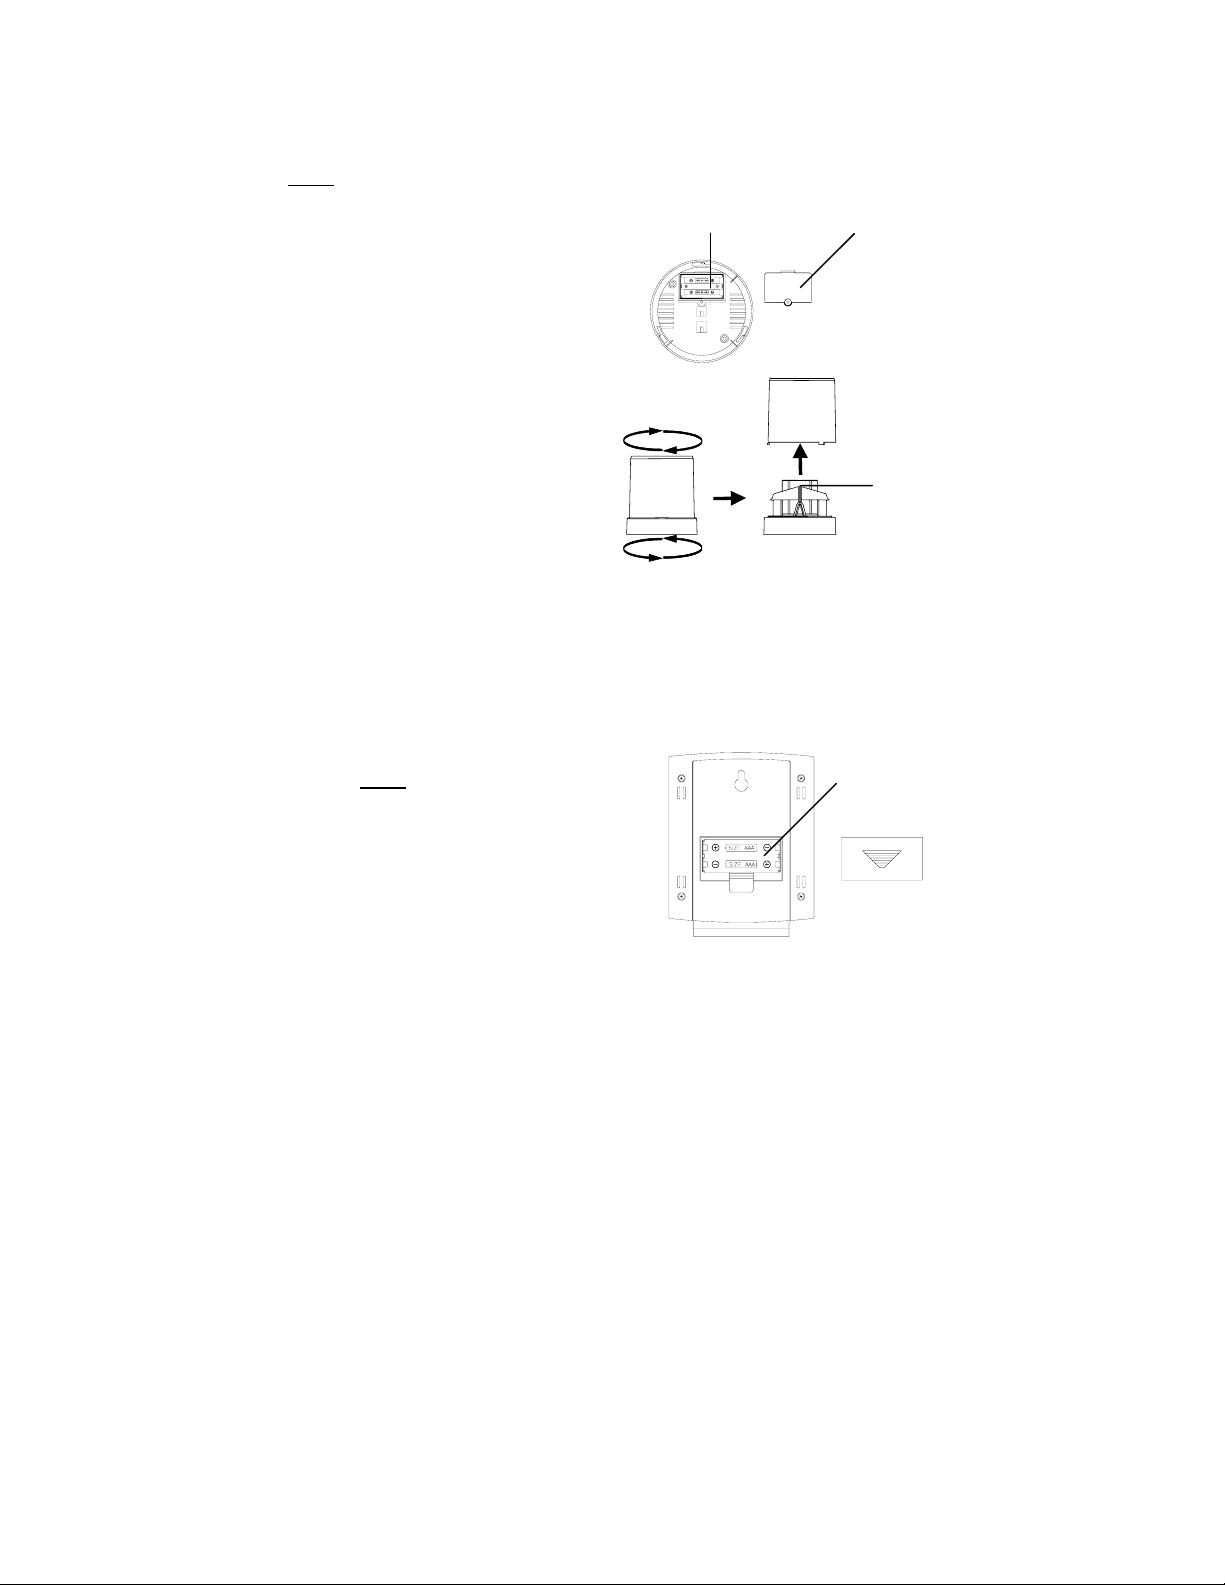
Battery cover Battery compartment
A) RAINFALL TRANSMITTER
1. Remove the flat-head screw and
battery cover, located on the
underside of the base.
2. Observe the correct polarity,
and install two AA batteries.
3. Make sure the rubber weather
seal is in place and replace
the battery cover and screw.
4. Separate the base by turning
the rainfall collector in a
counter-clockwise direction.
Remove the tape from the
teeter-totter. Replace the
cover.
B. RAIN MONITOR
1. Remove the battery cover on the backside of the unit.
2. Observe the correct polarity, and install 2 AAA batteries.
3. Replace the battery cover.
Note:
After the batteries have
been installed, the entire LCD
Battery
Compartment
(Liquid Crystal Display) will
light up briefly, then the default
settings will be initiated.
Battery Cover
TeeterTotter
4
Page 5

PROGRAM MODE
After the batteries have been installed the minute digits of the time display will flash,
signaling that the program mode has been automatically entered. If no buttons are
pressed, the digits will stop flashing after 50 seconds. To enter the programming mode
(when not automatically entered) hold down the RAIN/SET button for 2 seconds—the
minute digits will flash. The Program Mode is laid out in a manner that allows you to
program each function separately, or you can follow the instructions entirely to program
the Rain Monitor. Complete programming is usually done for the initial set-up, and will
require you to skip step 1 of programming sections II through VI.
I) FUNCTION BUTTONS
There are 2 function buttons located on the front of the Rain Monitor, and under the
LCD screen. The function buttons are labeled: RAIN/SET, and HISTORY/+. See
Figure 1.
II) TIME SETTING
1) Hold down the RAIN/SET button for 2 seconds, or until the minute-digits
flash.
2) Press the HISTORY/+ button to adjust the minutes.
3) Press the RAIN/SET button to confirm the minutes and to shift to set the
hour.
4) The hour-digits should now be flashing. Press the HISTORY/+ button to
adjust the hour.
Note:
An “A” (a.m.) or a “P” (p.m.) will appear to the right of the time
display, set the time accordingly.
5) Press the RAIN/SET button to confirm the hour setting, and to advance to
set the date.
III) DATE SETTING
1) Hold down the RAIN/SET button for 2 seconds, press the RAIN/SET button
2 more times—until the first digit of the date (the month) flashes (default is
“1.1”).
2) Press the HISTORY/+ button to adjust the month.
3) Press the RAIN/SET button to confirm the month, and to shift to set the date.
4) Press the HISTORY/+ button to adjust the date.
5) Press the RAIN/SET button to confirm the date, and to advance to set the
weekday.
5
Page 6

IV) WEEKDAY SETTING
Note:
The weekday is not represented alphabetically, it is represented numerically,
with “1” equal to Monday, and “2” equal to Tuesday, etc.
1) Hold down the RAIN/SET button for 2 seconds, press the RAIN/SET button
4 more times—until the weekday digit flashes (default is “1”).
2) Press the HISTORY/+ button to adjust the weekday.
3) Press the RAIN/SET button to confirm the weekday digit, and to advance to
set the Rain Alarm.
V) RAIN ALARM SETTING
Note:
When the Rain Alarm is activated, the alarm will sound when rain is detected.
The alarm will sound for approximately 150 seconds before automatically turning
off. The alarm can also be turned off manually by pressing any button. If there is a
break of no rain between two rain periods, the break must exceed 80 minutes for the
alarm to sound.
1) Hold down the RAIN/SET button for 2-seconds, press the RAIN/SET button
5 more times—until the default “ALOFF” flashes.
2) Press the HISTORY/+ button to adjust the alarm setting—“ALOFF” or
“AL ON”.
3) Press the RAIN/SET button to confirm the alarm setting, and to advance to
Resetting the Total Rain Amount.
VI) RESETTING THE TOTAL RAIN AMOUNT
1) Hold down the RAIN/SET button for 2-seconds, press the RAIN/SET button
6 more times—until the numerical digits flash under the “TOTAL” heading.
2) Press the HISTORY/+ button to reset the total rain amount.
3) Press the RAIN/SET button to confirm, and to exit the program mode.
Note:
The total rain amount will constantly accumulate unless the Rain
Monitor is reset, or the batteries are changed.
6
Page 7

FEATURES & OPERATIONS
I) BAR GRAPH
The bar graph displays the rainfall history. As indicated by the appearance of the
word “HISTORY” at the left-central area of the LCD screen.
The horizontal axis measures the past time periods, with “0” representing the current
day, week, or month and “6” representing the oldest information (6 days ago, 6
weeks ago, or 6 months ago). The graph reads from right to left.
The vertical axis measures the rainfall in inches. The normal (default) measurement
scale is {0, 0.1, 0.2, 0.3, 0.4, 0.5, 1, 2, 3, 4, 5, 10 inches}. If, within any selected
time period (1 day, 1 week, 1 month), rainfall exceeds 20 inches the measurement
scale automatically changes to {0, 1, 2, 3, 4, 5, 10, 20, 30, 40, 50, 100 inches}.
The bar graph will display the rainfall history either by day, week, or month. To
select which to display:
1. Press the HISTORY/+ button. The “DAILY” icon will shift and become the
“WEEKLY” icon (appearing across the central position of the LCD).
2. Press the HISTORY/+ button to toggle through the “WEEKLY,”
“MONTHLY,” and “DAILY” icons.
If “DAILY” is selected, the graph will display the rainfall history for the
past 6 days. The information that is displayed in column “0” (the right
column) is renewed daily at midnight, and the information contained in the
columns is shifted to the left. If “WEEKLY” is selected, the graph will
display the rainfall history for the past 6 weeks. The information that is
displayed in column “0” is renewed every Monday at midnight, and the
information contained in the columns is shifted to the left. If “MONTHLY”
is selected, the graph will display the rainfall history for the past 6 months.
The information displayed in column “0” is renewed on the first day of
every month, at midnight. The information contained in the columns is
shifted to the left.
7
Page 8

II) NUMERICAL REPRESENTATION OF THE BAR GRAPH
The bar graph displays the columns sequentially from “0” to “6” until all columns
are showing. Then they are hidden again, and the sequential display is repeated. It is
possible to read each column one at a time, simultaneously displaying the numeric
measurement for that column above the bar graph. For example, the weekly rainfall
total from 3 weeks ago may be viewed. Also, the numeric data from each column
will correspond to the preveouly selected history (“DAILY,” “WEEKLY,” or
“MONTHLY”). To view individual totals from the last six periods:
1. Hold down the HISTORY/+ button for 2 seconds. The numeric data from
column “0” should appear at the top of the LCD screen, with the
“RAINFALL” icon displayed above the data.
2. Press the HISTORY/+ button again, column “1” will be highlighted, and the
numeric data will be displayed above the bar graph.
3. Continue to press the HISTORY/+ button until the data from each column (0
through 6) has been displayed.
4. Pressing the HISTORY/+ button once more, after viewing the data from
column 6, will exit this mode—returning to normal operation.
III) MANUAL RESET OF THE RAIN MULTIPLICATOR
Note:
The rain multiplicator is the amount of rain needed to tip the teeter-totter
bucket (inside the rain gauge). The multiplicator is preset to a value of “105”
(0.0105 inches per tip); this number produces the most accurate rainfall
measurement. There is no need to manually set this number unless it has been
changed.
1. Remove the batteries and wait 30 seconds. This will reset the 1-hour
rainfall total, but the bar graph and other totals will remain.
2. Checking the polarity, install batteries.
3. During the brief 2 seconds that the LCD screen lights up, hold down the
HISTORY/+ button, until “105” appears in the LCD (the “5” will be
flashing).
4. If the multiplicator is not 105; use the HISTORY/+ button to to change the
last digit to a 5. Press the RAIN/SET button to confirm and shift to the
middle digit.
5. Press the HISTORY/+ button to change the middle digit, and press the
RAIN/SET button to confirm and shift to the first digit. Repeat process for
the first digit.
6. Press the RAIN/SET button to exit the Rain Multiplicator mode, and to enter
the normal mode. Follow Program Mode for set-up proceedures.
8
Page 9

IV) COMPLETE RESETTING OF PRECIPITATION DATA
Note:
The rain data held by the bar chart and other rain totals (excluding the
1-hour total) will be stored and displayed again, even after the batteries have been
removed. Therefore it is necessary to apply the following instructions to reset the
bar chart and other totals, if desired.
1) Enter the Rain Multiplicator mode as instructed in steps 1 through 3 of the
Manual Reset of the Rain Multiplicator section above.
2) After setting the rain multiplicator, while the left digit is flashing, press the
RAIN/SET button for 8 seconds. This will clear data, and reset it to 0.
V) RECEPTION REQUIRMENTS
The Rain Monitor receives data from the Rainfall Transmitter every 5 minutes, while
the Rainfall Transmitter transmits data every 1 minute. Data is transmitted
immediately after rain has been detected. If 3 transmission attempts are made and no
data is received, “---” will be displayed in the LCD. If this is the case, reset the Rain
Monitor.
A) RESETTING
1) Remove batteries from the Rain Monitor and Rain Gauge.
2) Wait 30 seconds, or start-up and transmission problems may arise, then
reinstall the batteries.
3) Follow Programming instruction.
The Rain Monitor cannot receive data in the Programming Mode, nor during the
numeric display of the bar chart. Reception is also interupted when a button is
pressed, and will continue when the button is released.
The transmission range is approximately 80 feet (25m) in open space. The
surrounding environment and interference levels influence this transmission range.
VI) ICONS
A) FLASHING RAIN CLOUD
A flashing rain cloud appears in the upper right hand corner of the LCD screen,
when the Rainfall Transmitter is accumulating rain and transmitting data.
B) SATELLITE ICON
The satellite icon appears above the right column of the bar graph, when the
Rain Monitor is searching for a signal from the Rainfall Transmitter.
9
Page 10

MOUNTING
Note: Before permanently mounting, ensure that the Rain Monitor is able to receive
signals from the Rainfall Transmitter at their desired location. Obstacles such as walls,
concrete, and large metal objects can reduce the range. Place units in their desired
location, and wait approximately 15 minutes before permanently mounting to ensure that
there is proper reception
I) THE TX5U—RAINFALL TRANSMITTER
The Rainfall Transmitter can be mounted in two ways:
• simply placing it in a desired location, or
• mounting it to a surface with the provided screws.
Ensure that the Rainfall Transmitter is completely horizontal and stable.
1) Rotate the rainfall collector
separating it from the base.
2) There are two cylindrical
holes in the base to guide
the mounting screws. Place
the base over a desired
mounting surface. With a
pencil, mark the mounting
surface through the
cylindrical holes.
3) Where marked, start the screws.
4) Place the base over mounting surface. Install screws through the cylindrical
holes and into the started holes on the mounting surface.
5) Secure the screws, ensuring that no part of the base can lift off the mounting
surface.
6) Remove the manufacture tape from the teeter-totter on the base. If this is
not done there will be no way to measure rainfall, and no measurement will
display on the Weather Center.
7) Place the rainfall collector onto the base. Place the 3 tabs (on the rainfall
collector) into the tab slots (on the base) and turn counter-clockwise.
10
Page 11
II) THE WIRELESS RAIN MONITOR
The Rain Monitor can also be mounted in two ways:
• with the table stand or,
• on the wall with the use of a wall hanging screw (not included).
A) USING THE TABLE-STAND
1. The Rain Monitor comes with the table stand already mounted. If you
wish to use the table-stand all that is required is to place the Rain
Monitor in an appropriate location.
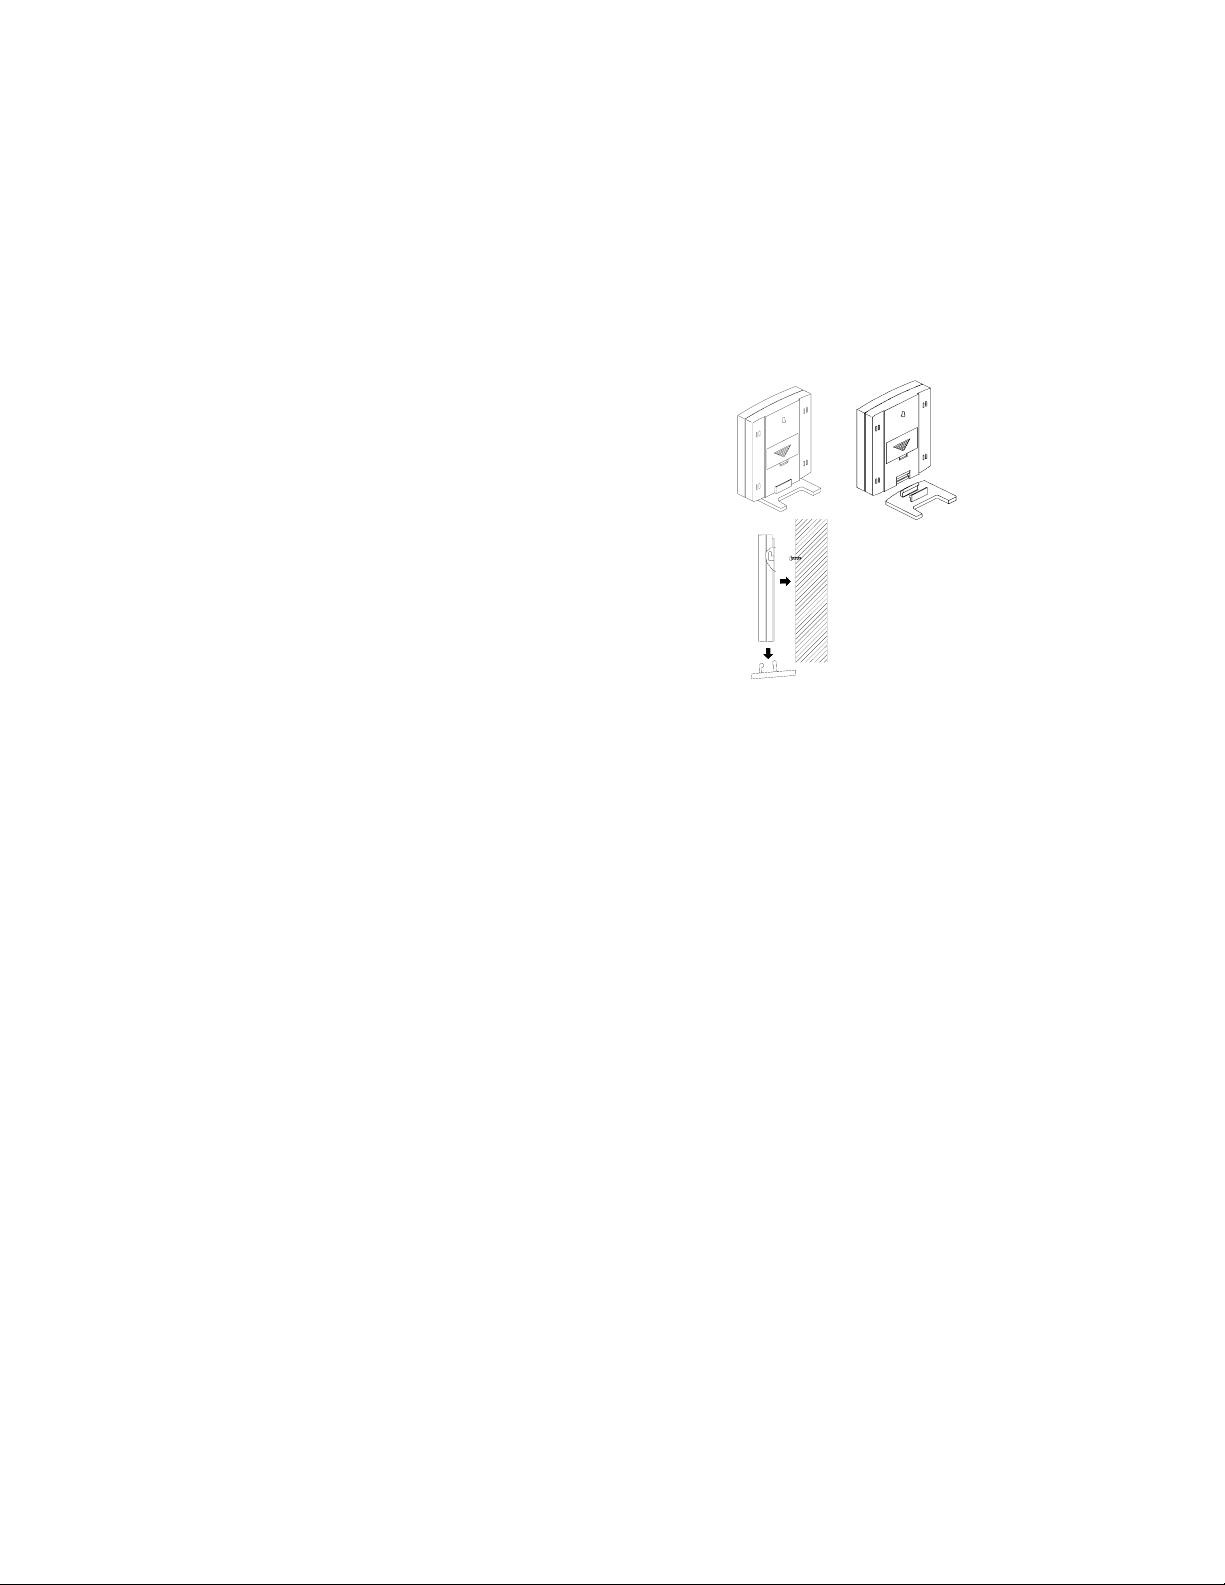
B) WALL MOUNTING
Figure 3
1. Remove the table stand. To do this,
pull down on the stand from the rear
and rotate forward. (Figure 3).
2. Fix a screw (not included) into the
desired wall, leaving approximately
3/16 of an inch (5mm) extended from
the wall. (Figure 4).
Figure 4
3. Place the Rain Monitor onto the screw
using the hanging hole on the
backside. Gently pull the Rain
Monitor down to lock the screw into
place.
MAINTENANCE & CARE
• Extreme temperatures, vibrations, and shock should be avoided to prevent damage to
the units.
• Clean displays and units with a soft, damp cloth. Do not use solvents or scouring
agents—they may mark and damage the displays and casings.
• Do not submerge in water.
• Immediately remove all low powered batteries to avoid leakage and damage.
Replace with new batteries only, and of recommended size.
Opening the casings invalidates the warranty. Do not try to repair the units. Contact
•
La Crosse Technology for Repairs.
11
Page 12

TROUBLESHOOTING
Problem:
Solution:
Problem:
Solution:
The LCD is faint.
1) Replace batteries.
“OFL” appears in LCD.
1) Follow Reset directions. (Total rainfall accumulation has
exceeded 999.99in.)
Problem:
Solution:
“---” Appears in LCD (rain monitor has lost signal from gauge)
1) Follow reset directions.
2) Distance the Rain Monitor or Rainfall Transmitter at least 6 feet
(2m) away from interfering sources on a 433 MHz signal
(computers, TV sets, headphones, speakers, etc.).
3) Move receiver away from metal window frames.
4) Neighbors using 433 MHz devices can interfere also.
Problem:
Solution:
Need to reset the bar graph (EEPROM Rain Monitor memory)
1) Remove batteries, and follow instructions in section III, under
Features & Operations.
Problem:
Solution:
Rainfall amount is not correct.
1) Manually change the rain multiplicator number to 105, following
instructions in section II, under Features & Operations.
Note: For any questions not answered, contact La Crosse Technology with the contact
information found at the end of this instructional manual.
12
Page 13

SPECIFICATIONS
Recommended operating temperature:
Rain Monitor:
Rainfall Transmitter:
Rainfall Totals:
32°F to 122°F (0°C to 50°C)
32°F to 122°F (0°C to 50°C)
For the previous 6 days, 6 weeks, 6 months,
plus current day, week, or month
Data Check Intervals:
Receiver checking interval: Every 5 minutes
Rainfall Transmitter checking interval: Every minute if no rain, immediately when rain
begins
Transmission frequency: 433.92 MHz
Maximum transmission range: 80 feet (25m)
Power supplies (Alkaline battery recommended):
Rain monitor: 2 x AAA, IEC LR3, 1.5V batteries
Rainfall Transmitter: 2 x AA, IEC LR6, 1.5V batteries
Dimensions (L x W x H):
Rain monitor (without stand): 3.54 x 0.86 x 4.13in (90 x 22 x 105mm)
Rainfall Transmitter: 5.19in diameter x 7.20in high
(132mm diameter x 183mm high)
13
Page 14

WARRANTY INFORMATION
La Crosse Technology provides a 1-year warranty on this weather station. Contact La
Crosse Technology immediately upon discovery of any defects covered by this warranty.
Before sending the Weather Station in for repairs, contact La Crosse Technology. The
Weather Station will be repaired or replaced with the same or similar model.
This warranty does not cover any defects resulting from improper use, unauthorized
repairs, faulty batteries, or the Weather Stations inability to receive a signal due to any
source of interference.
LA CROSSE TECHNOLOGY WILL NOT ASSUME LIABILITY FOR INCIDENTAL,
CONSEQUENTIAL, PUNITIVE, OR OTHER SIMILAR DAMAGES ASSOCIATED
WITH THE OPERATION OR MALFUNCTION OF THIS WEATHER STATION.
THIS PRODUCT IS NOT TO BE USED FOR MEDICAL PURPOSES OR FOR
PUBLIC INFORMATION. THIS PRODUCT IS NOT A TOY. KEEP OUT OF
CHILDRE’S REACH.
This warranty gives you specific legal rights. You may also have other rights specific to
your State. Some States do no allow the exclusion of consequential or incidental
damages therefore the above exclusion of limitation may not apply to you.
For warranty work, technical support, or information contact
La Crosse Technology
700 East Main Street
Spring Grove, MN 55974
Phone: 507.895.7095
Fax: 507.895.8000
e-mail:
support@lacrossetechnology.com
(warranty work)
sales@lacrossetechnology.com
(information on other products)
web:
www.lacrossetechnology.com
All rights reserved. This handbook must not be reproduced in any form, even in excerpts,
or duplicated or processed using electronic, mechanical or chemical procedures without
written permission of the publisher.
This handbook may contain mistakes and printing errors. The information in this
handbook is regularly checked and corrections made in the next issue. We accept no
liability for technical mistakes or printing errors, or their consequences.
All trademarks and patents are acknowledged.
14
 Loading...