

La Crosse Technology WS-2814U-IT User Manual
WS-2814U-IT
Wireless Professional
Weather Center
Operations Manual
Revision: 7

INTRODUCTION
C
ongratulations on purchasing this state-of-the-art weather station. Featuring time, date,
weather forecast, wind gust and wind speed, indoor/outdoor temperature and humidity, air
pressure and rainfall, this weather station will provide various weather information and weather
forecasts.
Heavy Weather Pro software allows you to use a PC to monitor and record weather data
received from the La Crosse Technology® wireless weather station via a proprietary USB
device that was provided.
Monitor and record a variety of data collected by the weather station including both indoor and
external values sampled by the various weather station sensors.
Review weather history data, and analyze trends and tendencies over time using the software's
charts and graphing features, or export the data to a text file.
The complete owner’s manual and downloadable software required for remote monitoring and
alert features are available at: www.lacrossetechnology.com/2814
TABLE OF CONTENTS
INTRODUCTION ......................................................................................................................2
TABLE OF CONTENTS ...........................................................................................................2
INVENTORY OF CONTENTS ................................................................................................5
FEATURES ...............................................................................................................................6
Wireless Display WS-2814U-IT ...........................................................................................6
Wireless Thermo-hygro Sensor (TX59UN-1-IT) ................................................................6
Wireless Solar Powered Wind Sensor (TX63U-IT)............................................................7
Wireless Self Emptying Rain Sensor (TX58UN-IT) ...........................................................7
Optional Wireless USB Transceiver (USBTRX-10) ...........................................................7
Optional Heavy Weather Pro software ...............................................................................7
Optional Remote Monitoring ................................................................................................7
SETUP INSTRUCTIONS STEP BY STEP ............................................................................8
FUNCTION BUTTONS ............................................................................................................9
Set ..........................................................................................................................................9
▲/DATE .................................................................................................................................9
▼/RAIN ..................................................................................................................................9
Alarm ......................................................................................................................................9
MIN/MAX..............................................................................................................................10
LCD SCREEN .........................................................................................................................10
MANUAL SETTINGS .............................................................................................................10
LCD contrast set .................................................................................................................11
Manual Time set:.................................................................................................................11
12/24 hour time display: .....................................................................................................11
P a g e | 2

Date set: ...............................................................................................................................11
°F/°C temperature unit: .......................................................................................................12
Wind speed unit: .................................................................................................................12
Rainfall unit: .........................................................................................................................12
Relative air pressure unit: ..................................................................................................12
Relative pressure reference value: ...................................................................................13
Weather tendency sensitivity: ............................................................................................13
Storm Warning Sensitivity: .................................................................................................13
Storm Alarm on/ off set: ......................................................................................................14
Wind direction display type: ...............................................................................................14
Factory reset procedure: ....................................................................................................14
To exit the manual setting mode: ......................................................................................15
WEATHER ALARM OPERATIONS FOR THE WEATHER STATION DISPLAY ............15
The following Weather Alarms can be Set in ALARM mode: .........................................15
Default weather alarm values: ...........................................................................................16
Pressure alarms: .................................................................................................................16
Indoor temperature alarms: ................................................................................................16
Indoor humidity alarms: ......................................................................................................17
Outdoor temperature alarms: .............................................................................................17
Outdoor humidity alarms: ...................................................................................................18
Wind gust alarm: .................................................................................................................18
Wind direction alarm: ..........................................................................................................18
24 Hour rainfall alarm .........................................................................................................19
HYSTERESIS .........................................................................................................................19
DISPLAY MODES ..................................................................................................................20
Mode 1 .................................................................................................................................20
Mode 2 .................................................................................................................................20
Date or seconds display .....................................................................................................20
Rainfall Display ...................................................................................................................20
WEATHER FORECAST AND TENDENCY .........................................................................20
Weather forecasting icons: ................................................................................................20
Weather tendency indicator ...............................................................................................21
AIR PRESSURE HISTORY GRAPH ....................................................................................21
WIND DIRECTION AND WIND SPEED MEASUREMENT ...............................................22
RAINFALL MEASUREMENT ................................................................................................23
MIN/MAX WEATHER DATA .................................................................................................23
Reset the MIN/MAX weather data .....................................................................................23
Reset Total rainfall amount ................................................................................................24
COMMON TERMS: ................................................................................................................24
Dew Point Temperature .....................................................................................................24
P a g e | 3

Relative Humidity ................................................................................................................24
Wind Chill-Equivalent Temperature ..................................................................................24
Wind Gust ............................................................................................................................24
MOUNTING AND PLACEMENT OF SENSORS AND DISPLAY ......................................25
Wind sensor .........................................................................................................................26
Rain sensor .........................................................................................................................26
Thermo-hygro sensor .........................................................................................................27
Display Station and Heavy Weather PC Software ...........................................................27
SPECIFICATIONS .................................................................................................................28
Indoor temperature .............................................................................................................28
Indoor humidity ....................................................................................................................28
Outdoor temperature / dew point .......................................................................................28
Outdoor humidity .................................................................................................................28
Wind speed/ gust ................................................................................................................28
Wind chill..............................................................................................................................28
Rainfall .................................................................................................................................28
Outdoor data reception Interval .........................................................................................28
Air pressure .........................................................................................................................29
Transmission range ............................................................................................................29
Power consumption ............................................................................................................29
Weather Center ...............................................................................................................29
Thermo-hygro transmitter ...............................................................................................29
Rain sensor ......................................................................................................................29
Wind sensor .....................................................................................................................29
usb transceiver ................................................................................................................29
DIMENSIONS ......................................................................................................................29
Weather Center ...............................................................................................................29
Thermo-hygro transmitter ...............................................................................................29
Rain sensor ......................................................................................................................29
Wind sensor .....................................................................................................................29
USB transceiver ...............................................................................................................29
CARE AND MAINTENANCE.................................................................................................30
LIABILITY DISCLAIMER .......................................................................................................30
FCC STATEMENT .................................................................................................................31
WARRANTY INFORMATION ...............................................................................................31
P a g e | 4
INVENTORY OF CONTENTS
Carefully open the package and check that the following contents are complete:
Wind Sensor
Rain Sensor
Thermo-Hygro Sensor
Wireless Display
USB Transceiver
Mast holder
Right angle adaptor
1 x U-bolts
2 Washers + 2 Nuts
Plastic Reset Rod
Base sensor,
funnel top cover
and battery cover
(pre-assembled)
Airflow cover
Wall mount adapter
Mounting screws
Plastic anchors for
screws
Foldout stand
USB wireless
interface for PC
All items, including Wind
Sensor, are Protected
under U.S. Patents:
5,978,738; 6,076,044; &
6,597,990
Wind Sensor also
Protected under U.S.
Patent: 6,761,065;
RE42,057
Remote Monitoring & Alerts Activation Card
(included in package with weather station)
PC Software (Downloads)
IMPORTANT!! Do Not Discard
Contains the Activation Button to enable
remote monitoring and alerts
Enables wireless computer
connection using the USB
transceiver
Enables remote monitoring & alerts
Download software from:
www.lacrossetechnology.com/2814
INSTANT TRANSMISSION is the state-of-the-art new wireless
transmission technology, exclusively designed and developed
by La Crosse Technology®. INSTANT TRANSMISSION
offers you an immediate update of all the outdoor data
measured from the transmitters: follow the climatic variations in
real-time!
P a g e | 5
FEATURES
WIRELESS DISPLAY WS-2814U-IT
Weather station works with or without a computer
• 12/24 hr. time & calendar with date, month & year
• Manual time (without PC computer) or automatic time/date when using USB transceiver to
sync to PC time/date
• Forecast with tendency based on barometric pressure: sunny, partly cloudy & stormy
• Indoor temperature with min/max time & date: 41°F to 104°F (5°C to 40°C)
• Outdoor temperature with min/max time & date: -40°F to 139.8°F (-40°C to 59.9°C)
• In/out relative humidity with min/max time & date: 3% to 99% RH
• Dew point with min/max time & date: -40°F to 139.8°F (-40°C to 59.9°C)
• Wind chill: down to -40°F (-40°C)
• Relative air pressure with 24hr. / 72hr. history graph (inHg / hPa):
Preset range 27.10 to 31.90 inHg
• Wind speed with min/max time & date: 0 to 111 mph (km/h, m/s, knots & Beaufort scale)
• Wind direction with compass (16 points / 22.5 degrees)
• Wind gust with max time & date
• Rainfall for last hour, 24hr., week, month & total: 0 to 393.7 inches (0 to 9999.9 mm)
• Weather alarms for temperature, humidity, wind gust/direction, pressure, 24hr. rain & storm
warning
• LCD contrast setting for easy viewing
• Stores over 1750 sets of weather records, recording interval: 1 min. to 24 hr.
• 2 "C" Alkaline batteries (included)
• 10.46" L x 1.35" W x 7.9" H (265.8 x 34.4 x 201.3 mm)
WIRELESS THERMO-HYGRO SENSOR (TX59UN-1-IT)
• Transmission of temperature and humidity data
• 200 Ft. wireless range (free of obstructions)
• 2 "C" Alkaline batteries (included)
• 3.13" L x 3.54" W x 7.45" H (79.4 x 89.8 x 189.3 mm)
P a g e | 6
WIRELESS SOLAR POWERED WIND SENSOR (TX63U-IT)
• 100% solar-powered (built-in power cell, no batteries necessary)
• High-efficiency solar panels maintain operation in every season
• 200 Ft. wireless range (free of obstructions)
• 9.84" L x 5.74" W x 7.57" H (250 x 145.9 x 192.3 mm) without mounting
base
WIRELESS SELF EMPTYING RAIN SENSOR (TX58UN-IT)
• 200 Ft. wireless range (free of obstructions)
• 2 "AA" Alkaline batteries (included)
• 5.2" DIA. x 7.2" H (131.6 DIA. x 182.7 mm)
OPTIONAL WIRELESS USB TRANSCEIVER (USBTRX-10)
The Professional Weather Center can be used as a stand-alone system. No computer is
required to connect the outdoor sensors to the display.
• 3.2" L x .89" W x .35" H (81.8 x 22.7 x 9 mm)
• Plugs into USB port on your PC. Shares weather data with downloadable
PC software & enables remote monitoring & alerting functions.
OPTIONAL HEAVY WEATHER PRO SOFTWARE
Optional downloadable software stores weather data & syncs time/date to your PC. Create
graphs, update user settings, set weather alarms & more.
Supported operating systems:
Windows XP
Vista, Windows 7
Windows 8
Download software from:
www.lacrossetechnology.com/2814
OPTIONAL REMOTE MONITORING
Remotely monitor home & backyard weather from your smartphone, tablet or computer: *
• Backyard temp. & humidity
• Wind, rain & barometric pressure
• Indoor temp. & humidity
• Protect what’s important: Set & receive weather alerts via e-mail & text
message.*
*Internet access required.
P a g e | 7
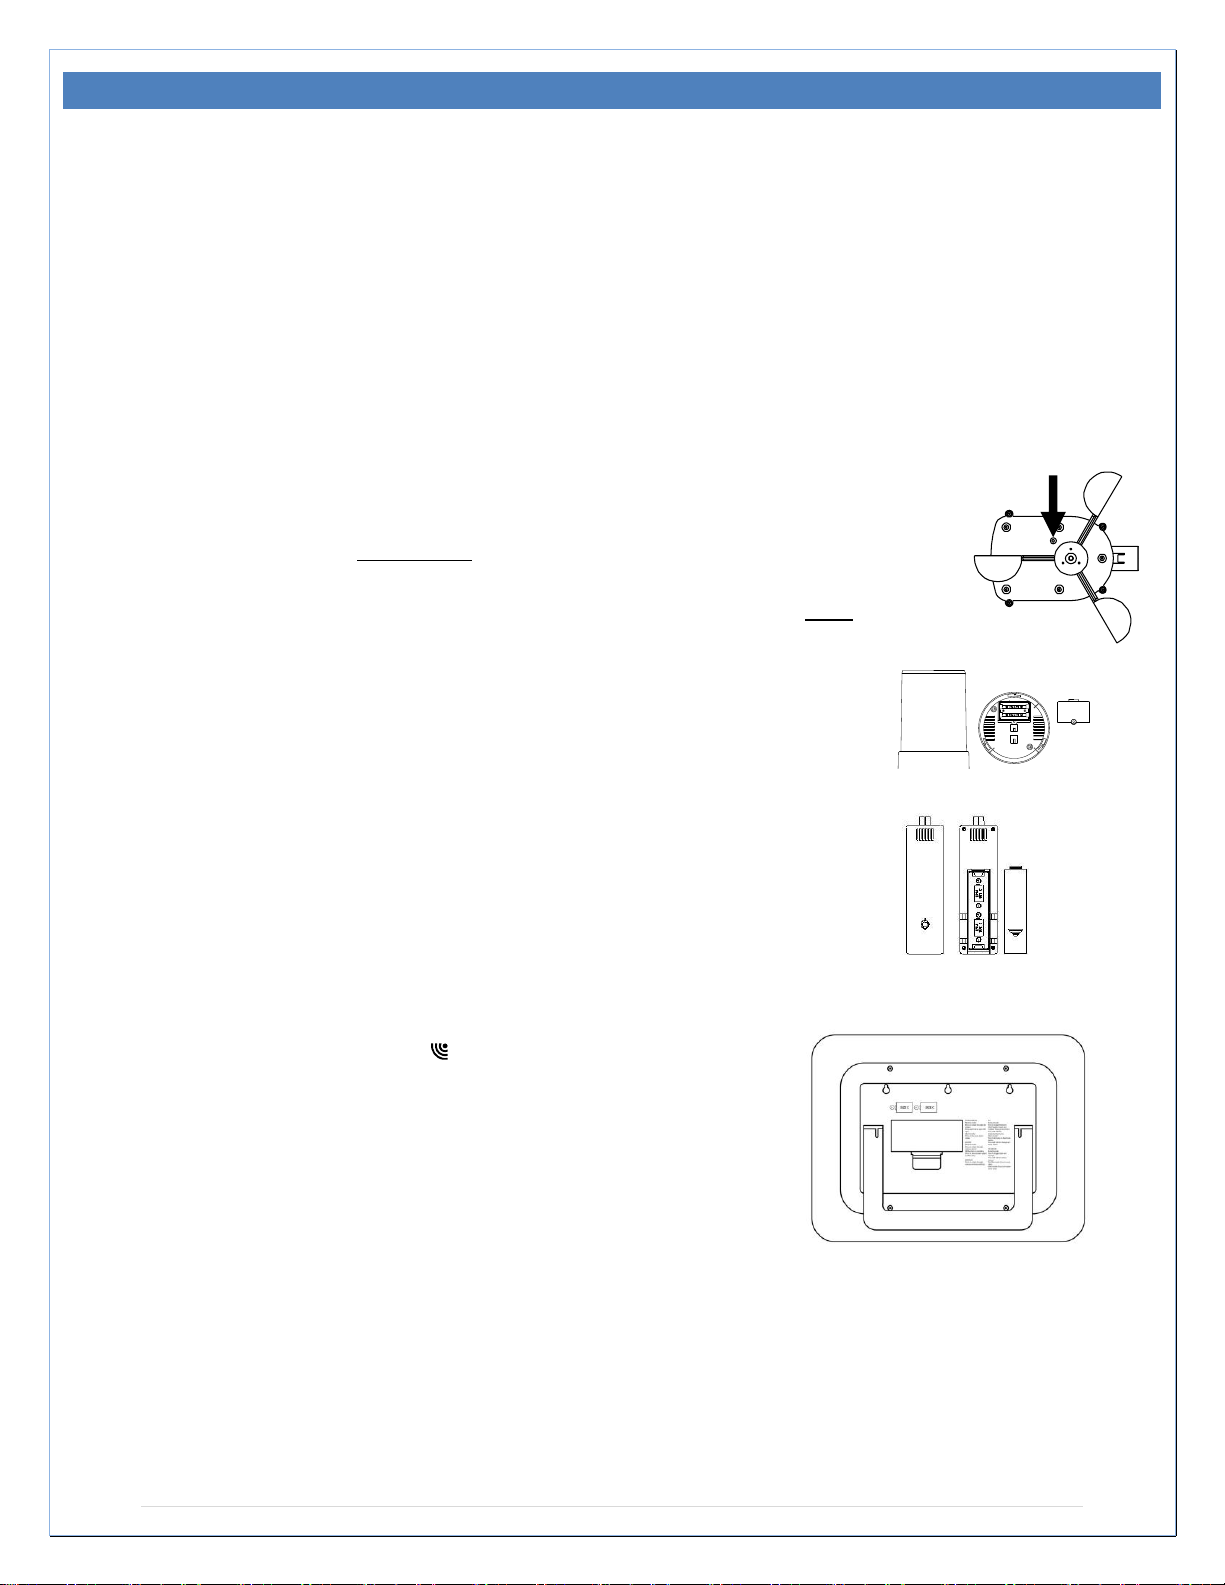
Press Reset Button on
Bottom of Wind Sensor
(Solar Panel Must Face
Light)
SETUP INSTRUCTIONS STEP BY STEP
IMPORTANT: Make sure to observe the correct polarity when inserting batteries. The "+"
markings on the batteries must line up with the diagrams inside the battery compartments.
Inserting the batteries incorrectly may result in permanent damage to the units. During the setup
process, place the wireless display and the outdoor sensors on a surface with 5-10 feet
between each sensor and the display.
STEP 1:
Complete initial setup on a table with all components within 10 feet of each other.
STEP 2:
It is important to allow sufficient light to reach the solar panel while activating
the wind sensor. Make sure the lights are on in the setup room and the solar
panel is facing a 60W light bulb or brighter.
Ensure the panel is not covered, and then remove the black protective foil on the
solar panel. Remove the tape covering the reset hole.
Use the provided plastic reset rod to gently press the reset button once in the hole
on the bottom of the sensor.
STEP 3:
Insert two "AA" size batteries into the rain sensor with the correct polarity.
STEP 4:
Insert two "C" size batteries into the thermo-hygro sensor with the correct
polarity. Allow all sensors to run for two minutes before inserting batteries
in the weather station.
STEP 5:
Insert two "C" size batteries into the wireless display with the correct
polarity.
NOTE: Every time the wireless display receives data from the
sensors, the wireless icons will blink once and then return to
solid if the last transmission was successful. A wind speed or
rainfall amount that reads "0" does not mean reception failure. It
means that there was no wind or rain at the time of the last
measurement. The thermo-hygro sensor syncs with the wind
and rain sensors and sends all outdoor sensor data to the
display. The thermo-hygro sensor tries for 4 minutes to sync to
the wind sensor and then 4 minutes for the rain sensor. If not
successful within 4 minutes, the thermo-hygro sensor will stop looking for the other sensors.
Wait 10 minutes for reception from all sensors before setting time and date or mounting
sensors outside.
STEP 6:
Set Time and Date. See “Manual Settings” below.
P a g e | 8
SETUP TROUBLESHOOTING: If the sensor data fails to display for any of the outdoor sensors
within 10 minutes, (“- - -“are displayed), remove the batteries from all units for 1 minute and start
the Setup procedure again at Step 1.
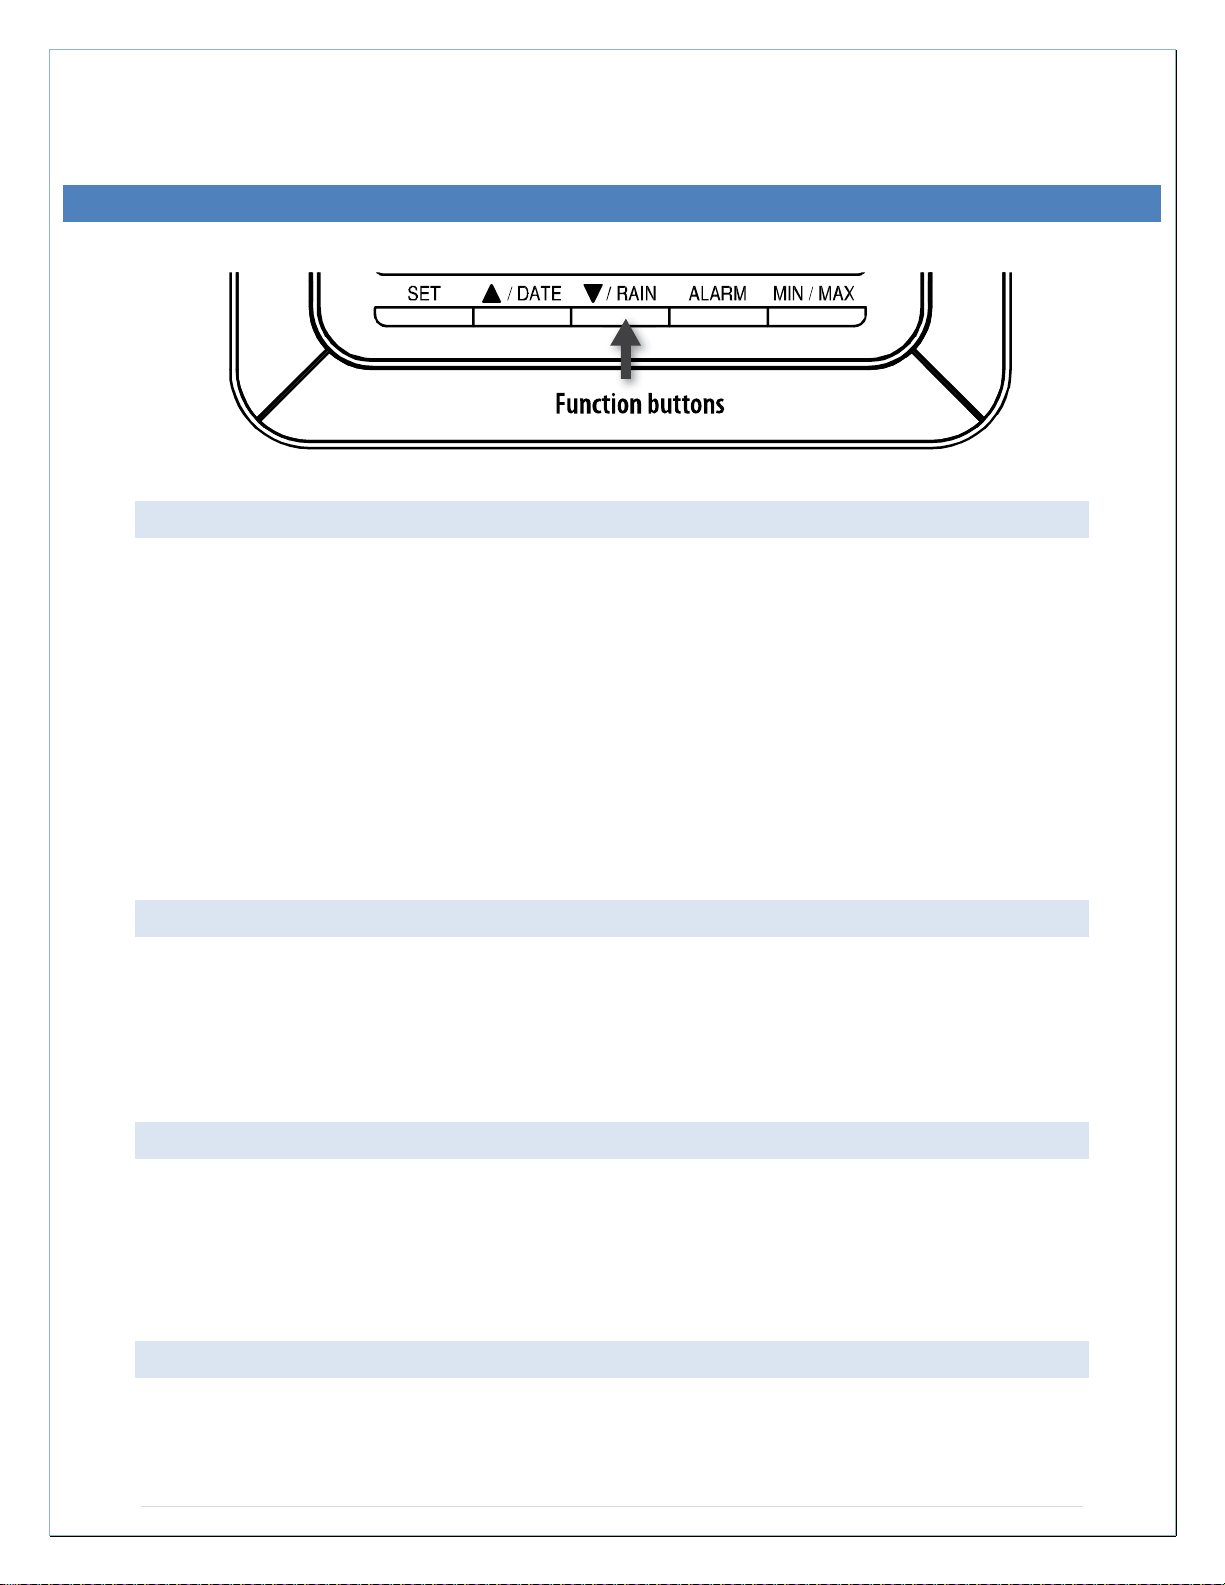
FUNCTION BUTTONS
SET
Hold for 3 seconds to enter the SET mode, where the following can be changed: LCD
contrast, Manual time setting, 12/24 hour time display, Date setting, °F/°C temperature
unit, Wind speed unit, Rainfall unit, Pressure unit, Relative pressure reference setting,
Weather tendency threshold setting, Storm warning threshold setting, Storm Alarm On/
Off setting, Wind direction display type, and Factory reset
Press to toggle between the display of Mode 1 or Mode 2:
o Mode 1: "Wind speed + outdoor temp + 24 hr. pressure history graph"
o Mode 2: "Gust + Dew Point temp + 72 hr. pressure history graph "
In the weather alarm setting mode, press to switch the weather alarm On / Off
In the weather alarm setting mode, press and hold to adjust the weather alarm value
Stop the weather alarm when ringing
▲/DATE
Press to toggle between the display of seconds or date in the time display
Press to increase the level of different settings in SET mode
Press and hold to re-learn the thermo-hygro sensor synchronization
Press to reset the MIN/MAX record when in MIN/MAX display mode
Stop the weather alarm when ringing
▼/RAIN
Press to switch the rainfall display mode: Total, 1h, 24h, week, month
Press to decrease the level of different settings in SET mode
Synchronize the display with the PC (see Heavy Weather Pro Software User’s Guide)
(must use usb stick).
Stop the weather alarm when ringing
ALARM
Press to enter the time alarm and weather alarm setting mode
Confirm particular alarm setting
Press to exit the manual setting mode
P a g e | 9
Stop the alarm when the time alarm or weather alarm rings
Press to exit max/ min record display mode
Stop the weather alarm when ringing
MIN/MAX
Press to display minimum and maximum records of various weather data
Stop the weather alarm when ringing
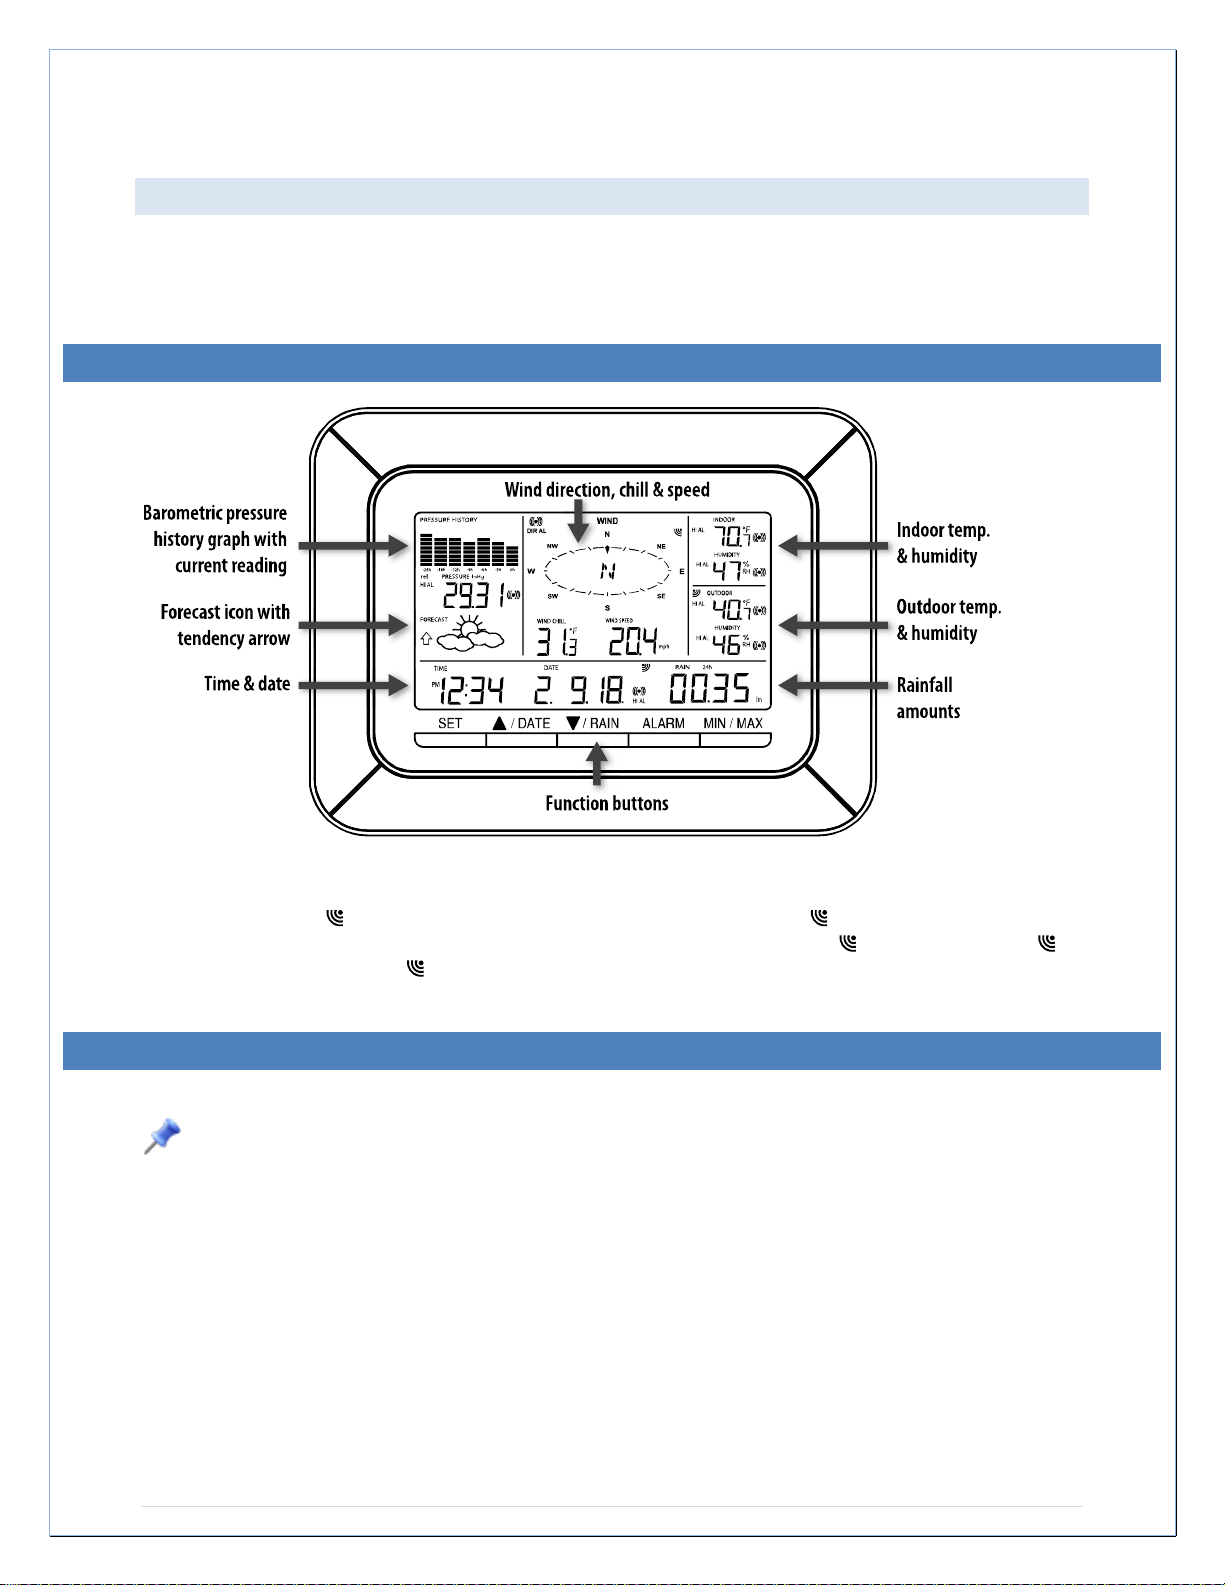
LCD SCREEN
When the signal from an outdoor transmitter is successfully received by the Weather Station,
the corresponding icon will be switched on. (If not successful, the icon will not be shown on
the LCD). The user can see whether the last reception was successful ( icon is on) or not (
icon is off). Blinking of the icon shows that a reception is in process.
MANUAL SETTINGS
Press and hold the SET button for 3 seconds to enter the SET mode.
Note: The display will automatically return to Mode 1 display in 30 seconds if a button is not
pressed.
While in SET mode, each press of the SET button will advance to the next SET mode item:
1. LCD contrast setting
2. Manual time setting
3. 12/24 hour time display
4. Date setting
5. °F/°C temperature unit setting
6. Wind speed unit
7. Rainfall unit setting
8. Air pressure unit setting
9. Relative pressure reference value setting
P a g e | 10
 Loading...