

Page 1

PS Printer Driver
for Windows 2000/XP
User’s Manual
Page 2

Regarding this manual
This manual explains how to install Windows PS Printer Driver and how to use it.
This PS Printer Driver can be used with Microsoft Windows 2000 and Windows XP.
NOTE:
To use KM-4800w-PS Printer Driver, “UG-32” Option License is required.
1
Page 3

Index
1.
1.1.
1.2.
1.3.
1.4.
2.
INSTALLATION METHOD................................................................................ 3
Install TCP/IP Port......................................................................................................................................................... 3
Add Printer...................................................................................................................................................................... 6
About Printer Port........................................................................................................................................................ 14
About reinstall of Printer..............................................................................................................................................16
SETTING ITEM OF PRINTER DRIVER ....................................................17
2
Page 4
1. Installation Method
1.1. Install TCP/IP Port
NOTE:
If KM-4800wEN printer is already installed on your system, TCP/IP Port
installation has been completed at the same time.
Please go to [1.2 Add Printer] to continue the printer installation.
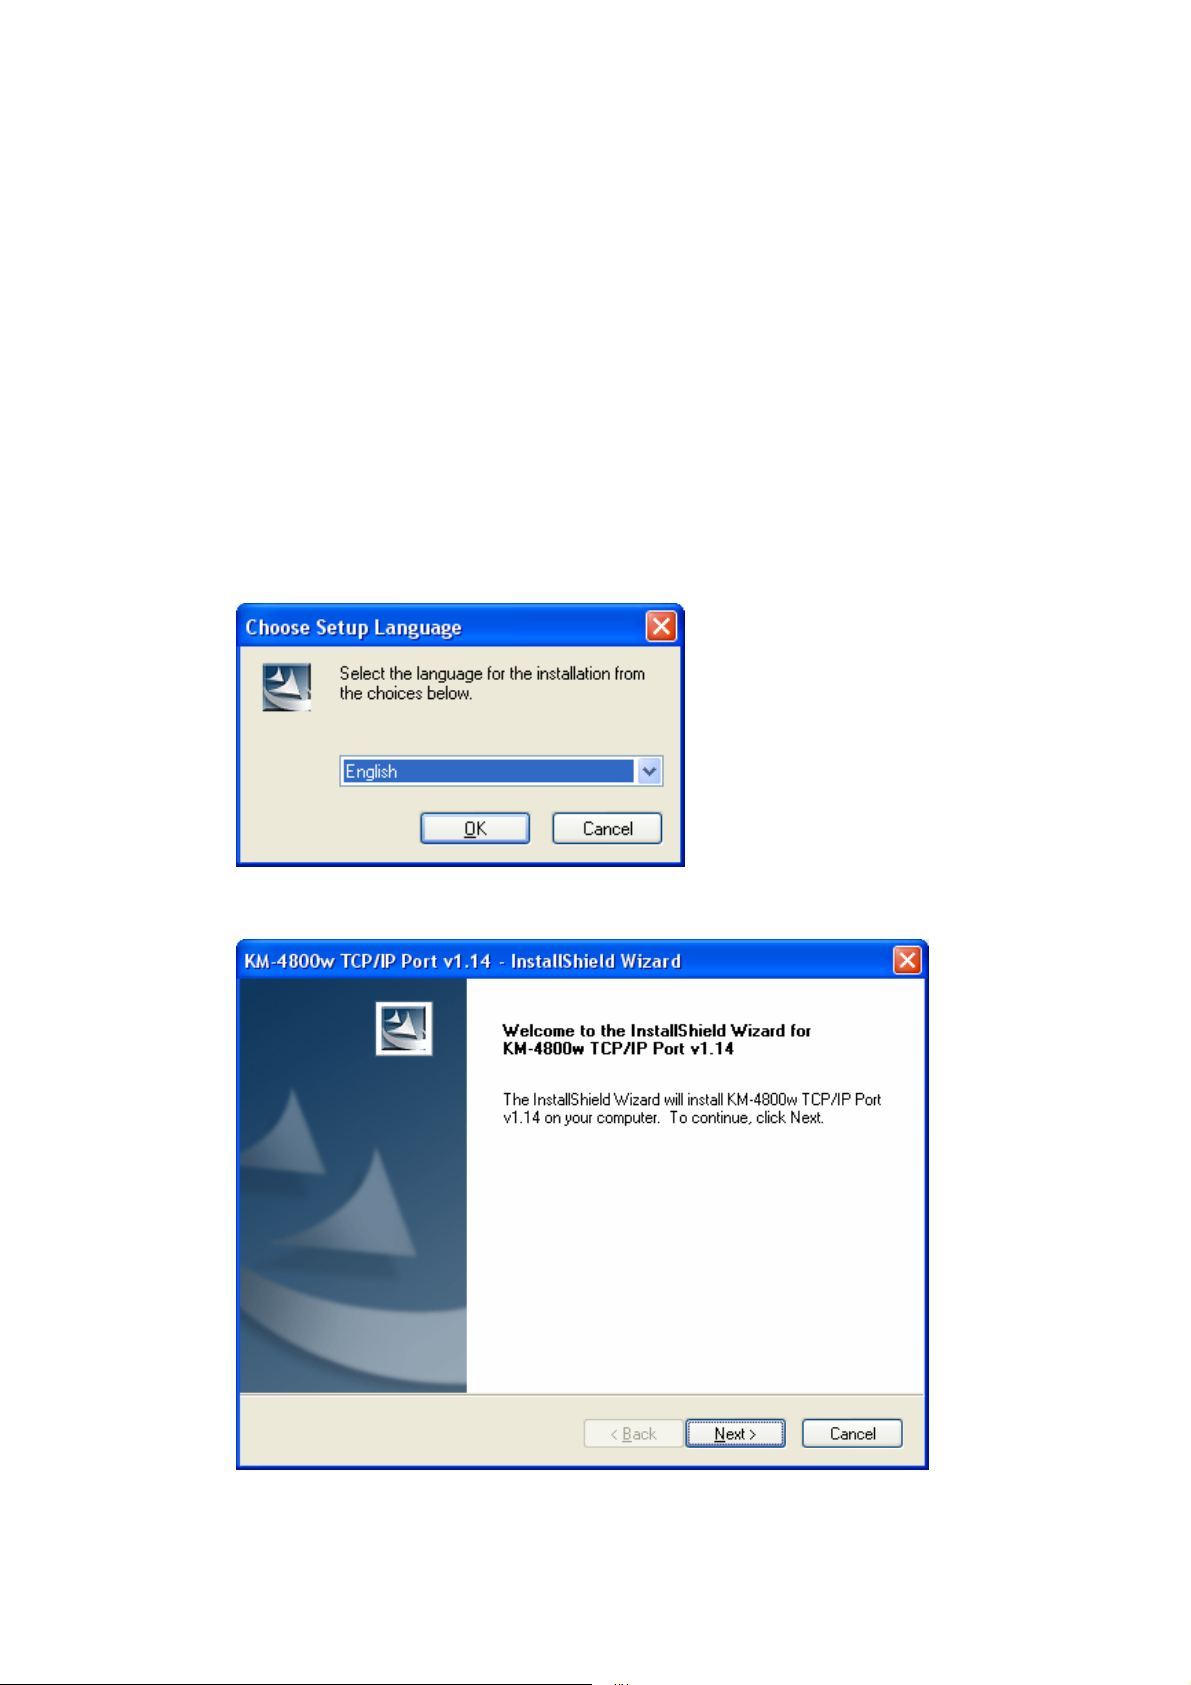
1. Insert Installation Disk in CD-ROM drive.
2. Open “(the optical drive)\ Option\PS_Printer_UG-32\PrinterPort\” and run
“KM4800wTcpMon_xxx.exe”. (xxx is the version)
3. Click “OK”.
4. Click “Next”.
3
Page 5
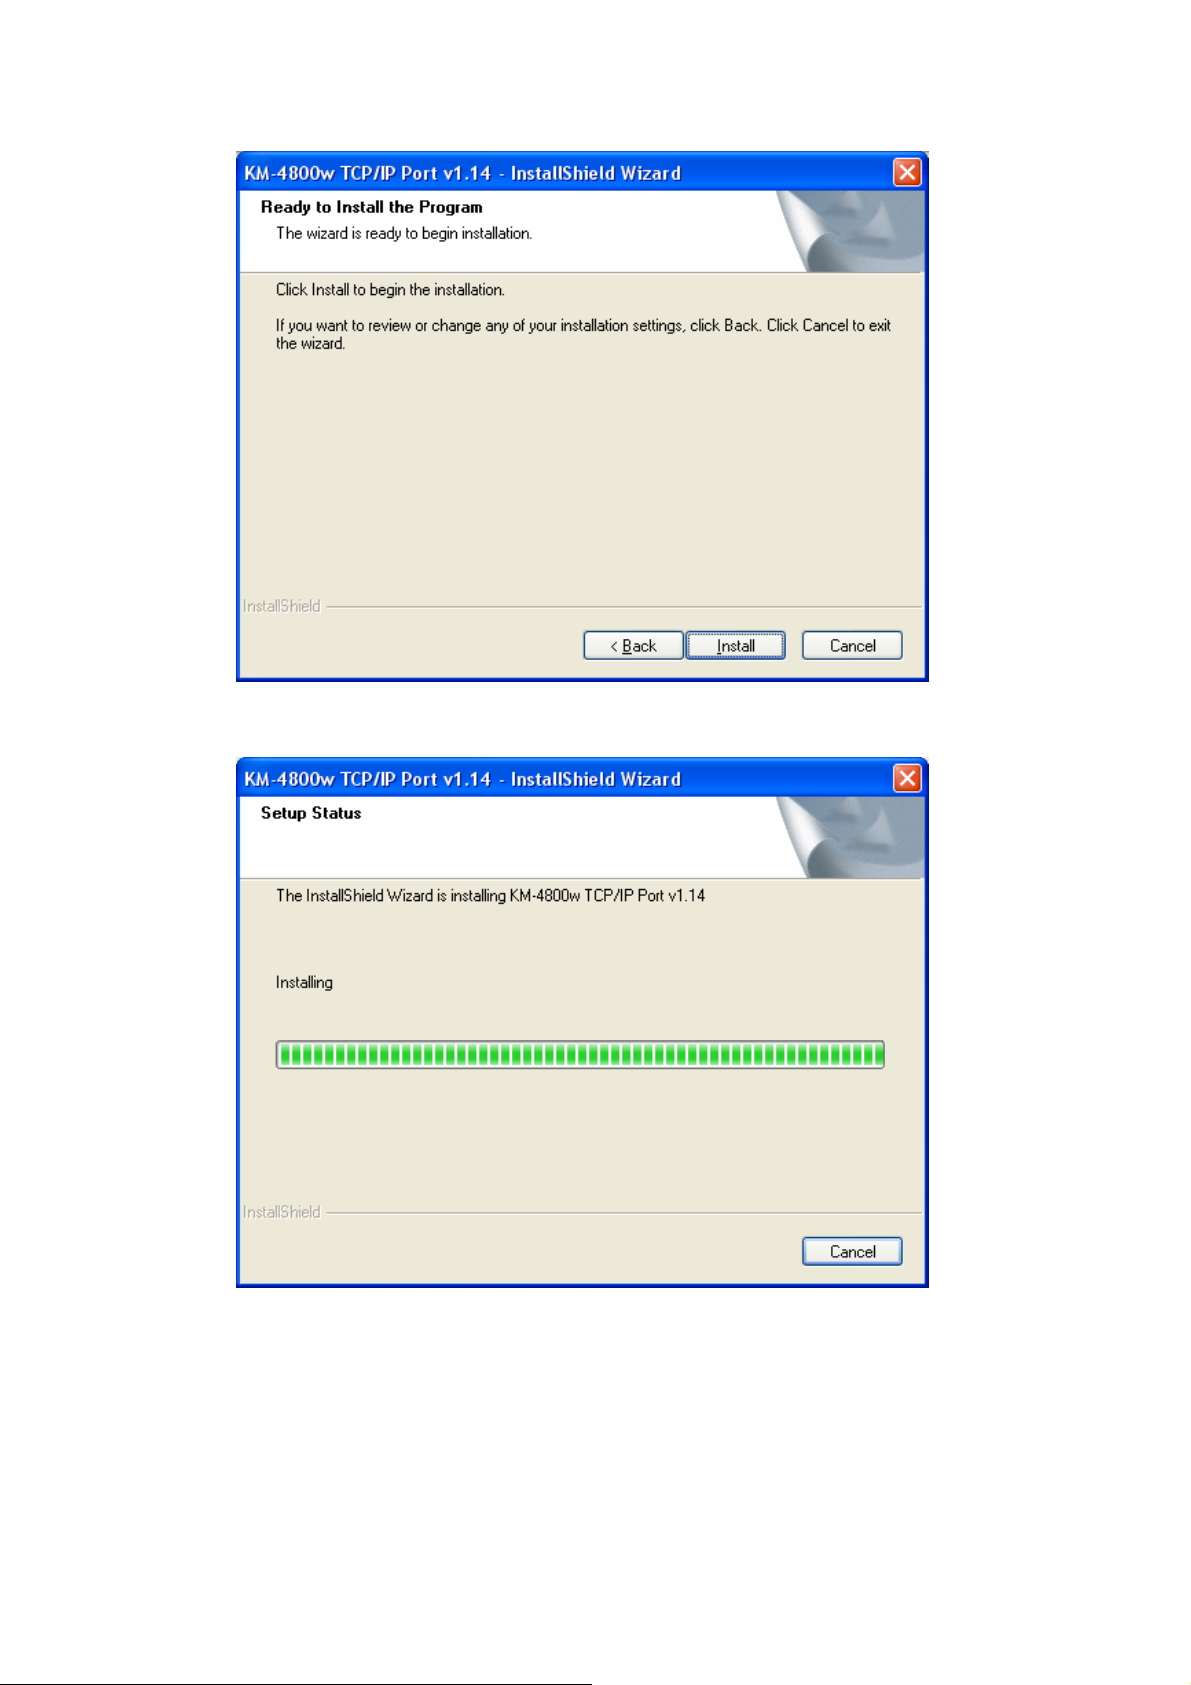
5. Click “Install”.
6. Please wait while the wizard is installing the components.
4
Page 6
7. Click “Finish”.
TCP/IP Port installation is completed.
5
Page 7
1.2. Add Printer
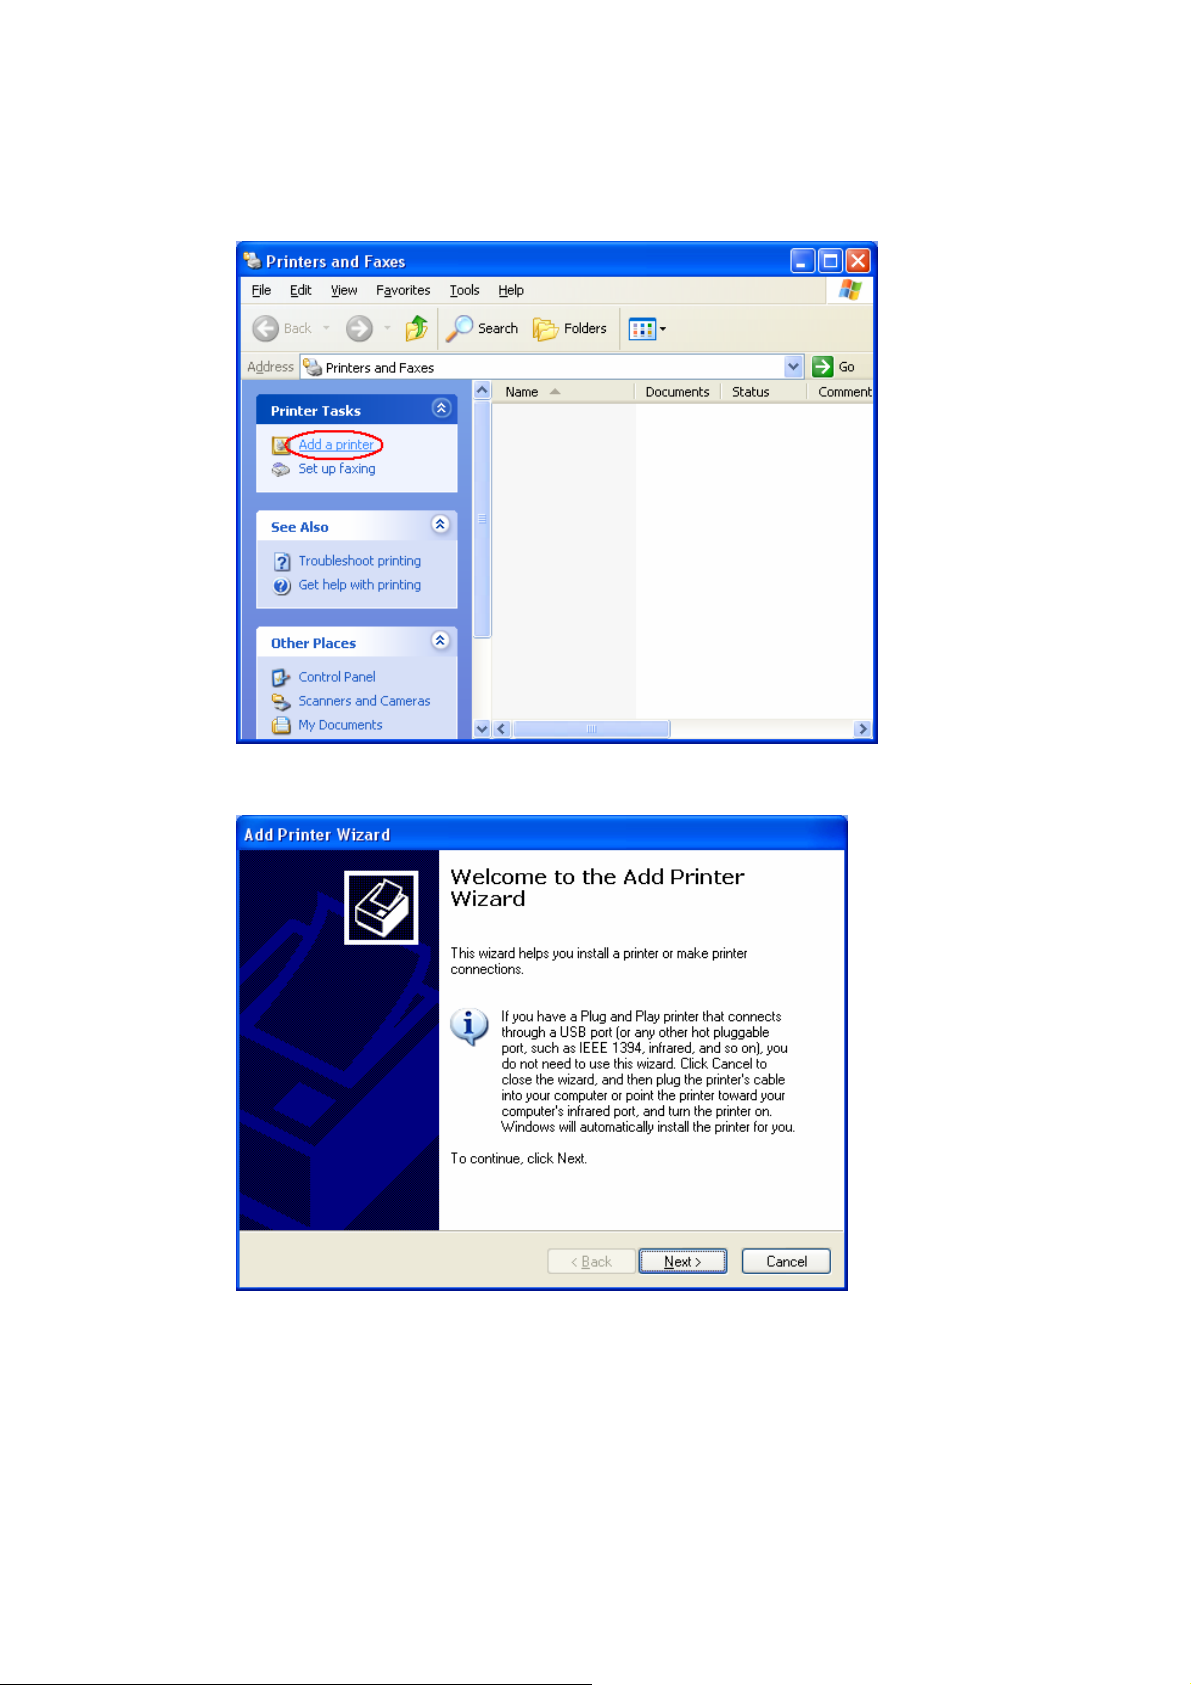
1. Open “Print and Faxes” within Control Panel and launch “Add Printer” to start Add
Printer Wizard.
2. Click “Next”.
6
Page 8

3. Select “Local printer”.
Uncheck “Automatically detect and install my Plug and Play printer”.
Click “Next”.
4. Select “Create a new port”.
Select “KM-4800w TCP/IP Port” in the pull-down menu for port types.
Click “Next”.
If "KM-4800w TCP/IP Port" exists, select "Use the following port:" and specify the
"KM-4800w TCP/IP Port" from the pull-down menu.
7
Page 9

5. Enter the KM-4800w’s IP address or host name.
Click “OK”.
6. Click “Have Disk”.
7. Click “Browse”.
8
Page 10

8. Specify “K48PSEN.INF” at “(the optical drive)\Option\PS_Printer_UG32\PS_PrinterDriver\EN\”.Click “Open”.
English: specify \Option\PS_Printer_UG-32\PS_PrinterDriver\EN\K48PSEN.INF
French: specify \Option\PS_Printer_UG-32\PS_PrinterDriver\FR\K48PSFR.INF
German: specify \Option\PS_Printer_UG-32\PS_PrinterDriver\DE\K48PSDE.INF
Italian: specify \Option\PS_Printer_UG-32\PS_PrinterDriver\IT\K48PSIT.INF
Spanish: specify \Option\PS_Printer_UG-32\PS_PrinterDriver\ES\K48PSES.INF
9. Click “OK”.
9
Page 11

10. Click “Next”.
11. If KM-4800w PS Printer Driver is already installed on your system, the following
screen appears
Select “Replace existing driver” and click “Next”.
10
Page 12

12. Printer name can be changed at your option.
Click “Next”.
13. Select “Do not share this printer”, and click “Next”.
11
Page 13

14. Select “No”, and click “Next”.
15. Click “Finish”.
12
Page 14

16. Click “Continue Anyway” if the following window appears.
Installation of printer has been finished.
13
Page 15

1.3. About Printer Port
Select the printer you have added by right-click, and select “properties”.
Select the “Ports” Tab.
Select “KM-4800w:192.168….Port”, and click ”Configure Port”.
14
Page 16

The following information is indicated.
You do not have to change any of the above settings in usual case.
Change these settings when KM-4800w does not wake up correctly from the Power
Save Mode caused by the network settings.
MAC Address: MAC Address of output printer
Broad Cast Address: An address used to send the data to all PC on the network
Magic Boot Port: Port number to send the data
Timeout: Timeout when no response comes from the output printer
Retry: Number of retry when no response comes from the output printer
15
Page 17

1.4. About reinstall of Printer
Open “Print and Faxes” within Control Panel and select a printer to be deleted.
Right-click on it and select “Delete”.
Click “Yes”.
Click “OK”.
Now the system is ready to be reinstalled KM-4800wEN.
16
Page 18

2. Setting item of Printer Driver
If the setup conditions of the application is not correct, documents may not be printed
properly.
Select the printer you have installed by right clicking, and then open “Printing
Preferences”.
Each setting item in “Layout” Tab is explained on and after the next page.
17
Page 19

<Ori enta ti on
>
Orientation of paper can be selected.
“Rotated Landscape” rotates a “Landscape” image 180 degrees around.
<Page Order
>
“Front to Back” outputs a multiple page file from the first page to the last page.
“Back to Front” outputs a multiple page file from the last page to the first page.
<Pages Per Sheet
>
Multiple images can be printed on 1 sheet of printing media.
16 images is the maximum number of images available to print on 1 sheet of printing
media.
“Draw Borders” surrounds all the images with borders.
Each setting item in “Paper/Quality” Tab is explained below.
<Tra y S ele c tion
>
<Paper Source
>
The source of paper can be selected.
“Automatically Select” is equivalent to “Auto”.
<Me d ia
>
The type of printing media can be selected.
18
Page 20

Each setting item in “Advanced” is explained below.
<Paper/Output
<Pap er Si ze
Specify the size of paper used for printing.
If “Custom Size” is selected in the above setting, the following dialog is
indicated.
A paper size can be specified at your option within the following range.
>
>
Width: 210 mm to 914.4 mm
Height: 297 mm to 10000 mm
19
Page 21

<Copy Count
>
Number of prints can be specified.
Available count ranges from 1 to 9999 but the guarantee range of proper
operation is from 1 to 999.
Checking “Collate” enables to print sets with collating.
<Gr a phic
>
<Print Quality
>
Printing resolution can be specified.
The printing resolution is normally set to 600dpi.
If there is any problem on a print, the printing resolution can be changed to
300dpi or 200 dpi.
<Scaling
>
The printing image is enlarged or reduced according the specified value.
Available percentage ranges from 1 to 1000 but the guarantee range of proper
operation is from 20 to 500.
<True Type Font
>
True Type Font options can be specified.
The option is normally set to “Substitute with Device Font”.
If some special characters are lost or printed incorrectly, set it to “Download as
Softfont”.
<Document Options
>
<Advanced Printing Features
This option should be always set to “Enabled”.
>
20
Page 22

<PostScript Options
>
<PostScript Output Option
>
This should be normally set to “Optimize for Speed”.
<True Type Font Download Option
>
This should be normally set to “Automatic”.
<PostScript Language Level
>
This should be set to “Level 3”.
<Send PostScript Error Handler
>
This should be normally set to “No”.
<Mirrored Output
>
A mirror image can be printed when “Yes”.
<Negative Output
>
A negative Image can be printed when “Yes”.
<Printer Features
>
<Ou t put S iz e
>
The printing image is automatically enlarged or reduced just to fit the
paper size selected on “Output Size”.
21
Page 23

PS Printer Driver for Windows 2000/XP User’s Manual
2008. 7 Rev. 1.0
The Copyright Act protects this manual.
It is prohibited to copy or duplicate all or a part of this manual without permission.
22
 Loading...