

Page 1

Accounting System
Settings Guide
Page 2

Accounting System Settings Guide
Table of Contents
Introduction........................................................................................................................ 3
Chapter 1 Overview of the Accounting System............................................................ 4
Chapter 2 Setting Up the Accounting System.............................................................. 5
2-1 Accounting System Menus .........................................................................................................................................6
2-2 Entering Settings through the Printer Operator Panel...........................................................................................8
Set Account Management ON/OFF ..................................................................................................................... 8
Add Account Code ............................................................................................................................................... 9
Delete Account Code.......................................................................................................................................... 11
Change Administration ID.................................................................................................................................. 11
Print Account Management List......................................................................................................................... 13
Display Number of Printed Pages ...................................................................................................................... 13
Set Maximum Number of Copies....................................................................................................................... 14
2-3 Entering Settings through the PRESCRIBE Commands .....................................................................................16
Accounting Function Operation Commands..............................................................................................................16
ADMN-accounting Administrator mode............................................................................................................ 16
EDAD-EnD of accounting Administrator mode ................................................................................................ 17
CODE-accounting CODE registration and setting............................................................................................. 17
DELT-accounting code DELeTion .................................................................................................................... 18
ALAS-accounting code ALiAs .......................................................................................................................... 18
MAXN-MAXimun Number of copy page ......................................................................................................... 19
CRST-accounting Counter ReSeTting ............................................................................................................... 20
FAXS- FAX related Setup.................................................................................................................................. 21
LIST-accounting LIST ....................................................................................................................................... 21
Accounting Function Mode Setting Commands ........................................................................................................22
MAIN-accounting MAIN switch........................................................................................................................ 22
SECR-accounting SECuRity level ..................................................................................................................... 23
CTMD-CounT MoDe......................................................................................................................................... 23
ERRM-ERRor Management............................................................................................................................... 26
ACLR-Auto CleaR managemet.......................................................................................................................... 27
CLMN-distinction of CoLor and MoNochrome ................................................................................................ 28
ATRC-ATtRibute combination of Counters ...................................................................................................... 28
FRST-use Functional ReSTriction ..................................................................................................................... 30
RSTP-selection of a ReSTriction Pattern ........................................................................................................... 31
PPAS-Permission for Printing without Accounting code Specification ............................................................ 32
Chapter 3 Error Messages............................................................................................ 33
2
Page 3

Introduction
Accounting System Settings Guide
Introduction
With the increasing popularity of office networks, it has become very common for
multiple users to share a single printer or multi-function product. This has made it
much easier for users to obtain printouts, but they then faced the problem of
increasingly large amounts of printouts. To offset this situation, operation management
tools known as accounting systems were created for such purposes as keeping track of
total pages printed by each printer user, and settings upper limits on the printed page
number totals.
An accounting system manages the number of printed pages separately for each
printing account, thus allowing billing management and instructions on reducing the
number of printed pages to be handled efficiently. As a result, user awareness of costs
and the environment is improved, making it possible to reduce the amount of paper
used.
The accounting system is managed using account codes that are set by the
administrator for each account.
Legal Notes
Unauthorized reproduction of all or part of this guide is prohibited. The information in
this guide is subject to change for improvement without notice.
We cannot be held liable for any problems arising from the use of this product,
regardless of the information herein.
PRESCRIBE is registered trademark of Kyocera Corporation. All other brand and
product names herein are registered trademarks or trademarks of their respective
companies.
3
Page 4
Chapter 1 Overview of the Accounting System
Accounts or users that may use the printer can be limited by registering account codes
in advance. The amount of paper used by each registered account code can be tracked,
so it is easy to manage separately billing and the amount of paper used by each
account.
An account code must first be registered to the printer in order to operate the system.
In addition, an account code is selected to start printing so that the printer can
separately store the number of printed pages used by each account.
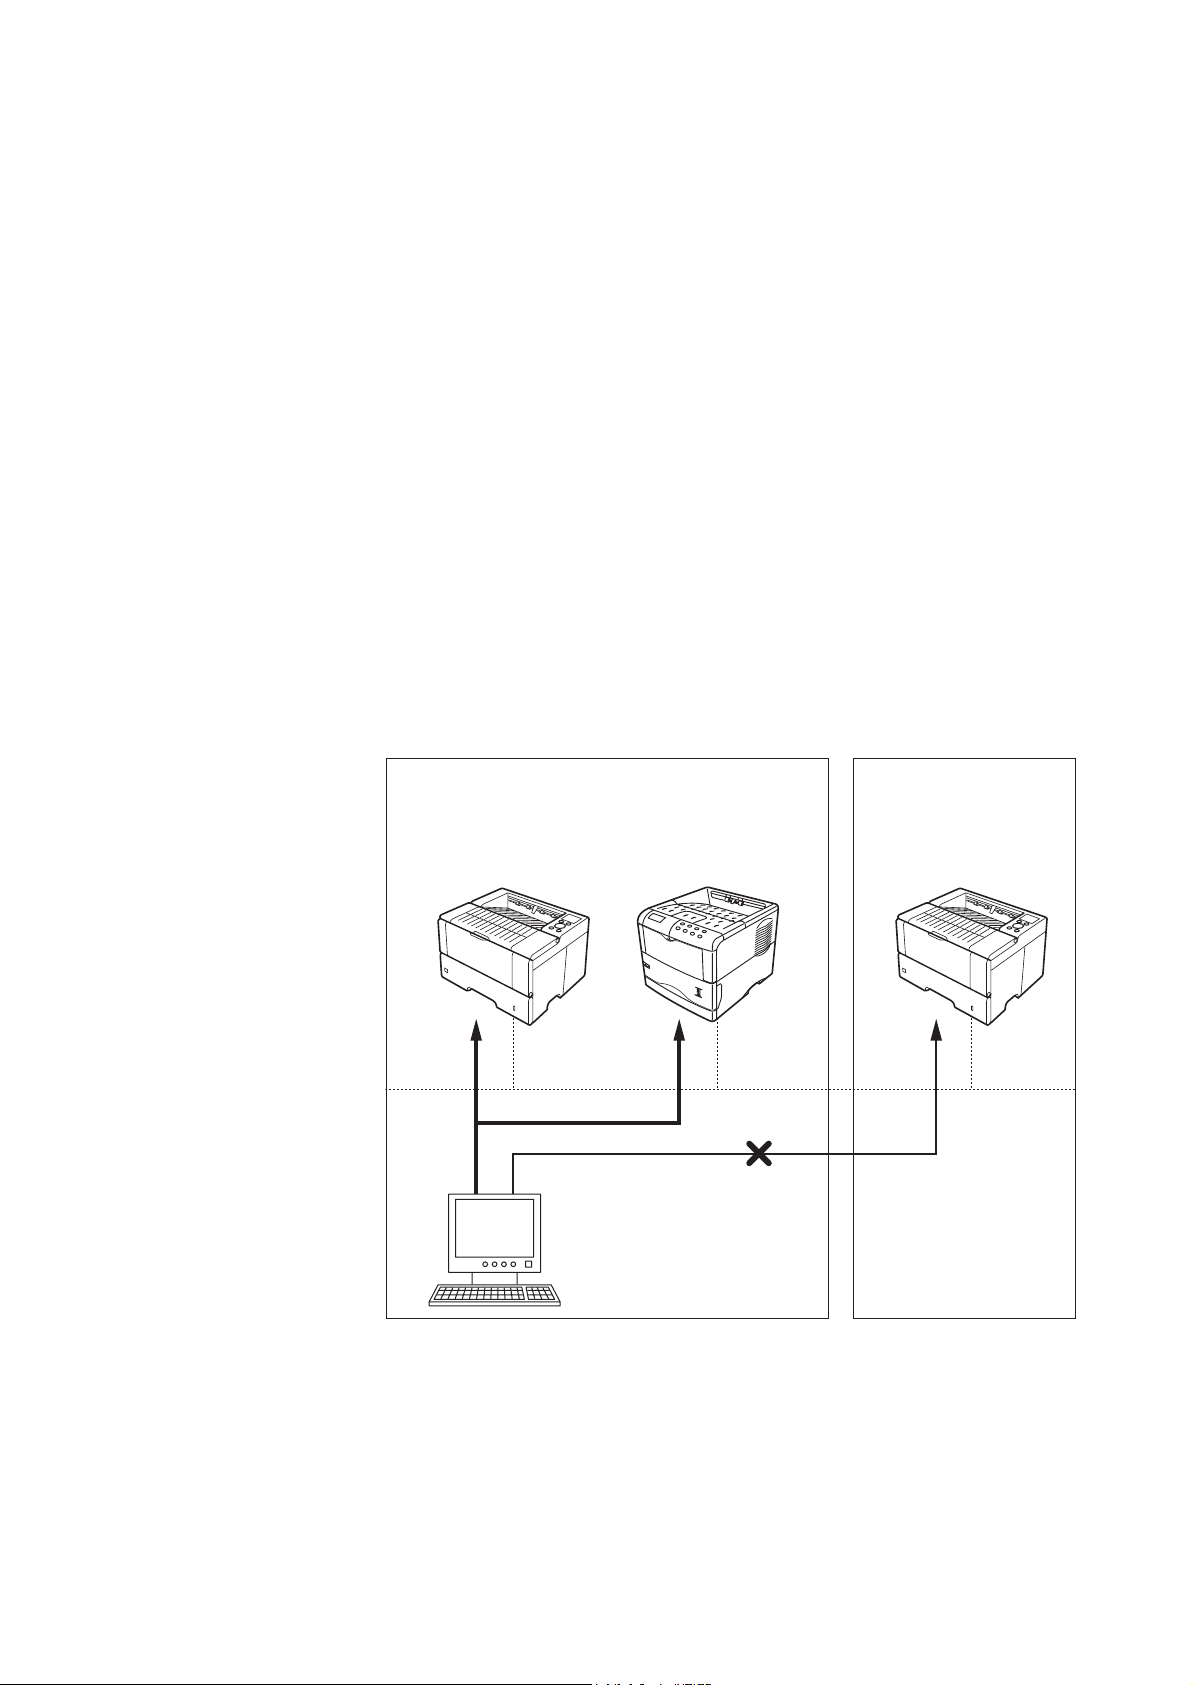
A printer with a registered account code can only print data from PCs that specify the
same account code. For example, as shown in the figure, printers A and B in the sales
department are set to account code 100 and can only print data from computers in the
sales department that specify account code 100. These computers cannot output data to
printers in the planning department since their account code is set as 9999, even
though they are connected to the same network. In addition, printers with a set account
code cannot print data unless an account code is specified.
[sales department]
account code: 100
Printer A
(account code: 100)
Account code 100 specified.
Printer B
(account code: 100)
[planning department]
account code: 9999
Printer C
(account code: 9999)
4
Page 5

Accounting System Settings Guide
Chapter 2 Setting Up the Accounting System
Chapter 2 Setting Up the Accounting System
This chapter describes the accounting system menus and how to set them up.
There are two ways to set up the accounting system.
• Enter settings through the printer operator panel
• Enter settings by inputting the PRESCRIBE commands
Most functions and commands operate the same way on all models. However, some
functions and commands are not relevant to certain specific models.
Administration IDs
An administration ID is required to control the accounting system.
An administration ID is a 15-digit number. The default setting is the printer model
number followed by a string of zeros (e.g., 602000000000000 for the FS-6020).
The administration ID can be changed to any number. (Refer to Change
Administration ID on page 11.)
Write down the administration ID and keep it in a safe place so that you do not forget
it.
5
Page 6

2-1 Accounting System Menus
The accounting system has the following menus.
Account Management ON/OFF
Account Management must be set to On in order to use the accounting system.
Add Account
Adds a new account code that is permitted to use the printer.
Delete Account
Deletes a previously registered account code.
Change Admin. ID
Changes the administration ID.
Print Account Management List
Prints out accounting system settings (e.g., number of printed pages) for each
registered account code.
Select Account
Selects an account code whose counter display and maximum number of copies are to
be initialized.
Counter
Displays the number of printed pages for the selected account.
Max. No. of Copy
Sets the maximum number of copies allowed each registered account. If an attempt is
made to print in excess of the maximum copy limit, an error message is displayed at
the operator panel and the print job is cancelled.
6
Page 7
Accounting System Settings Guide
Chapter 2 Setting Up the Accounting System
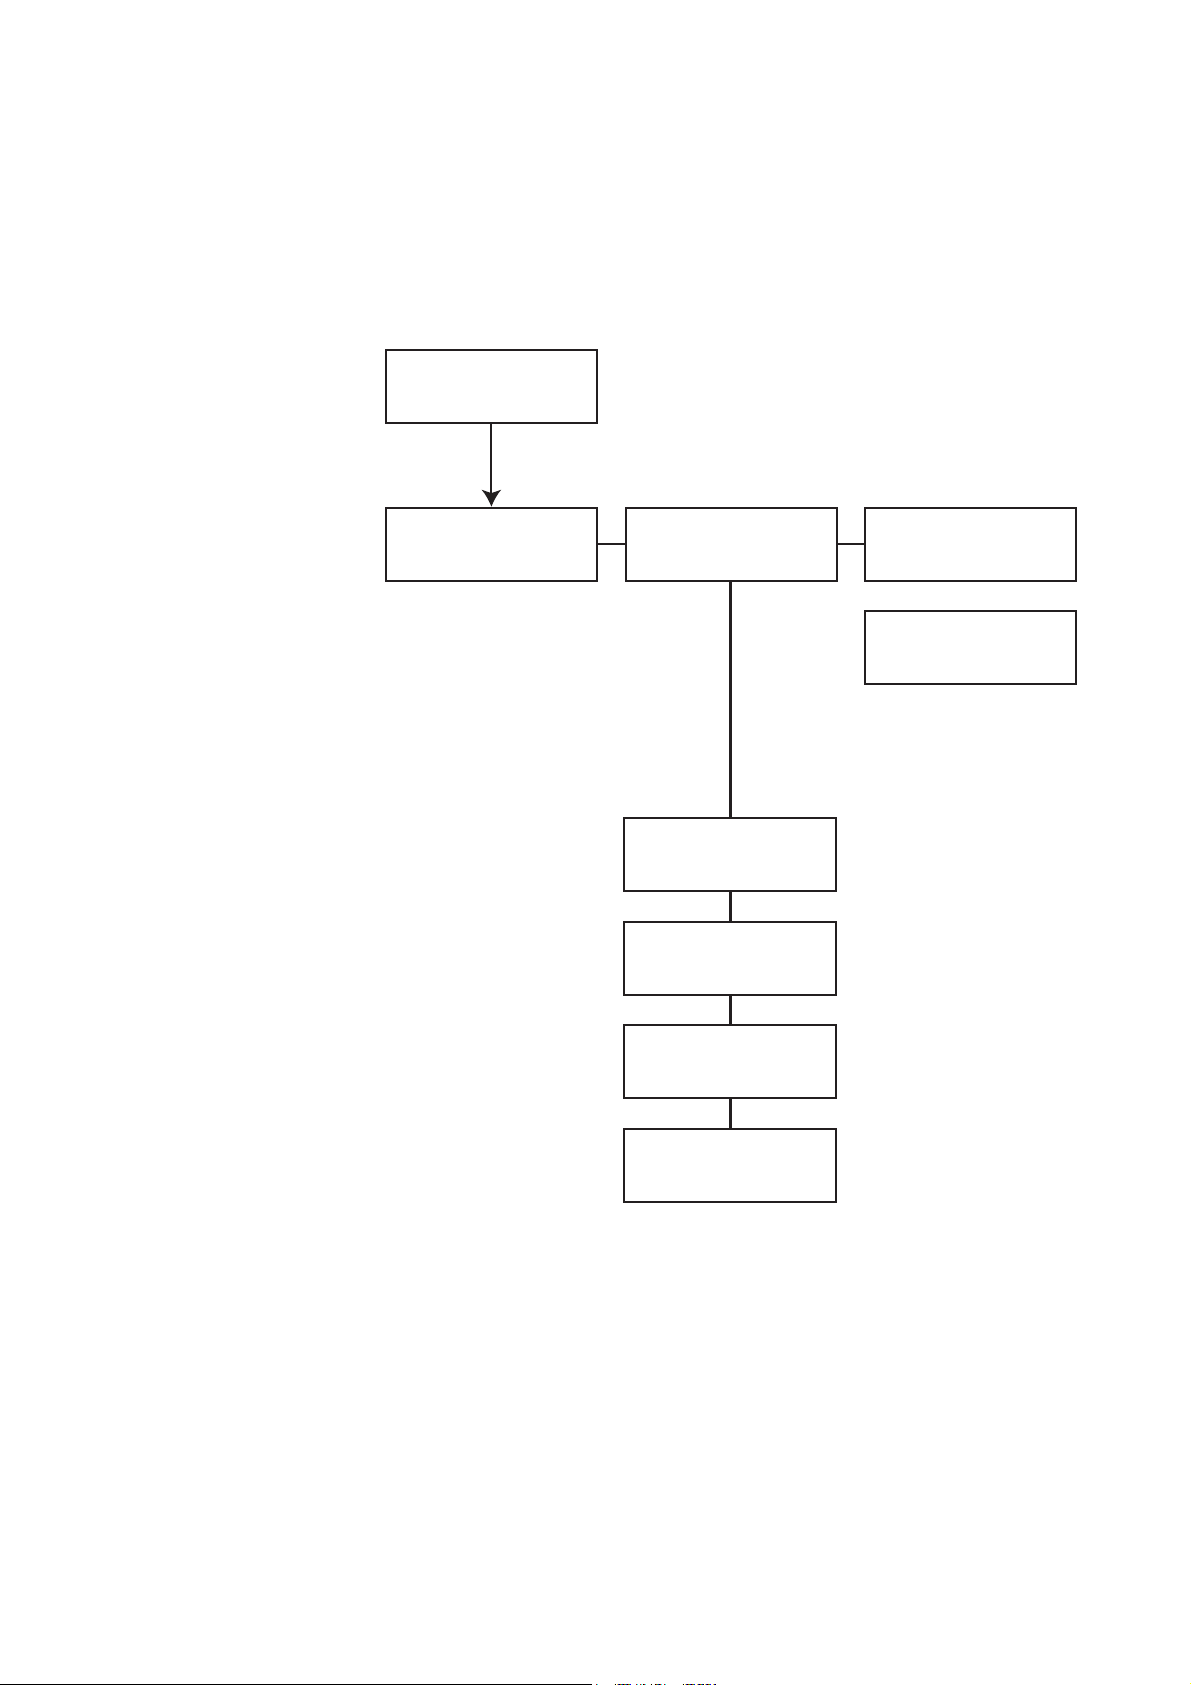
The following diagram illustrates the accounting system menu structure.
Menu structure
AdministrationID
012345678912345
Account >
Management On
>Select Account>
12345678
>Add Account
>Delete Account
12345678
>Change Admin.ID
987654321098765
>>Counter
01234567
>>Max. No. of
Copy None
>Print Account
Management List
7
Page 8
2-2 Entering Settings through the Printer Operator Panel
This section describes how to enter accounting system settings through the printer
operator panel. Basic operations are the same as those for the printer mode menu.
Set Account Management ON/OFF
Sets account management ON/OFF. The default setting here is OFF.
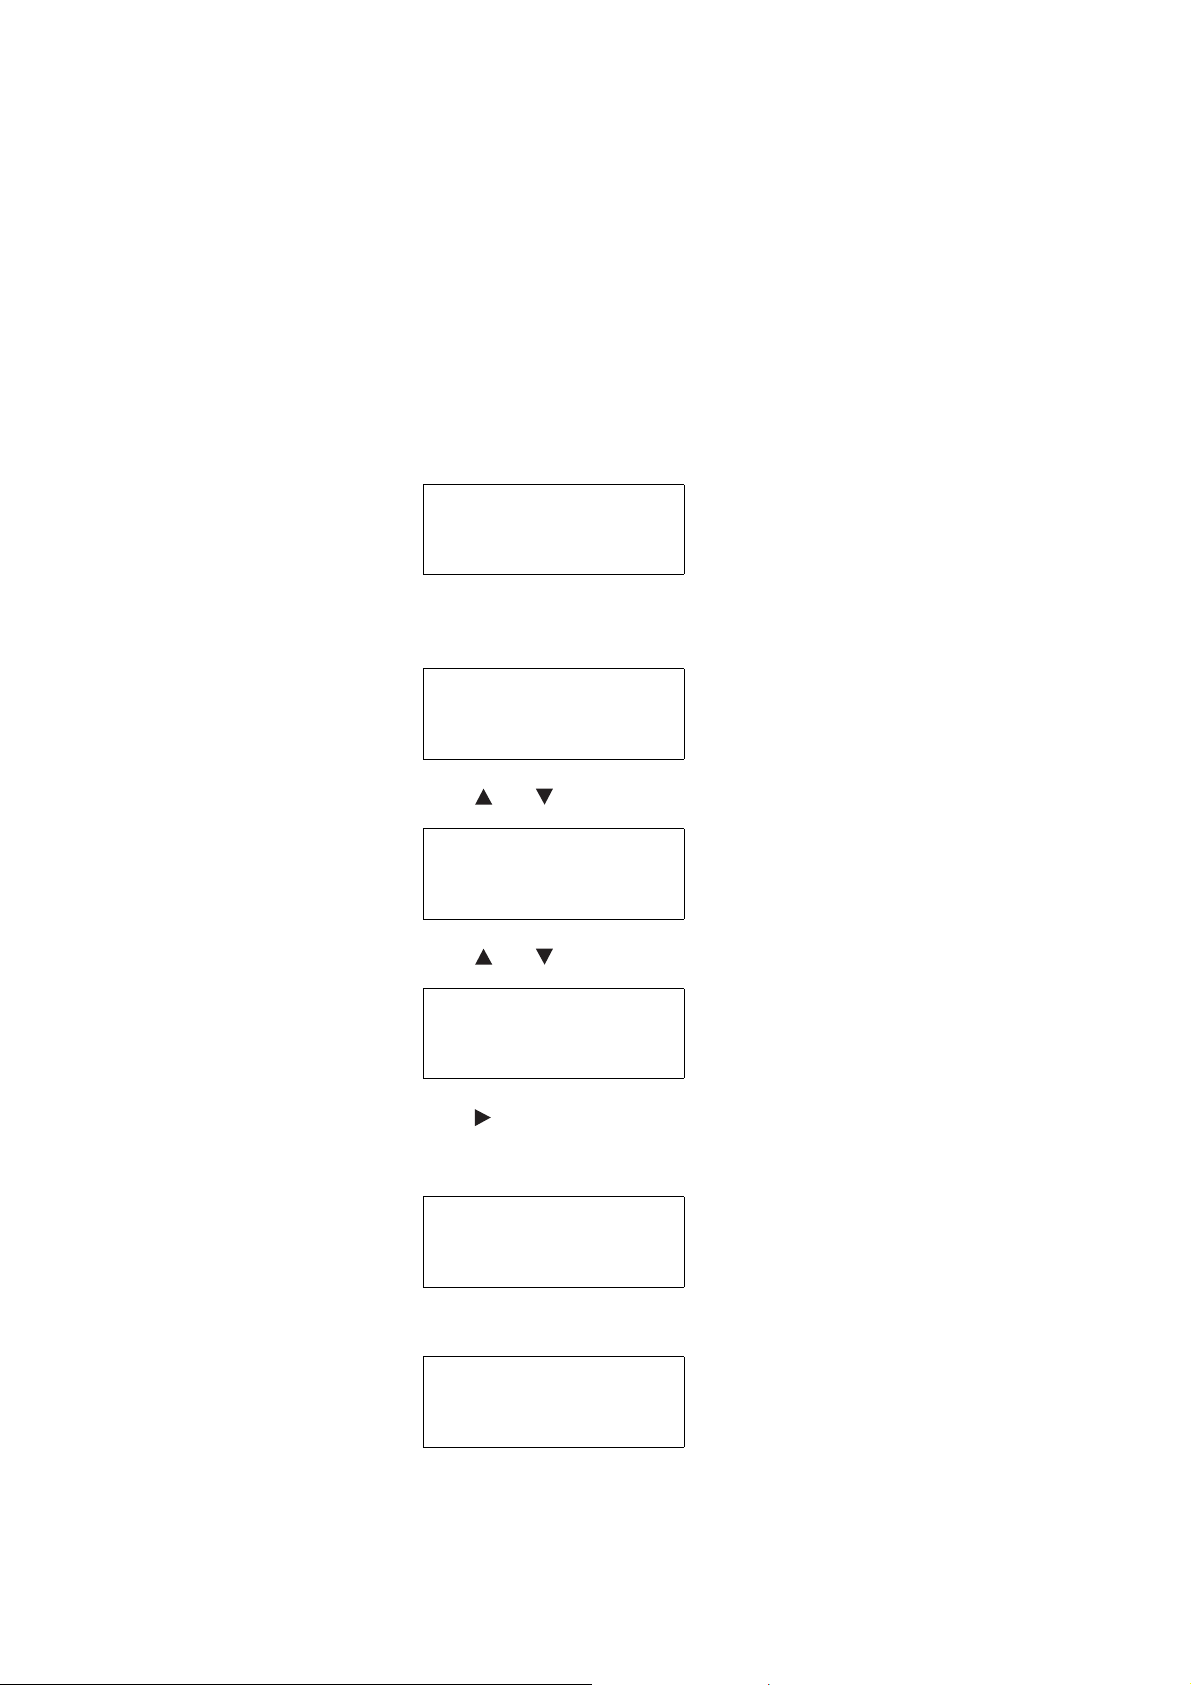
1 Make sure Ready is displayed on the operator panel.
Ready
2Press [MENU] while holding down [ENTER]. AdministrationID
appears on the operator panel.
AdministrationID
3 Press [] or []. 0 appears at the far left position and the cursor blinks.
AdministrationID
0
4 Press [ ] or [ ] to enter a number (0 through 9).
AdministrationID
6
5 Press [ ]. The number is entered and the cursor auto moves to the next right
position. Repeat step 4 and this step at each position to enter all 15 digits of the
administration ID.
AdministrationID
602000000000000
6Press [ENTER]. Account Management Off appears on the operator panel.
Account >
Management Off
8
Page 9
Accounting System Settings Guide
Chapter 2 Setting Up the Accounting System
7Press [ENTER] again. ? blinks on the operator panel.
Account >
Management ? Off
8 Press [ ] or [ ] to change the setting to On, then press [ENTER]. Account
Management is now set to On.
Account >
Management ? On
9Press [MENU]. Ready is displayed again on the operator panel.
Ready
•If Sleeping (sleep mode) appears on the operator panel, press [GO]. After a
while, the display changes to Ready.
• If the accounting menu is open without any key input for approximately 60 seconds,
the printer display is automatically restored to Ready.
• The accounting system cannot be used without registering a managed account. An
account code must be registered in order to set up the accounting system.
If you enter the wrong number
If you enter the wrong number, delete the incorrect entry and enter the correct one. To
do this, move the cursor one space to the right of the entry you want to delete, then
press [ ]. The entry is deleted and the cursor moves one space to the left. A black
square () appears in the space where the entry was deleted.
To delete all inputs entered, press [CANCEL]. When you press [CANCEL], all
entered digits are deleted and replaced by black squares (), and the cursor moves to
the far left.
Add Account Code Adds an account code that is permitted to use the printer. An account code must be
registered in advance in order to use the accounting system.
Account codes are numbers of up to eight digits in length. As many as 100 account
codes can be registered.
If one account code contains the same numbers as another account code but has a
different number of digits, then it is registered as a separate account code.
For example, 1 and 001 are registered as separate account codes.
1Display Account Management on the operator panel to access the accounting
system menu. (Refer to Set Account Management ON/OFF on page 8.)
9
Page 10
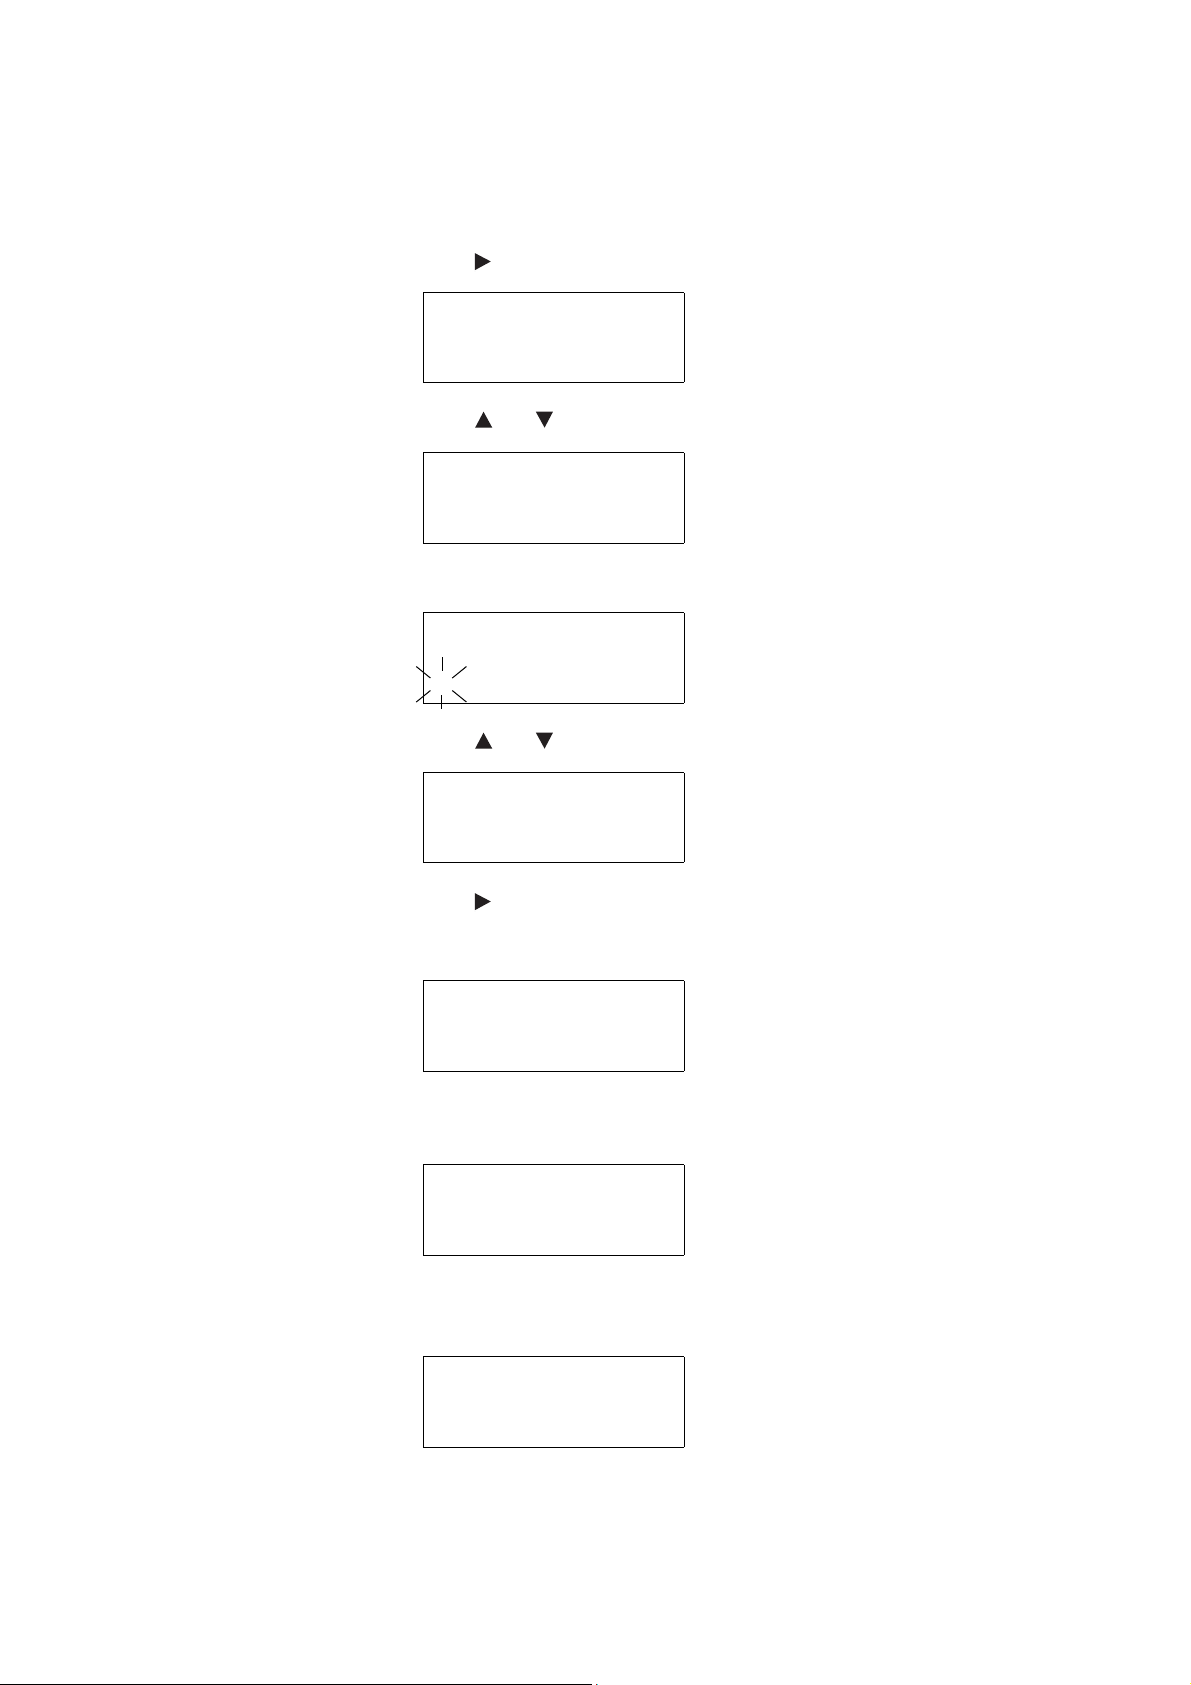
2 Press [ ]. Select Account appears on the operator panel.
>Select Account>
00000000
3 Press [] or [] to display Add Account.
>Add Account
4Press [ENTER]. The cursor blinks on the operator panel.
>Add Account
_
5 Press [ ] or [ ] to enter a number (0 through 9).
>Add Account
1
6 Press [ ]. The number is entered and the cursor auto moves to the next right
position. Repeat step 5 and this step at each position to enter the account code (up
to 8 digits).
>Add Account
12345678
7Press [ENTER]. The account code is registered and Account Management
appears on the operator panel.
Account >
Management On
8 To add another account code, repeat steps 2 through 7.
9Press [MENU]. Ready is displayed again on the operator panel.
Ready
10
Page 11
Delete Account Code Deletes a registered account code.
1Display Account Management on the operator panel to access the accounting
system menu. (Refer to Set Account Management ON/OFF on page 8.)
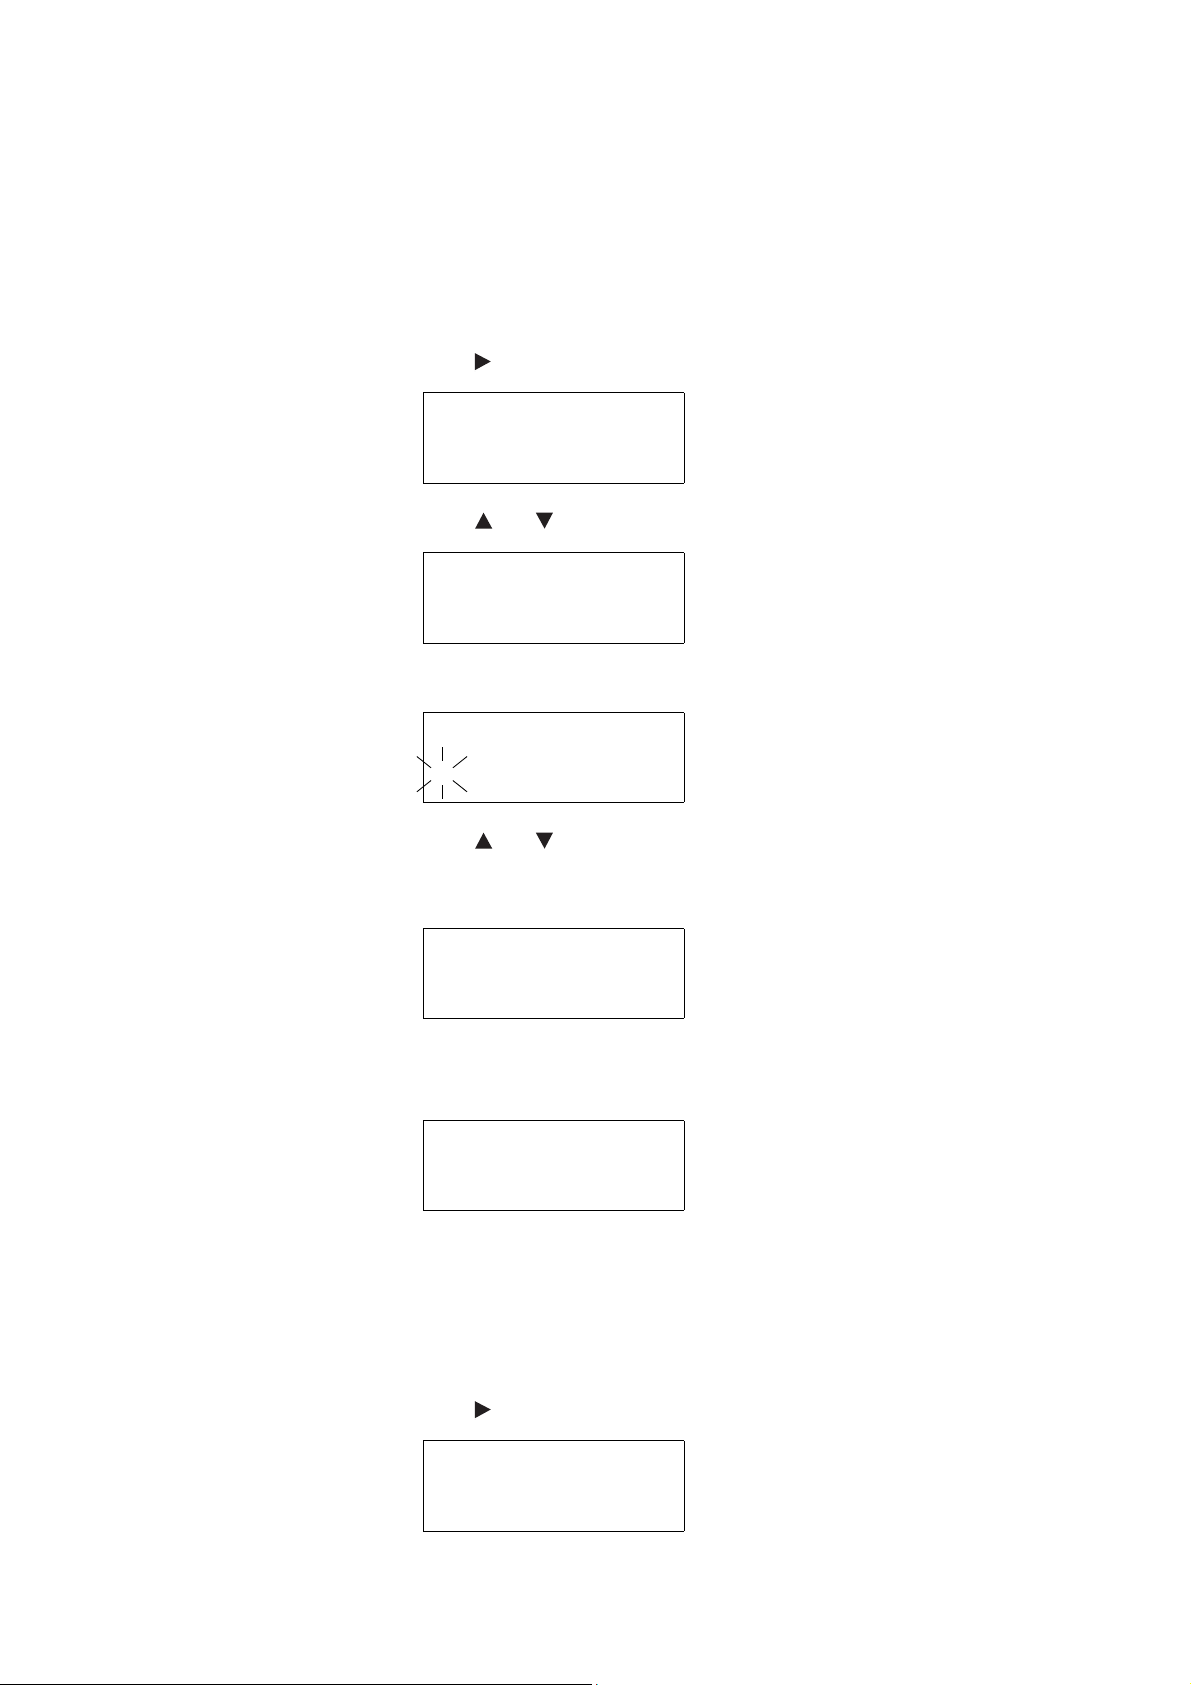
2Press []. Select Account appears on the operator panel.
>Select Account>
12345678
3 Press [ ] or [ ] to display Delete Account.
>Delete Account
12345678
4Press [ENTER]. ? blinks on the operator panel.
Accounting System Settings Guide
Chapter 2 Setting Up the Accounting System
Change Administration ID
>Delete Account
?12345678
5 Press [ ] or [ ] to select the account code you want to delete.
6Press [ENTER]. The selected account code is deleted and Account
Management appears on the operator panel.
Account >
Management On
7 To delete another account code, repeat steps 2 through 6.
8Press [MENU]. Ready is displayed again on the operator panel.
Ready
Changes the set administration ID. Default administration ID is set as the printer’s
model number followed by a string of zeros.
(Example:602000000000000 for model FS-6020)
1Display Account Management on the operator panel to access the accounting
system menu. (Refer to Set Account Management ON/OFF on page 8.)
2Press []. Select Account appears on the operator panel.
>Select Account>
12345678
11
Page 12

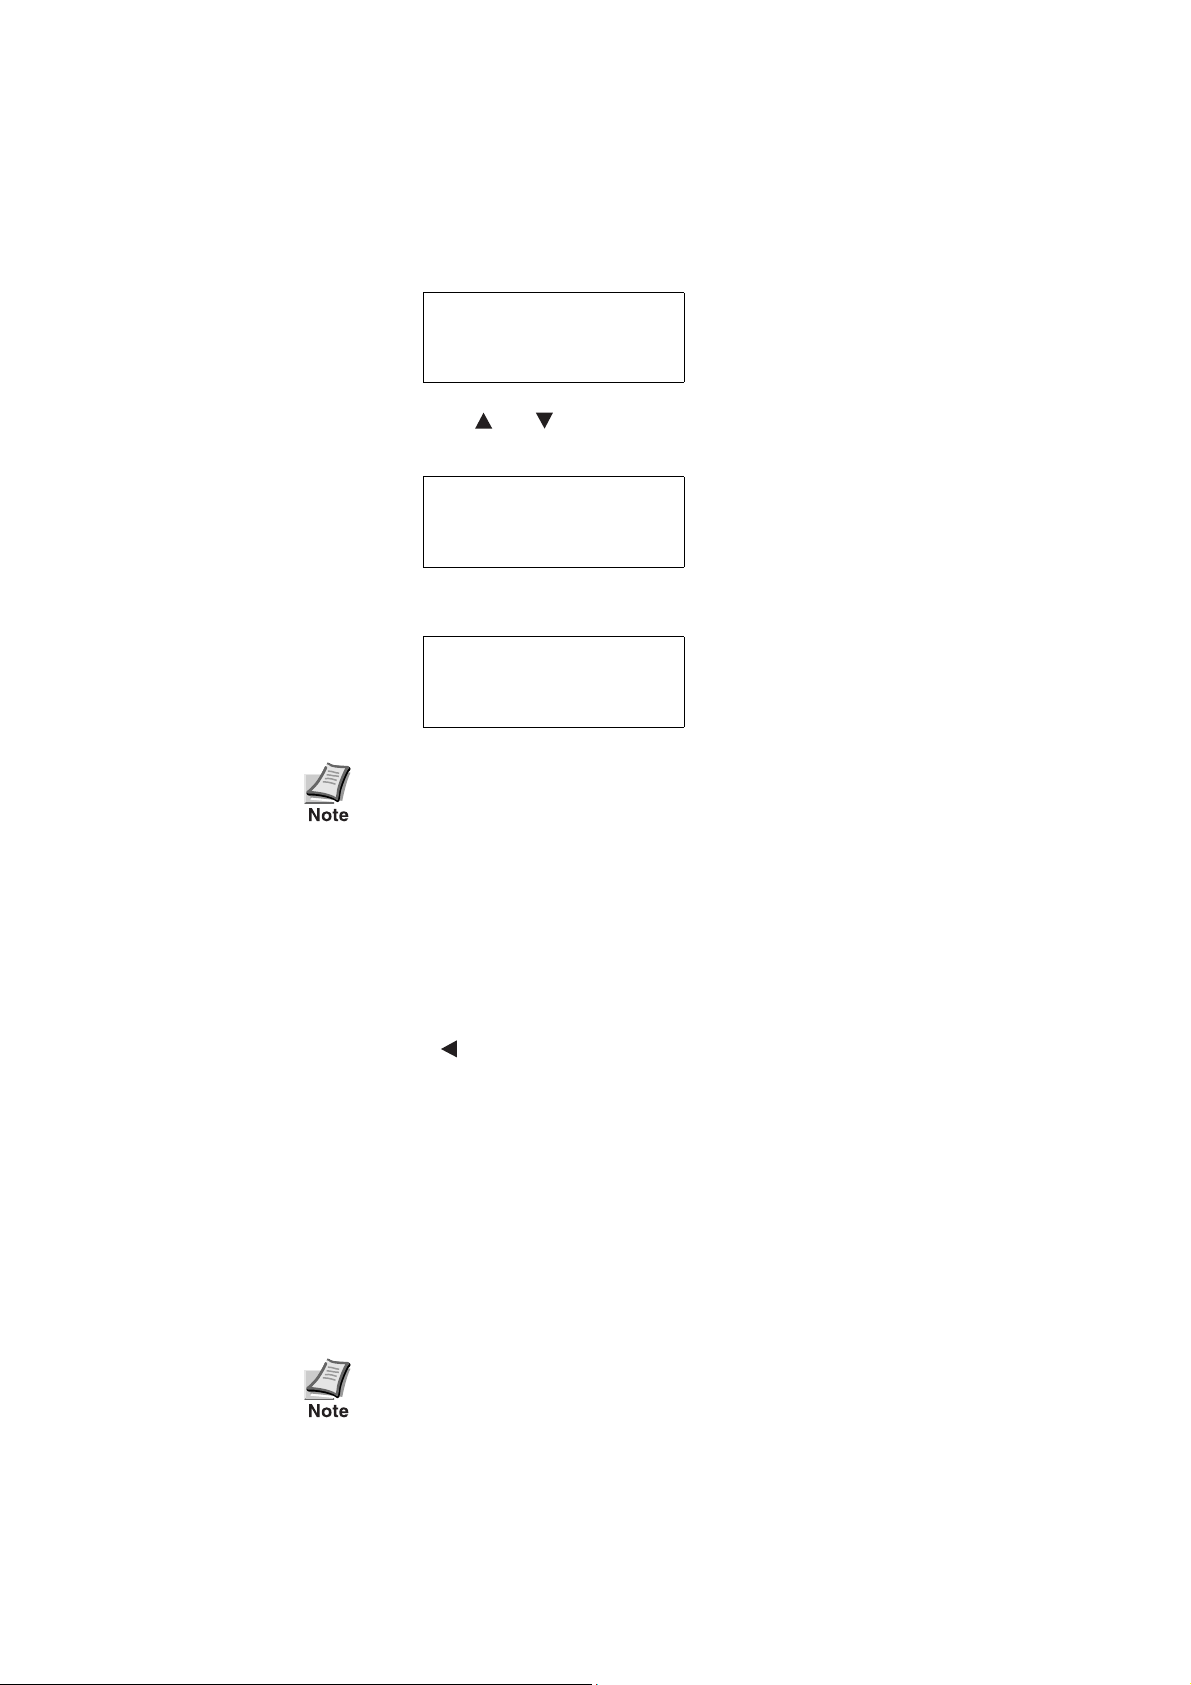
3 Press [] or [] to display Change Admin. ID.
>Change Admin.ID
4Press [ENTER]. The cursor blinks on the operator panel.
>Change Admin.ID
5 Enter the first digit of the new account code. Press [ ] or [ ] to enter a number
(0 through 9).
>Change Admin.ID
1
6 Press [ ]. The number is entered and the cursor auto moves to the next right
position. Repeat step 5 and this step at each position to enter all 15 digits of the
new administration ID.
>Change Admin.ID
123456789012345
7Press [ENTER]. OK? appears on the operator panel.
OK?
123456789012345
8 Make sure the entered administration ID is correct, then press [ENTER]. The
administration ID is changed and Account Management On appears on the
operator panel.
Account >
Management On
9Press [MENU]. Ready is displayed again on the operator panel.
Ready
12
Page 13

Accounting System Settings Guide
Chapter 2 Setting Up the Accounting System
Print Account Management List
Prints out the number of printed pages and the maximum number of copy for each
registered accounts code as well as the accounting system settings and other related
information.
1 Display Account Management on the operator panel to access the accounting
system menu. (Refer to Set Account Management ON/OFF on page 8.)
2Press []. Select Account appears on the operator panel.
>Select Account>
12345678
3 Press [ ] or [ ] to display Print Account Management List.
>Print Account
Management List
4Press [ENTER]. ? appears on the operator panel.
>Print Account
Management List?
Display Number of Printed Pages
5Press [ENTER]. The account management list is printed.
Displays the number of printed pages for the selected account.
1Display Account Management on the operator panel to access the accounting
system menu. (Refer to Set Account Management ON/OFF on page 8.)
2Press []. Select Account appears on the operator panel.
>Select Account>
12345678
3Press [ENTER]. ? blinks on the operator panel.
>Select Account>
?12345678
4 Press [ ] or [ ] to select the account code whose printed pages you want to
check, then press [ENTER]. The account code is entered.
13
Page 14

5 Press [ ], then press [ ] or [ ] to display Counter. The number of printed
pages for the selected account code is displayed.
>>Counter
000035
6Press [MENU]. Ready is displayed again on the operator panel.
Ready
Set Maximum Number of Copies
Sets the maximum number of copy for each registered account. If an attempt is made
to print in excess of the maximum number of copy, an error message is displayed on
the operator panel and the print job is cancelled.
Maximum can be set up to 9,999,999 copy pages.
1Display Account Management on the operator panel to access the accounting
system menu. (Refer to Set Account Management ON/OFF on page 8.)
2 Press [ ]. Select Account appears on the operator panel.
>Select Account>
12345678
3Press [ENTER]. ? blinks on the operator panel.
>Select Account>
?12345678
4 Press [ ] or [ ]] to select the account code for which you want to set a
maximum number of copy, then press [ENTER]. The account code is entered.
5 Press [ ], then press [ ] or [ ] to display Max. No. of Copy.
>>Max. No. of
Copy None
6Press [ENTER]. The cursor blinks. You can now set the maximum number of
copy.
>>Max. No. of
Copy None
14
Page 15

Accounting System Settings Guide
Chapter 2 Setting Up the Accounting System
7 Press [ ] or [ ] to enter the maximum number of copy.
>>Max. No. of
Copy 000015
8Press [ENTER]. The maximum number of copy setting is entered.
9Press [MENU]. Ready is displayed again on the operator panel.
Ready
15
Page 16

2-3 Entering Settings through the PRESCRIBE Commands
This section describes how to set up the accounting system using the PRESCRIBE
commands. The PRESCRIBE commands can be used to enter more detailed settings
than those entered through the printer operator panel.
During programming which includes accounting functions, the ACNT “ADMN”
command is used in the program to declare the start of accounting settings and the
ACNT “EDAD” command is used to declare the end. Accounting parameter contents
are set between the ACNT “ADMN” and ACNT “EDAD” commands.
The four-character parameter (ADMN, etc.) following the ACNT command must be
entered as upper case letters. The quotation marks surrounding this parameter may be
either double or single quotation marks, but the same type must be used at both sides
of the parameter.
Accounting Function Operation Commands
ADMN-accounting Administrator mode
Function
The command enables each setting/reference.
Command/Parameter
Command ACNT “ADMN”, #1;
Parameter #1 000000000000000 to 999999999999999
(Default value: Depends on model (numeric string consisting of
numeric portion of model name followed by zeros) Example for FS6020: 602000000000000)
Accounting function administration ID (15-digit numeric string)
Note: The parameter setting range for some copiers is 0000 to 9999
(4-digit numeric string).
Example of Use
The following changes the Accounting function administration ID from
“123456789012345” to “678901234561234”:
!R! ACNT “ADMN”, “123456789012345”;
ACNT “ADMN”, “678901234561234”;
ACNT “EDAD”;EXIT;
Description
• By specifying the Accounting function administration ID currently set in a
parameter, Accounting function settings can be made between the ACNT
“ADMN”; and ACNT “EDAD”; commands.
• To change the administration ID, issue the ACNT “ADMN”; command again
between the ACNT “ADMN”; and ACNT “EDAD”; commands.
16
Page 17

Accounting System Settings Guide
Chapter 2 Setting Up the Accounting System
EDAD-EnD of accounting Administrator mode
CODE-accounting CODE registration and setting
Function
This command sets the Accounting function administrator mode to OFF.
Command/Parameter
Command ACNT “EDAD”;
Parameter -
Example of Use
See ADMN on page 16.
Description
• Exits the Accounting function administrator mode.
• Also exits from the Accounting function administrator mode at a time when a job is
completed, such as by returning to the JOBT command, UEL or ready, in the same
manner as when the ACNT “EDAD”; command is issued.
Function
This command registers an account code.
Command/Parameter
Command ACNT “CODE”, #1;
Parameter #1 0-99999999: Account code to be registered (numeric string consisting
of 1 to 8 digits)
Examples of Use
The following registers account code “00000001”:
!R! ACNT “ADMN”, “123456789012345”;
ACNT “CODE”, “00000001”;
ACNT “EDAD”;EXIT;
The following executes printing using account code “00000001”:
!R! ACNT “CODE”, “00000001”;
JOBS 0, 3, 1, 0;
TEXT “PAGE 1”;PAGE;TEXT “PAGE 2”;PAGE;TEXT “PAGE
3”;PAGE;
JOBT;EXIT;
Description
• Registers an account code between the ACNT “ADMN”; and ACNT “EDAD”;
commands.
• If an account code is specified other than between the ACNT “ADMN”; and ACNT
“EDAD”; commands, it is used to specify an account code for a print job.
• To change an account code already registered, delete that code first and then register
it again.
• Printing is enabled by adding an already registered account code to a print job with
the ACNT “CODE”; command.
• This is valid for a job enclosed with the JOBS - JOBT commands immediately after
the ACNT “CODE”...; command is issued.
17
Page 18

• The setting of an account code for a print job made by using the ACNT “CODE”;
command is also reset whenever a job is completed by returning to UEL or Ready
or other such.
• In cases where the ACNT “CODE”; command is used to specify an account code
for a printing job, an error occurs if the specified account code is not registered.
DELT-accounting code DELeTion
Function
This command deletes an already registered account code.
Command/Parameter
Command ACNT “DELT”, #1;
Parameter #1 0-99999999: Account code to be deleted (numeric string consisting of 1
to 8 digits)
Example of Use
The following deletes account code “00000001” already registered:
!R! ACNT “ADMN”, “123456789012345”;
ACNT “DELT”, “00000001”;
ACNT “EDAD”;EXIT;
Description
• Delete an account code between the ACNT “ADMN”; and ACNT “EDAD”;
commands.
• Erases all information related to the deleted account, such as counter and maximum
number of copy values.
• If the number of registered accounts becomes 0 as a result of deleting an account,
the Account Management function is automatically set to OFF if it is already ON.
ALAS-accounting code ALiAs
Function
The command sets an account name character string for a registered account name.
Command/Parameters
Command ACNT “ALAS”, #1, #2 [, #3];
Parameter #1 0-99999999: Account code for which account name character string is
set (numeric string consisting of 1 to 8 digits)
#2 Account name character string to be registered (for display, up to 32
bytes)
#3 Account name character string to be registered (for searching, up to 32
bytes)
Example of Use
The following registers account name “GENE ENG DIV 4” (for display) and “General
Engineering Division No. 4” (
for searching) for account code “00000001”:
!R! ACNT “ADMN”, “123456789012345”;
ACNT “ALAS”, “00000001”, “GENE ENG DIV 4”, “General
Engineering Division No. 4”;
ACNT “EDAD”;EXIT;
18
Page 19

Accounting System Settings Guide
Chapter 2 Setting Up the Accounting System
Description
• Registers an account name between the ACNT “ADMN”; and ACNT “EDAD”;
commands.
• If an unregistered account code is specified in #1, that command is ignored.
• It is not possible to register an account name for the “Other” account.
MAXN-MAXimun Number of copy page
Function
The command sets the maximum number of copy pages allowed.
Command/Parameters
Command ACNT “MAXN”, #1, #2, #3, #4, #5, #6;
Parameter #1 0-99999999:
Account code for which the maximum number of copy is set (numeric
string consisting of 1 to 8 digits)
#2 Function
0: Total
1: Printer
2: Copier
3: Scanner
4: FAX
#3 Paper size
0: Total
1-: Paper size No. (in accordance with SPSZ)
#4 Color mode
0: Total
1: Monochrome
2: Monochrome color
3: Full color
#5 Reserved (always 0)
#6 0-999999: Maximum number of copy
Example of Use
The following sets the maximum number of copy to 999 pages for account code
“00000001”:
!R! ACNT “ADMN”, “123456789012345”;
ACNT “MAXN”, “00000001”, 0, 0, 0, 0, 999;
ACNT “EDAD”;EXIT;
Description
• Sets the maximum number of copy between the ACNT “ADMN”; and ACNT
“EDAD”; commands.
• If printing is attempted exceeding the maximum number of copy set, that print job
generates an error.
• The last job that reached the maximum number of copy in the middle of printing is
completed by printing up to the last page.
• If an unregistered account code is specified in #1, that command is ignored.
• This command is also ignored if an unsupported counter is specified, such as when
a maximum number of copy is specified on a stand alone printer or when a
maximum number of color printouts is specified on a monochrome unit.
19
Page 20

CRST-accounting Counter ReSeTting
Function
The command clears (rewrites) the counters for each account/function.
Command/Parameters
Command ACNT “CRST”, #1 [, #2 [, #3, #4, #5, #6]];
Parameter #1 0-99999999: Account code for which a counter value is set (numeric
string consisting of 1 to 8 digits)
“ALLC”: Clears all counters for all accounts to 0.
#2 Function
0: Total
1: Printer
2: Copier
3: Scanner
4: FAX
#3 Paper size
0: Total
1-: Paper size No. (in accordance with SPSZ)
#4 Color mode
0: Total
1: Monochrome
2: Monochrome color
3: Full color
#5 Reserved (Always 0)
#6 0-999999: Counter value to be set
“ALLC”: Clears all counters for the account specified
in #1 to 0.
Examples of Use
The following clears the total counter for account code “00000001” to 0:
!R! ACNT “ADMN”, “123456789012345”;
ACNT “CRST”, “00000001”, 0, 0, 0, 0, 0;
ACNT “EDAD”;EXIT;
The following clears all counters for all accounts to 0:
!R! ACNT “ADMN”, “123456789012345”;
ACNT “CRST”, “ALLC”;
ACNT “EDAD”;EXIT;
The following clears all counters for account code “00000001” to 0:
!R! ACNT “ADMN”, “123456789012345”;
ACNT “CRST”, “00000001”, “ALLC”;
ACNT “EDAD”;EXIT;
Description
• Clears the counters between the ACNT “ADMN”; and ACNT “EDAD”;
commands.
• If parameter #2 and subsequent parameters are specified when “ALLC” is set in
parameter #1, that command is ignored.
• If parameter #3 and subsequent parameters are specified when an account code in
set in parameter #1 and “ALLC” is set in parameter #2, that command is ignored.
20
Page 21

Accounting System Settings Guide
Chapter 2 Setting Up the Accounting System
FAXS- FAX related Setup
Function
This command sets FAX specific settings.
Command/Parameters
Command ACNT “FAXS”, #1, #2, #3, #4, #5, #6;
Parameter #1 Setting applicability
0?99999999: Information for each account
Specified by account code (number string consisting of 1 to 8 digits)
“TOTL”: Total information for all accounts
#2 Setting fields
1: Communication time
2: Communication history
#3 Send/receive selection
0: Send and receive
1: Send
2: Receive
#4 Paper size
0: Total
#5 Color mode
0: Total
#6 Set value
0: Clear communication time
or clear history
1 or higher: Communication time (sec.)
Example of Use
Clear the fax sending time for account code “00000001”.
!R! ACNT “ADMN”, “123456789012345”;
ACNT “FAXS”, “00000001”, 1, 1, 0, 0, 0;
ACNT “EDAD”;EXIT;
Description
• Sets the FAX settings between the ACNT “ADMN”; and ACNT
“EDAD”; commands.
LIST-accounting LIST This command outputs the account information page.
Command/Parameter
Command ACNT “LIST”;
Parameter -
Example of Use
The following outputs the account information page:
!R! ACNT “ADMN”, “123456789012345”;
ACNT “LIST”;
ACNT “EDAD”;EXIT;
Description
• Outputs the list between the ACNT “ADMN”; and ACNT “EDAD”; commands.
21
Page 22

Example of Account Information Page Output (Standalone Printer)
Accounting Function Mode Setting Commands
MAIN-accounting MAIN switch
Function
This command sets the Accounting function to ON/OFF.
Command/Parameters
Command ACNT “MAIN”, #1, #2, #3, #4, #5;
Parameter #1 Function
0: Total
1: Printer
2: Copier
3: Scanner
4: FAX
#2 Paper size
0: Total
1-: Paper size No. (in accordance with SPSZ)
#3 Color mode
0: Total
1: Monochrome
2: Monochrome color
3: Full color
#4 Reserved (always 0)
#5 Default value: 0
0: Accounting function OFF
1: Accounting function ON
Example of Use
The following sets the Accounting function to ON:
!R! ACNT “ADMN”, “123456789012345”;
ACNT “MAIN”, 0, 0, 0, 0, 1;
ACNT “EDAD”;EXIT;
22
Page 23

Accounting System Settings Guide
Chapter 2 Setting Up the Accounting System
Description
• Because this is the switch for the entire Accounting function, even if the account
code, the maximum number of copy and other parameters are set up, settings made
will not take effect unless this switch is set to ON.
• Even if this switch is OFF, settings such as the registration of an account, the
maximum number of copy or other can be performed.
• The Accounting function can be set to ON/OFF between the ACNT “ADMN”; and
ACNT”EDAD”; commands.
• If the number of registered accounts is 0, the Account Management function cannot
be set to ON.
SECR-accounting SECuRity level
CTMD-CounT MoDe
Function
This command sets the security level of the Accounting function.
Command/Parameter
Command ACNT “SECR”, #1;
Parameter #1 Default value: 0
0-1: Security level
Example of Use
The following sets the security level of the Accounting function to 1:
!R! ACNT “ADMN”, “123456789012345”;
ACNT “SECR”, 1;
ACNT “EDAD”;EXIT;
Description
• The security level setting is valid for SNMP access. (For details, refer to the SNMP
Specifications.)
• The security level can be set between the ACNT “ADMN”; and ACNT “EDAD”;
commands.
Function
This command sets the count method for each paper size.
Command/Parameters
Command ACNT “CTMD”, #1, #2, #3;
Parameter #1 “SIZE”: By paper size
“BLPG”: Number of pages/sheets
#2 #1: “SIZE” Paper size (Numbers are in accordance with SPSZ. See
the table on page 25.)
#1: “BLPG” Fixed at 0 (Don’t care)
#3 #1: “SIZE” See the table below for a list of default values by paper
size.
1: Single count
2: Double count
#1: “BLPG” Default value: 0
0: Count using the number of pages
1: Count using the number of sheets
23
Page 24

Examples of Use
The following sets the A3-size paper to be counted as two sheets (double count):
!R! ACNT “ADMN”, “123456789012345”;
ACNT “CTMD”, “SIZE”, 10, 2;
ACNT “EDAD”;EXIT;
The following sets the count that uses the number of sheets.
!R! ACNT “ADMN”, “123456789012345”;
ACNT “CTMD”, “BLPG”, 0, 1;
ACNT “EDAD”;EXIT;
Description
• SIZE: count according to paper SIZE
• BLPG: BLank PaGe count mode
• A count using the number of pages counts the number of pages actually printed,
while a count using the number of sheets counts the number of sheets used
regardless of whether or not they are used for printing.
• Count setting by paper size and count setting by number of pages/sheets are added
together when counted. Therefore, if a print job for two double-sided, A3-sized
pages with attributes of double count and number of pages is executed, the counter
for the account is incremented by four, even though the actual number of sheets
used is just one.
• The count method can be set between the ACNT “ADMN”, and ACNT “EDAD”;
commands.
• The following table shows whether or not the count method setting is supported and
default values for each paper size.
24
Page 25

Available Count Methods by Paper Size
Accounting System Settings Guide
Chapter 2 Setting Up the Accounting System
Paper
size
0 Cassette size Undefined - -
1 Monarch 98.425 x 190.5 mm (3.875 x 7.5 inch) - -
2 Business 104.775 x 241.3 mm (4.125 x 9.5 inch) - -
3DL 110 x 220 mm - -
4 C5 162 x 229 mm - -
5 Executive 184.15 x 266.7 mm (7.25 x 10.5 inch) - -
6 Letter 215.9 x 279.4 mm (8.5 x 11 inch) - -
7 Legal 215.9 x 355.6 mm (8.5 x 14 inch) Yes Single
8 A4 210 x 297 mm - -
9 B5 182 x 257 mm - -
10 A3 297 x 420 mm Yes Double
11 B4 257 x 364 mm Yes Single
12 Ledger 279.4 x 431.8 mm (11 x 17 inch) Yes Double
13 A5 148 x 210 mm - -
14 A6 105 x 148 mm - -
15 B6 128 x 182 mm - -
16 COM9 98.425 x 225.425 mm (3.875 x 8.875 inch) - -
17 COM6 92.075 x 165.1 mm (3.625 x 6.5 inch) - -
18 INT B5 176 x 250 mm - -
19 CUSTOM 297.18 x 449.58 mm (11.7 x 17.7 inch) Yes Single
20 B4toA4 - -
21 A3toA4 - -
22 A4toA498 - -
23 STKtoA4 - -
24 STKtoB4 - -
30 C4 229 x 324 mm - -
31 HAGAKI 100 x 148 mm - -
32 OUFUKUHAGAKI 148 x 200 mm - -
33 (Oficio II) 215.9 x 330.2 mm (8.5 x 13 inch) - -
34 (Special 1) 216 x 310 mm - -
35 (Special 2) 216 x 305 mm - -
36 A3WIDE 310 x 433 mm Yes Double
37 LDWIDE 310 x 440 mm Yes Double
38 12x18 304.8 x 457.2 mm (12 x 18 inch) Yes Double
39 8K 273 x 394 mm Yes Double
40 16K 197 x 273 mm - -
50 Statement 139.7 x 215.9 mm (5.5 x 8.5 inch) - -
51 Folio 210 x 330 mm - -
52 Youkei2 114 x 162 mm - -
53 Youkei4 105 x 235 mm - -
Name Paper size Supported Default value
25
Page 26

ERRM-ERRor Management
Function
This command sets the method for error handling when an error occurs.
Command/Parameters
Command ACNT “ERRM”, #1, #2,#3;
Parameter #1 “ACCD”: Account code error
“EXMN”: Exceeded the maximum number of copy
#2 #1: “ACCD” “CNCL”: Cancels printing.
“PRNT”: Prints an error report.
#1: “EXMN” “CNCL”: Cancels printing.
“PRNT”: Prints an error report.
#3 0: OFF
1: ON
Examples of Use
* See the table bellow for default values.
The following does not print an error report even if an account code error occurs:
!R! ACNT “ADMN”, “123456789012345”;
ACNT “ERRM”, “ACCD”, “PRNT”, 0;
ACNT “EDAD”;EXIT;
The following does not cancel printing even if the maximum number of copy is
exceeded:
!R! ACNT “ADMN”, “123456789012345”;
ACNT “ERRM”, “EXMN”, “CNCL”, 0;
ACNT “EDAD”;EXIT;
Description
• ACCD: ACcount CoDe error
• EXMN: Excess of Max. Number of copy
• CNCL: error job CaNCel
• PRNT: PriNT error report
• The error handling method can be set between the ACNT “ADMN”; and ACNT
“EDAD”; commands.
• If it is set to display an error only at the time of account code error occurrence,
printing is performed but the counters for all accounts are not incremented (the
counters are processed in the same manner as for the status page).
• Default values
Account code error Cancels printing ON
Prints an error report ON
Exceeded the maximum
number of copy
Cancels printing ON
Prints an error report ON
26
Page 27

Accounting System Settings Guide
Chapter 2 Setting Up the Accounting System
ACLR-Auto CleaR managemet
Function
This command sets whether or not the front panel menus of the Accounting function
are automatically cleared.
Command/Parameters
Command ACNT “ACLR”, #1, #2;
Parameter #1 “MAIN”: Auto clear ON/OFF
“TIME”: Time until auto clear operation is executed
#2 #1: “MAIN” Default value: 1
0: OFF
1: ON
#1: “TIME” Default value: 12
1-54: Time until auto clear operation is executed (units
of 5 sec.)
Examples of Use
The following sets the auto clear operation to OFF:
!R! ACNT “DMN”, “123456789012345”;
ACNT “ACLR”, “MAIN”, 0;
ACNT “EDAD”;EXIT;
The following sets the time until the auto clear operation is executed to 30 seconds:
!R! ACNT “ADMN”, “123456789012345”;
ACNT “ACLR”, “IME”, 6;
ACNT “EDAD”;EXIT;
Description
• MAIN: auto clear MAIN switch
• TIME: TIME until auto clear
• The auto clear operation can be set between the ACNT “ADMN”..., and ACNT
“EDAD”; commands.
• The time setting will not take effect if the auto clear operation is OFF.
• The setting of the auto clear operation is not related to the setting of the auto clear
operation for normal menus other than for accounting.
• This setting applies only to menus that are called up by entering an administration
ID and does not apply to menus accessed by entering account codes during e-MPS
job output, even if such menus are related to the Accounting function.
27
Page 28

CLMN-distinction of CoLor and MoNochrome
Function
This command sets the method by which color/monochrome distinction is performed
Command/Parameters
Command ACNT “CLMN”, #1;
Parameter #1 Default 0:
0: If any color except BLACK used, it is regarded as color.
1:Always regarded as in color mode.
Example of Use
Always regarded as in color mode
!R! ACNT “ADMN”, “123456789012345”;
ACNT “CLMN”, 1;
ACNT “EDAD”;EXIT;
Description
• It is used for a color machine.
• It is reflected in the count-up.
• It is reflected in a restriction number-of-sheets check.
• When 1 is set, it counts as color even if only using Black toner.
ATRC-ATtRibute combination of Counters
Function
This command enters settings related to the itemized paper counter.
Command/Parameters
Command ACNT “ATRC”, #1, #2 [, #3, #4, #5];
Parameter #1 1 - 5: Itemized paper type counter number to be changed
6: Always set to “other”
#2 Paper size (number is as per SPSZ command)
Select from the following:
No setting (0), A3 (10), A4 (8), A5 (13), B4 (11), B5 (9),
Statement (50), Letter (6), Legal (7), ledger (12), Folio (51)
#3 Paper type (number is as per MTYP command)
Select from the following:
No setting (0), ordinary paper (1), OHP (2), labels (4), recycled paper
(6),
Envelopes/postcards (12), thick paper (16), thin paper (7), treated paper
(14),
Custom 1 - 8 (21 - 28)
#4 Function
No setting (0)
#5 Color mode
No setting (0)
28
Page 29

Accounting System Settings Guide
Chapter 2 Setting Up the Accounting System
Examples of Use
Set itemized paper counter 3 to “Letter” paper size and “Treated paper” paper type.
!R! ACNT “ADMN”, “123456789012345”;
ACNT “ATRC”, 3, 6, 14;
ACNT “EDAD”;EXIT;
Count itemized paper counter 5 as an unused counter.
!R! ACNT “ADMN”, “123456789012345”;
ACNT “ATRC”, 5, 0, 0, 0, 0;
ACNT “EDAD”;EXIT;
Description
• Sets the itemized paper counter between the ACNT “ADMN”; and ACNT “EDAD”
commands;.
• If paper which does not meet the conditions for any of the itemized paper counters,
1 through 5 is printed, then the count on counter 6 (“other”) is incremented.
• If a counter has a specified paper size but no paper type setting, all prints at the
specified paper size are counted, regardless of the paper type.
• If a counter has a specified paper type but no paper size setting, all prints with the
specified paper type are counted, regardless of the paper size.
• To determine which counter is applicable, the paper size and paper type are
determined starting with the first counter and continuing in sequence. If none of the
counters 1 through 5 are applicable, then the count is applied to the “other” counter.
• If multiple counters have the same settings, the count is incremented only on the
counter having the lowest number. For example, if the first counter is set to plain
paper with no paper size setting, and the second counter is set to plain paper with
A4 size, only the count on the first counter will be incremented even during A4/
plain pages printing. (Counters with no settings should be moved to the rear.)
• If a counter has no settings at all, its count is not incremented. (The counter is
treated as unused.)
• The default settings for the itemized paper counters are as follows.
Counter Number12345
Europe A3 A4 A5 Legal Letter
US Ledger Legal Letter
Statement
(No
setting)
29
Page 30

FRST-use Functional ReSTriction
Function
This command limits the functions that can be used (copier, scanner, fax, printer).
Command/Parameters
Command ACNT “FRST”, #1, #2, #3, #4, #5, #6;
Parameter #1 0 - 99999999:
Applicable account code (numeric string consisting of 1 to 8 digits)
#2 Function
0: All (computer and printer)
1: Printer
2: Copier
3: Scanner
4: Fax (sending)
5: Fax (receiving)
#3 Paper size
0: Total
1-: Paper size No. (in accordance with SPSZ)
#4 Color mode
0: Total
1: Monochrome
2: Monochrome color
3: Full color
#5 Reserved (Always 0)
#6 0: Can be used
1: Usage not allowed
Example of Use
Disallow use of the copier function for account code “00000001”.
!R! ACNT “ADMN”, “123456789012345”;
ACNT “FRST”, “00000001”, 2, 0, 0, 0, 1;
ACNT “EDAD”;EXIT;
Description
• Limits the available functions between the ACNT “ADMN”; and ACNT “EDAD”
commands;.
• Settings cannot be applied to accounts listed as “Other”.
30
Page 31

Accounting System Settings Guide
Chapter 2 Setting Up the Accounting System
RSTP-selection of a ReSTriction Pattern
Function
This command enters settings related to limitation patterns.
Command/Parameters
Command ACNT “RSTP”, #1, #2;
Parameter #1 “TOTL”:
Overall settings
#2 Limitation pattern number
Example of Use
Set a limitation pattern which is applied to all accounts as pattern 2.
!R! ACNT “ADMN”, “123456789012345”;
ACNT “RSTP”, “TOTL”, 2;
ACNT “EDAD”;EXIT;
Description
• Set limitation patterns between the ACNT “ADMN”; and ACNT “EDAD”
commands;.
• Settings cannot be applied to accounts listed as “Other”.
• Limitation pattern
Pattern 1
Function Copie/printer Scanner FAX
Details Total (full color/monocolor/monochrome)
Full color Monocolor
(copier only)
Support Yes Yes Yes Yes Yes -
monochrome
Sending Receiving
-
Pattern 2
Function Copier/printer Scanner FAX
Details
Support Yes Yes Yes Yes Yes Yes Yes -
Total (full color/monocolor/
monochrome)
Full
color
Mono-
color
mono-
chrome
Total (full color/
monochrome) -
Full
color
mono-
chrome
Sending Receiving
31
Page 32

PPAS-Permission for Printing without Accounting code Specification
Function
This command allows printing of jobs without a specified account code.
Command/Parameters
Command ACNT “PPAS”, #1;
Parameter #1 0: Do not allow printing of jobs without a specified account code
1: Allow printing of jobs without a specified account code
Example of Use
Allow printing of jobs without a specified account code.
!R! ACNT “ADMN”, “123456789012345”;
ACNT “PPAS”, 1;
ACNT “EDAD”;EXIT;
Description
• Allows printing of jobs without a specified account code between the ACNT
“ADMN”; and ACNT “EDAD” commands;.
• Use this command when you want to manage accounts in, for example, an
environment containing hosts that cannot use drivers supporting the accounting
functions
• Even in cases where this command is set to allow printing of jobs without a
specified account code, when an account code is specified, normal account
management procedures are followed. Specifically, the count value for that account
is incremented if the account code is correct. If the account code is incorrect, an
error occurs and printing is cancelled.
• If a job without a specified account code is printed under settings that allow the
printing of jobs without a specified account code, the number of printed pages is
added to the “other” account counter.
32
Page 33

Chapter 3 Error Messages
This section presents the accounting system related error messages which may appear
during printing, and describes how to respond to these errors.
If you are unable to solve a problem, contact the Kyocera Mita Corporation authorized
dealer where you made your purchase or contact our customer service center.
The account code may not have been set for the transmitted job, or the specified
Illegal Account
Press GO
Exceeded MaxCopy
Press GO
account code may not be registered (or an incorrect account code may have been
specified).
Press [GO] to clear the error. Check whether an account code has been specified or
whether the correct account code was specified, then try printing again.
The maximum number of copy pages set for a particular account has been exceeded.
Press [GO] to clear the error. Jobs cannot be printed in excess of the maximum number
of copy setting.
Accounting System Settings Guide
Chapter 3 Error Messages
Account error ##
Press GO
A syntax error or incorrect setting may have been entered during accounting system
setup using PRESCRIBE command. The two pound-sign characters in the Account
error ## line denote the error number. For details on error numbers, see Error
numbers for account errors on the next page.
Press [GO] to clear the error. Check whether the correct PRESCRIBE command was
entered.
33
Page 34

Error numbers for account errors
ACNT command function Panel error indication (Press GO)
ADMN
EDAD -
CODE (at registration) 02
DELT 03
ALAS 04
MAXN 05
CRST 06
LIST -
MAIN 08
SECR 09
CTMD 10
ERRM 11
ACLR 12
CLMN 13
FAXS 14
AT R C 1 5
FRST 16
RSTP 17
PPAS 18
Account error
01
34
Page 35

Page 36

Kyocera Mita Corporation
2-28, 1-Chome, Tamatsukuri
Chuo-ku, Osaka, 540-8585 Japan
©2003 by KYOCERA MITA CORPORATION All rights reserved. Revision 1.0., 2003.6
 Loading...