

Page 1
Espresso Novo 3000
ProCrema
Model #885
~.I 0
KRUPS
Instruction
for use
Warranty
Guarantee of
Performance
Page 2
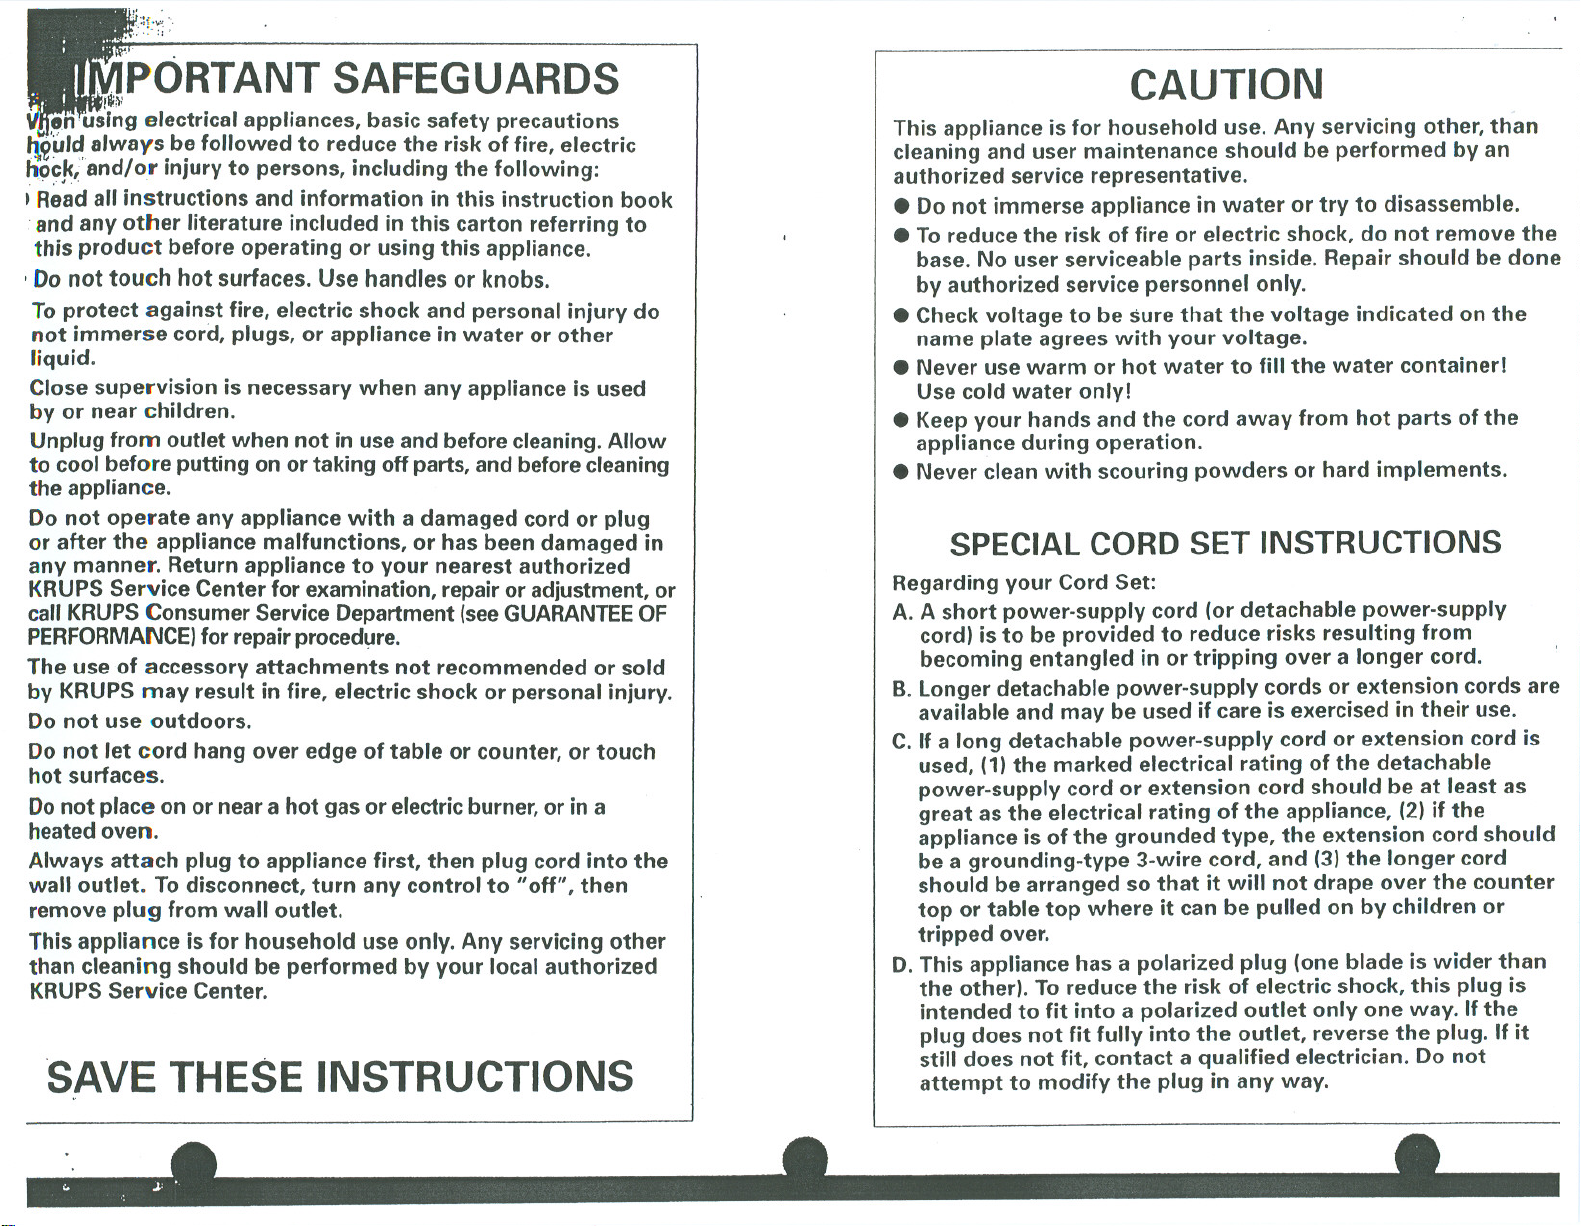
..PORTANT SAFEGUARDS
11
!
!i'uld always be followed to reduce the risk of fire, electric
h~~Jc~'and/orinjury to persons, including the following:
I Read all instructions and information in this instruction book
. andany ottler literature included in this carton referring to
this product before operating or using this appliance.
, Donot touch hot surfaces. Use handles or knobs.
To protect against fire, electric shock and personal injury do
not immerse cord, plugs, or appliance in water or other
liquid.
Close supervision is necessary when any appliance is used
by or near children.
Unplug from outlet when not in use and before cleaning. Allow
to cool before putting on or taking offparts, and before cleaning
the appliance.
Do not operate any appliance with a damaged cord or plug
or after the appliance malfunctions, or has been damaged in
any manner. Return appliance to your nearest authorized
KRUPSService Center for examination, repair or adjustment, or
call KRUPSConsumer Service Department (see GUARANTEEOF
PERFORMANCE)for repair proced~re.
The use of accessory attachments not recommended or sold
by KRUPS may result in fire, electric shock or personal injury.
Do not use outdoors.
Do not let cord hang over edge of table or counter, or touch
hot surfaces.
Donot place on or near a hot gas or electric burner, or in a
heated oven.
Always attach plug to appliance first, then plug cord into the
wall outlet. To disconnect, turn any control to "off", then
remove plug from wall outlet.
This appliance is for household use only. Any servicing other
than cleaning should be performed by your local authorized
KRUPSService Center.
,glM
en'us'ing electrical appliances, basic safety precautions
SAVE THESE INSTRUCTIONS
. I I
CAUTION
This appliance is for household use. Anyservicing other, than
cleaning and user maintenance should be performed by an
authorized service representative.
. Do not immerse appliance in water or try to disassemble.
. To reduce the risk of fire or electric shock, do not remove the i
base. No user serviceable parts inside. Repair should be done'
by authorized service personnel only.
.Check voltage to be sure that the voltage indicated on the
name plate agrees with your voltage.
. Neveruse warm or hot water to fillthe water container!
Use coldwater only!
. Keepyour hands and the cord away from hot parts of the
appliance during operation.
. Neverclean with scouring powders or hard implements.
SPECIAL CORD SET INSTRUCTIONS
Regarding your Cord Set:
A. A short power-supply cord (or detachable power-supply
cord) is to be provided to reduce risks resulting from
becoming entangled in or tripping over a longer cord.
B.Longerdetachable power-supply cords or extension cords are I
available and may be used if care is exercised in their use.
C. Ifa long detachable power-supply cord or extension cord is
used, (1)the marked electrical rating of the detachable
power-supply cord or extension cord should be at least as
great as the electrical rating of the appliance, (2) ifthe
appliance is of the grounded type, the extension cord should
be a grounding-type 3-wire cord, and (3)the longer cord
should be arranged sothat it will not drape over the counter
top or table top where it can be pulled on by children or
tripped over.
D.This appliance has a polarized plug (one blade is wider than
the other). Toreduce the risk of electric shock, this plug is
intended to fit into a polarized outlet only one way. Ifthe
plug does not fit fully into the outlet, reverse the plug. Ifit
still does not fit, contact a qualified electrician. Do not
attempt to modify the plug in any way.
Page 3

(80
)8
11.1
-('
0
N
M.
N
co.c tJ "C CiI-
\1 I
CD
()
..
",,"'1
""",-
,,,,,,,
,,,,,,,
.."."
".
m""
""'"
..,,,,,
'm",
""'"
...""
'''''',1
.
~€
*
=
=
0)
....
N
N
....
N
f]
Ln<
N
=
=
n
~<
N
N
....
...
...
~
....
\ j)'" ~
~"
.
MV
Page 4

12
ace a cappuccino cup that has at least a
:>z.capacity underneath the filter holder
oout(see figure 7).
1mthe control dial to the" .Q'" position
Idallow cup of water to run through the
achine. Repeat this process until half'
e water in the water container has been
nptied(see figure 8). .
11SWILL REQUIRE YOU TO STAY WITH
1EMACHINETO EMPTYEACH CUPAS
BECOMES FULL. UPON COMPLETION
F EACH CUP RETURN TO THE "0"
)SITIONI
reparing Espresso
) 1
IIthe water container with fresh, cold
ater (see figure 1-3).
'hile making espresso, water can be
jded to the reservoir by opening the
nged water chamber lid and adding
ater to the water reservoir, using
lother receptacle to fillthe container.
therwise. the''-':'faterreservoir can be
,moved and taken to the faucet.
CAUTION:
HEWATERRESERVOIR
: PUMP IS RUNNING, VOU WILL HEAR A
IVDISTINCT NOISE, wHICH IS LOUDER
\N THE NORMAL OPERATING SOUND.
HIS HAPPENS, TURN THE MACHINE
:F~.CHECK WATER RESERVOIR AND.
'ILLAS NEEDED.
IER lET THE PUMP RUN WHEN THE
TERRESERVOIRIS EMPTY AS THIS
" DAMAGE THE PUMP.
IS EMPTY AND
Step2
. Make sure the control dial is set to "0"
position. Then switch the appliance "ON"
using the "ON/OFF" switch. Both
indicator lights will illuminate (yellow and
red). When the yellow indicator light goes
out, the machine is ready for use.
Prewarming Espresso/
Cappuccino Cups
Ifthe machine is being used for the first
time during the day, we recommend
prewarming your cups with hot water
(see figure 9). After you have made
several cups of espresso, the cups can be
prewarmed on the warming plate (b) of
your "Espresso Novo 3000 ProCrema".
Step 3
. Remove the ProCrema filter holder from
the appliance. The filter holder selector
ring can be adjusted to three individual
positions to suit your personal taste
(see figure 10):
.If 1 cup regular strength espresso
.lnl. 1 cup strong espresso
2 cups mild espresso
.II! 2 cups regular strength espresso
. Turn the selector ring to the desired
position.
. Depending upon which setting you have
chosen add one, one and a half or two
KRUPS
measuringspoons ofespresso
coffee (see figure 111.
. Make sure that you do not overfill the
filter basket. Press the coffee lightly into
the filter basket using the back of your
KRUPSmeasuring spoon (see figure 12).
Your "Espresso Novo 3000 ProCrema" also
features a built-in tamper, which will ensure
that the coffee has been evenly tamped.
. It is also very important that you remove
any coffee that has fallen onto the rim of
the filter holder while you were filling or
tamping the coffee (see figure 13).
. Insert filter holder back into the machine
by raising it up at a 45 degree angle. Turn
the filter holder to the right, until it is
firmly locked into place (see figure 14).
Place a cup which has at least a 2-2,5 oz.
capacity underneath the filter holder spout.
Ifyou are preparing more than one cup of
espresso, be sure to properly position two
cups underneath the brewing spouts.
When preparing cappuccino, you will need a
cup that has at least a 5 oz. capacity.
. As soon as the yellow thermostat light
goes out turn the contr.oldial to the" .Q'"
position (see figure 15).
When the desired amount of espresso is in
the cup(s), turn the control dial back to the
"0" position.
Place the cup aside.
To remove the coffee from the filter basket,
remove the filter holder from the machine
by grasping the filter holder and turning it to
the left, until it dislodges.
. To remove espresso cake from the filter
holder, press the auto-eject button located
on the handle and knock out the espresso
grounds (see figure 16).
Reinsert the empty filter holder back into the
machine to help keep it warm.
Ifyou are preparing more than one cup of
espresso, disregard the yellow thermostat
light. It simply indicates that the thermostat
is regulating temperature.
Cappuccino
In addition to preparing espresso, you c
also use your "Espresso Novo 3000
ProCrema" to froth milk for cappuccino.
Cappuccino reportedly takes its name fr
the chocolate hues of the robes worn b,
Capuchin monks who favored this delici
desert coffee. While cappuccino is
traditionally made up of espresso and
frothed milk, it can be tailored to one's (
taste with cinnamon, sugar, chocolate
flakes, or even liquor. Its versatility mak
cappuccino a world-wide gourmet choie
Aslong as your "EspressoNovo3000
ProCrema" is turned on and the water
reservoir is properly filled, you can use
steaming feature. There is no need to
prepare espresso before using this stea
feature.
. For best results, you should use the
"Perfect Froth" attachment (e). Ifit is
in place, attach it now (see figure 26).
KRUPS
you froth milk perfectly for making
cappuccino.
"PerfectFroth"attachmentlei
Frothing Milk
for Cappuccino
Step 1
. Thefirststepin making cappuccino i~
make espresso. See section "Preparir
Espresso". When preparing cappuccil
use acappuccinocup whichhas a '
capacity of at least 5 oz. You should fi
the cup 1/3 way with espresso.
. Make sure that the control dial is In th
"0" position before turning on the
machine.
I
Page 5

.. .
--'"-...
1
"-.'. .'" -. --.", "'
Features. . r:'. 'I '. ~.: ...
Thermoblock Heating System features a
41" tube which heats up water to the
precise temperature for brewing espresso
which is then pumped onto the espresso.
When espresso making is done, excess
water is flushed from the system into the
driptray. No stale water remains in the
system and there is no bacteria build-up,
ensuring a fres~er, tasting cup of espresso.
ProCrema Filter Holder
A.II-in-oneProCrema filter holder features
a selectordialthat adjustthe amount of .
coffee you need for 1 cup of regular
strength espresso, 2 cups mild espresso
or 1cup strong espresso, or 2 cups of
regular strength espresso to suit your
personal taste. The all-in-one filter holder
3150features a spring mechanism that will
!,"sure that your coffee is evenly tamped
upon insertion for flawless crema-Iaden
espresso every time.
MicrochipMonitored Steam Pump
:lelivers a constant flow of "dry" steam.
rhis unique dryness of steam and its
'egulated pressure froth milk for perlect
;appuccino.
f'rogram Dial
enables you to turn to any of the fOllowing
:hree positions
.. 0 ':OFF position
.. Jl "Espresso position
.. ~ " Steam position
~uto-Eject Button located on the filter
10lder handle safely lifts the espresso
;ake out of the filter holder for easy
'emoval without mess.
~eady Light Indicator
31ertsuser when machine has reached the
proper brewing temperature.
. 37 oz. Water Reservoir
Large capacity, easy to fillwater container
produces contino us cups of espresso arid
cappuccino.
15demitasse cups
(2.5 oz.)
7 cappuccino cups
(5.0 oz.)
. Warming Tray enables you to preheat you
espresso and cappuccino cups.
. Perlect Froth Attachment effortlessly
.produces froth for perfect cappuccino.
. Steam Nozzle for frothing, steaming and
other beverages (tea, hot cocoa, and other
hot beverages).
. Water level Indicator shows how much
water is in the water reservoir.
. Removable DripTray & Grid is easy to
remove and clean.
Introduction
Your new "Espresso Novo 3000 ProCrema"
is a machine that has been constructed like
no other espresso maker in the world. This
machine features a highly sophisticated
pump technology called Thermo-Block.
Your "Espresso Novo 3000 ProCrema" is
another one of KRUPSfinestespresso
makers that is now available to you for at
home use.
Genuine Espresso
Espresso is a far richer and stronger brew
than regular coffee. It should be deep, dark
and delicious. Most people find they enjoy it
in small quantities because of its richness
and for that reason, espresso is usually
served in small 2-2,5 oz. demitassse cups.
The mark of real espresso is its wonderful
inviting fragrance and a light brown
"crema", found on top of the surface of the
coffee. Your "Espressso Novo 3000
ProCrema", properly used. will always
produce espresso that is deep, dark, and
delicious. Just follow the instructions and
use fresh, well roasted espresso beans.
Grinding Espresso Beans
Ifyou choose to grind your own beans we
recommendusingthe KRUPSIIBarista#220
grinder.
Remember, espresso requires a much finer
grind than regular coffee. We recommend
grinding your espresso beans for approxi-
mately 60 seconds; or until it has a talcum
powder appearance and texture.
Using your
"Espresso Novo '3000
ProCrema" for the first time
Werecommend that you get familiar with
all the parts of your "Espresso Novo 3000
ProCrema" before operating the machine.
Insert the filter holder into the machine, and
remove and replace water reservoir. Wipe
off the steam nozzle and Perfect Froth
attachment with a damp cloth to make sure
all dust particles from transport are
removed. Wash all loose parts in warm,
soapy water, rinse thoroughly and dry.
When using your "Espresso Novo 3000
ProCrema" for the first time we recommend
running water through the machine to
remove any dust particles which may have
settled during shipping.
Make sure before you start that the
removable overflow grid (9) is properly in
place a.,d that the drip tray (hI is properly
inserted.
Before plugging the appliance into an
electrical outlet, make sure that the COI
dial (cl is in the "0" position and the 0
switch (I)is in the "OFF" position.
Cleaning the
Internal System
Step 1
. Open the water chamber lid and rerr
the water reservoir (see figure 1).Th
allows you to conveniently bring the
water reservoir to the faucet.
. Fillthe water container with fresh, C(
water just below the hinge of the hal
(see figure 2).
. Insert the water container back into t
appliance(see figure 3). Make sure tl
sits in properly so the valve on the b,
the water reservoir is activated. The'
view water level indicator tells you h
much water you have added (see figl
.Turn the "ON/OFF" switch to "I" ON.
The two indicator lights, both yellow
red, will illuminate. As soon as the YI
(thermostat) light goes out, the mact
heated up and ready to use (see flgurl
. Insert filter holder and raise it up intc
the machine at a 45degree angle (se
figure 6). Turn the filter holder to the
until it is in the center of the machine
This will lock the filter holder into pia
Now you are ready to warm up your
"Espresso Novo 3000 ProCrema".
Page 6

J a stainless steel frothing pitcher and
: 1/3to 1/2full with fresh, cold milk
set aside. This amount of milk will
:Ienough froth for two cups of
Juccino. Ifyou need more froth,
tat these steps.
recommend using skim or 2% milk if
prefer a stiff, dense froth. Use regular
ifyou prefer a more creamy type of
1.
Inyou start frothing milk, there will be
umping sound which occurs during
steam preparation. This results from
interval controlled water pump
:Jensing water into steam.
he thumping sound begins a few
)s of water will come out of the steam
:Iebefore entirely changing over to
m.
m the yellow thermostat light goes
insert the steam nozzle half way into
milkand turn the control dial to ,,~ "
figure 17).
Ie the steam nozzle in the milk for
roximately 45-60 seconds, depending
lOWmuch froth you want and the type
lilkyou are using.
10tbring milkto a boil (this will
pen if large bubbles start forming at
surface of the milk).
lOtlet the "Perfect Froth" attachment
:hthe bottom of the pitcher. This will
lent'you from frothing the milk.
Step 4
. After the milk is frothed, keep the "Perfect
Froth" in the milk until the control dial has
been turned to the "0" position. This will
prevent any splattering from occuring.
. After milk is frothed, set aside. Ifyou like
very stiff froth, let the pitcher set for a few
seconds.
. Now you are ready to add the frothed
milk to the already prepared espresso.
Pour the milk into the cup by holding back
the froth with your spoon. Fillthe
remainder of the cup with the hot milk
and then spoon on the froth. In Italy
cappuccino is normally one part espresso
to two parts milk plus froth.
Ifyou are making more than one or two
cups of cappuccino, it is recommended that
you place the finished espresso on top of
the warming plate with a cloth or saucer
covering the cups. This will help to keep the
espresso hot.
ATTENTION:
. The top closure of the "Perfect Froth"
attachment (see figure 26, part A)has a
very fine hole which draws air into the
milk.
Ifthis tiny hole gets clogged, "Perfect Froth"
will not work properly. Therefore, never
immerse the top closure in milk or froth.
Ifyou wish to prepare espresso immediately
after using the steam nozzle,the machine
must be cooled down to the proper brewing
temperature. (When frothing milk,the
temperature of the water is much ,hotter
than when you are brewing espresso.)
In order that you do not burn your next
batch of espresso, insert the clean filter
holder into the machine and turn the control
dial to " .Q' ". Allow 1/2cup of water to run
through the machine.
This process cools the machine sufficiently
to prepare additional cups of espresso.
Cleaning the
IIPerfect Frothll Attachment
It is strongly advised that you wipe off the
milk residue which may have collected on
the "Perfect Froth" and steaming nozzle
after the frothing process is completed.
. For a thorough cleaning of the "Perfect
Froth" attachment, remove the separate
parts A, B, &C (see figure 26).
Allparts should be rinsed in warm, soapy
water. Ifthe small section of part A is
clogged, it can be opened using a fine
sewing needle.
Use caution when removing the "Perfect
Froth" from the steaming nozzle as it may
still be hot.
Use a damp cloth to clean the steam nozzle.
Use caution when cleaning or removing the
steaming nozzle as It may still be hot.
Cleaning the Machine
.After preparing espresso five times, the
drip tray and grid may need to be emptied
and cleaned (see figures 18 and 191.
. The water reservoir, drip tray, baffle grid,
filter holder, and Perfect Froth attachment
should be washed and rinsed in warm,
soapy water on a regular basis.
. Before replacing the drip tray and grid,
make sure the baffle has been placed in
the drip tray properly (see figure 20).
. Ifthe steam nozzle be-comes clogged for
any reason, remove the screw that is
holding it in position (see figure 25).
Rinse it under the faucet with warm watel
it is still clogged, take a sewing needle an
insert it into the tip of the steam nozzle to
free any milk particles.
. The warming tray can be removed and
wiped with a damp cloth for easy
cleaning.
DO NOT PLACEANY LOOSE PIECESIN TI
DISHWASHER.
IMPORTANT
Clean the steam nozzle each time you hay
immersed it in milk, otherwise the inside t
the nozzle becomes clogged with milk
particles. Allow the steam to escape into E I
wet cloth for one or two seconds after
frothing milk. This will flush out any milk
residue.
&. CAUTION:
DO NOT TRY TO DISASSEMBLE THE MAli
BODY OF THE MACHINE.
. .. .
Cleaning the ProCrema
Filter Holder' .
.You should rinse the filter holder under
running water after each use. Should th,
filter holder require a more thorough
cleaning loosen the screw located in the
filter holder (see figure 21).
. Slowly remove each part and gently
rinse by hand. Replace parts as shown iI
figure 22.
We do not recommend washing the filter
holder in the dishwasher.
,
 Loading...