

Page 1
y
E
E
a
a
s
s
y
Stt
S
arrtt
a
Making Connections, Choosing “Direct” or “Send Mode 2
Using the Effects
Adjusting the Effect Depth
Using the Hold function
Using the FX Release
Using the Tap/BPM Sync Functions
Storing Your Favorite Effect Programs
Resetting the mini-KP to Factor y Defaults
Effect Programs to Try
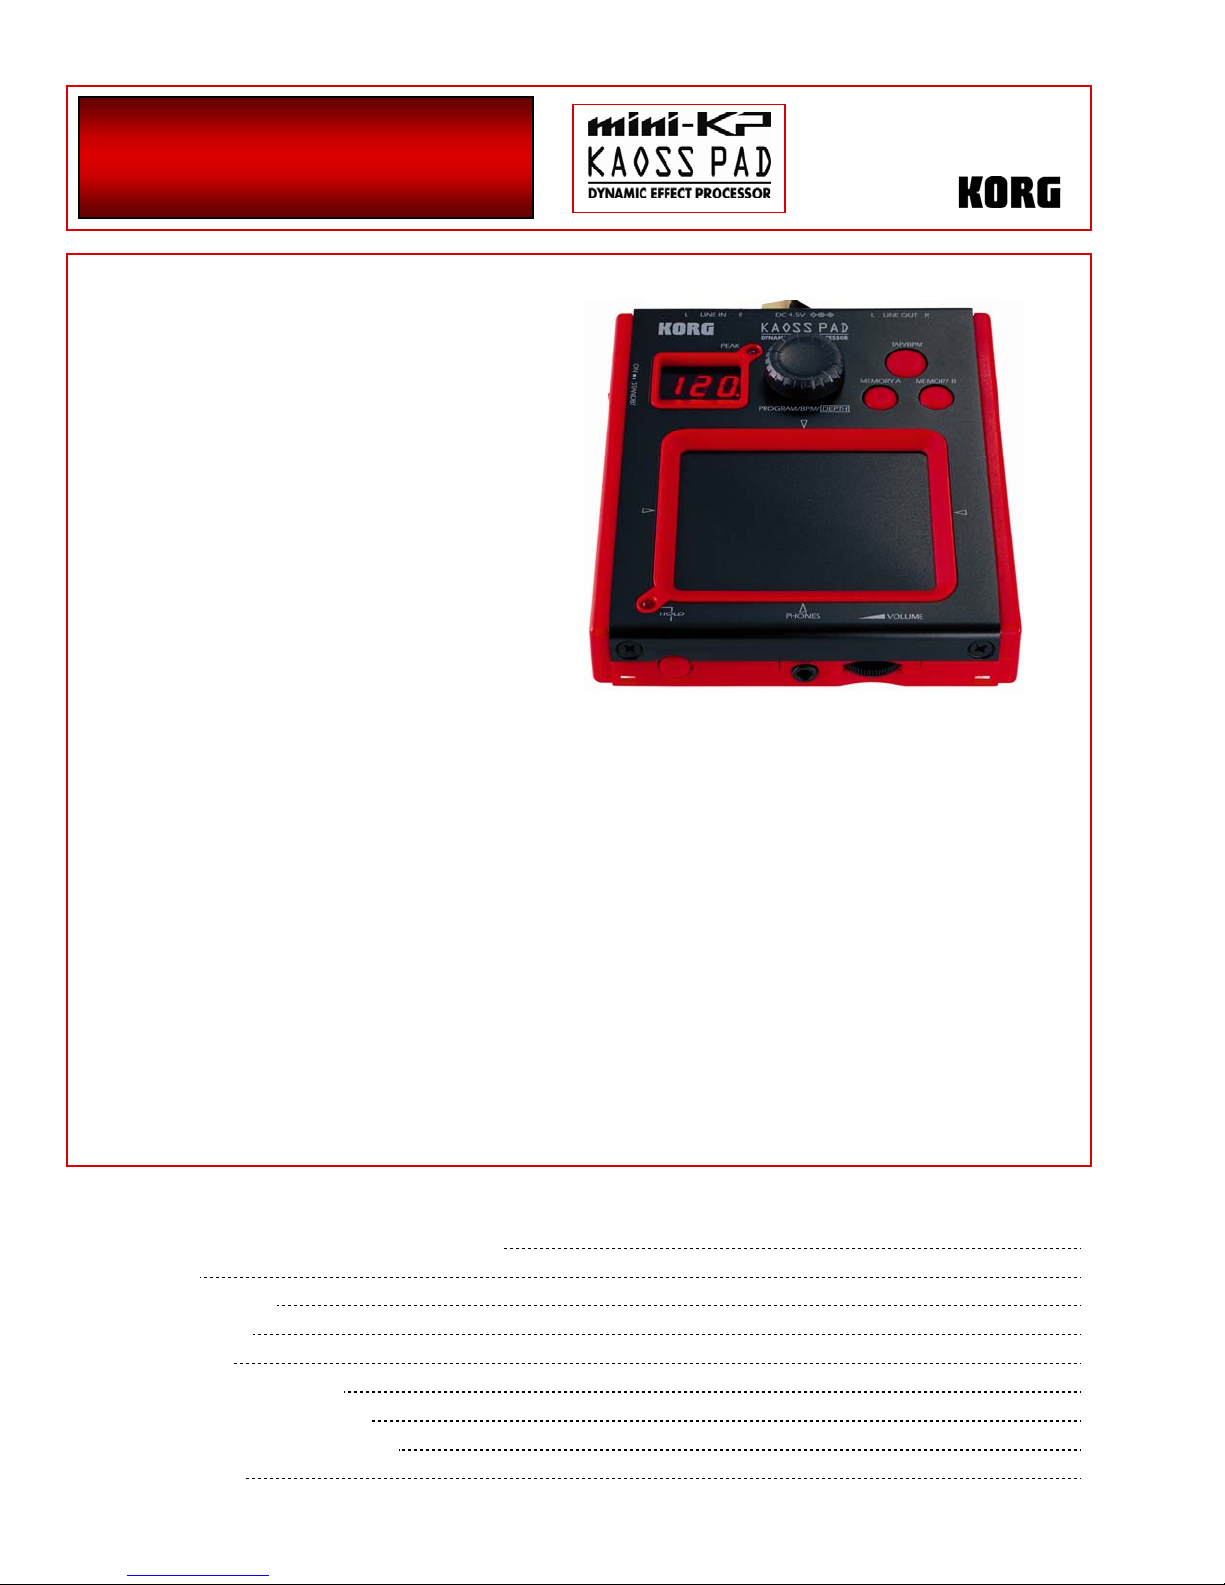
MMiinnii--KKPP MMaaiinn FFeeaattuurreess
• 100 dynamic effects with adjustable depth, including:
Multiple types of smooth, great-sounding resonant filters
oo
Decimators and grain-shifters to totally mangle your sound
oo
Looping effects that repeat and manipulate audio phrases
oo
BPM-synced effects like delays and LFO-based filter sweeps
oo
Synthesizer programs with X/Y control of pitch and filter
oo
Combination effects such as delay + reverb
oo
• Two memory buttons to store your favorite presets
• Tap button for syncing BPM-based effects to the incoming audio
• FX Release function adds a BPM-synced delay ”tail” to sounds so they gradually fade away
when you release your finger from the pad
• “Direct” or “Send” modes allow you to connect the mini-KP anywhere in your setup
• Hold function allows you to remove your finger from the pad, while maintaining the effect
• Battery operation for total portability (optional AC adapter available)
EEaassyySSttaarrtt CCoonntteenntts
s
2
2
3
3
3
3
4
4
Page 2

Mini-KP EasyStart
MMaakkiinngg CCoonnnneeccttiioonnss;; CChhoooossiinngg ““DDiirreecctt”” oorr ““SSeenndd”” MMooddee
The mini-KP has two connection modes: “Direct” and “Send.” In “Direct” mode, the output wil l m ix the original signal with
the affected signal. In “Send” mode, only the affected signal will be send to the outputs.
1. The mini-KP can run on either 4-AA batteries, or you can power it with our optional 4.5v AC adapter. (It won’t run on
happy thoughts, so choose one of the above and give it some juice ☺)
a. The display will show “Lo” when the batteries are, well, Lo.
2. If you are using a mixer (doesn’t matter what type - DJ or recording), use the EFFECT SEND/RETURN jacks to connect
the mini-KP: Connect the mixer’s EFFECT SEND to the mini-KP’s LINE IN jacks, and then connect the mini-KP’s LINE
OUT jacks to the mixer’s EFFECT RETURN (use stereo send/return connections whenever possible).
3. If you are using an instrument plugged directly into the mini-KP via the LINE IN jacks, simply connect the mini-KP
LINE OUT jacks to your amplifier, recording interface or whatever is next in the audio chain.
a. You can also connect headphones to the front PHONE jack of the mini-KP, and control the VOLUME from
there.
4. When you turn the mini-KP on, it will briefly show either “dIr” or Snd” on the LED display, indicating what mode it’s
in. To change this, hold down the MEMORY A button and then push MEMORY B. It will again show what mode it’s in,
and now you can change it by turning the dial. After a few seconds, the mini-KP will return to normal play mode.
When you turn the mini-KP off, it will remember which mode it’s in, and you won’t need to set it the next
!
!
!
time you want to use it.
UUssiinngg tthhee EEffffeeccttss
OK. This one’s pretty self-explanatory. It’s like so many other things in lif e… use finger, create chaos…
1. To control the effects, move your finger along the X/Y pad! The X axis (horizontal) will modify one parameter, and the
Y axis (vertical) will modify another.
2. Turn the PROGRAM/DIAL/DEPTH dial to scroll through the effect programs, from 00 to 99.
3. Notice, with no small degree of satisfaction, that this little beast sounds just as fearsome as its big brothers!
AAddjjuussttiinngg tthhee EEffffeecctt DDeepptthh
Is your flanger too feisty? Your decimator too devastating? By default, all the mini-KP’s effects are all cranked up to 99… but
you can give it some sedatives if you need to.
When you turn the mini-KP on, it will briefly display the depth of the current effect (“d99” by default)…
1. Hold down MEMORY A and then press the TAP/BPM button. You’ll see “d99” (or whatever it’s currently set to).
2. Turn the PROGRAM/BPM/DEPTH dial to change the setting.
3. Push the TAP/BPM button to return to normal play mode. (If you wait about fifteen seconds, it will return to normal
play mode automatically)
: When you save a program to the MEMORY A/B buttons, the current depth setting will be saved along as
NNoottee:
well.
: The effect depth setting will stay the way you set it until you either turn the mini-KP off, or use the
NNoottee:
MEMORY A/B buttons to recall a program with a different effect depth setting.
2
Page 3

Mini-KP EasyStart
UUssiinngg tthhee HHoolldd FFuunnccttiioonn
The Hold function allows you to take your finger off the pad, and still have the effect going as if your finger was still there. It’s
like… a ghost finger. From space.
1. Press the HOLD button to turn the Hold function on. I know, that’s confusing, but bear with us. The little red light on
the bottom-left tells you its work ing.
2. The mini-KP will remember the last position of your finger. You can touch different spots on the pad, and it will “reHold” the new spot.
3. You can create some very cool effects by quickly tapping the pad in different spots… Try different music and programs
to find good combinations!
: When you save a program to the MEMORY A/B buttons, the Hold status (whether it’s on or off) and the
NNoottee:
Hold position on the X/Y pad are also saved!
UUssiinngg tthhee FFXX RReelleeaassee
The mini-KP’s FX Release gives you a BPM-synced delay “tail” that gradually removes the effect when you lift your finger off the
X/Y pad. The idea is, instead of immediately cutting out of the effect and going back to the original sound, you’ll get a smooth
transition back to the unaffected version. About 75% of the mini-KP’s programs have FX release turned on by default.
1. When you turn the mini-KP on, it will briefly display either “r.On” or “r.OF” to show you whether the first program
has FX Release turned on or off. If you haven’t modified program 00 (by saving it to a MEMORY button with a new
setting), it will display “r.On.”
2. To change this, hold down MEMORY B and then press the TAP/BPM button. Again, the LED display will show either
“r.On” or “r.OF.”
3. Turn the PROGRAM/BPM/DEPTH dial to change the setting.
: When you save a program to the MEMORY A/B buttons, the FX Release setting is also saved!
NNoottee:
UUssiinngg tthhee TTaapp//BBPPMM--SSyynncc FFuunnccttiioonn
You can set the mini-KP to the same temp o as your incoming music, so delay and tempo-based effec ts will match the rhythm.
A complete listing of effects can be found in the mini-KP Owner’s Manual, with BPM effects noted.
1. While using a program, press the TAP/BPM button. It’s the biggest one of the three. It’s also plainly labeled. It
couldn’t possibly be any easier to find. If you can’t find it, you’ve got bigger problems to worry about.
2. On the LED screen, you’ll see the tempo. Tap the TAP/BPM button along with the beat of the incoming audio and it
will detect the BPM automatically!
3. Turn the PROGRAM/BPM/DEPTH dial to fine-tune the BPM.
SSttoorriinngg YYoouurr FFaavvoorriittee EEffffeecctt PPrrooggrraammss
You can store your two favorite effect programs on the MEMORY A/B buttons on the front panel, so you can get to them
quickly.
1. To save a program you like, press either MEMORY A or MEMORY B, and then hold down the HOLD button.
2. To recall the effect, just press MEMORY A or MEMORY B again.
3. Uh, that’s it. This step is only here for consistency.
3
Page 4

Mini-KP EasyStart
: In case you somehow missed it: when you save a program on the MEMORY A/B buttons, the effect depth,
NNoottee:
Hold, and FX Release are ALL ALSO SAVED.
RReesseettttiinngg tthhee mmiinnii--KKPP ttoo FFaaccttoorryy DDeeffaauullttss
To reset the mini-KP to its factory settings, hold down the MEMORY A and TAP/BPM buttons while you turn it on. You’ll see
“Pld” on the LCD display. Release the buttons, and the mini-KP will be restored.
EEffffeecctt PPrrooggrraammss ttoo TTrryy
Program # Effect Type Description
Program 01 Highpass Filter
Program 16 Jet (Manual
Flanger)
Program 10 Morphing Filter
The perfect squelchy DJ filter!
Not your average filter… This is manual control over an oftenautomatic flanger.
Not only can you control cutoff and resonance with the Y axis…
the X axis lets you blend between low-pass, band-pass, and highpass filters!
Program 18 Talking Filter
Just like Korg’s famous Talking Modulator effect, control 2 formants
at once!
Program 27 Decimator & HPF
The X axis will adjust the decimation frequency and bit depth, and
the Y axis controls a high-pass filter.
Program 48 Mid Slicer
The bass and treble (kick and hi-hats) will be unaffected, but you
can slice up the midrange sounds! Try position 5.8…
Program 73 Mid Shifter
This “one-finger remix” Grain Shifting effect will only affect the
midrange sounds. Keep low and to the right for a clearer remix,
then move to the upper left to mangle it!
Program 78 Vinyl Looper
Keep all the way to the right, and move up and down to simulate
slowing down and reversing a turntable.
Program 90 Unison Saw Bass A synth you can actually play on the X/Y pad. The X axis controls
they pitch, and the Y axis controls cutoff and resonance of a highpass filter.
For more information, read the mini-KP Owner’s Manual, and visit www.korg.com\miniKP
for demos and more support, tips and tricks!
4
 Loading...