

Page 1
y
t
Eas
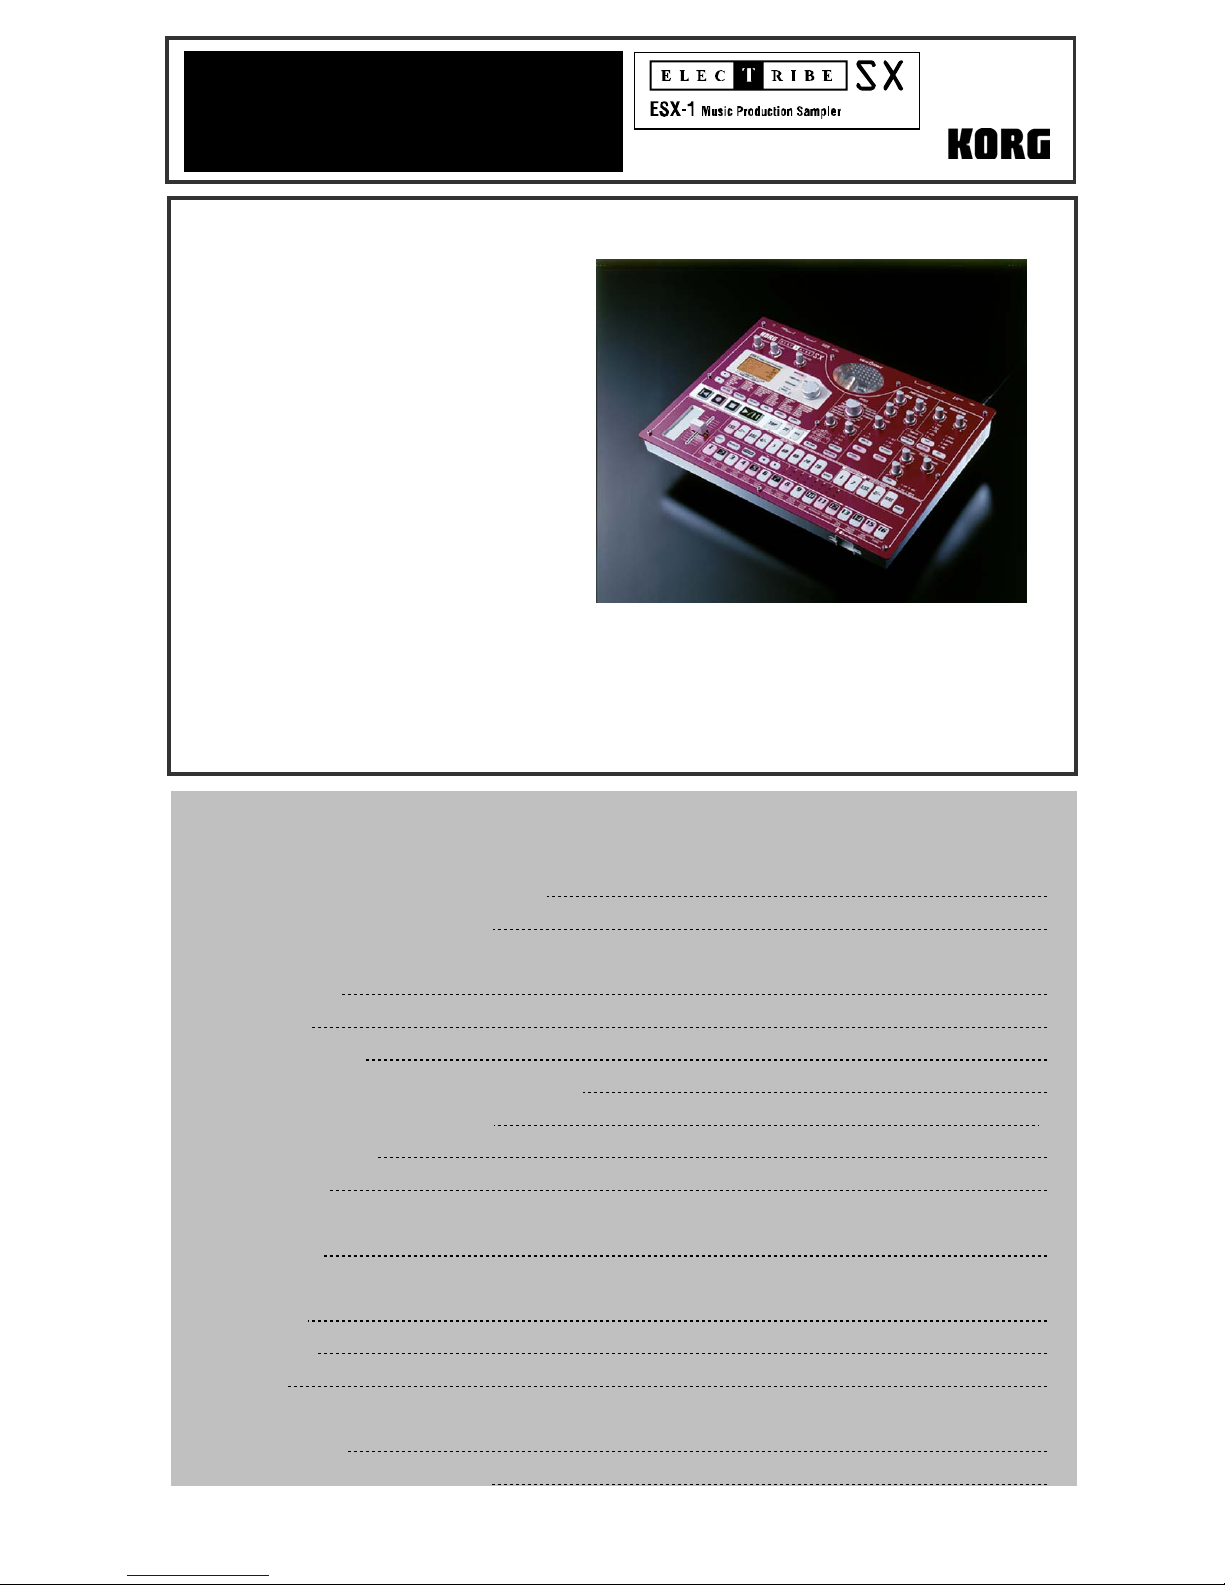
ESX1 Main Features
• ValveForce Technology adds tube
warmth using two 12AX7 tubes with a
separate gain knob.
• 44.1 kHz 16bit Stereo Sampling with
24MB of sample memory, extensive
sample editing features and loading of
.wav and .aif formats.
• Performance Arpeggiator with Ribbon and
Slider and 32 selectable scale types for
instant fun and inspiration.
• 2 Stretch Parts, which offer realtime
Tempo/Pitch correction, an improved Time
Slice, part for slicing loops and the ability
to assign time slice elements to other
parts.
• Modulation with 5 MIDI syncable LFO
shapes to create more complex and
expressive sounds.
• New Multi-Mode Resonant Filter with four types: Low Pass, High Pass, Band Pass and Band Pass +.
• Three Stereo Effects processors with 16 different effects to select from and selectable effects routings.
• Expanded Motion Sequence function with up to 24 parts of Motion Sequence per pattern.
• Up to 8 bars per pattern allow for a more complete sounding pattern and up to 64 songs, 4 outputs, a large easy to read LCD
screen and much more.
Star
EasyStart CONTENTS
Getting Started
Basic Overview of Panel Layout / About the Factory Data 2
Selecting and Playing Demo Songs and Patterns 2
Pattern Mode
Muting and Soloing Parts 2
Changing the Tempo 3
Selecting a Sample on a Part 3
Working with the Part Common, Modulation and Filter sections 3
Working with the Arpeggiator, Motion Sequences 3
Working with the Effect section 4
Creating a New Pattern 4
Song Mode
Working in Song Mode 4
Sample Mode
Recording a Sample 5
Resampling a Pattern 5
Editing a Sample 6
Global Mode
Working with Global Mode 6
Loading or Saving Data with a SmartMedia Card 6
Page 2

ESX1 EasyStart
Getting Started – Basic Overview of Knobs, Switches and Panel Layout / Preload
The ESX-1 is very simple to use, once you understand the basic layout. To access the different modes of the ESX-1
(PATTERN, SONG, GLOBAL, etc.) you press any of the mode keys right above the transport section ( /).
To access any pages within that mode, use the (up/down) keys to the left of the mode keys, and then use the value dial
to change values in the LCD screen. To play or hear a part, press the corresponding part key (i.e. DRUM PART, KEYBOARD
PART, STRETCH PART). DRUM, STRETCH and SLICE parts will play once you press the key, KEYBOARD parts will only
play by pressing any of the 16 step keys, which also double as keys on a keyboard. To change the octave range of the step
keys/keyboard press the keys just above the step keys. Once a part is selected (key is lit) you can adjust the settings in
the PART COMMON, MODULATION and FILTER sections by turning any knobs in that section. Some keys in each section
work in a cyclical nature, others work in a simple toggle on/off mode.
Additional pages and functions in each mode are available by pressing and holding the SHIFT key and then pressing one of
the desired 16 STEP keys to access the function (i.e. CLEAR PATTERN, SHIFT NOTE).
About the ESX-1 Factory Data/Factory Preload
PLEASE NOTE THAT THE FACTORY SAMPLE DATA IS NOT STORED IN BACKUP MEMORY on the ESX-1. Therefore,
before deleting any samples, patterns or song data from the unit (or initializing it), make sure to backup the factory data to a
SmartMedia card! A 32MB card is required, as the factory data including samples requires 18MB.
Also note that the original factory data is posted on korg.com for download.
Selecting and Playing Demo Songs
1. Connect the AC power supply to the ESX-1 and connect the L/MONO and R outputs to a powered monitor system or
connect headphones to the Headphones jack of the ESX-1. Make sure that the MASTER VOLUME and TUBE GAIN
knobs are turned all the way to the left.
2. Press the SONG key and then press the / (play/pause) key to begin playback and adjust the level of the MASTER
VOLUME knob so that it is at a comfortable volume. To stop playback, press the STOP () key.
3. To select a different song, turn the Value dial to the right of the screen.
Selecting and Playing Patterns
1. Press the PATTERN key and then press the PLAY/PAUSE (/) key to begin playback.
2. Use the Value dial to select different patterns. To stop playback, press the STOP () key.
Pattern Mode - Muting and Soloing Parts
1. To mute a part, press and hold the PART MUTE key and then press the part key that you would like to mute.
2. To solo a part, press and hold the SOLO key and then press the part key that you would like to solo. To undo a soloed or
muted part key, either repeat the same process or just tap the SOLO key.
3. You can also quickly mute all parts or solo all parts of a specific type (i.e. all DRUM PARTs) by pressing and holding the
SHIFT key (just above the 16 step keys) and then repeating step 1 or 2.
2
Page 3

ESX-1 Easy Start
Changing Tempo
1. To change the tempo of a pattern, press the key once so that the LCD screen shows Tempo and its value, and then
use the Value Dial to change the tempo value.
Selecting a Sample on a Part
1. Press the PART EDIT key to enter the PART EDIT mode.
2. Press the PART key that you would like to select a sample on.
3. Use the Value dial to change the number of the sample that is displayed in the LCD screen.
4. Sample names that are followed by a musical note or left/right arrows are sliced; you can select which slice is assigned to
the part by using the key to select the SLICE NO. page and then use the value dial to select the slice.
Working with the PART COMMON, MODULATION and FILTER sections
1. Press the PART key that you would like to adjust settings in any of these sections.
2. Turn any knob in those sections to adjust parameters, the LED screen will indicate which parameter you are adjusting and
its value.
3. To select any parameters that are assigned to keys, press the corresponding key for that parameter (i.e. AMP EG, lfo
TYPE, DEST. FX SELECT, filter TYPE).
Working with the ARPEGGIATOR
1. Select a part that you would like to arpeggiate by pressing its PART key.
2. Press the RIBBON to play a part and change its note duration (length of the note) or note division (note type i.e. half, 4th,
8th 16th), depending on the PART that is selected. (DRUM, STRETCH and SLICE parts will have note division assigned to
the RIBBON, Keyboard parts will have note duration assigned).
3. If the part selected is a KEYBOARD part, then you can move the SLIDER up and down to select different notes.
4. To assign a scale type to the SLIDER, select the ARPEGGIO SCALE page in the PATTERN mode using the PATTERN
and keys, and then turn the VALUE dial to select the desired scale type. Remember that the scale type will be based
on the root note(s) that you play on the 16 STEP KEYS/KEYBOARD.
Working with MOTION SEQUENCES
1. Press the PART key of the part that you would like to record MOTION SEQUENCE on.
2. Press the MOTION SEQUENCE key in the PART COMMON section so that the LED next to either SMOOTH or TRIG
HOLD is illuminated.
3. Press REC ( ) and then press PLAY () to start playback and enable recording of MOTION SEQUENCE.
4. Turn any knob(s) or press any keys and MOTION SEQUENCE will record them.
3
Page 4

ESX1 EasyStart
5. Once the pattern has returned to the point when you first started recording MOTION SEQUENCE, recording will stop. To
record more parts of MOTION SEQUENCE, repeat these steps.
6. The maximum number of MOTION SEQUENCE parts you can have is 24 per pattern.
Working with the EFFECT Section
1. Press the PART key that you would like to add effects to.
2. Press the FX SELECT key in the PART COMMON section to assign the part to FX1, FX2 or FX3.
3. Press the FX SEND key to turn on the effect for the part.
4. In the EFFECT section, press the EDIT SELECT key so that the LED is illuminated next to the FX you wish to edit.
5. To select an EFFECT TYPE for FX 1, make sure the LED is illuminated next to FX 1 and then use the EFFECT knob to
select the desired effect (i.e. REVERB, CHO/FLG).
6. To adjust parameters of the effect, use the FX EDIT 1 and FX EDIT 2 knobs. The LCD screen will indicate the parameter
and its value as you turn the knob.
7. You can also record any changes you make to the FX EDIT knobs as a MOTION SEQUENCE by pressing the MOTION
SEQUENCE key and repeating the steps for Working with MOTION SEQUENCES.
8. To change the FX routing or chain FX together, press the FX CHAIN key until the LED is illuminated next to the desired
type of FX CHAIN.
Creating a New Pattern
1. Select a blank pattern in the D bank, D64 for example.
2. Make sure that the Memory Protect is off by pressing the GLOBAL mode key and using the keys to select
PROTECT.
3. Return to PATTERN mode by pressing the PATTERN key.
4. To record a part in real-time, press the REC ( ) key, then press the PLAY (/) key.
5. Play the part by pressing its part key, except if it is a KEYBOARD part. For KEYBOARD parts, make sure that the
KEYBOARD key is illuminated (next to the PATTERN SET key), then play the 16 STEP keys as you would a keyboard
with STEP key number 4 being a C on a keyboard.
6. You can also record or insert parts in a step insert type manner by taking the ESX out of record mode (press the key so
it is not illuminated) and select the part by pressing its key. Now press any of the 16 STEP keys you want the part to
playback on. If the step key is illuminated, it will play the selected part. To turn a step on or off, just press its key.
7. If there are additional bars in a pattern you can see which STEP keys are played by using the keys and selecting the
bar. The top green LED 1-8 shows which bar is playing, the bottom red LED 1-8 shows the bar you are currently
viewing/editing.
8. Repeat this process for each part you would like to record, you do not have to stop the pattern playback to record a new
part. You can also use the ARPEGGIATOR when recording parts.
9. To save or write your pattern into memory, press the WRITE key until it flashes. Then select the destination pattern
number and press the WRITE key again. To name or rename your pattern, press and hold the SHIFT key the press the
WRITE key and use the keys and Value dial to change the characters on the screen.
4
Page 5

ESX-1 Easy Start
Working in Song Mode
1. To enter the SONG mode press the SONG mode key.
2. To create a new song select an empty song number or use the CLEAR SONG function by pressing and holding the SHIFT
key and then press STEP key 10.
3. Set the song TEMPO by using the keys to select TEMPO and use the VALUE dial to change its value.
4. Select the POSITION and the PATTERN by using the keys and the VALUE dial. The basic layout of song mode is
like a pattern chain function or cue list. Imagine writing down pattern numbers in the order you want them to play on a
piece of paper, this is how the song mode works.
5. You can also record knobs twists, MUTE and SOLO functions and key presses in the song mode by pressing the REC key
once you have arranged your patterns in order. The maximum number of overdubs for this is 24.
6. To save or write your song, press the WRITE key, select the destination Song number and then press the WRITE key
again. To rename the song, follow the same procedure as naming a pattern.
Sample Mode – Recording a Sample
1. Connect your audio source (i.e. CD, Microphone) to the ST. /MONO AUDIO IN input on the back panel of the ESX-1 and
set it to the proper input type.
2. Adjust the AUDIO IN LEVEL knob so that you do not hear or see any clipping or distortion in the audio.
3. Press the GLOBAL mode key and set the AUDIO IN MODE to either L/MONO or STEREO, depending on the type of
sample you want to record.
4. Press the SAMPLE mode key to enter SAMPLE mode.
5. Press and hold the SHIFT key and then press the REC ( ) key.
6. Use the VALUE dial to select either a MONO or Stereo sample.
7. Press the PLAY/PAUSE key (/) to begin sampling. To stop sampling, press the STOP () key.
8. To use AUTO SAMPLING (threshold sampling), use the keys to select “AutoSmpl” in the LCD screen and adjust the
level using the VALUE dial, then repeat step #7.
9. To listen to your sample, play any of the DRUM PART keys or press the PLAY/PAUSE (/) key.
10. To save/write your sample into memory, press the WRITE key, select the sample destination number and then press the
WRITE key again. To name or rename the sample, press and hold the SHIFT key and then press the WRITE key, then
use the keys and the VALUE dial to change the characters on the screen.
Resampling a Pattern
1. Press the PATTERN key to enter the PATTERN mode.
2. Press and hold the SHIFT key, then press the REC ( ) button.
3. Select either MONO or Stereo as the sample type, and then press the PLAY/PAUSE (/) key to begin sampling and
pattern playback.
4. Any knobs you twist or buttons you press will also be recorded as part of the sample.
5. To stop sampling and pattern playback, press the STOP () key.
5
Page 6

ESX1 EasyStart
6. To listen to your sample, press the SAMPLE mode key and play any of the DRUM PART keys or press the PLAY/PAUSE
(/) key.
7. To save/write your sample into memory, press the WRITE key, select the sample destination number and then press the
WRITE key again. To name or rename the sample, press and hold the SHIFT key and then press the WRITE key, then use
the keys and the VALUE dial to change the characters on the screen.
Editing a Sample
1. Press the SAMPLE mode key to enter SAMPLE mode.
2. Select the sample you wish to edit using the VALUE dial.
3. Use the keys and the VALUE dial to select and edit the SAMPLE START, END, LOOP START, SAMPLE TUNE and
STRETCH STEP parameters. To execute the NORMALIZE, TRUNCATE, TIME SLICE or DELETE SAMPLE functions,
press and hold the SHIFT key and then press the corresponding STEP key (11-14). You may have to press the STEP key
twice to execute the function.
4. To save/write your sample into memory, press the WRITE key, select the sample destination number and then press the
WRITE key again. If you do not write the sample into memory the edits you have made will not be saved.
5. To name or rename the sample, press and hold the SHIFT key and then press the WRITE key, then use the keys and
the VALUE dial to change the characters on the screen.
Global Mode
1. Press the GLOBAL mode key to enter the GLOBAL mode.
2. Use the keys and the VALUE dial to select pages and adjust parameters in the GLOBAL mode.
3. To save any GLOBAL mode settings, press the WRITE key twice.
4. To access the MIDI UTILITY or CARD functions, press and hold the SHIFT key and then press STEP key 15 or 16. Then
the VALUE dial to select different pages.
Loading or Saving Data with a SmartMedia Card
1. Press the GLOBAL mode key to enter GLOBAL mode, then press and hold the SHIFT key and press STEP key 16.
2. Use the VALUE dial to select either CardMenu Load, Save, Format or Delete.
3. To execute a Load, Save, Format or Delete, press the flashing STEP key 16.
6
 Loading...