

Page 1
y
t
Eas
Star
• Intuitive TouchView Interface
• No Audio Compression
• 24 channel, 8 buss digital mixer
• 16 track recorder, with a total of 128 virtual tracks
• Hi, Lo and adjustable mid frequency EQ for every channel
• Up to 11 simultaneous effects per song: 8 inserts, 2 masters and a final effect. Includes REMS mic, amp
and cabinet effects plus 98 effect chains and hundreds of programs
• Internal/External Mix Automation with 100 Scenes per song
• Extensive digital editing of songs and tracks
• Up to 99 levels of UNDO
• Built-in tuner, metronome and hundreds of PCM rhythm patterns
• Internal 40 GB IDE hard disk
• USB Connectivity for file transfer
• Internal CDRW 16X CD burner for mastering and backup
• New Disk At Once feature lets you arrange your songs and burn them to CD in a single pass
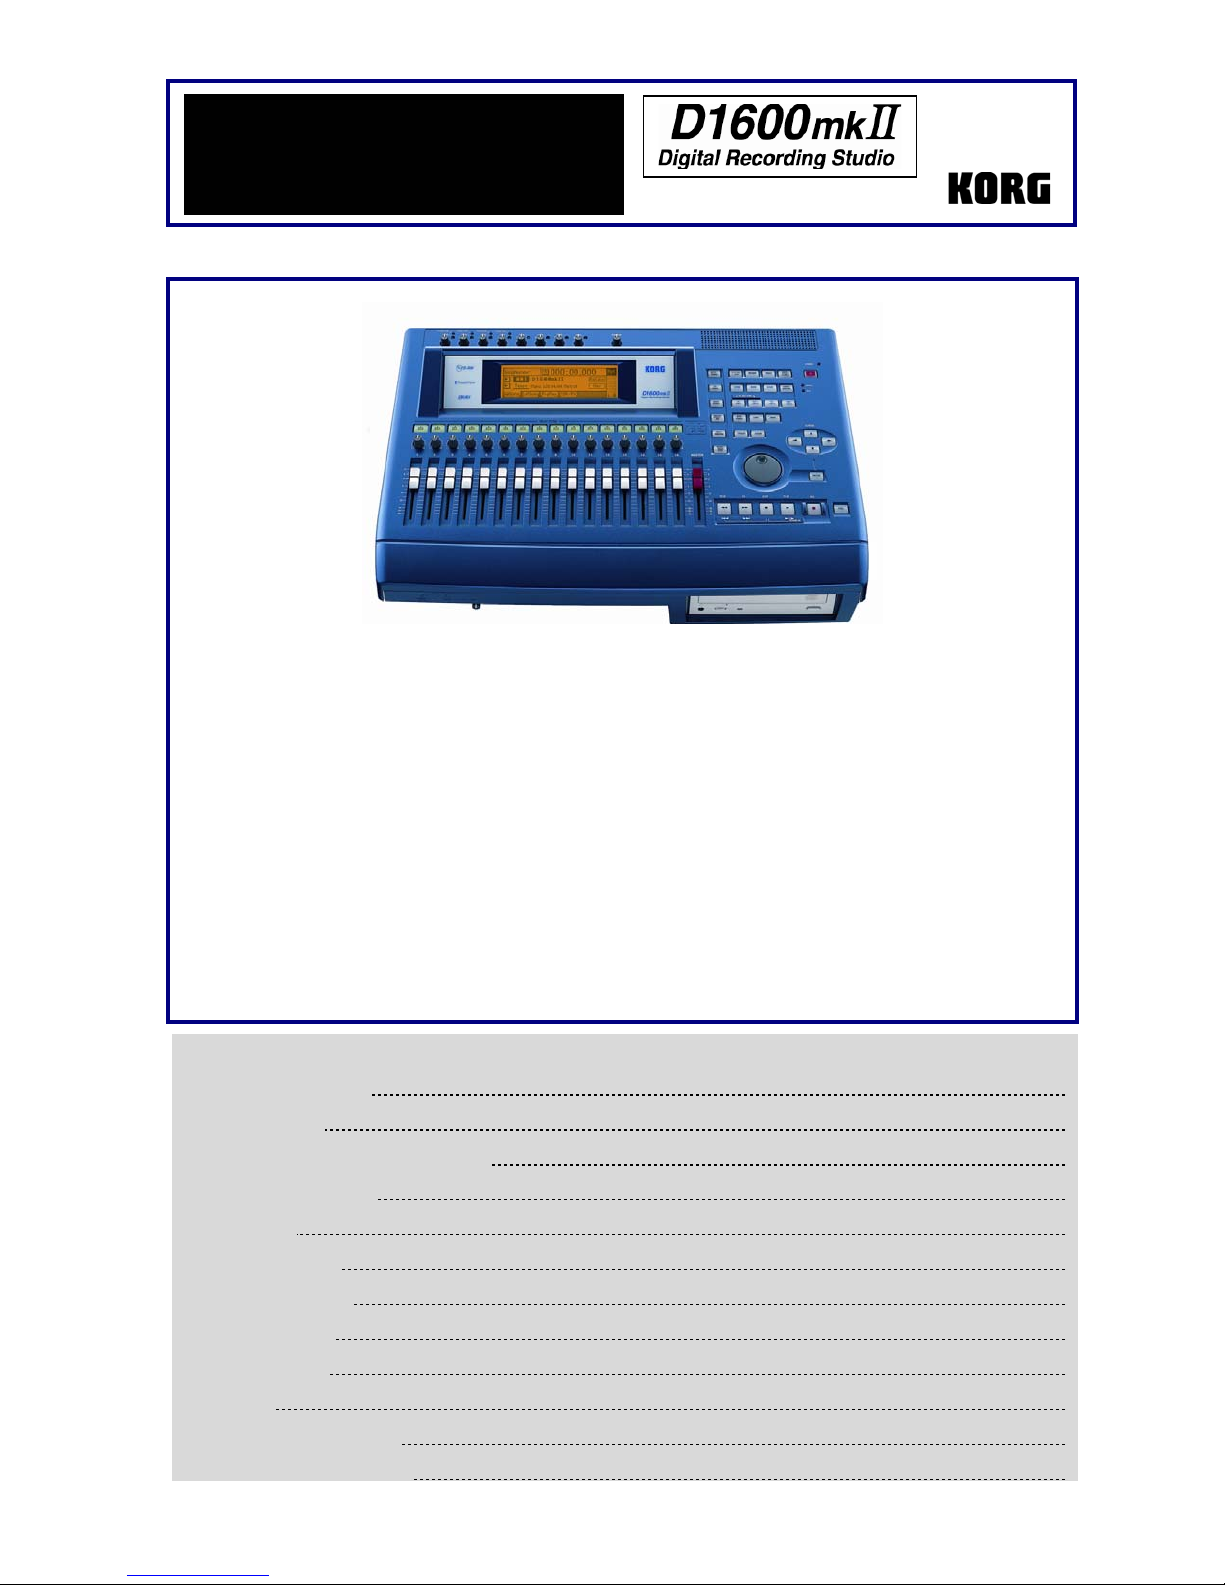
D1600mkII Main Features
A quick overview of modes 2
Creating a new song 3
Assigning inputs and recording audio tracks 3
Listening to recorded tracks 3
Working with EQ 4
Using the Insert effects 4
Using the Master effects 4
Applying a Final effect 5
Working with Scenes 5
Editing tracks 5
Writing/Burning to CDR/CDRW 5
Additional D1600mkII Resources 5
EasyStart CONTENTS
Page 2

D1600mkII EasyStart
A quick overview of modes
SONG/CDCD – This mode allows you to select songs, create a new song, rename a song, perform song editing functions (copy
song, move song, protect song, etc.), use the Program Play function, listen to audio CD’s and burn a CDR/RW of your final mix.
RECORD – Here you can select the Recording mode (“Input” or “Bounce”). The default setting to record tracks is “Input”.
INPUT/TUNER – This mode allows you to assign the 8 analog and S/PDIFdigital inputs of the D1600mkII to different tracks,
access the input EQ, use the Sub In function, and by pressing the “Tuner” tab you can also access the D1600mkII’s tuner function.
EQ/PHASE – In this mode you can change the EQ setting for each of the D1600mkII’s 16 tracks. Press the “Eq1-4” tab to access
the EQ settings for tracks 1-4, “Eq5-8” for tracks 5-8, etc. To change the settings, touch any EQ “knob” icon in the display and
rotate the DIAL. The upper-left of the display will indicate which parameter you are adjusting.
METER/TRACK VIEW – This mode enables you to see level meters for all of the tracks, effect sends, Monitor and Master outputs.
You can select two different types of meter view, Pre-Fader (before the fader) and Post-Fader (after the fader), and three types of
track views, which enable you to see which tracks contain recorded audio. To change the display mode, press the “” button at
the top left-hand side of the display.
INSERT EFFECT – In this mode you can set insert effect assignments on input or on track playback, and assign the effect type.
By pressing one of the Insert effect tabs (InsEff1, etc.) you can select an Insert effect. You can edit the parameters by pressing the
effect name button and then press any of the effect icons in the display.
MASTER EFFECT/AUX – In this mode you select an effect for both Master effect 1 and 2 from one of 32 available Master effects
and set the return levels and balance. You can also edit the effect parameters by pressing the effect name button. By pressing the
“EffSnd1” and “EffSnd2” tabs, you can set individual send levels for each of the 16 tracks. You can also access the external Aux
send (“AuxSend” tab) amount and Final effects (“FinalEff” tab) in this mode.
SOLO/MONITOR – In this mode you can isolate and listen to specific tracks, effect send 1 and 2 levels, aux level and return levels
for the Master effects. Press the number button of the track or tracks you wish to listen to. You can also route the isolated source
to the Monitor L/R outs or MASTER L/R and HEADPHONE outs. By pressing the “Monitor” tab and then pressing the “Level”
button, you can create a mix that is different from the mix routed to the Master outs, to be sent to the cue outputs.
[STORE, IN/LOC1, OUT/LOC2, TO/LOC3, END/LOC4] – These keys are used for all track editing, “AUTO PUNCH” recording
and “LOOP” recording functions. To assign any locate point (or IN/OUT/TO/END point), press the [STORE] key at the desired
point in time, and then the appropriate [LOC] key, while playback is on or off.
[SCRUB] – When playback is stopped and this key is pressed, you can view track waveform data (which you can select by
pressing the “” button next to “1Tr”), and use the “ZOOM” buttons (, etc.) to resize the waveform. Once you have selected
a track, turn the DIAL to scrub the audio. Pressing the [] FF key while in the scrub mode will play the audio back at half speed,
one octave lower than the original pitch.
TEMPO/RHYTHM – Here you can set song tempo, create a tempo map, record your own tempo track, set time signature and
select rhythm patterns from any of the 96 metronome and 215 PCM-based drum patterns.
TRACK - In this mode you can access the Virtual Tracks settings, perform track-editing functions (copy, reverse, normalize, etc.)
and also import and export audio data from the clipboard.
2
Page 3

D1600mkII EasyStart
Creating a new song
1. After installing the internal hard drive (following the included instructions), connect the AC power cable and press the
[MAIN] power key on the rear panel Ä press the [POWER] key (red) on the top panel
2. Press the [SONG/CD] key, and then press the “SelSong” tab in the display.
3. Press the “New” button in the display Ä select the “Song Type” as “16Bit/16Track” and the “Mixer Set” as “New” Ä
press “OK”. The display will indicate “NEW SONG” in the next available empty song location.
! You can rename your song by pressing the “Rename” button in the display.
The Transport Keys:
[ ] = RECORD [] = PLAY [] = STOP [] = REWIND [] = FAST FORWARD
Assigning inputs and recording audio tracks
4. Press the [INPUT/TUNER] key.
5. Connect your audio source(s) (mic, keyboard, guitar, etc.) to one (or more) of the eight analog inputs on the rear of the
D1600mkII. If you are connecting a guitar to the D1600mkII directly, use the GUITAR IN jack on the front panel.
6. In the display, select which track each input will be recorded onto by pressing the icon that looks like a ¼” phone jack and
using the DIAL to set the input (Note: if using the GUITAR IN jack, you will need to dial-in “8” as the input source for the
desired record track, or simply use track 8, default assigned to input 8, as the record track for guitar).
7. Press the green [TRACK SELECT] keys for each of the tracks that you assigned in the previous step, so that they
change to orange.
8. Press the [METER/ TRACK VIEW] key, then press the “” popup button in the upper left of the display Ä Select
“PreFdr” from the list and press “OK” ÄNow you can play your audio sources and adjust the levels so that they do not
clip (“CLP” line in display).
9. To enable recording on those tracks, press the orange keys one more time to change them to red, and press [ ] to put
the D1600mkII in record standby mode.
10. To start recording, press []. To stop recording, press [].
Listening to the recorded tracks
11. To return to the beginning of the song, press and hold [] and then press [] once.
12. Press to set each of the track status keys to green for each track you want to listen to, by pressing them twice.
13. Press [] and set your levels with the track faders and master fader.
Working with EQ on playback
1. Press the [EQ/PHASE] key.
2. Using the four way CURSOR keys [] and the DIAL, select the “knob” in the display for the EQ parameter that
you would like to adjust for a specific track. The upper left hand side of the display will show the parameter and track you
will be working with. (To change EQ settings for tracks 5-8, 9-12 and 13-16 press the tabs on the bottom of the display)
3
Page 4

D1600mkII EasyStart
Using the Insert Effects
1. Press the [INSERT EFFECT] key, and then press the “” popup button in the display to the right of “Assign”.
2. To assign an insert effect to a recorded track, select “PlayTrack” by pressing the “radio button” to the left of “PlayTrack”,
and then press “OK”. (Note: To assign an insert effect to an audio source before
pressing the radio button to the left of “Input” and then press “OK”)
3. To select the type of insert effect(s) you will be using, press the “” popup button to the left of “1 in 1 outx4”, and then
press “OK”. (For more information on insert effect types refer to the Owners Manual pg. 105).
4. To select the track where the insert effect is going to be applied, press the “” popup button in the display below
“InsertTo:”. Using the CURSOR keys and the DIAL, select the assign channel and destination, and then press “OK”.
5. To select an insert effect, press the “insert effect” tab for the effect that you want to change (ex. “InsEff1” for Insert Effect
1) and use the DIAL to select and effect.
6. To edit a selected effect’s parameters, press the “effect name” button in the display (ex. MM2:P4EQ-Wah ) and then
press the “icon” in the display to access the edit parameters.
recording it to a track, select “Input” by
Using the Master effects
1. Press the [MASTER EFFECT / AUX] key , and rotate the DIAL to select an effect for Master Effect 1 (“MstEff1”).
2. Press the “MstEff2” tab and use the DIAL to select an effect for Master Effect 2.
3. To edit the parameter for either effect, press the “effect name button” in the display (ex. RV1:ReverbHall ) and then
press the “icon” in the display to access edit parameters.
4. To apply master effects to a track, press the “EffSnd1” tab (for Master Effect 1) or “EffSnd2” tab (for Master Effect 2) in
the display Ä Use the CURSOR keys and DIAL to increase the send level for each track you want to add master effects
to.
Applying a Final Effect
1. Press the [MASTER EFFECT/AUX] key Ä Press the “FinalEff” tab.
2. Rotate the DIAL to select a Final Effect. To edit any parameters of the Final Effect, press the “effect name button” in the
display (ex. DY1:St.Comp ) and then press the “icon” in the display to access the edit parameters.
Working with Scenes
1. Press the [SCENE] key to enter Scene mode. If you have not stored any Scene memory locations yet, press the
[STORE] key and then press the [SCENE] key. This will store a “snapshot” of your mixer settings for this song at the
COUNTER location indicated on the SONG/ CD page.
2. After pressing the [SCENE] key, to enable Scene Memory, press SceneRead:Off in the display so that it reads
SceneRead:On.
3. To store additional scenes, start song playback and change mixer settings, then press the [STORE] key, followed by
pressing the [SCENE] key again. Each time you do this, a new scene will be created and stored in the Scene Memory.
4. You can also get a visual picture of what each Scene looks like, and edit its parameters, by pressing the “MixView” tab
in the display and using the TRACK Faders and PAN knobs to adjust values. The changes yo9u make will be indicated
in the display.
! You can reset a Scene’s Fader and Pan settings by moving each fader and pan knob until the display indicates two
“arrows” versus a single directional arrow.
4
Page 5

D1600mkII EasyStart
Selecting Virtual Tracks and Editing tracks
1. Press the [TRACK] key.
2. Using the CURSOR keys and the DIAL, select which virtual track you will be listening to or recording to. To adjust
Virtual Track settings for tracks 9-16, press the “Vtr9-16” tab in the display. For more info on Virtual tracks refer to the
Owner’s Manual pgs. 27, 81.
3. To use the “EditTrk” function, you must first select a range of the song to be edited by storing an IN, OUT and TO
location (some editing functions also require an END location). To do this, move to the desired song location, and then
press the [STORE] key followed by the LOCATE key for each location. Once you’ve set locate points, you can edit the
specific region in the track(s).
4. To see the list of edit functions, press the “” button next to “CopyTrack” in the display. To select a function, press the
”radio button” to the left of the function you wish to perform and then press “OK”.
5. To execute the function, press Exec. in the display. For more information on editing tracks, refer to the Owner’s Manual
pgs. 81-87.
Writing/Burning to CDR/CDRW
1. Once you have finished a song and performed a mixdown to two tracks (refer to Owner’s Manual pgs. 29-31:Combining
multiple tracks into two: Bounce), press the [SONG / CD ] key and then press the “CDR/RW” tab.
2. Insert a blank CDR or CDRW disc into the CDR/RW drive and press WriteToCD in the display.
3. Select “16x” as the write speed, and press “YES” next to “AreYouSure?”
Additional D1600mkII Resources
You can download a more in-depth “D1600 Guided Tour” and additional “tips and tricks” from www.korg.com. There are also many
important references to modes and applications in the D1600mkII Owner’s Manual. Some of these references are listed below:
Installing hard disks and CD-R/RW drives 134
CD Mastering 49 / 91
D1600mkII MIDI sync procedures
Recording MIDI clock from an external sequencer
Using MIDI to control Scenes
MIDI Machine Control (MMC)
Working with WAV files and the Import/Export function 86
Initializing/formatting internal or external hard drive
Backing up and restoring data
Connecting external drives
Updating system software
Troubleshooting
73 / 76
63 / 96
41 / 74
77
67 / 79
66 / 77
67
139
127
5
 Loading...