

Page 1
y
t
M
Eas
Star
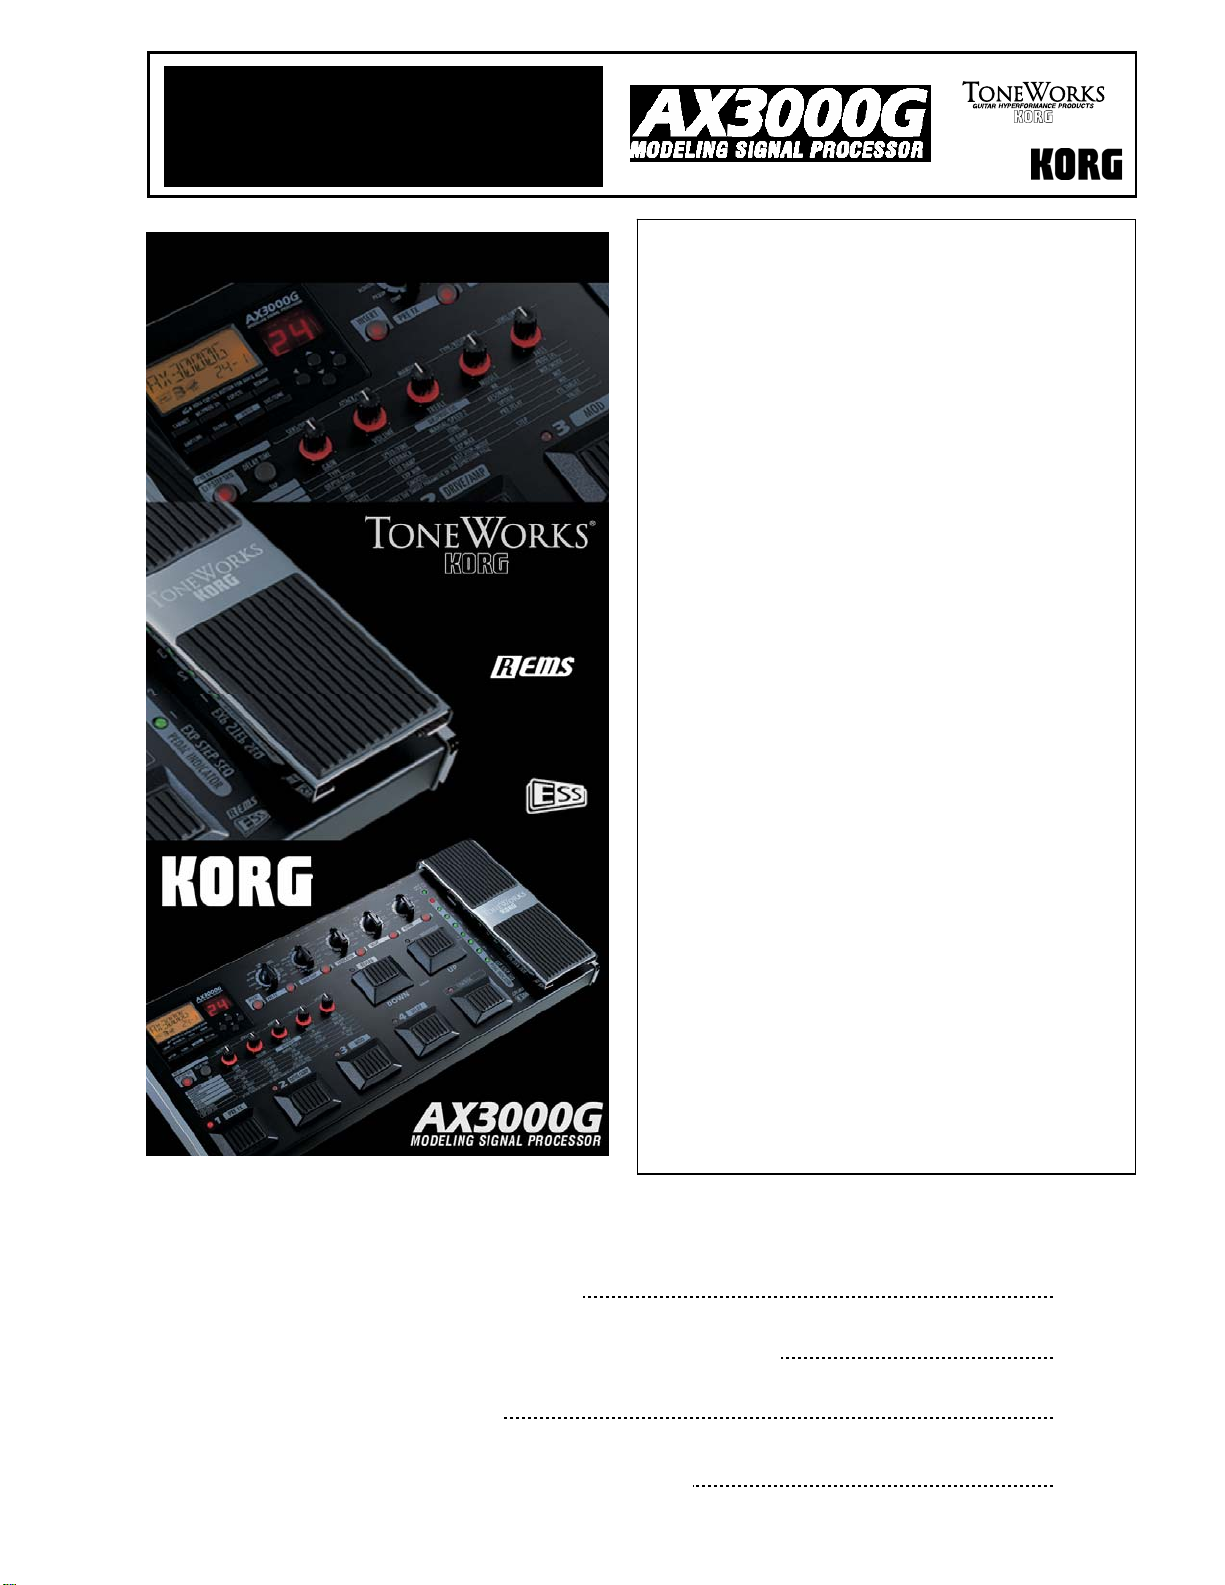
Korg’s REMS modeling technology delivers 72
realistic classic and modern amp, cabinet and effects
models
16 types of drive & amp models cover everything
from vintage overdrive to high-gain metal
11 types of pre-effect, cabinet, modulation, delay and
reverb modeled effects deliver a broad sound palette
Transform your guitar with pickup, acoustic body and
top, plus synth modeling effects
32 preset programs are provided, and the internal
memory can hold 96 of your own original programs
Up to seven effects can be used simultaneously
Knob-based interface for quick, intuitive editing
Assignable control switch and expression pedal with
8 point LED pedal indicator for real-time parameter
control
New ESS (Expression Step Sequencer) automatically
controls most effect parameters in a fixed or random
step function that can create radical sound changes!
Insert send/return jacks let you connect your
favorite external effect units
MIDI IN/OUT allows you to edit and store original
sounds on your computer using the dedicated
editor/librarian software (Windows and Macintosh
are supported)
Amp/line selector is included for maximum output
versatility. Choose from 3 different amp types!
Heavy-duty metal chassis stands up to the rigors of
travel and stage performance
Auto Chromatic tuner with highly visible 8 point LED
allows bypassed or muted (silent) tuning
Backlit LCD ensures easy visibility
Maaiinn FFeeaattuurreess
EasyStart CONTENTS
Connections; Tuning; Selecting Programs 2
Saving Programs; Individual Mode; Expression Quick Assign; 3
ESS (Expression Step Sequencer) 4
The Control Switch; Restoring the Factory Programs 5
Page 2

AX3000G EasyStart
CCaabbllee aanndd GGuuiittaarr CCoonnnneeccttiioonnss
1. Use audio cables to connect the L/MONO and R OUTPUT jacks to a mixer/recorder. For headphones, plug into the
PHONES jack. When connecting to a mono device i.e. guitar amp, use the L/MONO output only.
2. After making audio output and AC connections, connect your guitar to the INPUT jack on the rear panel.
3. Raise the MASTER level to adjust the volume as you play.
OOuuttppuutt CCoonnnneeccttiioonn sseettttiinnggss
The AX3000G offers a variety of different output connection settings. To ensure that you take full advantage of the AX3000G’s
amazing tone, make the proper AMP/LINE setting. Note: The AMP/LINE settings include three different amp settings and
one line setting.
1. For connection to headphones or powered monitors, press the AMP/LINE button, then use the ▲/▼ buttons
or rotate VALUE KNOB 1 to select LINE.
2. For connection to a guitar amplifier, press the AMP/LINE button, then use the ▲/▼ buttons or rotate VALUE
KNOB 1 to choose from three different types of guitar amps selections:
AP1: Cho ose this setting if you’re connected to a clean-sounding amp such as an open-backed US-manufactured
combo amp.
AP2: Cho ose this setting if you’re connected to an amp with a distinctive sounding Mid-range such as a UK-
manufactured open-back combo Amp.
AP3: Cho o se this setting if you’re connected to a stack with a closed-back 4 x12 cabinet(s).
TTuunniinngg
When you power-on the AX3000G and make the connection settings above, you’ll be in “Program Select” mode. You can then
choose to tune your guitar in one of two ways:
To tune audibly:
To activate Mute and tune silently:
SSeelleeccttiinngg aanndd lliisstteenniinngg ttoo tthhee AAXX33000000GG’’ss PPrreesseett PPrro
1. Press and hold down the currently selected PROGRAM SEL E CT switch (1, 2, 3, or 4) for about half a second - all
effects will be bypassed, and the PROGRAM LED will blink. The name display will indicate “BYPASS” for one second,
and the Auto Chromatic Tuner will now be activated. Use either the LCD display or expression pedal led’s to tune
your guitar.
2. When you’ve finished tuning, press the flashing PROGRAM SELECT switch to return to Program mode. (Note;
pressing another PROGRAM SELECT switch will select a different program and return you to Program Mode.)
1. Press and hold down the currently selected PROGRAM SEL E CT switch (1, 2, 3, or 4) for about 1.5 seconds; the
output will be muted. The program LED will blink rapidly and the name display will show “MUTE” for one second. The
Auto Chromatic Tuner will now be activated; use either the LCD display or expression pedal led’s to tune your guitar.
2. When you’ve finished tuning, press the flashing PROGRAM SELECT switch to return to Program mode. (Note;
pressing another PROGRAM SELECT switch will select a different program and return you to Program Mode.)
oggrraammss
The AX3000G has 96 program locations in 24 banks, with 4 programs in each bank. The BANK UP/DOWN switches allow you
to select a bank, the PROGRAM SELECT switches allow you choose one of four programs within a given bank.
Once you find a sound that you like, you can use the knobs and selectors in the amp/effects section to tweak your tone
easily. Note: All of the AX3000G programs are rewritable.
To select a Program:
1. Make sure that the AX3000G is in PROGRAM SELECT mode (automatically selected on power-up).
2
Page 3

AX3000G EasyStart
2. Press either the BANK UP or BANK DOWN switch to select “BANK 2”. (When you’re selecting a bank, the bank
number will flash in the BANK display).
3. Press the PROGRAM SELECT 3 switch. Program “2-3” will be displayed in the LCD instantly. The PROGRAM
SELECT 3 switch LED will light and the Bank Display will indicate 2, and stay lit.
! If the LED in the upper left of the Bank Up switch is lit green, Individual Mode is selected. Press the BANK UP
switch to choose Program Select mode.
SSaavviinngg aa PPrrooggrraamm
You’ve tweaked and turned some knobs, and you like the changes that you’ve made – now to save your program:
1. Press the WRITE button. The name display indicates “*WRITE*”, and the BANK display and PROGRAM LED’s 1–4 will
flash.
2. Use VALUE KNOB 1, the ▲/▼ buttons, or the BANK UP/DOWN switches to select the bank you want to use; then
use the </> buttons, or PROGRAM SELECT switches to select the destination program 1–4.
3. Press the WRITE button once again. The program will be saved, the name display will indicate “COMPLETE,” and
you’ll return to Program Select mode.
! The newly-saved program writes over the previous contents of that bank/program. If you decide not to store your
new program, press the EXIT button to cancel the procedure. Note that if you switch to a different program or turn
off the power without storing the Program you edited, your changes will be lost.
IInnddiivviidduuaall MMooddee
In this mode, you can individually turn each effect type on or off just as if you were using a collection of stomp boxes. You
can select INDIVIDUAL mode from any program.
1. To enter INDIVIDUAL mode from PROGRAM SELECT mode, press and hold the BANK UP switch for about one
second; the LED above the BANK UP switch will ligh t green.
Here’s how to switch the pre-effect and reverb on or off while you’re playing:
2. Press the “program select” switch 1 to turn the pre-effect on/off. The LED 1 lit/ dark state indicates the on/off
status of the pre-effect.
3. Press the BANK DOWN switch to turn the reverb on/off. The LED at the upper left of the BANK DOWN switch will be
lit or dark to indicate the reverb’s on/off state.
4. To exit INDIVIDUAL mode, press the BANK UP switch, and the green LED will go dark (not lit).
EExxpprreessssiioonn TTaarrggeett QQuuiicckk AAssssiiggn
Here you can easily assign many effect parameters of the AX3000G to its expression pedal for real time live control! For
example, you can assign the speed of a modulation effect, time of a delay, or mix of the reverb to the expression pedal.
And of course, the expression pedal can also act as a volume pedal or wah pedal effect.
As an example, let’s assign the Pitch parame ter of the PITCH SHIFTER to the expression pedal:
1. Use the Modulation MODEL SELECTOR to choose the PITCH SHIFTER.
2. Rotate VALUE KNOB 1 or use the </> buttons to select the “PITCH” parameter. (PITCH” will be indicated in the
LCD)
3. In this state, press and hold the EXP/CTL button for one second, the name display will indicate “COMPLETE”.
That’s it! The PITCH parameter has now been assigned to the expression pedal, letting you control the amount of PITCH
SHIFT.
n
3
Page 4

AX3000G EasyStart
ESS (Expression Step Sequencer)
The AX3000G features an Expression Step Sequencer (ESS), which automatically controls most effect parameters in a fixed or
random step function. You can assign up to eight steps of effect parameter va lues in the step sequencer, and specify one of
seven ways in which the sequencer will play back these steps: Forward, Backward, Alternate 1/2, Random, Forward (oneshot), and Alternate 1/2 (one-shot). This lets you crea te sounds with complex movement that were unachievable until now.
The AX3000G’s ESS function operates between the expression pedal and the target parameter you specify. When you activate
ESS, the sequencer will control the target p a rameter that you specified for the expression pedal, and the expression pedal will
control the ESS.
UUssiinngg EESSSS
First, specify the target parameter that is to be controlled by ESS by assigning it to the expression pedal (see Expression
Target Quick Assign section)
Assign the PITCH parameter of the PITCH SHIFTER as the target parameter for the expression pedal, and then…
1. Press the EXP STEP SEQ button to activate ESS.
2. Use VALUE KNOB 3 to specify how the sequencer will operate. For this example, choose “8-A”, so that the
sequencer will cycle through steps 1–8 and then 8–1.
3. Specify the value for each step. First use VALUE KNOB 4 to set “STEP” to “1”, and then use VALUE KNOB 5 to
specify a value of “0”.
4. Repeat the above action for steps 2 through 8, and set these steps to values of 2, 4, 5, 7, 9, 11, and 12
respectively.
5. Use VALUE KNOB 1 to determine the Speed of the Step Sequence.
6. Use VALUE KNOB 2 to adjust to the Smooth parameter. This determines how dramatic of a change there is
between each sequence step.
! If VALUE KNOB 1 is set to PEDL, the expression pedal will control the pitch changes. Otherwise it will control the
speed of the ESS.
Here are a few more examples of some amazing new sounds you can create using the ESS
function:
EX1: Pentatonic ESS
This is based off of a “6A pattern” using the ESS combined with the pitch shifter’s pitch parameter as described above.
The ESS settings are as follows:
SMOOTH STEPMODE STEP1 STEP 2 STEP 3 STEP 4 STEP 5 STEP 6
0 6-A 0 7 10 12 15 12
Pitch shifter: Pitch=0, Fine=0, tracking=80, direct=0.0, effect=7.0
Amp: US Modern (Gain=9.4, Treble=7.0, Middle=0.0, Bass=6.2,)
Cab: UK T75
Cross delay: (Time=638, Feedback=4.0, Mix=6.8)
! Make sure that the EXP/CTL Button is set to M/Pitch. Control the speed of the ESS with the expression pedal
EX2: Major Arpeggio ESS
Based off of the preset program 6-4 which was originally a minor arpeggio using a 7A Pattern.
4
Page 5

AX3000G EasyStart
Step 2 has been changed from -9 to -8, and step 5 from 3 to 4 (this changes it to a major arpeggio)
The ESS settings are as follows
SMOOTH STEPMODE STEP1 STEP 2 STEP 3 STEP 4 STEP 5 STEP 6 STEP 7
0 7-A -12 -8 -5 0 4 7 12
Pitch shifter: Pitch=0, Fine=0, tracking=80, direct=0.0, effect=7.0
Delay: 2 Tap Delay
Time: 756, Feedback 4.4, Tone 7.9, Tap Time 5.0, Mix 4.4
Reverb: Slap… Time=7.7, Lo Damp 3.7, High Damp 5.4, Pre Delay 0, Mix 4.5
TThhee CCoonnttrrooll SSwwiittcchh
You can assign the control switch to function in a variety of ways. It can act as an on/off for your effects/amp/cab models; a
tap tempo for modulation or delay, or even as a trigger for the ESS. Below is a list of the Control Switch functions. Yo u can
make the following settings independently for each program for extra flexibility!
Press the EXP/CTL button and use VALUE KNOB 5 to select the effect you want to control, and then press EXIT to
return to Program mode…
Control Switch Effect On/Off: Control Switch Effect Control:
• “I/ON OFF” External Insert effect on/off
• “P/ON OFF” Pre-effect on/off
• “A/ON OFF” Drive/Amp model on/off
• “M/ON OFF” Modulation effect on/off
• “D/ON OFF” Delay effect on/off
• “R/ON OFF” Reverb effect on/off
Control Switch Tap tempo:
• MOD TAP” Modulation TAP TEMPO
• DLY TAP” Delay TAP TEMPO
:
• “FLN TRIG” Activates Classic Flanger LFO
• “HOLD DLY” Activates HOLD of Hold Delay
• “FREEZ” Activates Freez of Freez effect
• “ESS CTL1” Turn ESS on/off
• “ESS CTL2” Turn the effect being controlled by ESS on/off
• “ESS TAP1” Tap tempo to specify the time between each
sequence step
• ESS TAP2” Tap tempo to specify the time between step 1 and the
last step of the sequence.
• “ESS TRIG” Restart step sequence from step 1
! ESS TAP1, ESS TAP2, and ESS TRIG will do nothing if the SPEED of the step effect is set to PEdL.
RReessttoorriinngg tthhee FFaaccttoorryy PPrreesseett PPrrooggrraammss
Here’s how you can restore the AX3000G’s programs and settings to the state in which it was shipped from the factory:
1. While simultaneously holding down the ▲/▼ buttons and the EXIT switch, power-up the AX300G. The Bank Display
will read “P”, the LED 1–4 buttons will flash, and the name display will ask “RELOAD?” Release the ▲/▼ buttons and
the EXIT switch.
! If at this point, you decide that you really don’t want to execute this operation, press the EXIT switch.
2. Press the WRITE button. The name display will show “LOADING,” and the factory data will begin reloading.
When completed, the name display will indicate “COMPLET E,” and the AX3000G will automatically switch to Program
Select Mode.
! If there are any settings you want to keep, you should first use the Backup Program Data function (programs can also be
saved via our free AX3000G Editor/Librarian software; available at www.korg.com/AX3000G
using the Original Value icon. See the AX3000G Owner’s Manual for additional information on using the Backup Program
Data function/ Original Value i con.
For more information, see your AX3000G Owner’s Manual, and be sure to visit
www.korg.com/AX3000G
for more tips and tricks!!
5
), or write down your settings
 Loading...