

Page 1
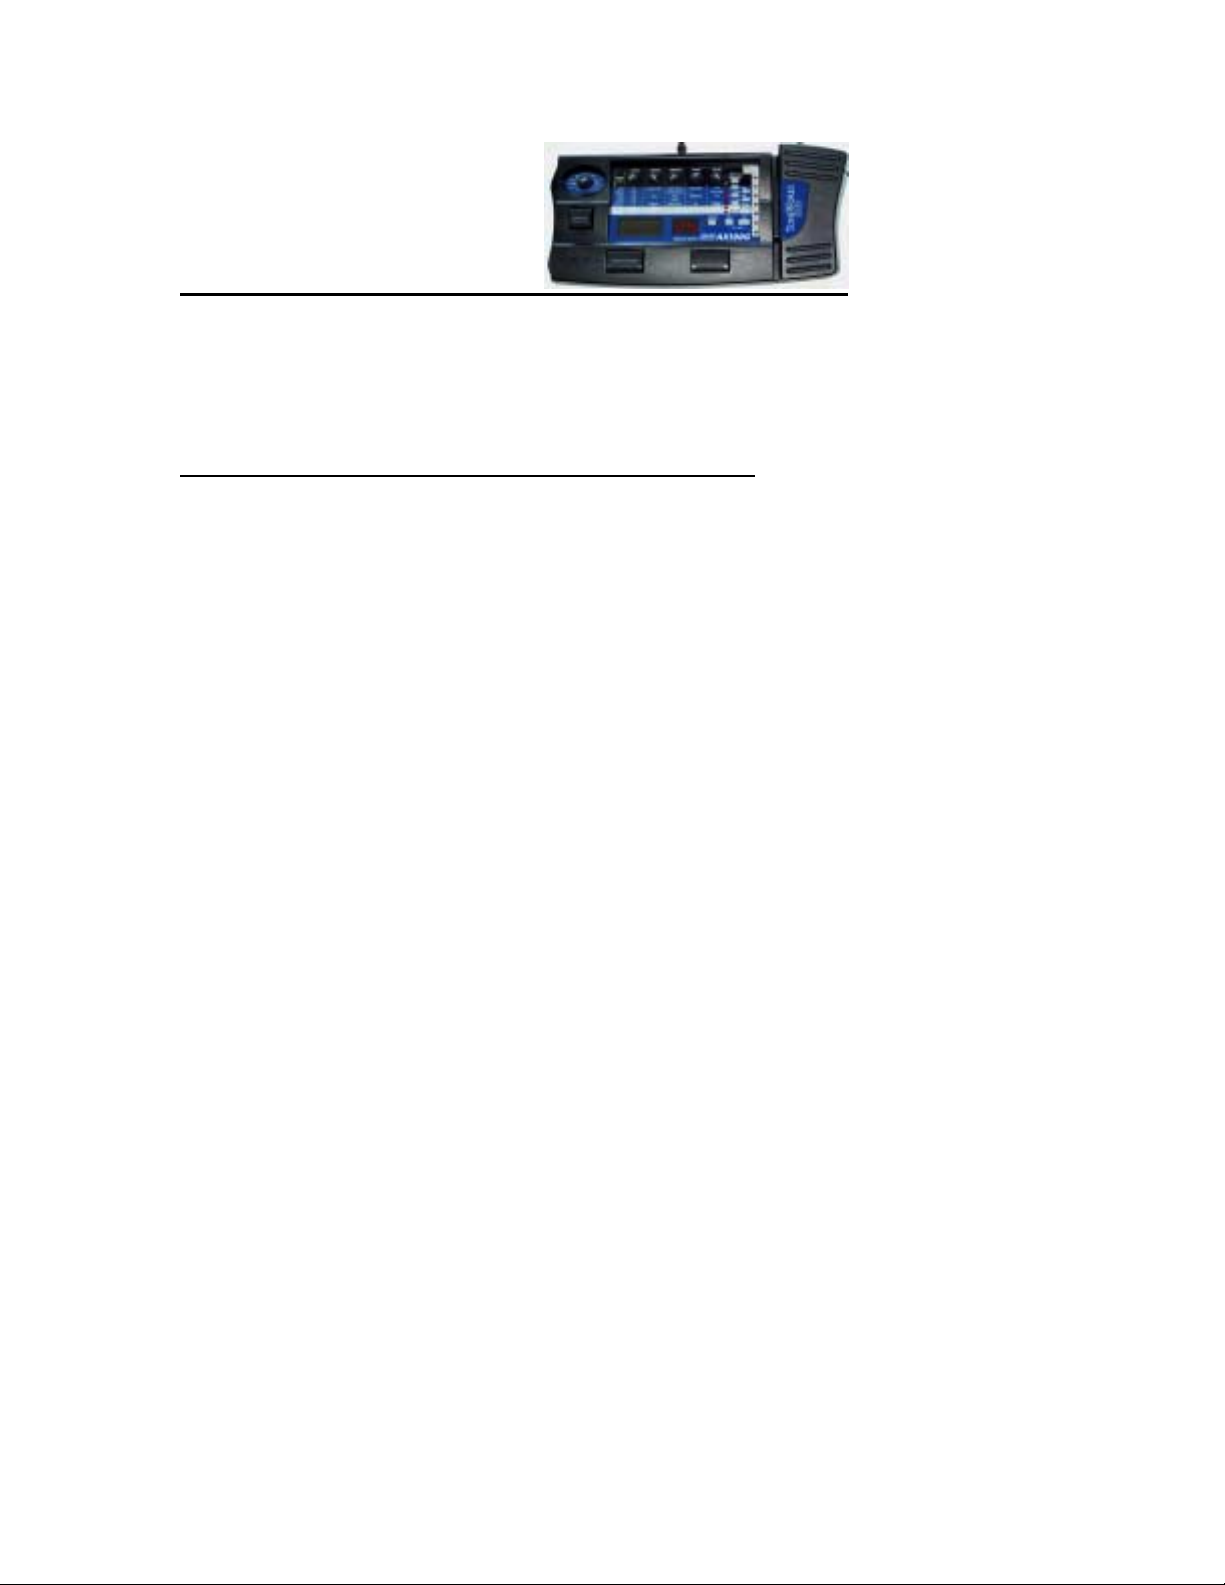
AX100G Quick Guide
This AX100G quick guide will help you learn all about this great new pedal in a
short period of time, plus the facts on why it’s so cool for live, stage, direct
recording, practicing, t eaching and just plain music therapy fun.
Key Features and Performance Specifics
• Korg’s REMS (Resonant structure and Electric circu it Model ing System)
modeling technology, provides complex and exacti ng detail in modeled
amps, and effects. Korg’s leadership in signal processing technology
gives the guitarist the tone and feel that they’ve been searching for.
• Within each program, using the footswitch’s (“FX SEL”) effects select
mode, the user can footswitch between 2 different drive sounds (a.k.a.
channel switching ), plus turn the Mod/Amb eff ects on/off.
• 80 programs, 40 user/ 40 factory, 63 modeling effect variations, and up
to 7 effects and rhythm sounds can be used simultaneously.
• Well backlit LCD disp lay, for easy visibility and editing even in dark
locations.
• Auto chromatic tuner, with effects bypass and tuner mute modes,
(Great for silent on stage tuning).
• Expression pedal, controls 23 different effects in real time and has a
new 7-point LED indicator that gives a visual display of expression pedal
values.
• Tap tempo, lets you ins tantly tap in delay time.
• Virtual feed backer, infi nite sustain at any volume or tone, also
generates controlled feedback and vibrato.
• Intelligent pitch shifting, lets you create harmony guitar lines, choose
the scale and key, the AX100 will adjust the intervals. (Cool Pro
Feature).
• 10 different drive modes, which including an acoustic simulator,
Marshalls, Voxs and some really cool classic stomp box models, similar to
the tremendously successful Korg AX1000G, wah-wah, envelope filter,
ring modulator, 16 modulation, 7 ambient effects including up to 2
seconds of delay, 6 accurate cabinet emulations. (But wait there’s
more).
• Phrase trainer mode, lets you record your guitar or external auxiliary
audio source (CD) up to 8 seconds then slow it down to as slow as 25%
without changing pitch . (Auxiliary audio In jack provided) Also the
recorded phrase will Loop, this is very helpful when learning difficult
chord changes or solos.
1
Page 2

• Sample & Play, lets you use the expression pedal to control your own
loops and samples in real-time with up to 6 seconds of phrase sampling.
• Slow Attack, automatic volume swells, controll ed by how hard you pick
the strings.
• 50 high quality PCM sample rhythm patterns. (Makes practicing a lot
more fun)
• 10’s hold, lets you lock into a bank so you can sc roll through you favorite
4 programs without accidentally recalling an unwanted program.
(Excellent for Live use)
•
Cable guide, helps keeps your cable out of your expression controller.
Getting Started
1. Route guitar cable under AX100 through cable guide
2. Set input level (H= hum bucking, L= single coil),
3. Plugging guitar in will turn AX100 on and off if you are using batteries, if
using a power supply unit will stay on (9volt DC, 500 ma).
4. Master volume is located next to output jack, for instant rotary access.
5. Change programs Up and Down, using program up and down buttons, or
press and hold “FX SELECT” switch down for 2 seconds to enter the bank
select mode.
6. Programs are organized in 10 banks (0-9) with 4 programs in each bank.
User banks are indicated by a period in bottom left of screen. (A period
between the bank # and program # indicates the 10’s hold feature is on
and may be turned ON/OFF by pressing both the “Exit” and “Tap”
buttons simultaneously).
Bypass Tuner Mode
1. Press and Hold down the program “Up” and “Down” switches
simultaneously for 1 second, this will bypass the effects and turn
on the tuner.
2. Hold the “Up” and Down” switches simultaneously for 2 seconds
to turn on the Tuner Mute Mode. (Great for silent tuning on
stage).
3. To return to program play, press either switch Up, Down or both.
FX Select Mode
Each program has 2 drive channels and an effect that may be turned on/off.
1. Tap the smaller third footswitch labeled “PROG/FX SELECT” (left side)
2
Page 3

2. The LCD display now reads “FX SEL” in this mode the program down
button will toggle your drive channels between “GREEN” and “RED”, the
program up switch will turn ON/ OFF, Modulation, Ambient or both
Modulation and Ambient effects.
3. Tap the “PROG/FX SELECT” switch to return to program play mode
Edit Mode
1. You may adjust your gain and tone settings instantly, by simply adjusting
the labeled knobs; (L-R) Drive Amp (knob is set aside, to prevent
unintentional editing), Gain, Treble, Middle, Bass, Level (these 5 knobs
will serve as our data c ontrols as well)
2. You can tap in the delay tempo instantly any time (if the program has
delay)
! For an example lets use an existing program, and make some edits to it
(at this point you should turn unit on), #01 “STATIC” lets change the
reverb into a delay,
1. Reverb and Delay are ambient effects, so press the edit button to the
left of AMB on control panel (just left of the exp r ession pedal).
2. “ROOM 2” is displayed, directly below it- the EDIT light is flashing, to
the right above master an envelope reads -ORIG (for original) this means
this program has the 2nd room reverb variation already programmed in. If
you want to know the mix level of effect, turn the reverb mix knob
(LEVEL) till the “ORIG” light comes on (6.0).
3. “GAIN” knob will now adj ust the ambient type (turn it, yes both ways),
find delay (full counterclockwise)
4. Take this time to look at the control panel, reading from left to right
find the line labeled AMB (same line with the flashing red light) TYPE= fx
variation, TIME= length of delay, TONE= EQ of delay effect, FEEDBACK=
number of delays, MIX= adjusts the level of effect.
5. Now, if you don’t like the delay tempo, you can ta p in the rhythm on the
tap button or you can readjust it on the 2nd (Treble) knob.
Go up 2 lines and experiment w ith the “MOD” or modulati on line. Remember to
press the MOD edit button .
Expression Pedal
1. The expression pedal has an ON/OFF button located on the toe end.
2. If the selected program has an expression-controlled effect it may be
turned ON/OFF with this bu tton.
3
Page 4

3. If the toe button is in the off p osition when you call up the next
program, you will need to turn the toe switch back on for effect.
4. To edit the effect of th e Expression Pedal, please push the Pedal button
located on the editing control panel (to the left of the pedal) .
Phrase Trainer
1. Press the phrase trainer edit button
2. Choose aux in for extern al audio, (first data knob “GAIN”).
3. Audio signal will pass through.
4. Press the FX SELECT button to b egin recording, if less than 8 seconds
press the same button and your music will now loop, otherwise it will
start looping autom atically when 8 seconds is reached.
5. Slow down the track by using y our second data knob (treble).
6. Start and stop track by using down switch.
7. Hold a note or pitch by using the up switch.
8. Reverse or back-up by using both up and down at the same time
Sample and Play
1. Program #64
2. Press expression pedal forward till pedal indicator LED begins flashing
3. Play for 6 seconds, (LED should stop flashing and turn red while it
records).
4. After recording is done, move pedal forwards- sample plays
5. Move pedal back, sample play s in reverse
Sample Loop
1. Program #63
2. Repeat the above steps 2 & 3
3. Now your phrase is looping and you can control the loop volume.
Rhythm patterns
1. Push the Rhythm button on panel.
2. Knob 1 does the rhythm p atterns.
3. Knob 2 adjusts tempo.
4. Knob 5 adjusts rhythm pattern volume.
Virtual Feed backer
Go to program #54- Play a single note for best results.
1. Pedal in full down position adds vibrato to sustaining note.
2. Back off half way for infinite sustain.
4
Page 5

3.
Back off more to control th e effect mix level.
DEMONSTRATION
Turn on the rhythm patterns and jam along.
Examples; 16shuffl2 @104 tempo, play
Motown @122 tempo,
Choose from Blues, Rock, Thrash, Reggae, Country, etc.
There is a cool assortment of artist programs as well.
#02 “Filter” the green channel is the acoustic simulator-red channel is a fat
distortion.
#24 Satch is 2 wicked distortions with delay and wah (turn wah on/off with
toe).
#31 demonstrates real time tape echo FX (use expression pedal to change tape
speed.).
#32 whip out a Santana lick (auto-wah, ON/OFF in “FX SEL” mode).
#34 Ring Modulator (program on an echo, show how easy it is to edit).
#43 “Surf” tremolo (speed controlled by pedal).
#51, 52, 53 (really fine straight ahead amp and reverb tones).
#54 Feed backer
#61, 62, Intelligent Pitch Shifter
#63 Loop (Phrase Looping)
#64 Fwd/Bk (forward & reverse phrase sampling)
#70’s & 80’s highlight individual FX
Diana Ross’ “Stop in the Name of Love”.
Stevie Wonder’s “Superstition”
Reset Factory Programs
1. Disconnect power supply (Warning: turn amp volume down first)
2. Simultaneously hold the “FX SEL” and “EXIT” buttons down, and then
plug in the power supply or last Battery.
3. LCD reads “RELOAD”
4. Press “WRITE” to reset factory programs, all edited user programs will
be erased, or press “EXIT” to abort Reset.
5
 Loading...