

Kohler KT196BN Installation Manual

Installation Guide
Kitchen/Bar/Lavatory Wall-Mount Faucet
K-T194, K-T196, K-T198 K-195, K-T197, K-T199, K-307
Los números de productos seguidos de M corresponden a México (Ej.
K-12345M)
Français, page “Français-1”
Español, página “Español-1”
1016743-2-B
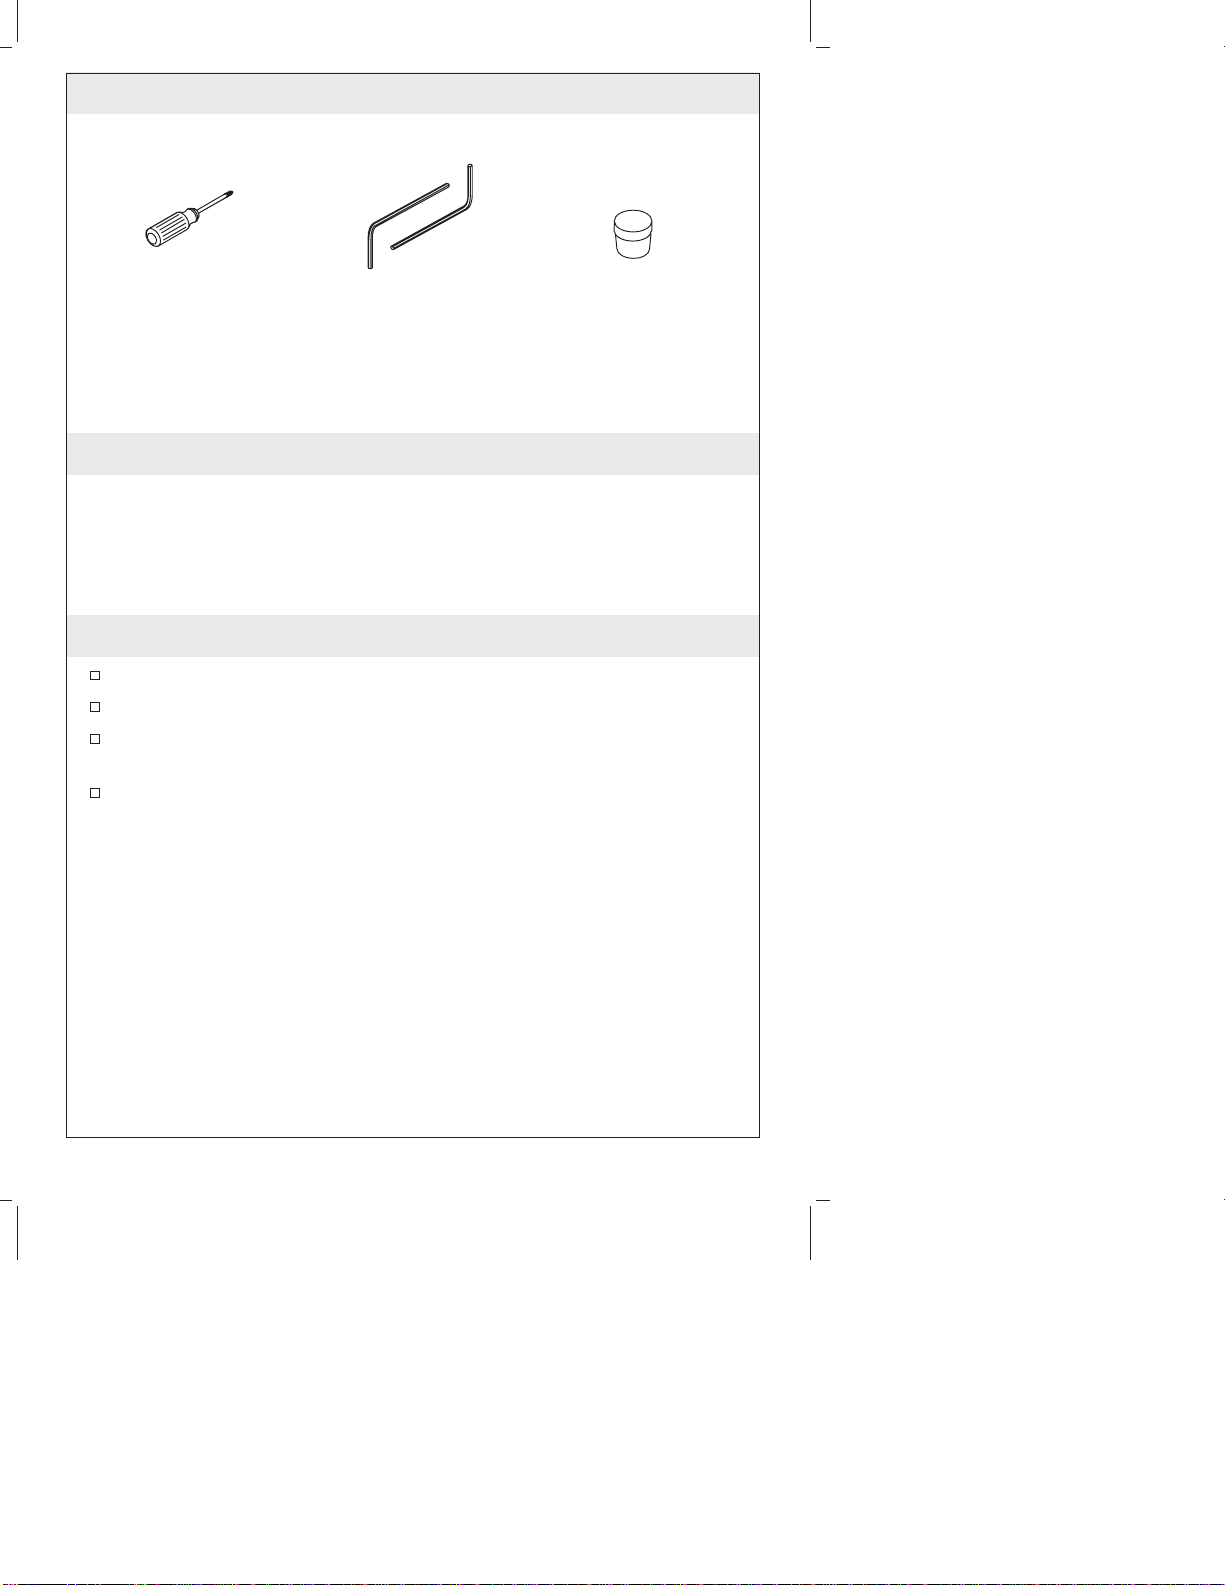
Tools and Materials
Phillips
Screwdriver
Hex
Wrench
Plumbers
Putty
Thank You For Choosing Kohler Company
We appreciate your commitment to Kohler quality. Please take a few
minutes to review this manual before you start installation. If you
encounter any installation or performance problems, please don’t
hesitate to contact us. Our phone numbers and website are listed on
the back cover. Thanks again for choosing Kohler Company.
Before You Begin
Shut off the main water supply.
Observe all local plumbing and building codes.
If needed, complete the finished wall before beginning this
installation.
Kohler Co. reserves the right to make revisions in the design of
faucets without notice, as specified in the Price Book.
1016743-2-B 2 Kohler Co.
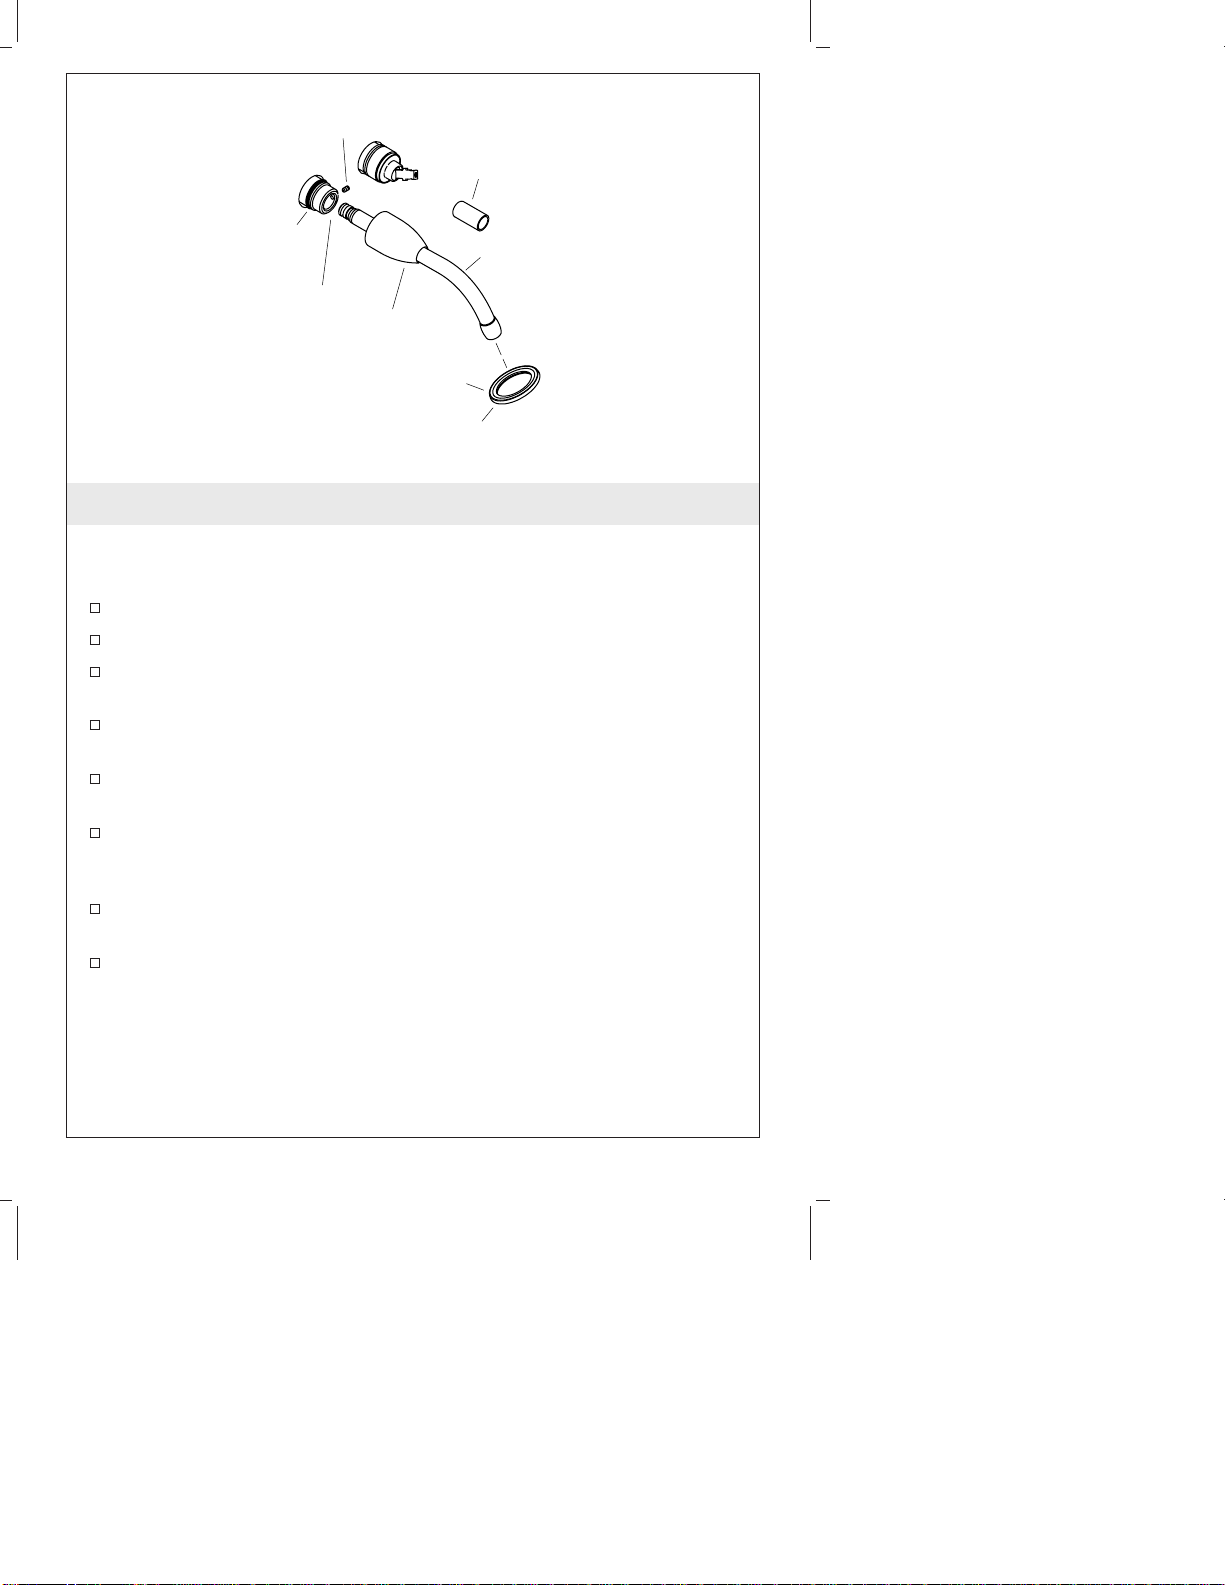
Setscrew
Spout
Thread
Protector
Spout
Shank
Mixer
Outlet
Port
Bonnet
Apply
Spout
plumbers
putty.
Escutcheon
1. Install the Spout
IMPORTANT! Use care when installing the spout to avoid
scratching the finish.
Remove the spout thread protector and discard it.
Slide the bonnet onto the spout.
Loosen the spout setscrew, and thread the spout into the mixer
outlet port until it is snug.
Back off the spout until it faces straight down. Tighten the
setscrew.
Carefully slide the bonnet onto the spout, pushing firmly until it
contacts the spout shank flange.
Apply plumbers putty or other sealant to the back surface of the
spout escutcheon according to the putty manufacturer’s
instructions.
Carefully slide the escutcheon over the spout and bonnet, and
press it firmly against the wall.
Remove any excess putty or sealant.
Kohler Co. 3 1016743-2-B
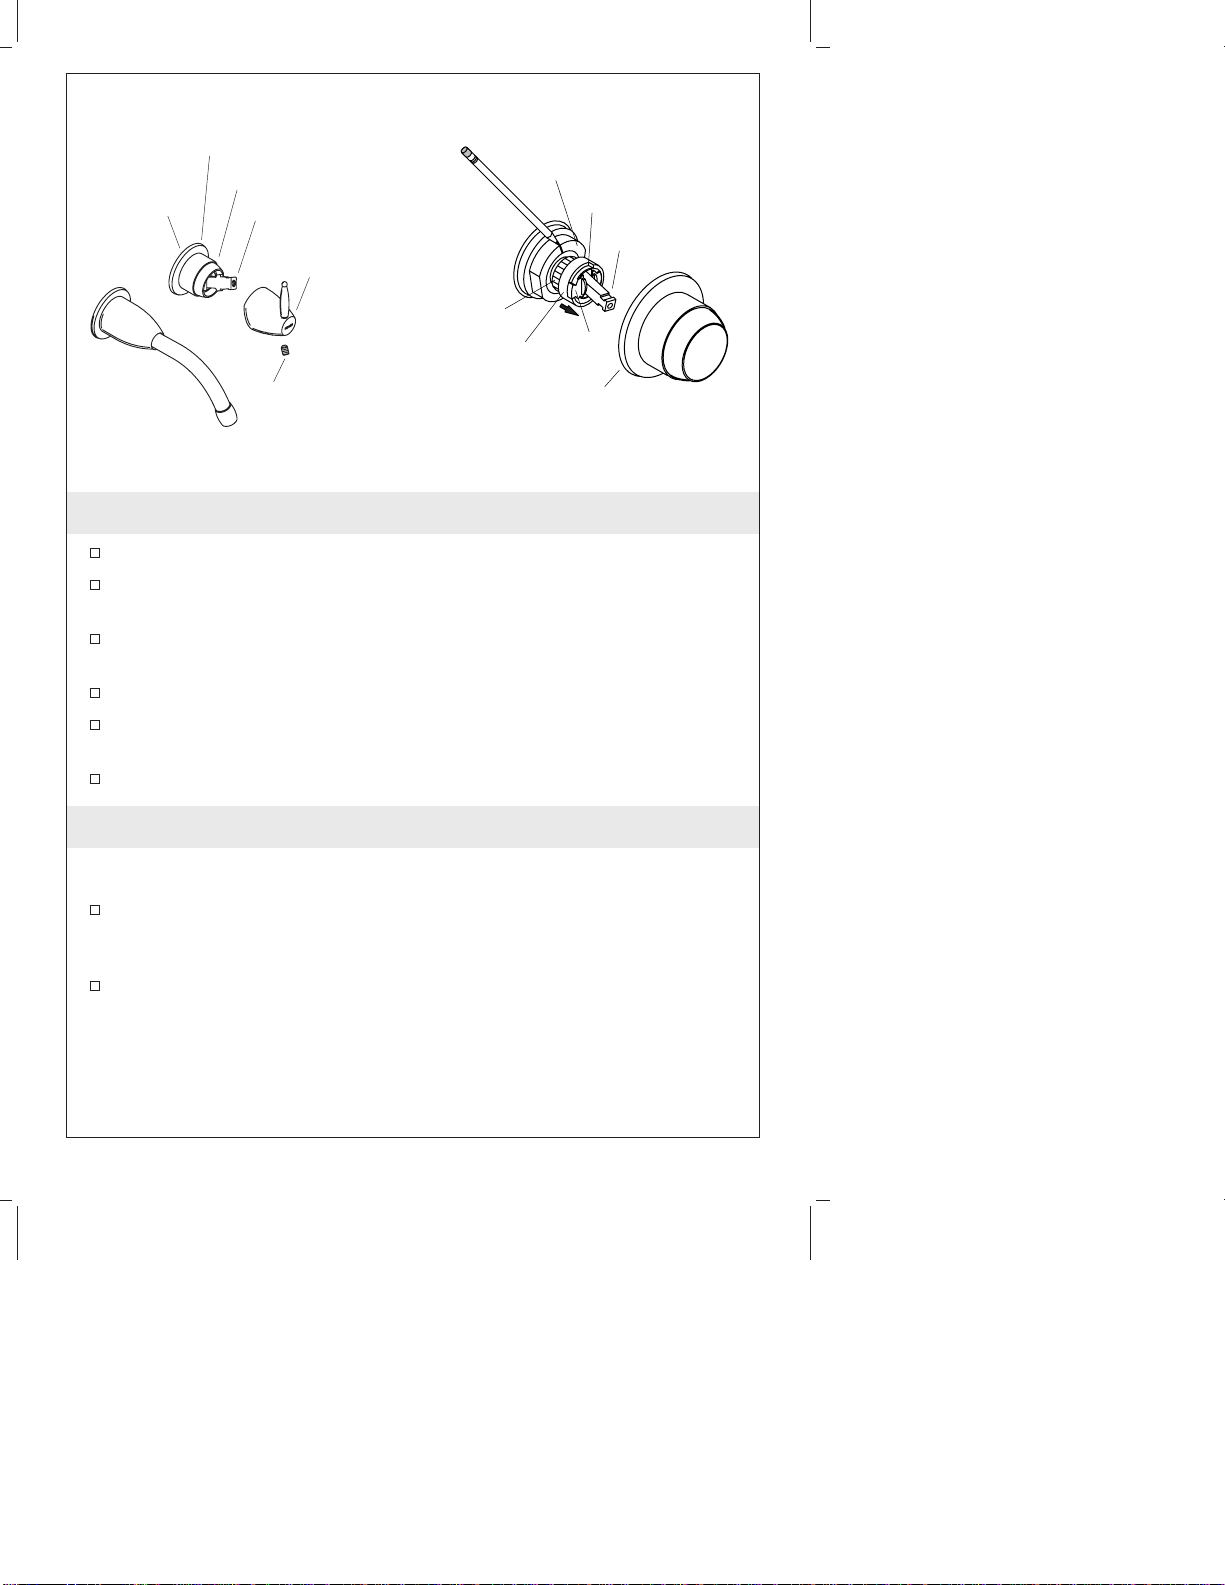
Plumbers
Putty
Escutcheon
Cap
Valve Stem
Handle
Assembly
Splines
Indexer
Mounting
Nut
Stop Tab
Valve Stem
Disc
Setscrew
Cap with
Escutcheon
2. Install the Handles
Securely hand tighten the cap onto the valve body.
Apply plumbers putty or other sealant to the back of the
escutcheon according to the putty manufacturer’s instructions.
Carefully slide the escutcheon over the cap and press it firmly
against the wall.
Remove any excess putty or sealant.
Loosen the handle setscrew. Press the handle assembly onto the
valve stem so the handle points upward.
Tighten the handle setscrew.
3. Adjust the Water Temperature
NOTE: Prior to adjustment, make sure the handle is in the
maximum hot position.
Remove the handle, cap and escutcheon. Turn the water to the
maximum temperature by pushing the valve stem down and
turning counterclockwise.
Mark the current position of the temperature stop tab (top edge)
on the mounting nut with a marker or pencil. Lift both the
indexer and disc just enough to clear the splines and allow
rotation.
NOTE: Each spline notch represents an average 9.5° F (5.3° C)
temperature change.
1016743-2-B 4 Kohler Co.

Adjust the Water Temperature (cont.)
Turn the indexer, disc, valve stem clockwise until the desired
cooler water temperature is achieved. Reinstall the indexer and
disc to the valve, making sure the disc is snapped fully into the
indexer.
Turn off the water. Reinstall the cap escutcheon and handle.
4. Complete the Installation
Turn the faucet handle off.
Turn on the water supplies and check the installation for leaks.
Repair as needed.
Remove the aerator.
Open the valve and run water through the spout for about a
minute to remove any debris. Check for leaks.
Remove all debris from the aerator.
Turn the valves off, and reinstall the aerator.
Kohler Co. 5 1016743-2-B
 Loading...