

Kohler KT144283BN Installation Manual
Installation Guide
Bath/Deck Mount Faucet
K-T14428 K-T14429
K-14430
M product numbers are for Mexico (i.e. K-12345M)
Los números de productos seguidos de
M corresponden a México (Ej.
K-12345M)
Français, page ″Français-1″
Español, página ″Español-1″
1016271-2-C
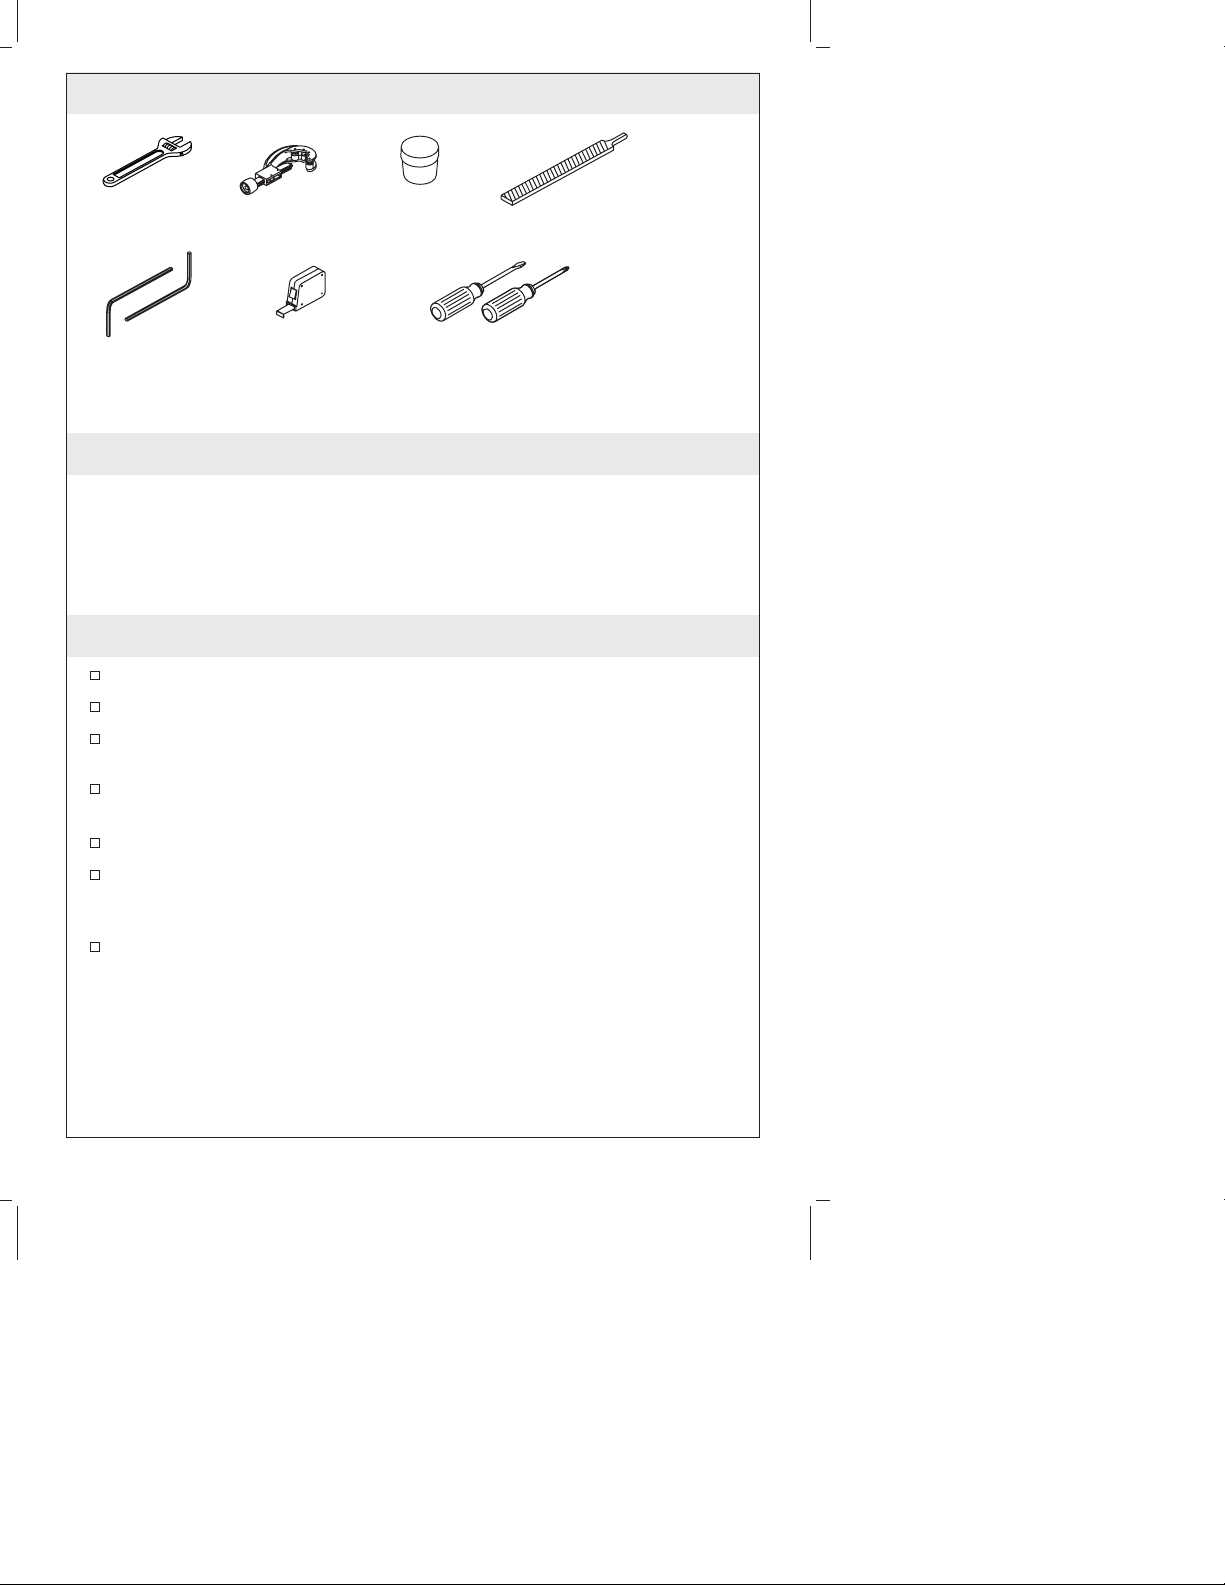
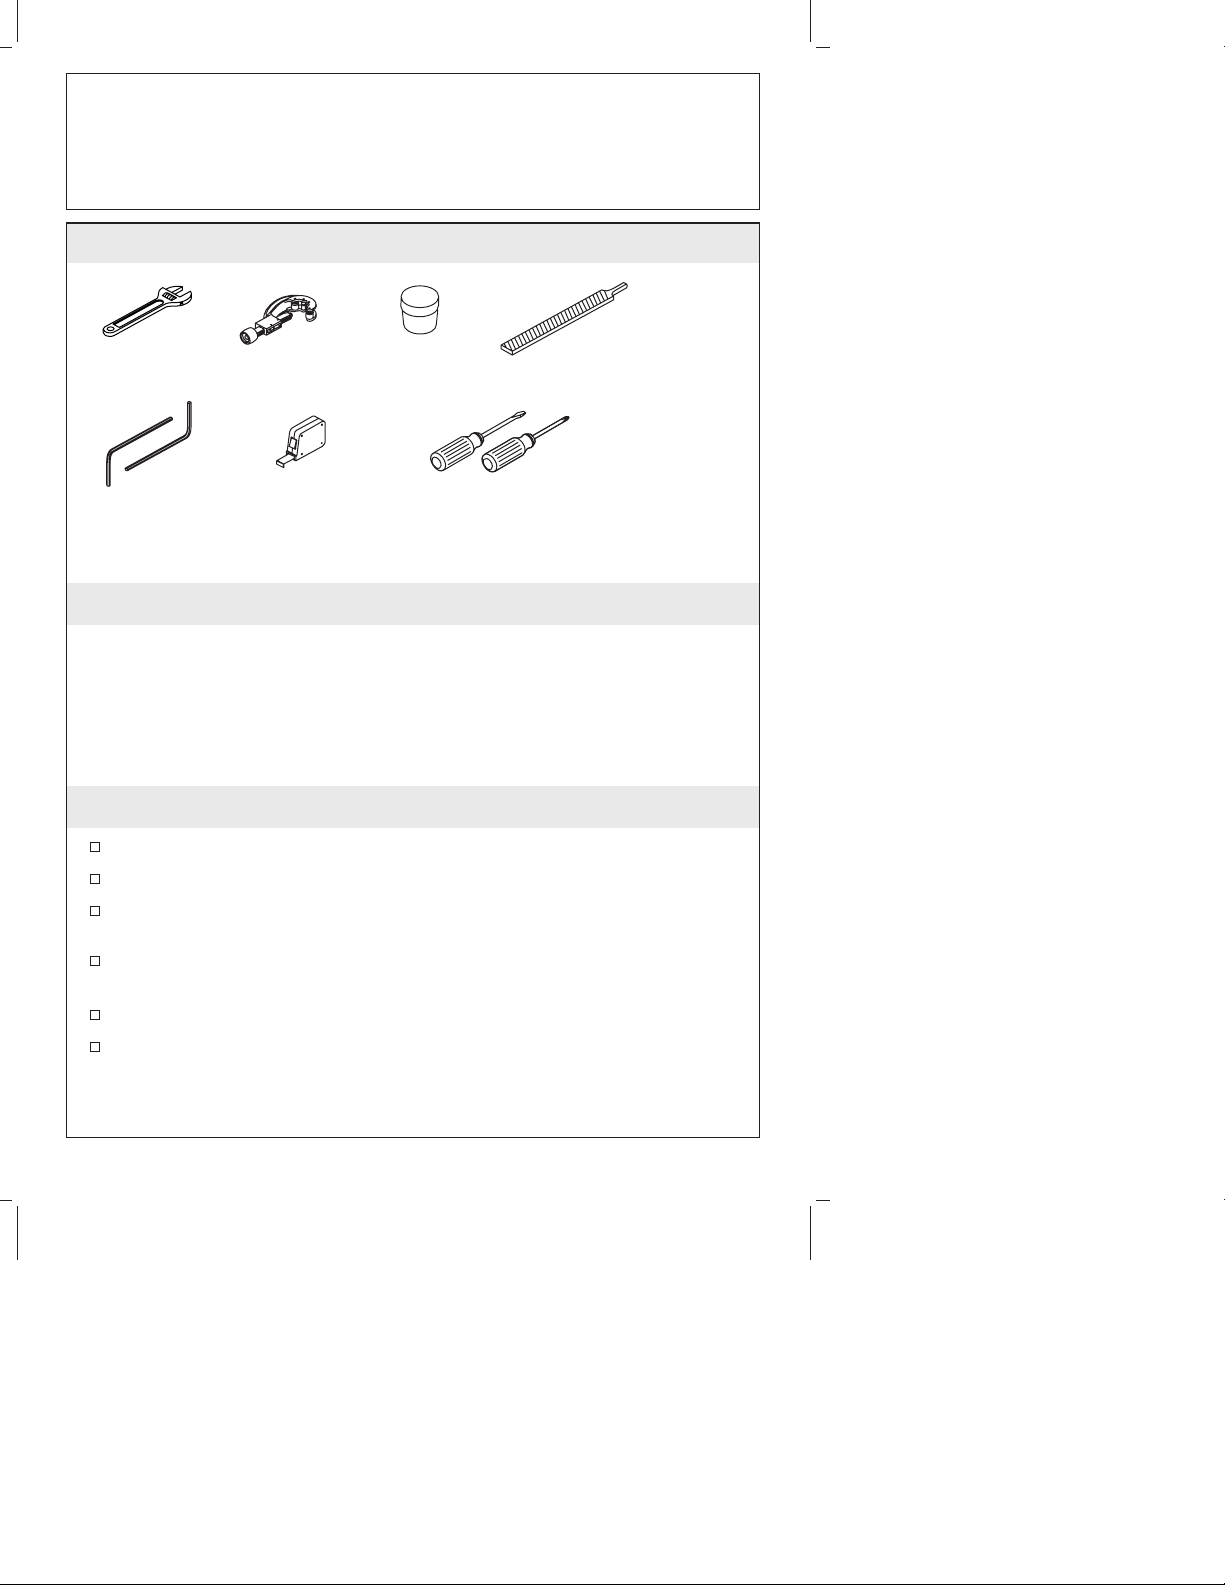
Tools and Materials
Adjustable
Wrench
Tube Cutter
Plumbers
Putty
Plus:
• Rag
File
Hex
Wrench
Tape
Measure
Assorted
Screwdrivers
Thank You For Choosing Kohler Company
We appreciate your commitment to Kohler quality. Please take a few
minutes to review this manual before you start installation. If you
encounter any installation or performance problems, please don’t
hesitate to contact us. Our phone numbers and website are listed on
the back cover. Thanks again for choosing Kohler Company.
Before You Begin
Please read all instructions before you begin.
Shut off the water supply.
Observe all local plumbing and building codes.
The valve is sold separately. Please read the instructions packed
with the valve for installation procedures.
Complete the finished deck material before installing.
Before installation, unpack the new faucet trim and inspect it for
damage. Return it to the carton until installation.
Kohler Co. reserves the right to make revisions in the design of
faucets without notice, as specified in the Price Book.
1016271-2-C 2 Kohler Co.
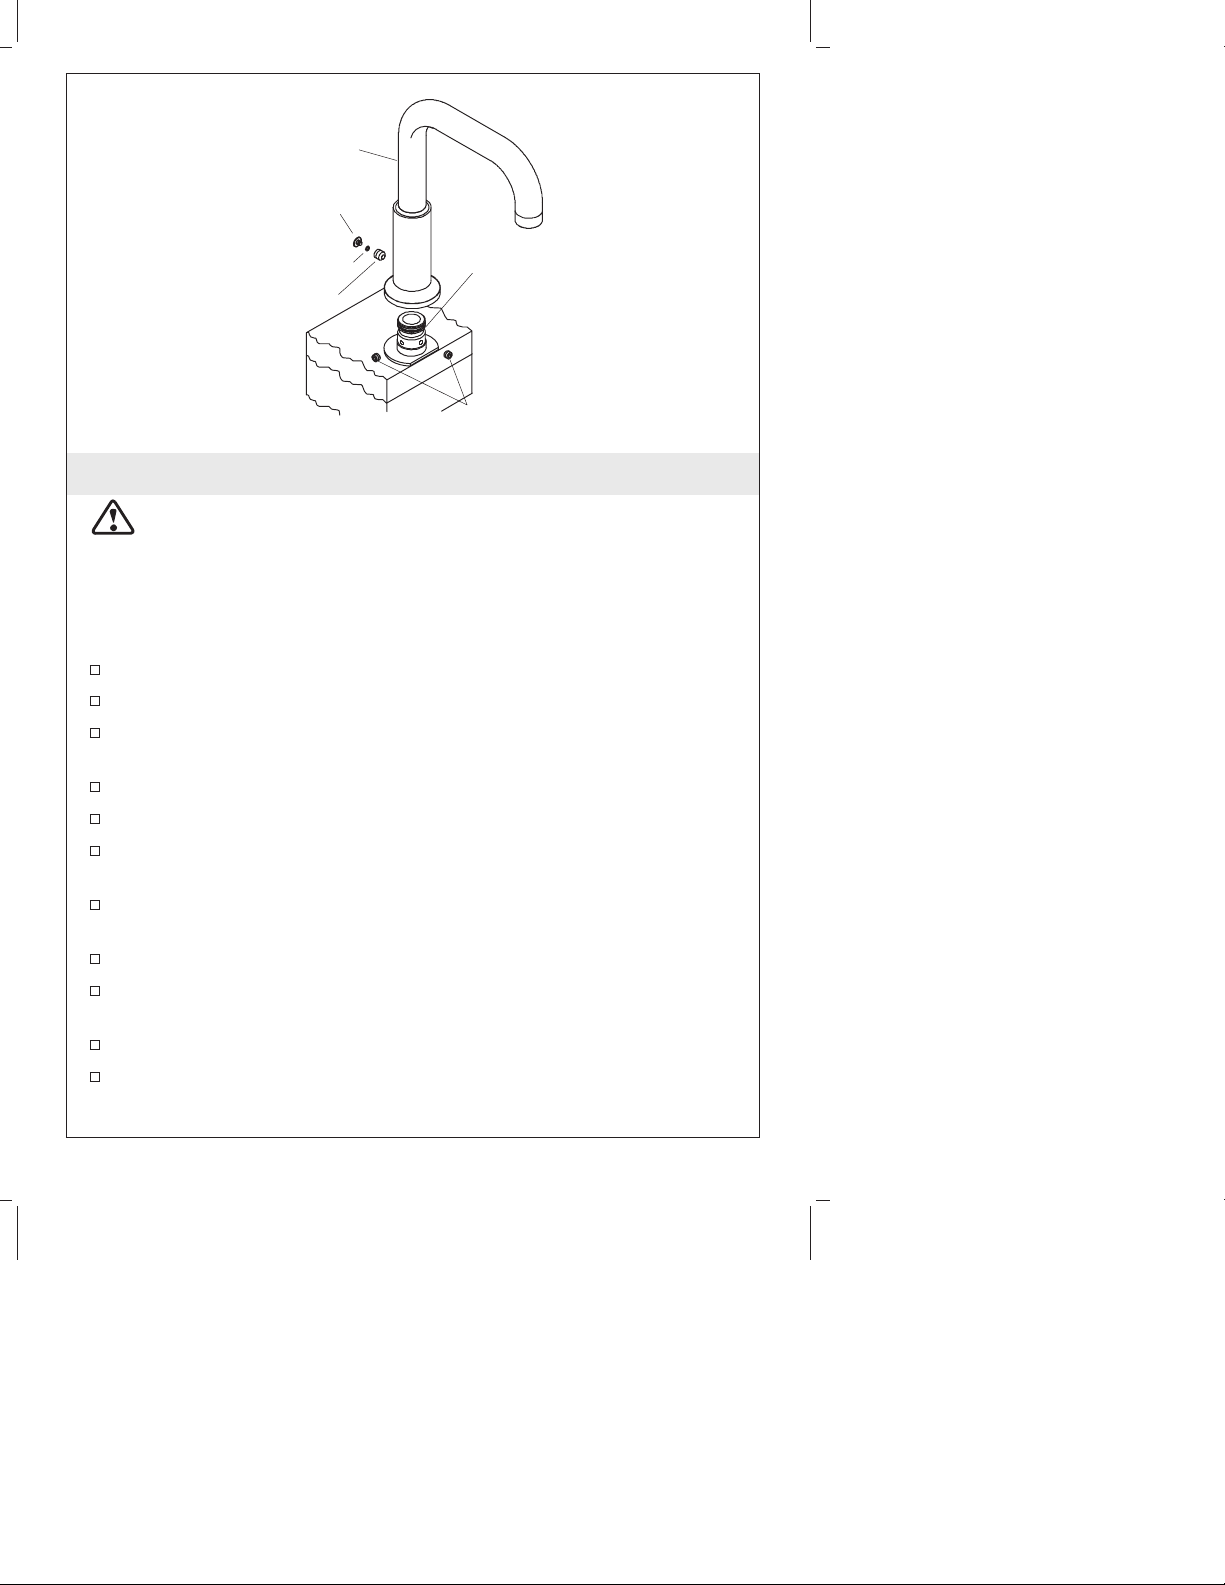
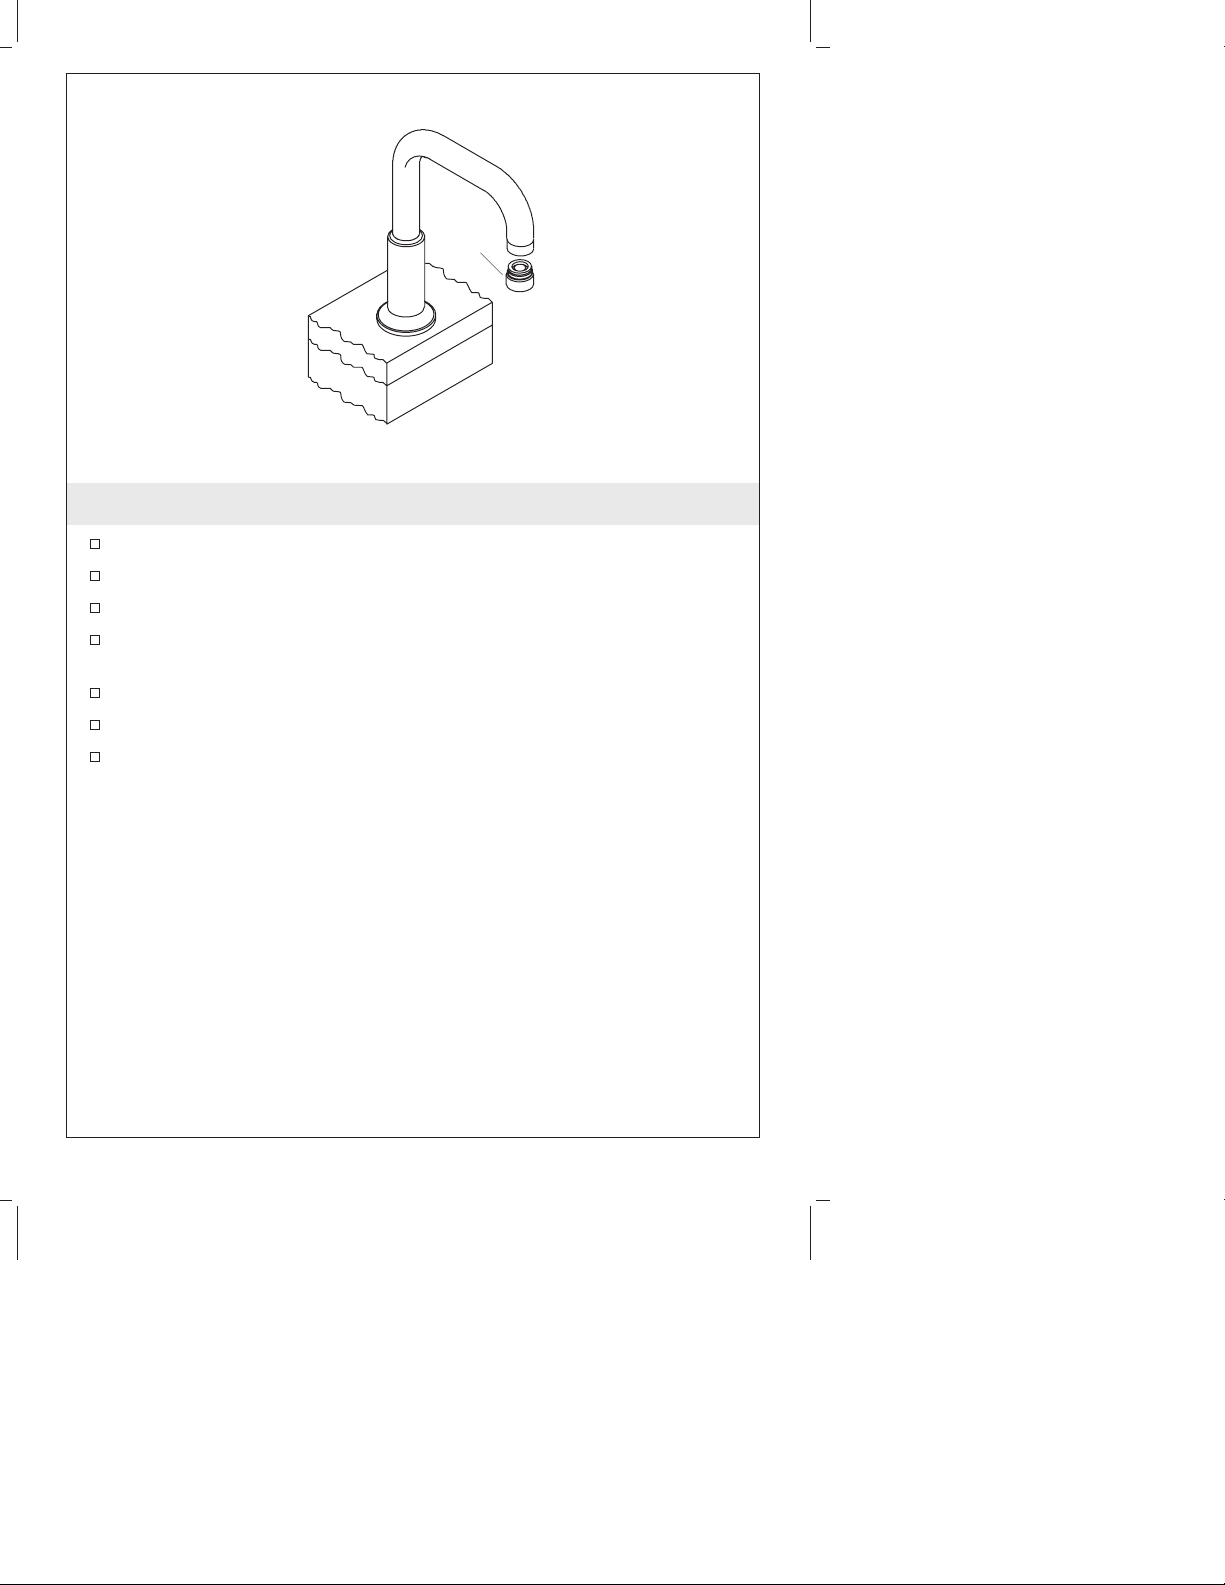
Spout
Plug Button
O-Ring
Setscrew
Sleeve
Setscrew
1. Install Spout
CAUTION: Risk of product damage. Use care when installing
the spout assembly to prevent damage to the O-ring seal.
NOTE: If your installation is on a tile-covered rough deck, slide a
brass washer, flat side facing forward, onto the supply tube. The
brass washer is supplied with the spout. This washer is not needed
for rim/finished deck installations.
Wrap a towel around the pipe plug and carefully remove it.
Remove the plaster guard from the spout supply tube.
Cut off the spout supply tube 1-1/4″ (3.2 cm) above the rim,
finished deck or tile.
Remove all burrs from the supply tube.
Loosen the setscrews in the sleeve.
Using a twisting motion, install the sleeve on the spout supply
tube until it contacts the deck or washer.
Align the sleeve with the setscrews offset from the center (not
facing directly forward or backward) of the supply tube.
Tighten the setscrews.
Position the spout on the sleeve, and carefully press down until
the spout contacts the finished deck.
Align the spout as desired, and tighten the setscrew.
Insert the plug button (if included) over the setscrew, flush with
the spout surface.
Kohler Co. 3 1016271-2-C
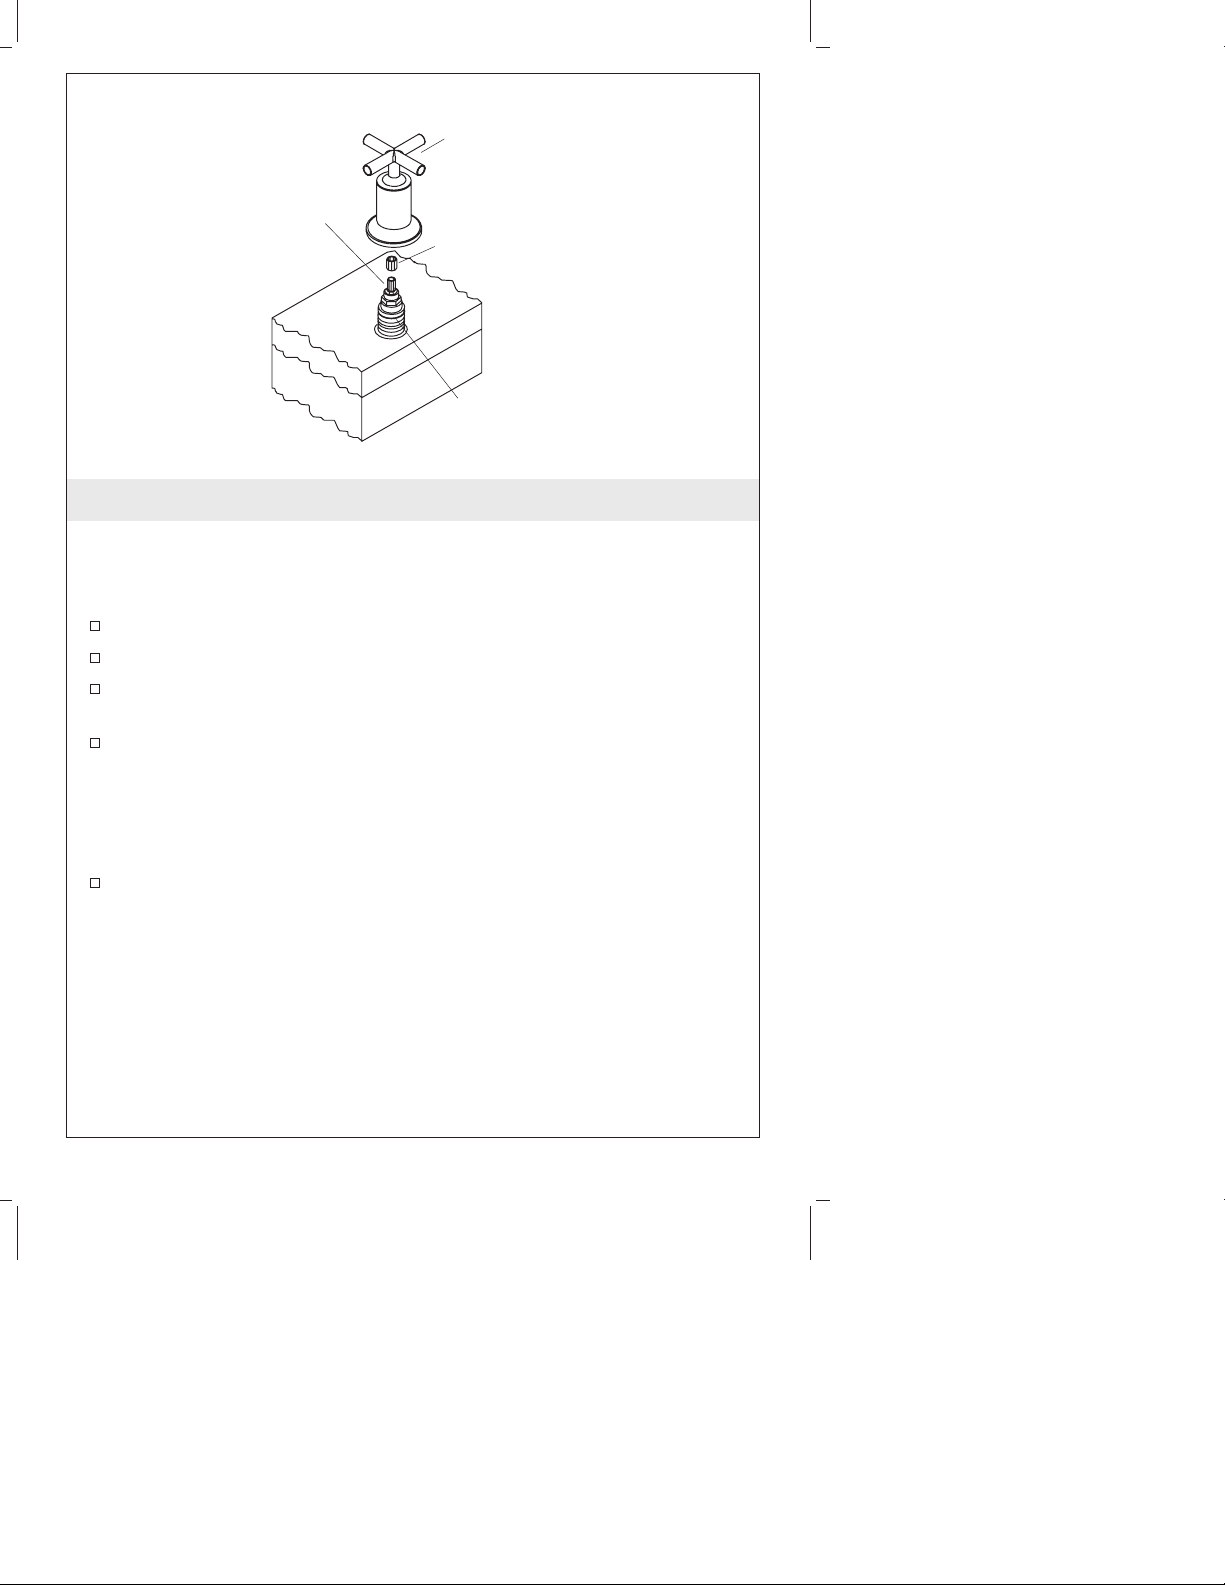
Handle
Assembly
Valve Stem
Spline
Stem
Extension
Valve
Body
2. Install Handles
NOTE: There are different handle styles available for this product.
Only one style of handle is shown. Installation of all handle styles is
identical.
Remove the plaster guards.
Close the valves (hot = clockwise, cold = counterclockwise).
Install a stem extension onto each valve stem spline. Make sure
that the splines are engaged.
Thread a handle assembly onto each valve body. Make sure the
splines in the handle and stem extension are engaged.
NOTE: The spline adapter allows fine adjustment of the handle
alignment. To adjust, remove the handle and reposition the spline
adapter.
Reinstall the handle and check the alignment. Repeat until the
handle alignment is satisfactory.
1016271-2-C 4 Kohler Co.
Aerator
3. Complete the Installation
Turn off the water (hot = clockwise, cold = counterclockwise).
Remove the aerator assembly.
Turn on the main water supply and check for leaks.
Turn on the hot and cold valves and run water through the spout
to remove debris. Check for leaks.
Turn off the hot and cold valves.
Remove any debris from the aerator.
Reinstall the aerator assembly.
Kohler Co. 5 1016271-2-C
Guide d’installation
Robinet montage sur baignoire/comptoir
Outils et matériels
Clé à
molette
Coupe-tubes
Mastic de
plombier
Lime
Plus:
• Chiffon
Clé
hexagonale
Mètre
ruban
Tournevis
assortis
Merci d’avoir choisi la compagnie Kohler
Nous apprécions votre engagement envers la qualité Kohler. Veuillez
prendre s’il vous plaît quelques minutes pour lire ce manuel avant de
commencer l’installation. Ne pas hésiter à nous contacter en cas de
problème d’installation ou de fonctionnement. Nos numéros de
téléphone et notre adresse du site internet sont au verso. Merci encore
d’avoir choisi la compagnie Kohler.
Avant de commencer
Veuillez lire toutes les instructions avant de commencer.
Couper l’alimentation d’eau.
Respecter tous les codes de plomberie et de bâtiment locaux.
La valve est vendue séparément. Veuillez s’il vous plaît lire les
instructions d’installation emballées avec la valve.
Compléter le matériau du comptoir fini avant d’installer.
Avant l’installation, déballer la garniture du nouveau robinet et
l’examiner pour en déceler tout dommage. Remettre le robinet
dans l’emballage jusqu’à l’installation.
Kohler Co. Français-1 1016271-2-C
 Loading...