

Kenwood KIL60W14 Installation And Instruction Manual
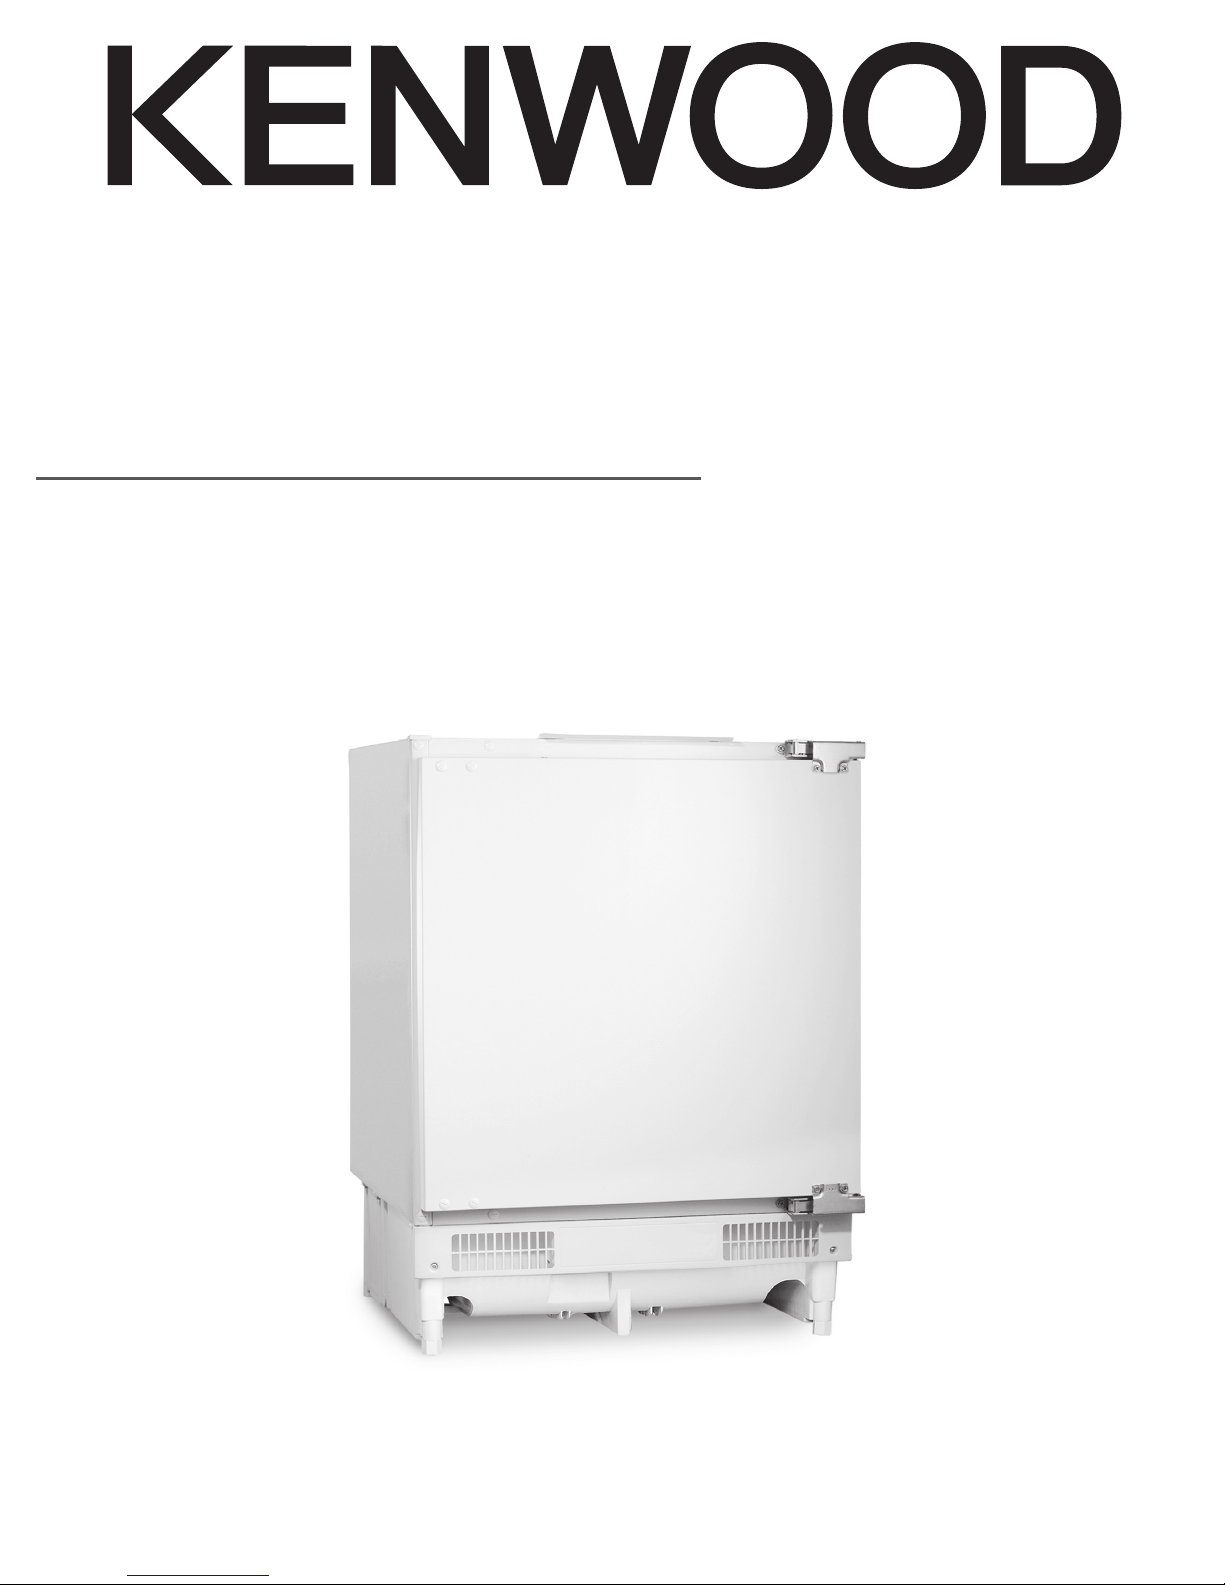
BUILT-IN 60CM WHITE
UNDERCOUNTER LARDER
KIL60W14
installation / instructions manual


Contents
safety warnings .................................................................................................................. 4
unpacking ............................................................................................................................ 6
installation ........................................................................................................................... 7
location ............................................................................................................................ 7
levelling the unit ............................................................................................................... 7
free space requirements ................................................................................................. 7
reversing the door swing ................................................................................................. 8
height regulation ............................................................................................................ 10
installation of the unit under the worktop ....................................................................... 10
fastening the unit under the worktop ..............................................................................11
mounting the kitchen cabinet door .................................................................................11
cleaning before use ....................................................................................................... 13
before using your unit .................................................................................................... 13
product overview .............................................................................................................. 14
main unit ........................................................................................................................ 14
operation ........................................................................................................................... 15
switching on your unit .................................................................................................... 15
adjusting the temperature .............................................................................................. 15
noises inside the unit! .................................................................................................... 15
tips for keeping food in the unit ..................................................................................... 15
cleaning ............................................................................................................................. 16
defrosting ....................................................................................................................... 16
cleaning the interior and the exterior of the unit ............................................................ 16
maintenance...................................................................................................................... 16
changing the internal LED light ..................................................................................... 16
care when handling / moving your unit .......................................................................... 17
servicing ........................................................................................................................ 17
switching off for long periods of time ............................................................................. 17
condensation ................................................................................................................. 17
disposal ............................................................................................................................. 17
specication...................................................................................................................... 18

safety warnings
For your continued safety and to reduce the risk of injury or electric
shock, please follow all the safety precautions listed below.
• Read all instructions carefully before using the unit and keep them
for future reference.
• Retain the manual. If you pass the unit onto a third party, make
sure to include this manual.
• This appliance is intended for indoor household use and similar
applications such as :
- farm houses and by clients in hotels, motels and other residential type
environment;
- bed and breakfast type environment;
- catering and similar non-retail applications.
• Ensure that the plug is easily accessible to enable disconnection
from the mains supply.
• Keep ventilation openings in the unit enclosure clear of
obstructions.
• Do not use mechanical devices or other means to accelerate
the defrosting process, other than those recommended by the
manufacturer.
• Do not use electrical appliances inside the food storage
compartments of the unit, unless they are of the type
recommended by the manufacturer.
• If the mains cable is damaged, it must be replaced by the
manufacturer, its service agent or a qualified technician in order to
avoid a hazard.
• Choose a location for your unit away from heat sources such as
radiators or fires as refrigerant and vesicant are burnable.
• Do not damage the refrigerant circuit (The refrigerant is a very
environmentally friendly gas but is also combustible. Take
care when transporting or moving the unit to ensure that the
refrigeration circuit is not damaged. In the event of damage avoid
naked flames or ignition sources and ventilate the room in which
the unit is placed for a few minutes.)
• The unit must be manoeuvred by a minimum of 2 persons.
• This appliance can be used by children aged from 8 years and
above and persons with reduced physical, sensory or mental
capabilities or lack of experience and knowledge if they have been
given supervision or instruction concerning use of the appliance
in a safe way and understand the hazards involved. Children shall
not play with the appliance. Cleaning and user maintenance shall
not be made by children without supervision.
4

• Children should be supervised to ensure that they do not play with
the unit.
• If your unit is fitted with a lock to prevent children being trapped
inside, keep the key out of reach and not in the vicinity of the unit.
• Do not store volatile or flammable substances, such as aerosol
cans with a flammable propellant, in the unit.
WARNING
IT IS HAZARDOUS FOR ANYONE OTHER THAN
AUTHORISED SERVICE PERSONNEL TO CARRY OUT
SERVICING OF REPAIRS WHICH INVOLVE THE REMOVAL
OF COVERS.
TO AVOID THE RISK OF AN ELECTRICAL SHOCK DO NOT
ATTEMPT REPAIRS YOURSELF.
5
Thank you for purchasing your new Kenwood Larder.
These operating instructions will help you use it properly and safely.
We recommend that you spend some time reading this installation/instruction
manual in order that you fully understand all the operational features it offers.
Read all the safety instructions carefully before use and keep this installation/
instruction manual for future reference.
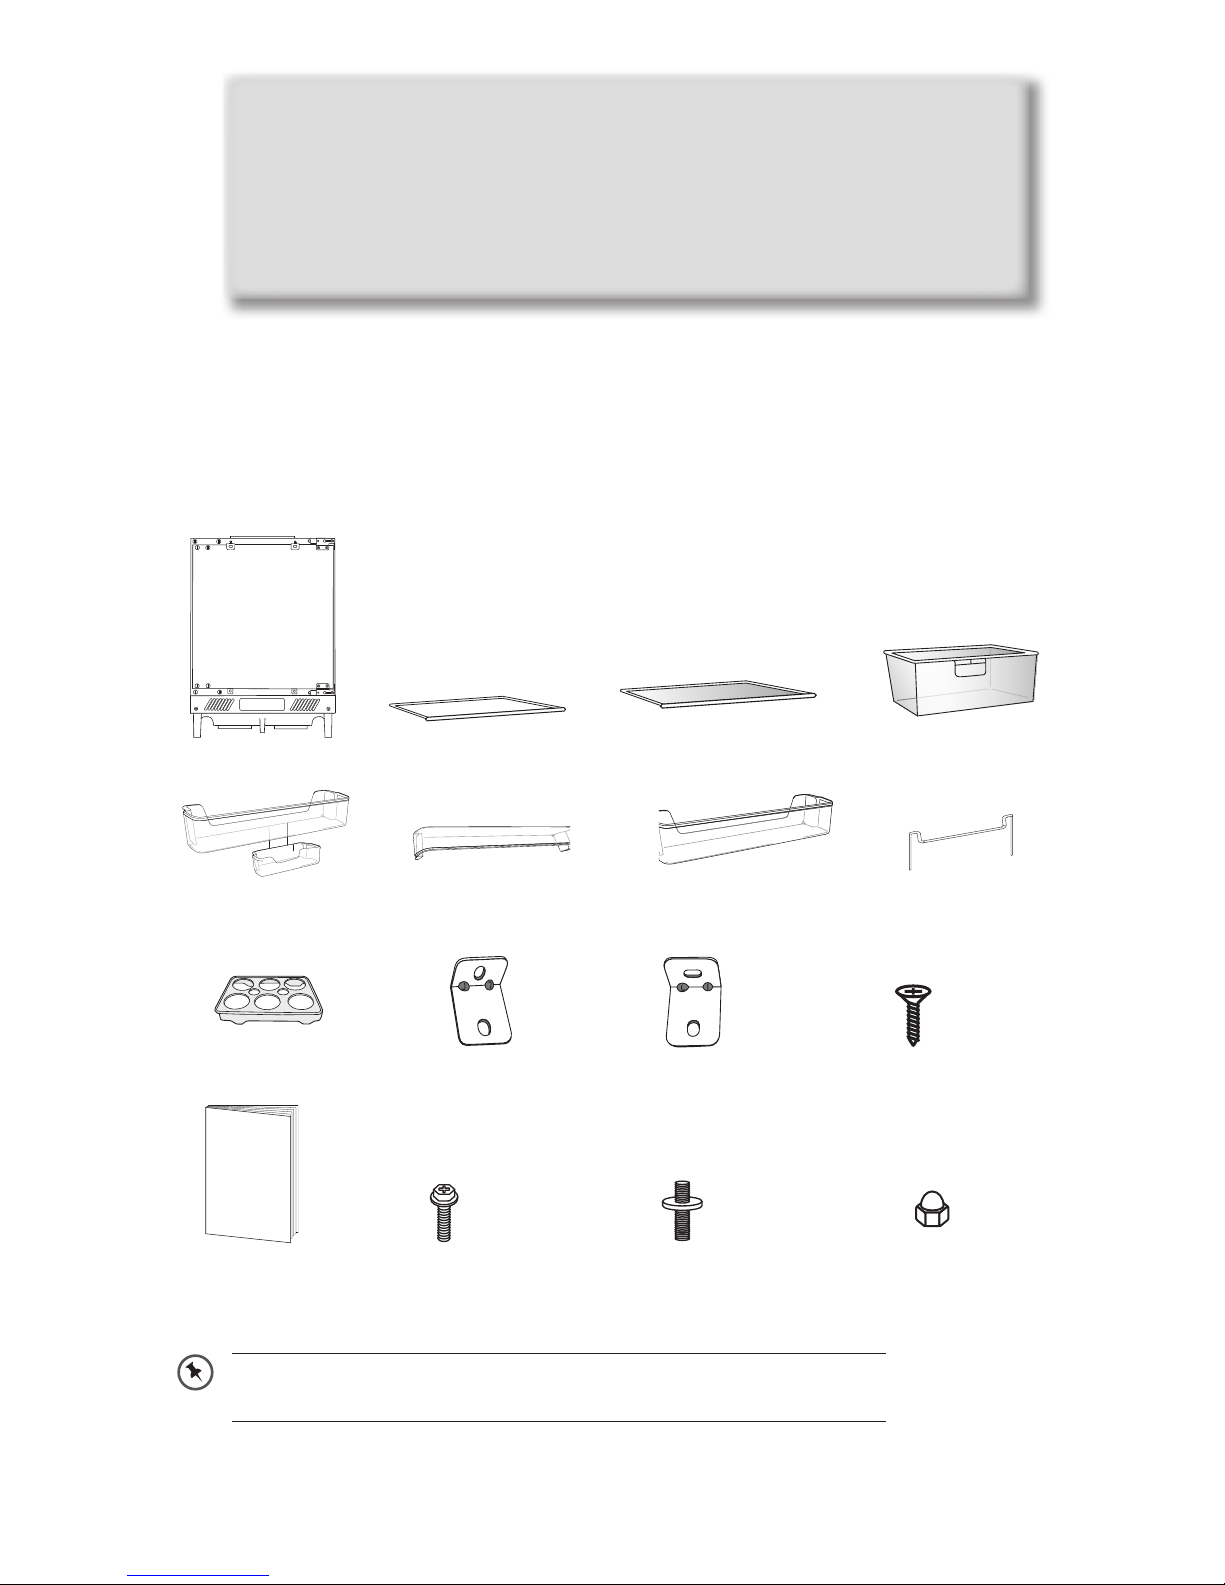
unpacking
Remove all items from the packaging. Retain the packaging. If you dispose of it please do so
according to local regulations.
The following items are included:
Shelf x 2 Salad Bin Cover Salad Bin Main Unit
Upper Fridge Door
Balcony
Egg Tray x 2 ST4.2 x 13 Screw
Instruction
Manual
Instruction / Installation
Manual x 1
Upper Fridge Door
Balcony Cover
Lower Connecting
Block x 2
Lower Fridge Door Balcony Bottom Wire Rack
Upper Connecting
Block x 2
Double Threaded Bolt x 2Bolt x 2 Domed Headed
x 7
Nut x 2
If items are missing or damaged please contact Partmaster (UK only).
Tel: 0844 800 3456 for assistance.
6
 Loading...